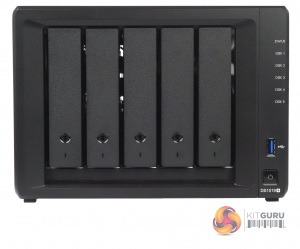
The DS1019+ is a compact 5-bay NAS with vertically mounted drive bays. To the right of the drive bays sit the five vertically mounted indicator LEDs; the top one is for system status with the remaining four indicators for drive activity. Under these and towards the base of the unit sits a vertically mounted USB 3.0 port and the power button.
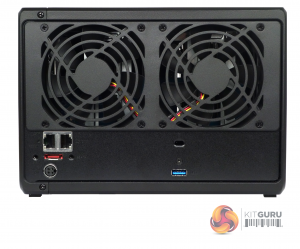
The rear panel is dominated by the grills for the pair of Y.S.Tech FD129225LL-N 92mm system cooling fans. The FD129225LL-N uses Sintetico bearings and is rated to spin at 1,900rpm (maximum airflow of 36.3CFM at 23dB).
Sitting under the left-hand side fan are the pair of 1GbE Ethernet ports (supporting Link Aggregation / Failover). Under these are the reset button and an eSATA port. Under the right side grill you will find a Kensington Security Slot and the second USB 3.0 port.
You may think that the eSATA port is a bit old school with today’s fast interfaces but what it does bring to the DS1019+ is expansion support. The port allows a Synology DX517 Expansion Unit to be connected to the DS1019+, bringing another five drive bays to the party and adding up to 70TB (5 x 14TB) of storage space to the capacity of the NAS.
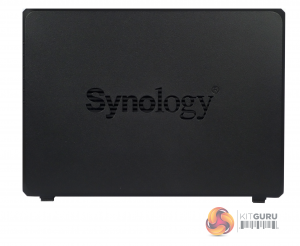
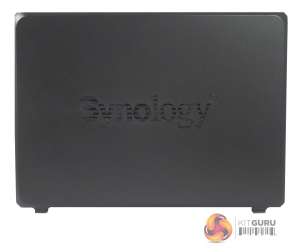
To help with cooling the NAS, the Synology branding on both side panels is cut through the panel.
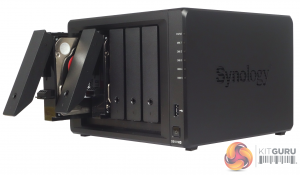
The drive bay doors have physical locks built into them (Synology include 2 keys) which helps keep the NAS safe in busy office environments with a lot of external traffic.
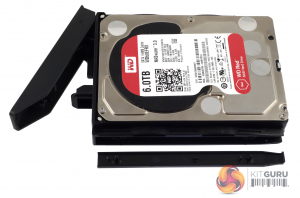
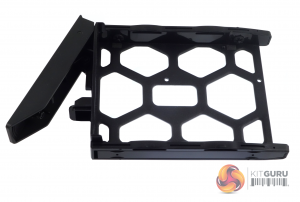
The plastic drive trays are tool free for 3.5in drives but 2.5in drives will need fixing to the bays (enough screws are provided in the box) via the bottom of the tray. The larger drives are held in position by plastic strips which have pins on them to go through the holes in the sides of the trays, and into the mounting holes of the drive – a simple but very effective tool free design.
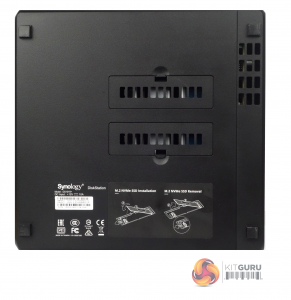
Hiding behind two hatches in the base of the DS1019+ are a pair of NVMe supporting M.2 ports. These are tool free, using plastic clips to hold the drives in place instead of the usual tiny screws.
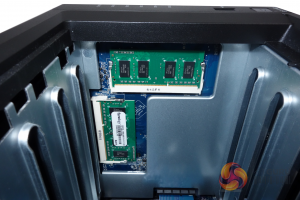
If you need to access the memory slots in the DS1019+, the first job you need to do is to take all the drives out as the two SO-DIMM slots are on the inside right side of the unit (looking in from the front). They are fairly easy, if a bit fiddly, to access.
 KitGuru KitGuru.net – Tech News | Hardware News | Hardware Reviews | IOS | Mobile | Gaming | Graphics Cards


