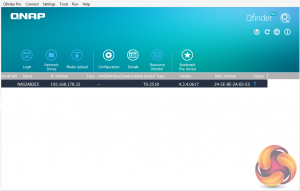
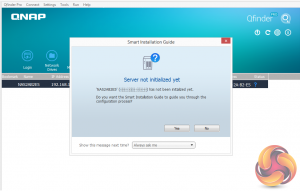
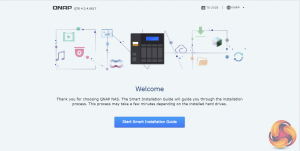
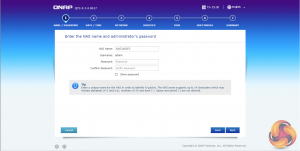
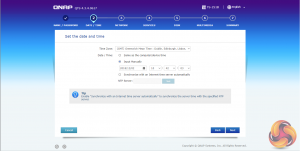
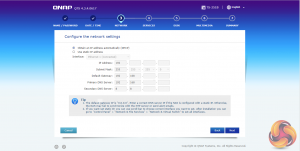
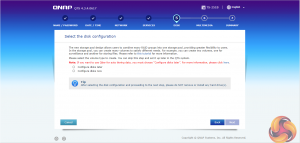
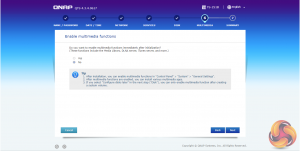
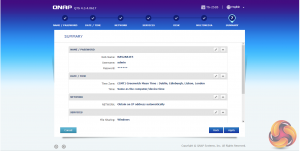
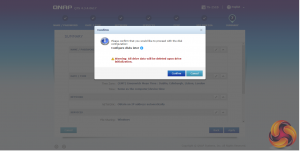
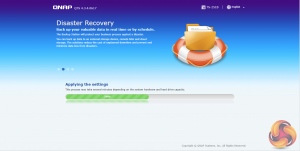
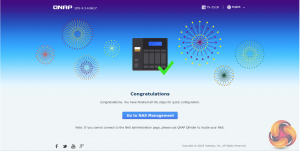
There are two ways of setting up the TS-251B, either online by entering the Cloud key which is on the side of the unit, or by using QNAP’s Qfinder Pro utility which can be downloaded from the QNAP website. Qfinder Pro searches for QNAP devices on the network. The first job you’ll probably have to do is to update the NAS firmware, which is is easily done by following the walk through wizard.
Once the firmware has been updated, it’s just a simple matter of following the installation wizard to get the NAS setup.
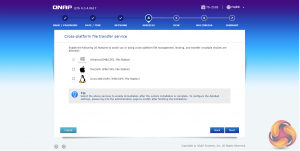
During the setup you can enable which OS cross-platform file management service you require – Windows (SMB/CIFS, File Station, FTP), Mac (SMB/CIFS, File Station, FTP) and Linux (NFS, SMB/CIFS, File Station, FTP).
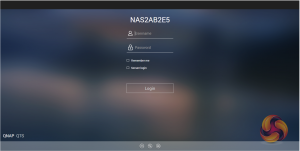
Once the TS-251B has finished setting up, you can then access the login screen. The login page can be customised to add your own photographs or corporate logo to the photo wall and messages can be added to the page as well.
 KitGuru KitGuru.net – Tech News | Hardware News | Hardware Reviews | IOS | Mobile | Gaming | Graphics Cards


