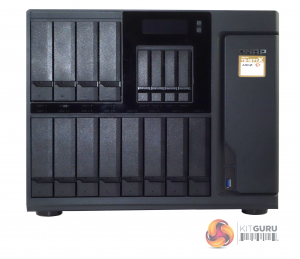
As you might have guessed with it sporting 16 drive bays, the TS-1677X is a hefty tower design NAS measuring 319.8 x 369.89 x 303.84mm and weighing in at 13.29kg. The 16 drive bays are split in two levels. The bottom level holds eight 3.5in bays with the remaining four 3.5in housed above them along with the four 2.5in bays. Sitting above the four 2.5in bays is the LCD display.
The LCD panel itself displays the NAS IP address as well as other system information on startup, as well as any system errors. Using the two buttons next to the display you can also configure the drives and the IP address, subnet mask and gateway.
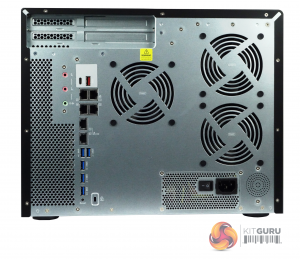
All the ports in the rear panel sit to the left of the three system cooling fan grills and are vertically stacked. First up are three 3.5mm ports, two are for microphones and one is a line-out port. Then there are the first of the USB ports, single USB 3.0 Type-A and Type-C. Next up are the networking ports, 4 Gigabit Ethernet grouped together, under which sit a pair of 10GbE ones. Under the networking ports sits a cluster of five USB 3.0 Type-A ports.
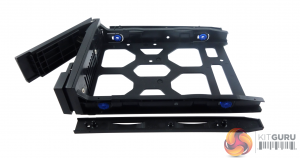
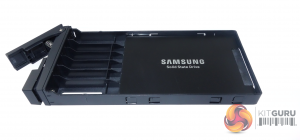
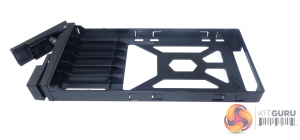
The 3.5in and 2.5in drive trays are made from a decent quality plastic and the built in bay doors have simple but effective sliding latches to lock them in place.
To hold the drives in place, the 3.5in trays use a pair of simple plastic strips that fit into grooves in the drive tray’s sides, and each plastic strip has a pair of pins that fit through the tray and into the drive’s side mounting holes. These mounting holes in the tray sides have anti-vibration grommets fitted. If you want to make sure the drives are installed firmly, you can use the screws provided to fix the drive via holes in the tray base.
Fixing a drive in the 2.5in bay is a simple matter of just sliding the drive into the tray until it touches the rear of the tray, and then pressing the drive down until you hear a click as it engages four plastic clips moulded into the drive tray side rails.
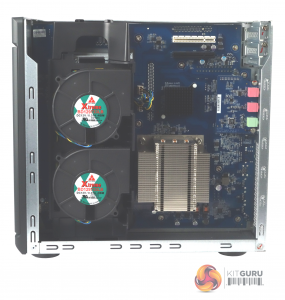
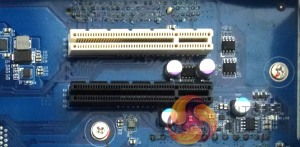
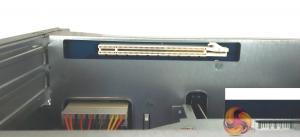
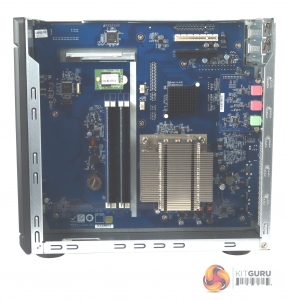
The three PCIe slots are housed on both sides of the motherboard. On the outward face of the motherboard sit the Gen.3.0 x4 and Gen.2.0 x4 slots while other side of the board is home to the Gen.3.0 x8 slot. One thing to take into consideration when choosing cards for the pair of x4 slots is that there is only 156mm of space before the CPU cooling shroud gets in the way.
To access the four memory DIMM slots, you have to remove the CPU cooling shroud for the YS Tech Xtreme BD129733LB 97mm fan. It’s an easy job, just undo the screw in the top of the shroud and press a plastic tab to release the shroud, remembering to pull the fan power plugs from the motherboard headers. The BD129733LB uses 2 ball-bearings and is rated at 2,600rpm with a maximum airflow of 25.6CFM at 40dB (A).
 KitGuru KitGuru.net – Tech News | Hardware News | Hardware Reviews | IOS | Mobile | Gaming | Graphics Cards


