The Drobo 5N2 is really easy and straightforward to set up. Once the drives are loaded it's a matter of downloading Drobo's Dashboard OS and begin the install. Once the installation starts, the main Dashboard screen appears with an icon of the 5N2 complete with yellow alert lights. Once the install is complete, the yellow lights turn green. The whole procedure takes around 20 minutes to complete.
Increase Capacity
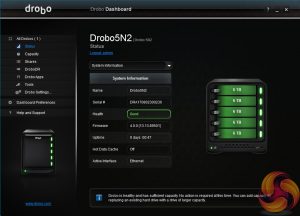
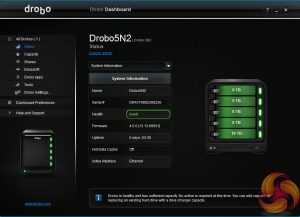
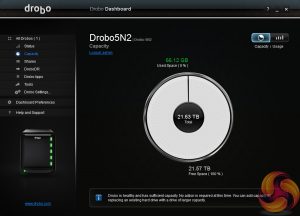
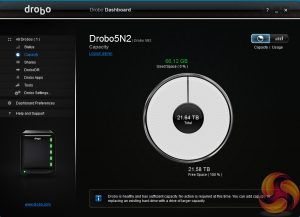
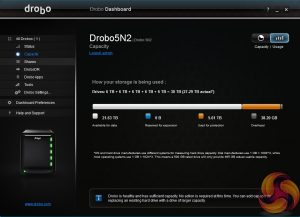
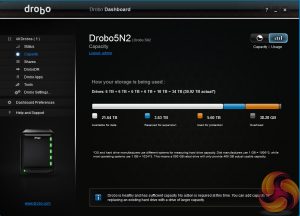
One of the real joys of the BeyondRAID technology is the ease at which you can increase the capacity of the 5N2. You either just sick a drive in an empty drive bay or failing that, simply take the lowest capacity drive out of the system and add a new larger drive.
Now the clever bit is that you can do this on the fly, no need to turn the device off or back up any data, indeed you can still access your data while the unit is rebuilding the storage.
It doesn't hang about while it's doing either. For instance, we took out a 6TB drive out of the 5N2 and replaced it with a 10TB drive and 25 minutes later the storage was rebuilt.
Single to Dual Disk Redundancy.
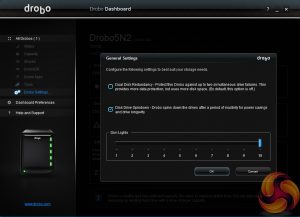
Switching from the default single disk redundancy to dual redundancy is a nothing more complicated than a single mouse click. Once again it's done on the fly and data can be accessed while the 5N2 is converting between redundancy modes.
 KitGuru KitGuru.net – Tech News | Hardware News | Hardware Reviews | IOS | Mobile | Gaming | Graphics Cards


Why didn’t you do the benchmarks with link aggregation enabled? The 5N2 has 2 gigabit LAN ports. This is one of the main reasons anyone would want to upgrade.