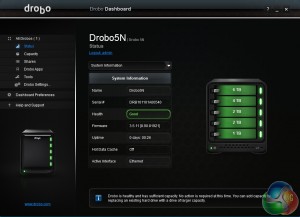
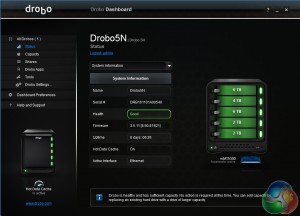
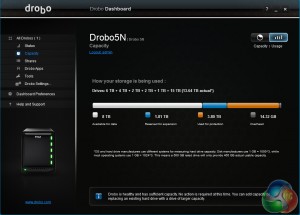
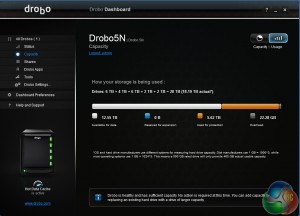
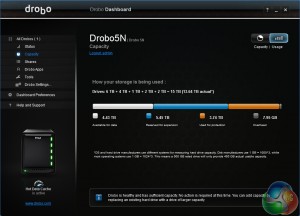
Getting started with the Drobo 5n is pretty straightforward. The first thing to do is to download and install the Drobo Dashboard from the Drobo website. Once this is installed and the drives loaded it takes around another twenty minutes for the installation process to complete.
Adding Capacity
Adding capacity to the Drobo 5n is as simple as swapping out the lowest capacity drive in the unit and installing a larger one. As the unit supports hot swapping you don't even have to power down the Drobo to do it. Once installed the new drive takes around 20 minutes to be fully integrated into the system. While this is happening it's still possible to access any of the data on the NAS.
Disk failure protection.
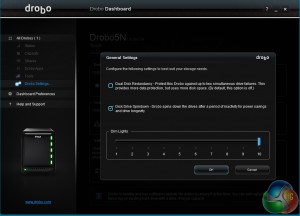
The default setting for protection against disk failure is a single disk but with a click of the mouse in the General Settings screen, this can be changed to two drive failure protection.
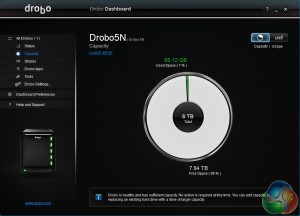
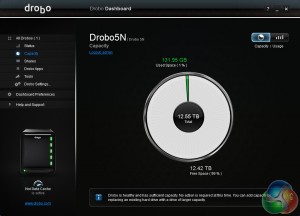
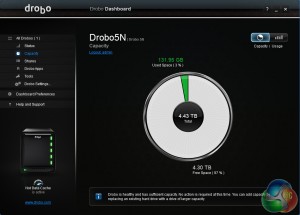
When we tried it with a 15TB five mixed size disk setup it took around an hour to complete the procedure and when finished the usable amount of free space for data dropped from 8TB to 4.43TB. Even while this was going on data can be accessed from the NAS.
 KitGuru KitGuru.net – Tech News | Hardware News | Hardware Reviews | IOS | Mobile | Gaming | Graphics Cards


