Initial setup of the devolo dLAN 1200+ WiFi ac starter kit simply involves plugging the router unit into power and then running the LAN cable supplied to an existing router. The unit doesn't have a DHCP server so can't dole out IP addresses itself. This means you have to use it with an existing router that provides this function.
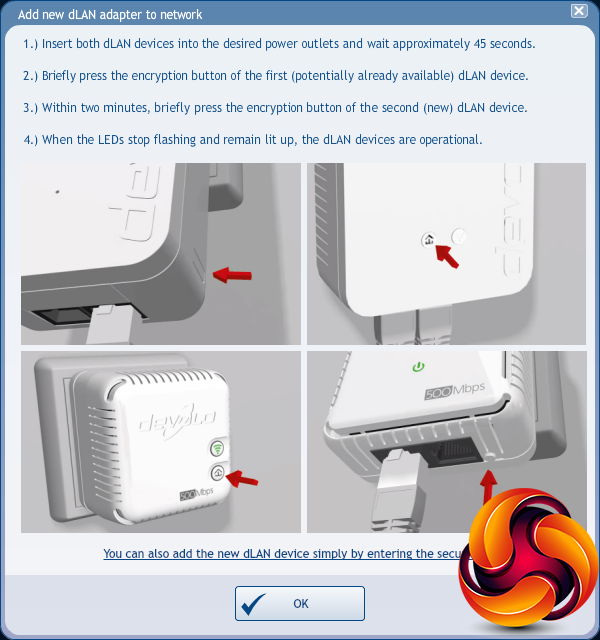
Once the first unit is up and running, you can plug the second WiFi unit into power. Then you press the Home button on the top of the WiFi unit, and the slightly hidden button on the side of the router unit, after which lights will flash for a few minutes and then in theory they will handshake and connect. We found this process pretty painless.
You can then start using the wired networking straight away. To use the WiFi, you will need to have noted down the SSID password on the back of the WiFi unit and use that when you connect your wireless devices. It's best to do this before plugging it in, because you probably won't be able to see it after the unit is plugged in.
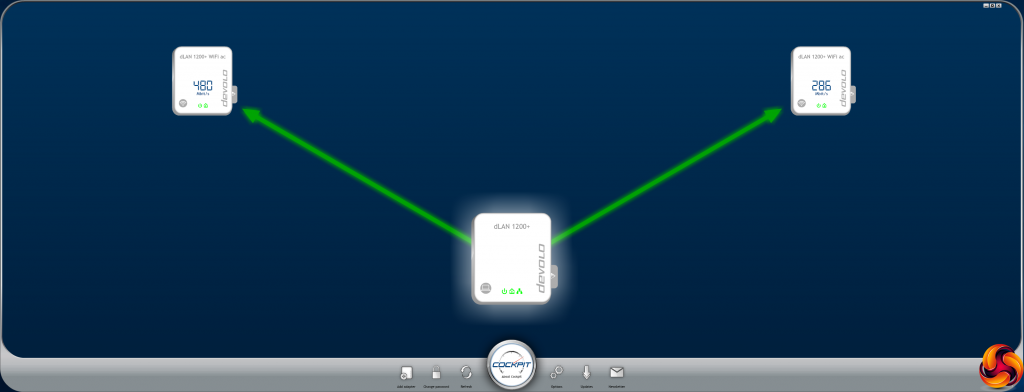
Then you can download the devolo Cockpit software for further detailed access to the devolo devices. This is supposed to be available as an app on iOS and Android, but we found that the iOS version no longer works, so we were stuck with the Windows desktop software. Loading this up shows a schematic of your powerline network and the current throughput between devices.
Selecting “Add adapter” calls up a wizard, but the software itself doesn't take part in this and you don't need it to add further adapters to the network. So long as you follow the steps in the wizard, you can add as many adapters as you want without changing any software settings via Cockpit.
The new adapters you add will show up on the Cockpit schematic, again with their current connection speed.
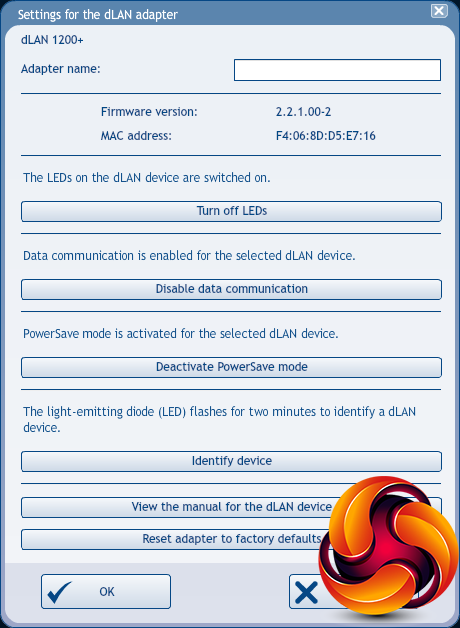
You definitely need the Cockpit software to access these general settings, which are available for all dLAN devices, whether they incorporate WiFi or not. These allow you to toggle PowerSave and whether the LEDs are operational.
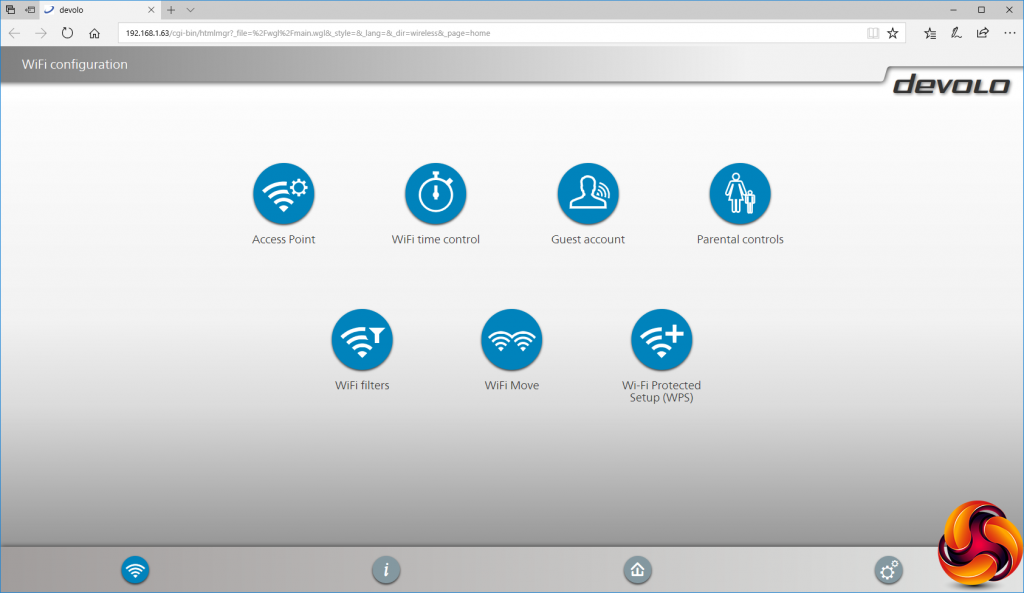
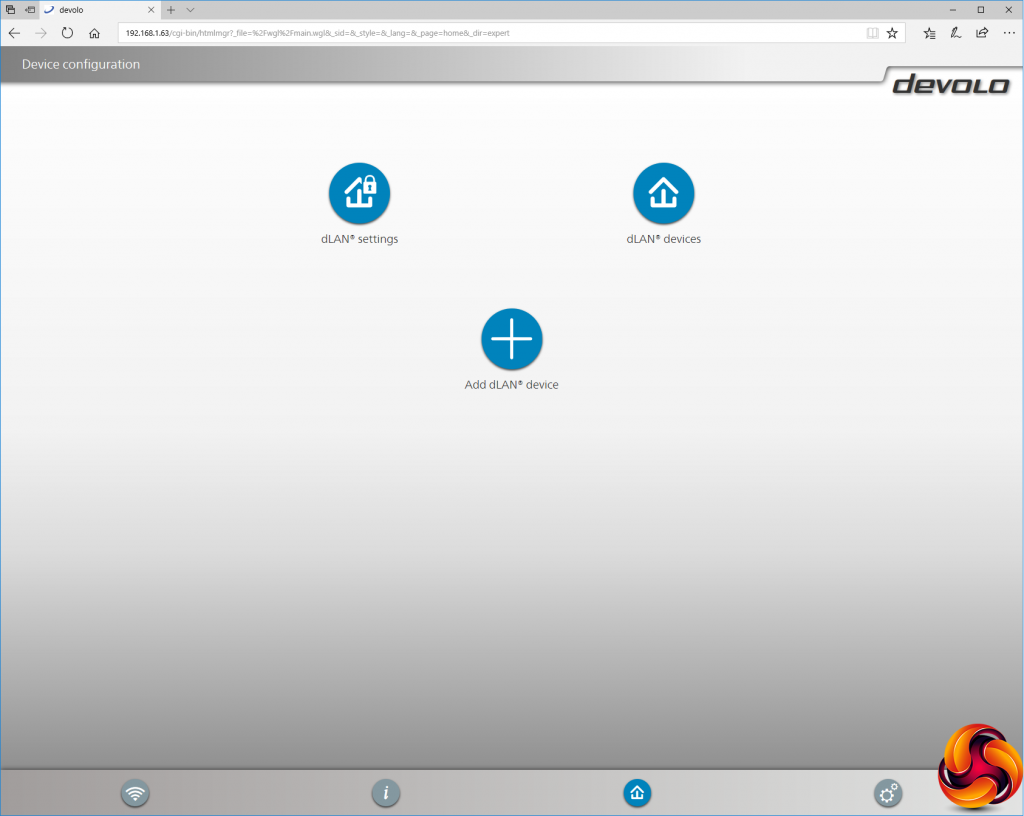
The WiFi-equipped dLAN units have a further Web-based management interface you can call up from Cockpit.
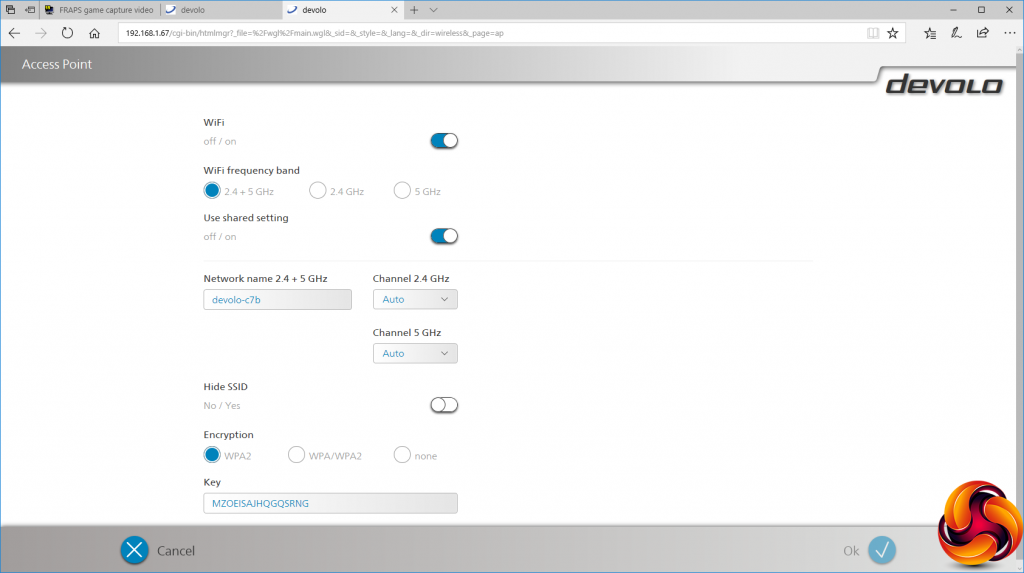
The Access Point settings let you configure how the WiFi works, including SSID and key.
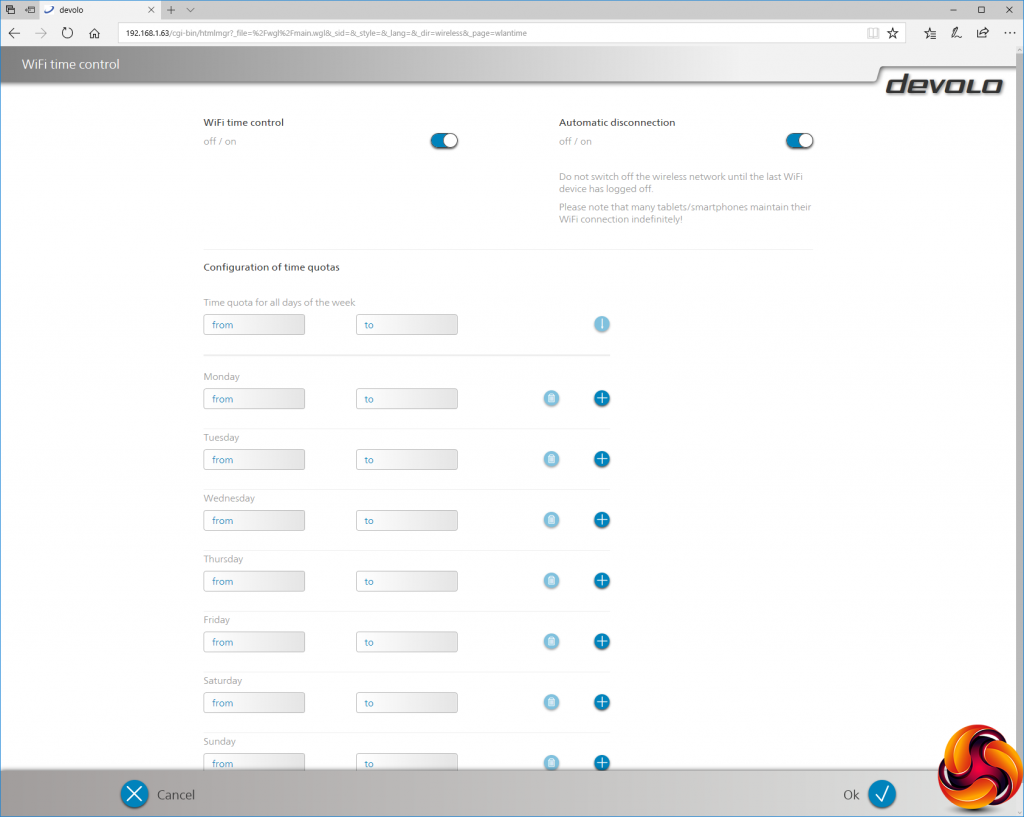
WiFi time control lets you turn the WLAN signal on and off at different times for each day of the week, or you can use the same setting for all seven days.
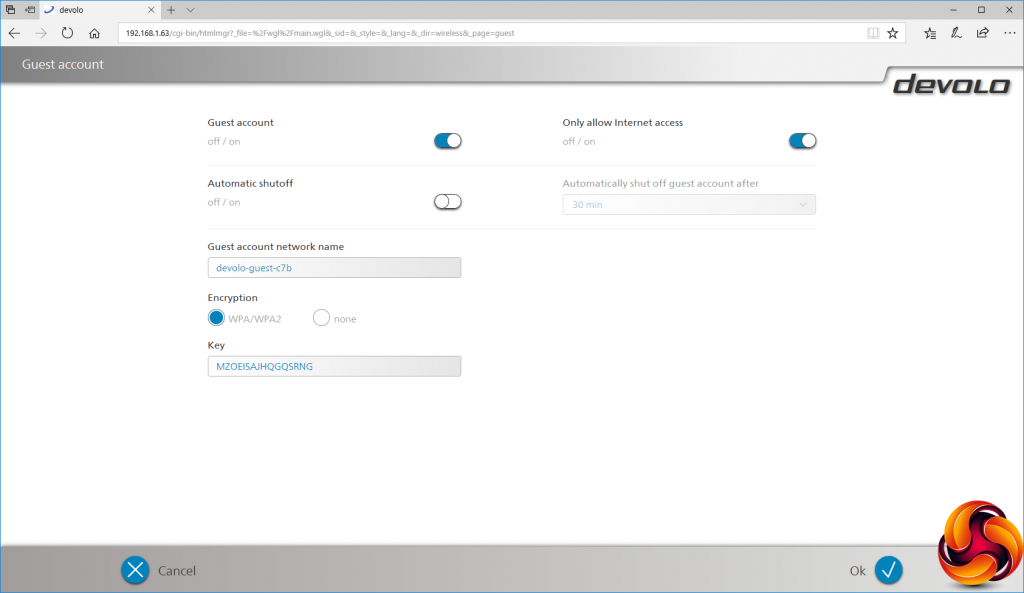
You can set up a separate guest WiFi SSID and password, so you can keep the main details secret and turn off the guest one when nobody is visiting, for added security.
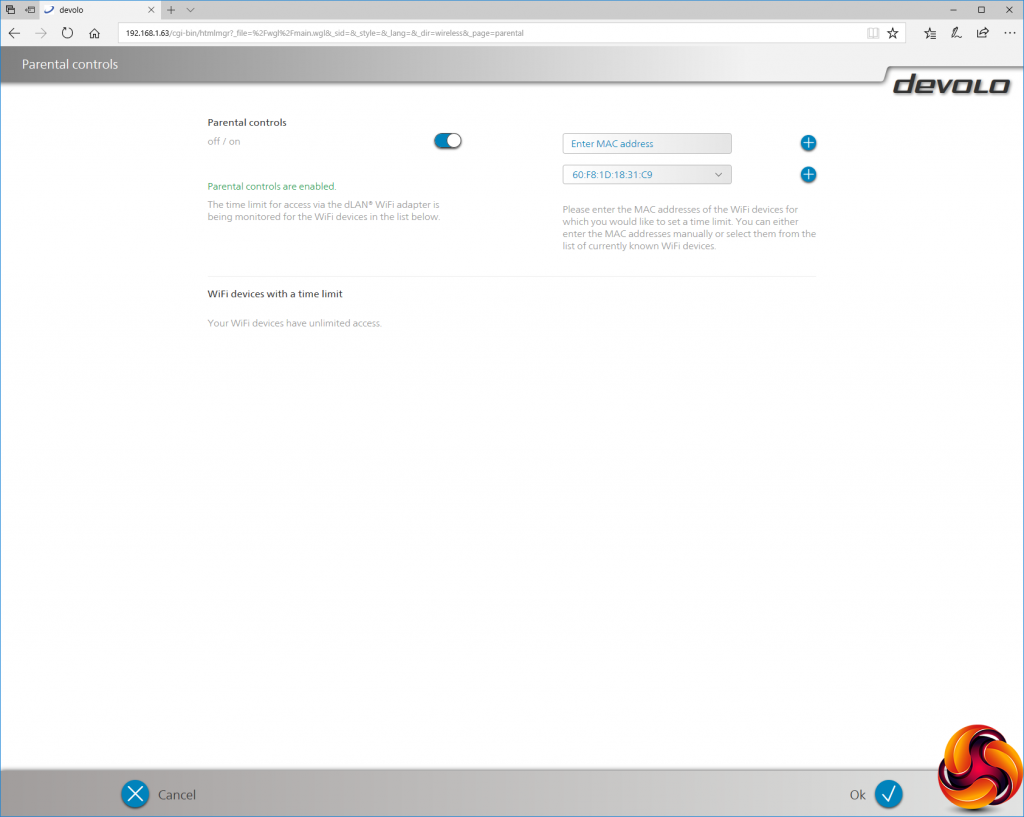
The parental controls allow you to limit WiFi time for certain devices, but you do need to know their MAC addresses for this.
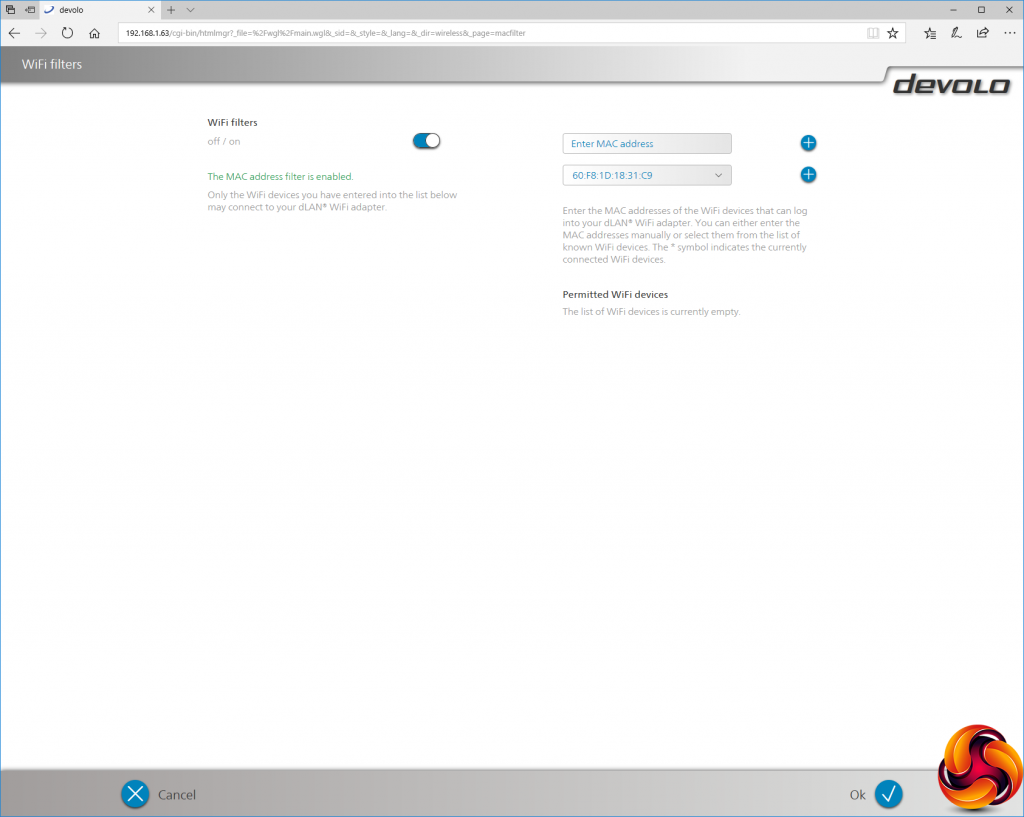
If you really want draconian WiFi lockdown, you can turn on WiFi filters and only permit devices with MAC addresses you have specified to access the WLAN.
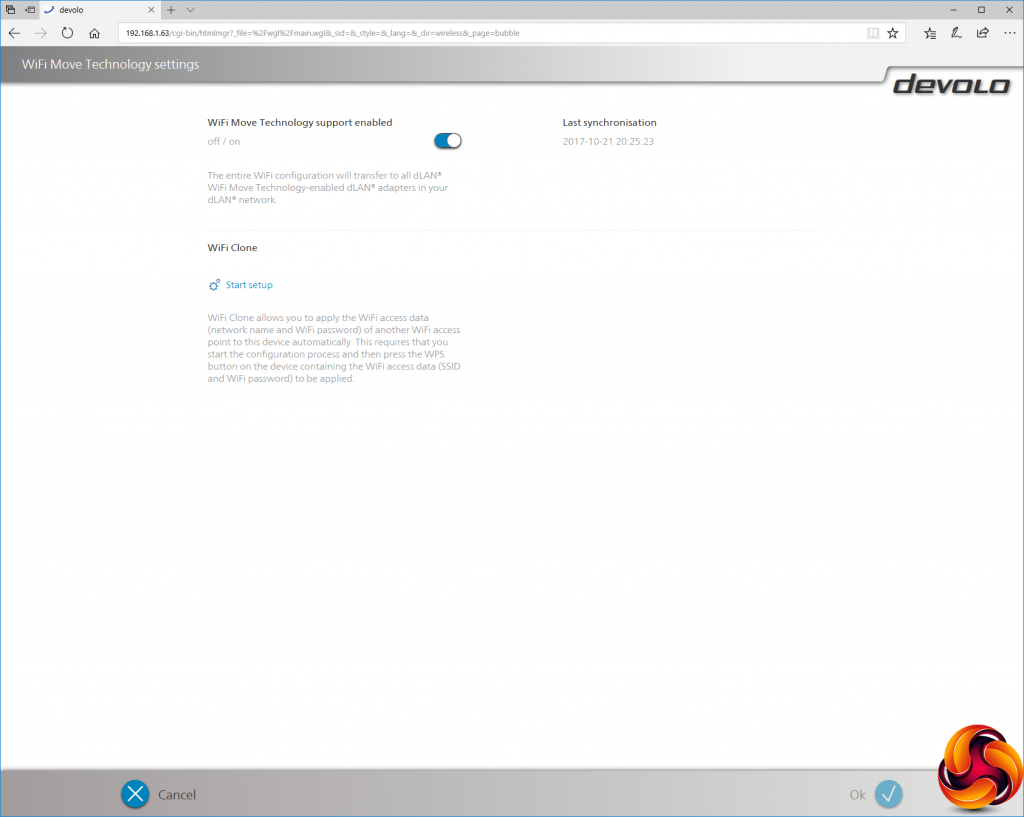
The devolo WiFi Move Technology is part of the secret sauce with its system. This is turned on by default, so when you synchronise a new WiFi unit into the network, it automatically receives the same WiFi SSID and key as the unit(s) already on the system. So your client devices can move around from access point to access point, seamlessly connecting to whichever one has the strongest signal in the current physical position.
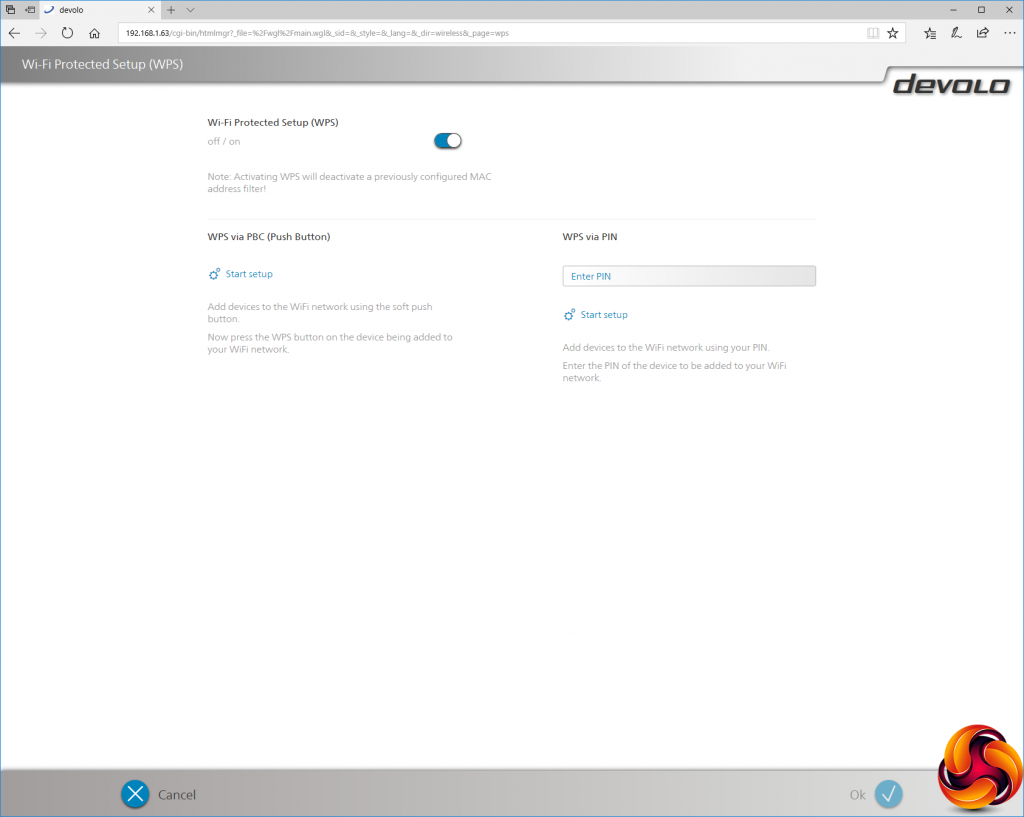
WPS is also rather handily implemented with the dLAN WiFi system, because it works both ways. Not only can client devices use it to get connected quickly, but you can also use it to clone an existing WLAN.
This is a particularly powerful feature, because if you have a decent existing WiFi router, you can clone its current SSID and key, then connect the dLAN powerline network and place dLAN WiFi points where your current router doesn't reach very well. Your client devices should then just be able to roam around, changing access points as necessary.
Similar features to the Cockpit software are available from the Web interface, but you need a password to access these.
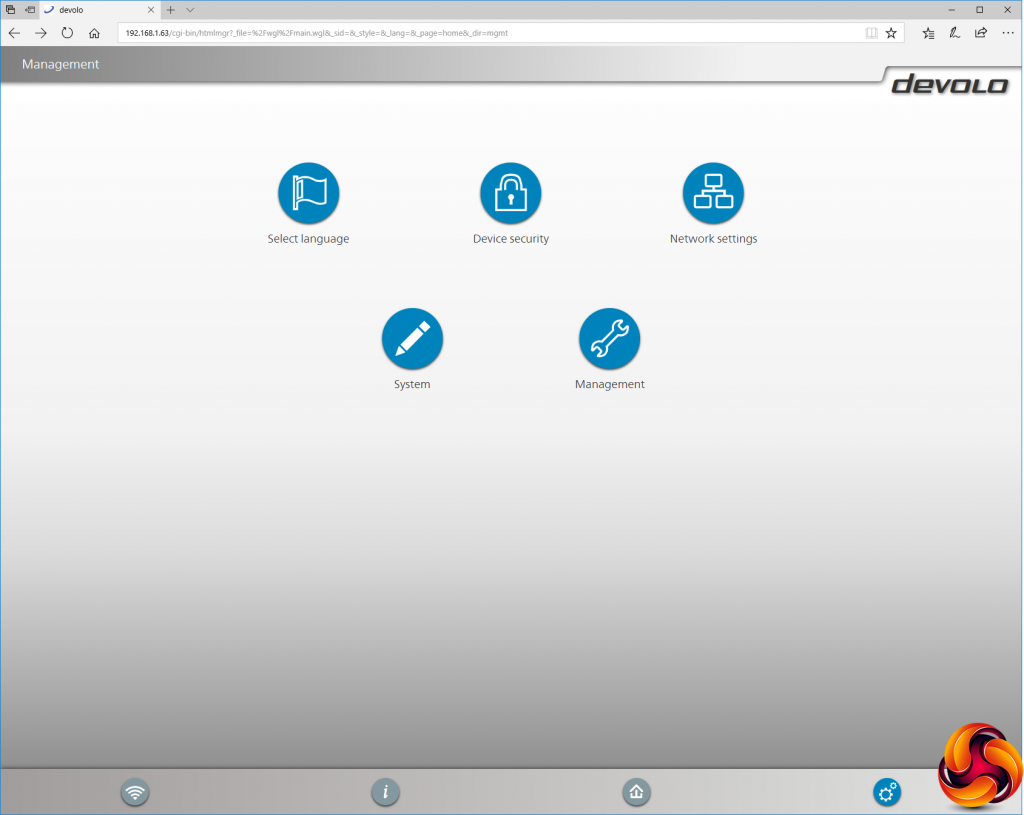
Sundry management options can be accessed via the cog icon on the bottom right. These include language selection, creating a static IP address, controlling password access to the device, firmware updates, plus date and time.
Overall, there's quite a bit of control considering that this system is primarily intended to supplement and extend your existing router. The real icing on the cake is the aforementioned ability to clone your existing WiFi and use the devices to extend the range to rooms it doesn't reach. So the next question is just how fast that extended WiFi access is likely to be.
 KitGuru KitGuru.net – Tech News | Hardware News | Hardware Reviews | IOS | Mobile | Gaming | Graphics Cards


