You could just plug the NETGEAR Nighthawk SX10 Gaming Router in and use it, but that would be missing most of what you paid extra for, considering that a simple eight-port switch is only about £30.
The first thing to stress is that this is a switch and not a router, so it doesn't have a built-in DHCP server. As a result, it needs to be plugged into a router to obtain an IP address, although you could give it one manually too. You would then need to do this for all the client systems plugged in as well in this case.
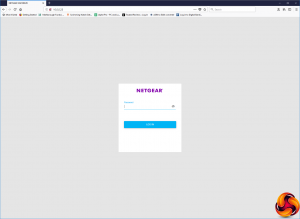
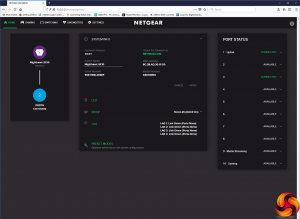
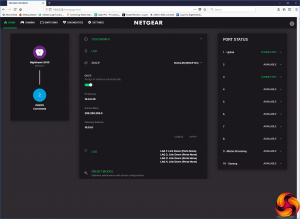
Once you've located the IP address the Nighthawk SX10 has been given by your router, you can point a web browser at it and you will be faced with a login screen. Enter the default password (“password”…) and you're greeted with an attractively designed status screen showing how many ports are connected on the left, which ports they are on the right, and various details in the middle.
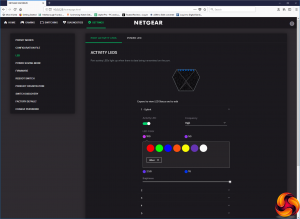
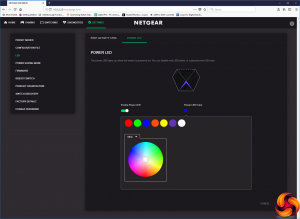
The main status screen has clickable links to various settings, and the first of these is for configuring the colouring for the ports and power LEDs. You can do this on a per-port basis or as a batch. Basic colours are suggested, but any colour from a chromatic wheel can also be chosen via the Other section.
There's not much to choose under DHCP. You can either leave this on automatic so your router does all the work, or assign the Nighthawk SX10's IP, subnet and gateway IP addresses manually.
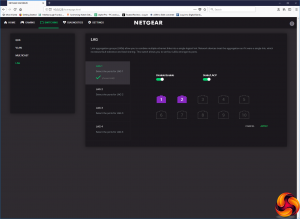
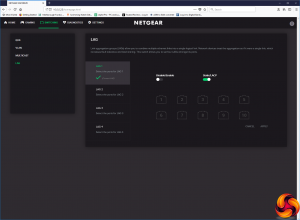
There's a lot more to play with under LAG (Link Aggregation Groups). This is where the Ethernet ports on the switch are combined to make one connection, for greater performance and fault tolerance. Obviously, the device at the other end will need to have multiple Ethernet ports for these to be aggregated. So although you can aggregate all ten ports into one if you like, you're unlikely to have that many ports on the client device, and it would be a link to nowhere anyway.
You can define up to four LAGs, and most usefully this allows you to combine the two 10Gbit ports together. This could be great if you want a super-fast 20Gbit conduit to another SX10, router or server. With a load-balanced connection, if one link fails then data will simply switch to just the other in a pair. Some NAS devices have dual Ethernet ports with port aggregation, too, which has plenty of benefit for online storage likely to be accessed by multiple client devices.
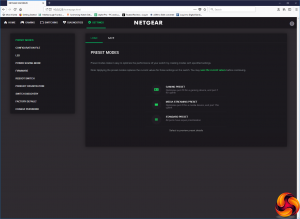
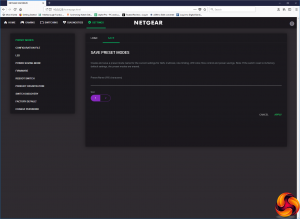
The final option on the main screen takes you to the presets. These provide Quality of Service (QoS) prioritisation for specific ports and usage types. The Standard preset leaves all ports equal, whereas the Gaming and Media Streaming prioritise specific ports for gaming or media respectively. Alternatively, you can create your own custom configurations and save them into the two available slots.
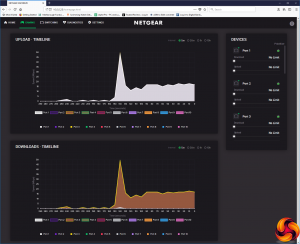
Although there are lots of useful features available directly from links within the main status page, the tabs along the top of the interface provide yet more options. The Gaming tab gives you a graphical readout of which ports are using bandwidth, with colour coding for each port. You can then use the Devices panel on the right to limit a port, if any of them are hogging all the throughput.
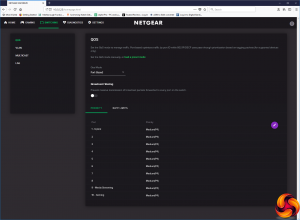
The Switching tab is where you find a host of tweaks for the Nighthawk SX10's performance. The QoS section provides another opportunity to load one of the performance presets or one you created earlier. Alternatively, you can define your own QoS options on a per-port or 801.1P/DSCP basis. With the former, you can give each port a priority from P0 (lowest) to P7 (highest) and define bandwidth limits in Mbits/sec for ingress and egress of data, while with the latter you can only define bandwidth limits. You can also protect against massive transmission of broadcast packets, a situation which can make the entire switch become unavailable.
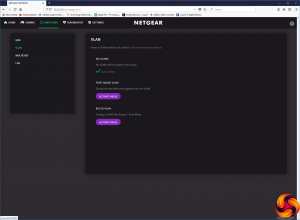
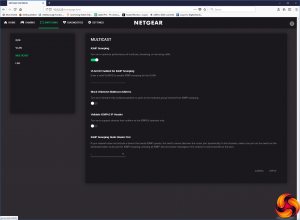
You can create VLANs based on grouping specific ports together, or using 802.1Q access / trunk mode. The Multicast option includes a variety of IGMP (Internet Group Management Protocol) settings for optimising multicast. These include snooping, with support for VLANs, the ability to limit multicast to devices conforming to IGMPv3 standard, as well as the ability to nominate a port for IGMP snooping. Finally, this section provides another way to configure LAG port aggregation.
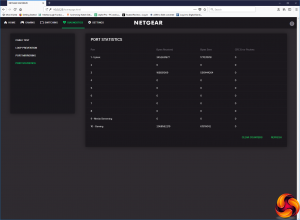
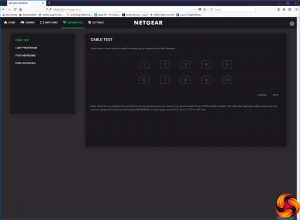
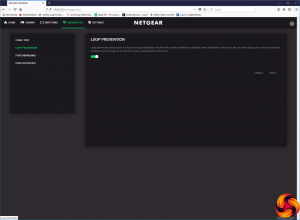
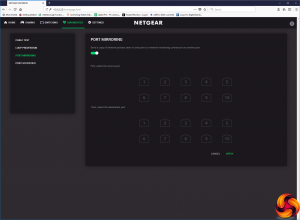
The Diagnostics section lets you perform a variety of tests to help troubleshoot an issue. You can execute a cable test on individual ports or multiple ports at once. You can toggle loop protection, which blocks any ports that have looping detected. You can mirror the packets from one port to another, which enables direct monitoring of traffic. Finally, you can see the raw figures of how many bytes have been sent and received across each individual port.
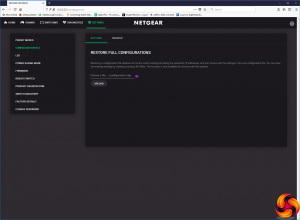
The last Settings tab includes a grab bag of options. This is where the preset modes and LED settings reside, and you can save or restore a configuration file. Power saving mode can be toggled, and you can update the device's firmware, although this process can't be performed automatically over the Internet – you need to download it separately and then upload to the switch. You can also remotely reboot the Nighthawk SX10 and register your purchase with NETGEAR. There's a section to toggle discovery via UPnP, Bonjour and NSDP. There's an option to reset to factory defaults, and another to change the administration password.
Overall, the administration interface includes a wide range of options, with the QoS and port aggregation settings being the most useful. If you're running a LAN gaming server, you can use these settings to make sure it gets priority on your network and the peace of mind provided by multiple networking connections for failover. We like the LED configuration capabilities, too. If you're running a LAN with a particular branding, it would add a nice touch to have the power LED on your network switch the same colour as your logo, for example.
 KitGuru KitGuru.net – Tech News | Hardware News | Hardware Reviews | IOS | Mobile | Gaming | Graphics Cards


