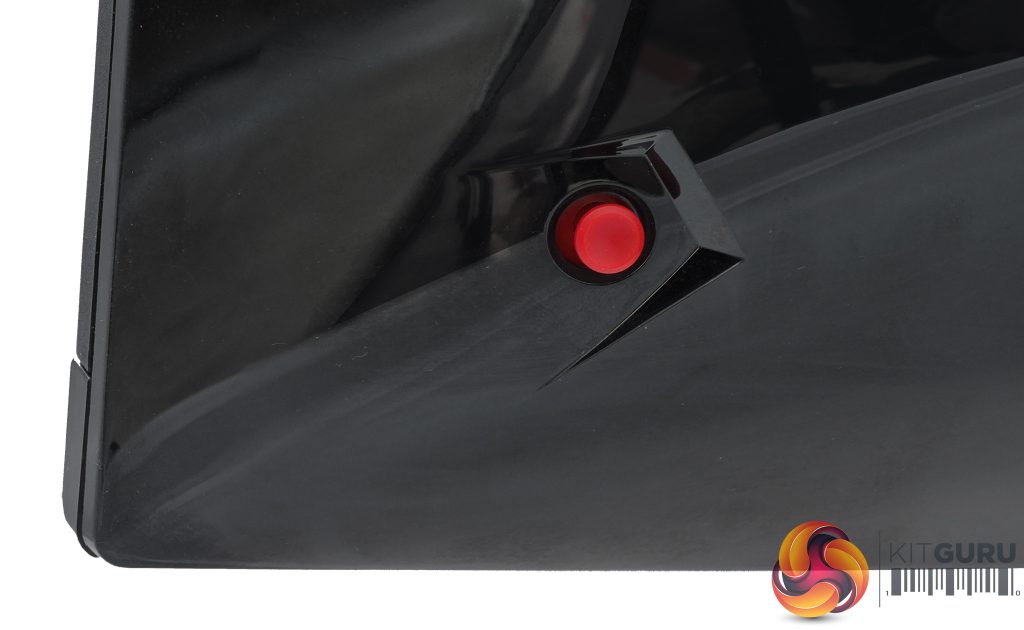
Thankfully, the only button to be found on the MPG27C is the power button at its front, which sports a nice white LED – though unfortunately it cannot be turned off, unlike all the RGB lights. We say thankfully because MSI has relegated the rest of this monitor’s controls to a single four-way joystick at the rear, which is one of our preferred solutions on account of how effortlessly it lets you navigate through the – in this case – well-designed OSD. This joystick is also easy to reach on the bottom-right corner, and offers reasonably firm action with a nice click when pressed.
MSI Optix MPG27C OSD
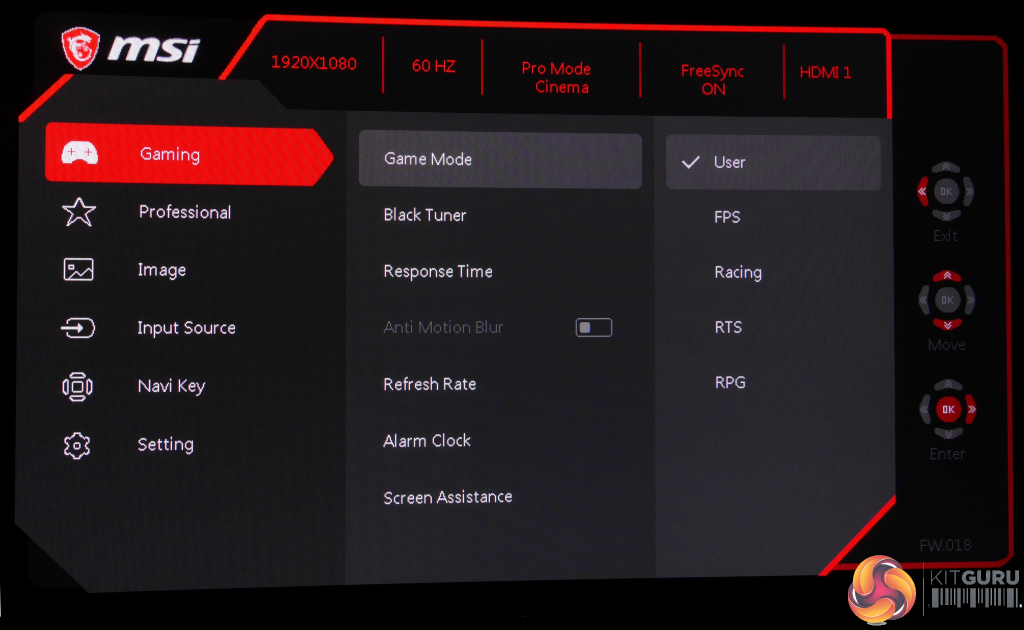
MSI has done a good job on the OSD. It could perhaps have done with a touch more colour but its red-and-greyscale presentation matches the Optix MPG27C’s styling nicely. Pushing the joystick in a specific direction accesses one of four programmable shortcuts, while depressing it takes you into the main menu. This interface is well laid-out, with all the essential information (resolution, refresh rate, mode, FreeSync on/off and active input) displayed in a bar along the top, while you can scroll up and down to access the various menus.
Appropriately for a gaming monitor, the first you’ll encounter is called “Gaming”, and it’s where you’ll discover all the settings related to this most worthwhile of hobbies. Game Mode offers a number of presets: User, FPS, Racing, RTS and RPG, which covers most of the main genres. Black Tuner kind of does what it says on the tin, and lets you adjust for inky blacks (potentially at the cost of dark detail) or great dark detail (potentially at the cost of inky blacks). Out of the box, its default “9” setting favours the former, crushing quite a bit of detail in the process; however, a nudge up to “10” provides the best balance.
Next up under Gaming is Response Time, which you can set to its default Normal, Fast or Fastest. We generally find the latter overdrives the pixels on a VA panel a little too much resulting in trailing, but here it’s a different kettle of fish as the Fastest setting is inextricably linked to the next menu option: Anti Motion Blur. Setting response time to Fastest will automatically activate this option, and vice versa.
Since most VA (and IPS, for that matter) panels tend to have a 4ms response time at best, we figure the MSI Optix MPG27C’s 1ms MPRT (Motion Picture Response Time) is achieved using some form of backlight strobing; and indeed when activating Anti Motion Blur the display becomes noticeably darker (from around 193 cd/m2 – a measure of display brightness also referred to as “nits” – to around 65 cd/m2) and the Brightness option in the OSD becomes greyed out.
Speaking of, it’s worth noting that if Fastest and Anti Motion Blur are greyed out to begin with, you might be running the MPG27C at 60Hz rather than the panel’s native 144Hz. We’ll discuss how well these options work in the Gaming section of this review but will mention here that on any response setting other than Normal, black text may leave a white after-image when scrolling quickly, so there is some inverse ghosting.
Getting back to OSD land, the next option is confusingly named Refresh Rate. Rather than actually influencing the refresh rate in any way, this puts a counter on the display, and you can choose to make it appear in any of the screen’s corners; very handy if you want a live indicator for a spot of benchmarking. Next on the list is Alarm Clock, which can be set for anywhere between 15 minutes to one hour – presumably to encourage just about enough beverage breaks for the truly game-addicted to ensure their survival during a marathon session.
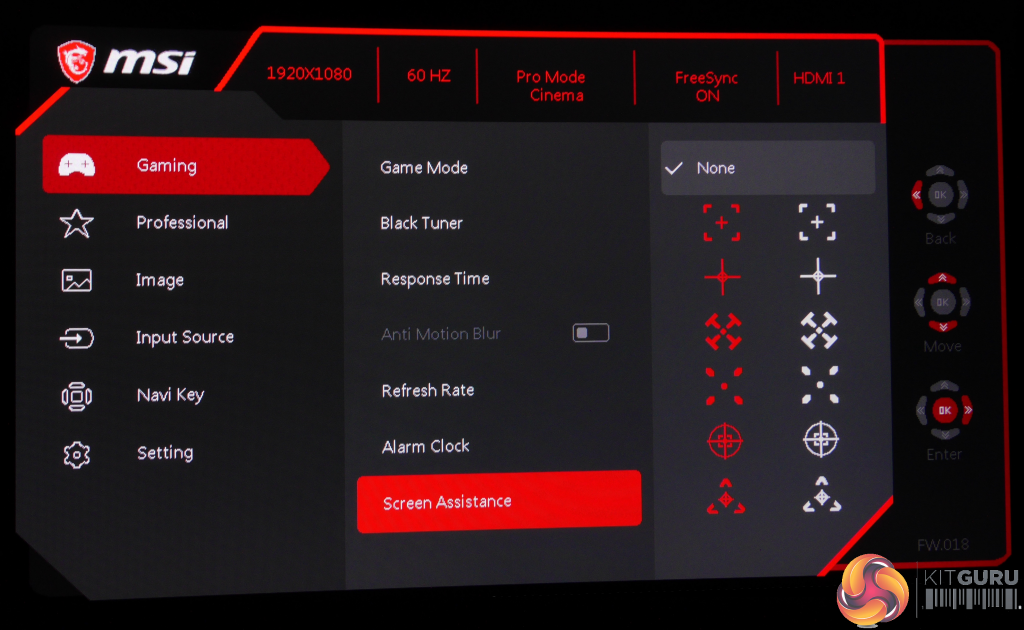
Next we have Screen Assistance, a crutch that arguably no self-respecting gamer should use, which can put any of a wide variety of targeting reticule overlays in the centre of your display – and you get to choose not just the design, but can also pick between red or white. Yay.
Last but far from least on this list is FreeSync, AMD’s version of adaptive sync which ideally matches the refresh rate of the monitor to the frame output of your Radeon graphics card, hopefully preventing tearing and stutter from ruining your gaming experience. Oddly enough, we found we could switch FreeSync on even when connected to an Nvidia card, which is a definite first.
Following Gaming in the OSD is the “Professional” section. Here we find Pro Mode, which contains a selection of image presets including User, Reader, Cinema and Designer. We also have toggles for Eye Saver (which reduces blue light output to reduce eye-strain), HDCR (High Dynamic Contrast Ratio), and our old friend Anti Motion Blur again. Last on this list is Image Enhancement, which can be set to Off, Weak, Medium, Strong or Strongest. This seems to be a combination of contrast and sharpness, and can be handy when working with text or spreadsheets but should be avoided when viewing photos or video.
The Image tab contains the usual suspects, including Brightness, Contrast, Sharpness, and Color Temperature, the latter of which offers Cool, Normal, Warm and Customisation (for RGB), rather than the actual degrees Kelvin number we prefer to see. Bringing up the rear in this list is Screen Size, which lets the user select between 4:3 and 16:9 options, handy for some old-school games or movies.
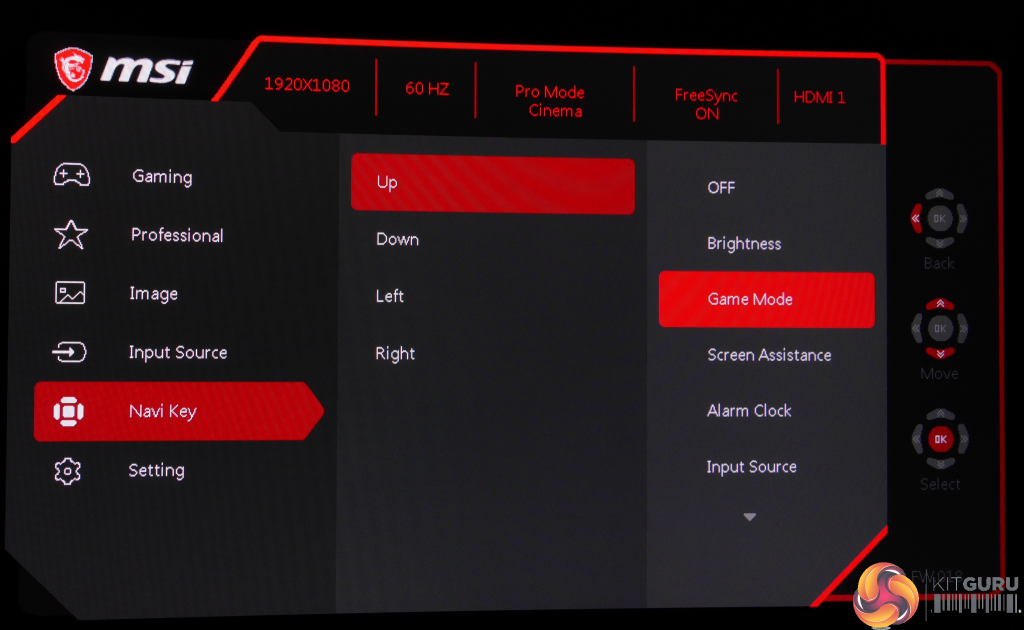
This brings us to the input selection menu, the Navi Key menu for programming those joystick direction shortcuts, and the Setting menu, which lets you adjust things like OSD timeout, switch audio between analogue or digital, and toggle the RGB LED lighting on or off (this works for both the front and rear lights, so you can’t have one without the other).
We only have one real complaint with the OSD, and that’s that there are no explanations for what the various options and settings do or mean. For example, the average user may have little idea what HDCR stands for, let alone what it tweaks or activates (and in case you forgot: High Dynamic Contrast Ratio).
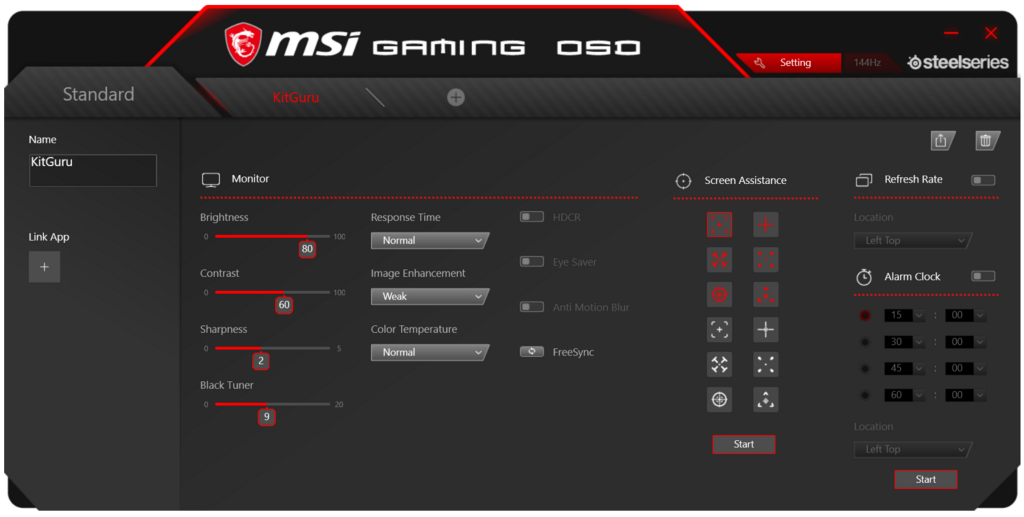
MSI Optix MPG27C Gaming OSD App
Interestingly, physically pressing buttons on its chassis isn’t the only way you can control the Optix MPG27C’s OSD. MSI also provides the option of the appropriately named “Gaming OSD” app.
All the options from the monitor’s own OSD system discussed above are available in an attractive and logically-laid-out interface. Where MSI Gaming OSD’s software goes further though is in being able to link all of these settings to profiles, other apps, or specific games.
For example: you could set up a profile for your favourite RPG, and then either manually switch to it when the time comes, or link the profile to that specific RPG so that the monitor activates your preferred settings automatically every time you load the game. You can even export your settings for any buddies who might own the same MSI monitor.
 KitGuru KitGuru.net – Tech News | Hardware News | Hardware Reviews | IOS | Mobile | Gaming | Graphics Cards


