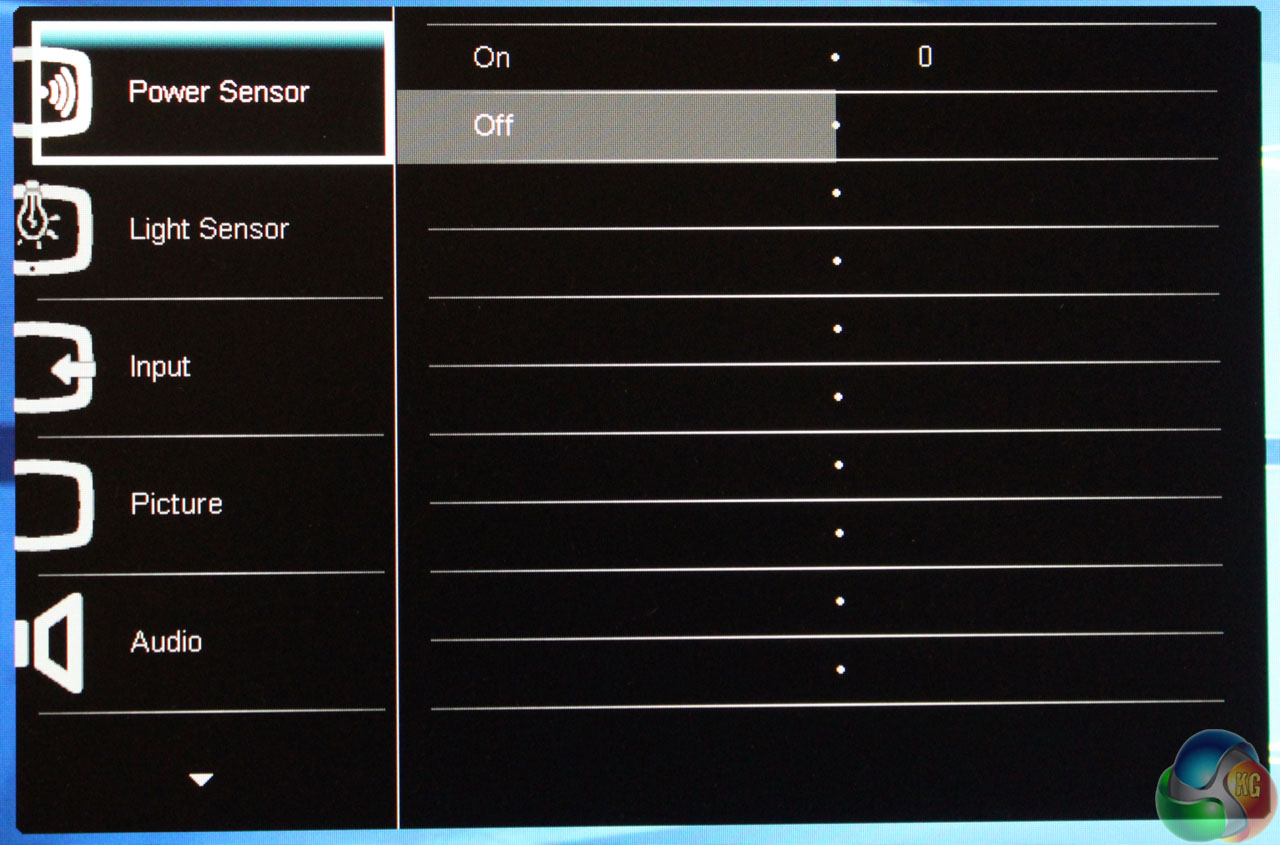
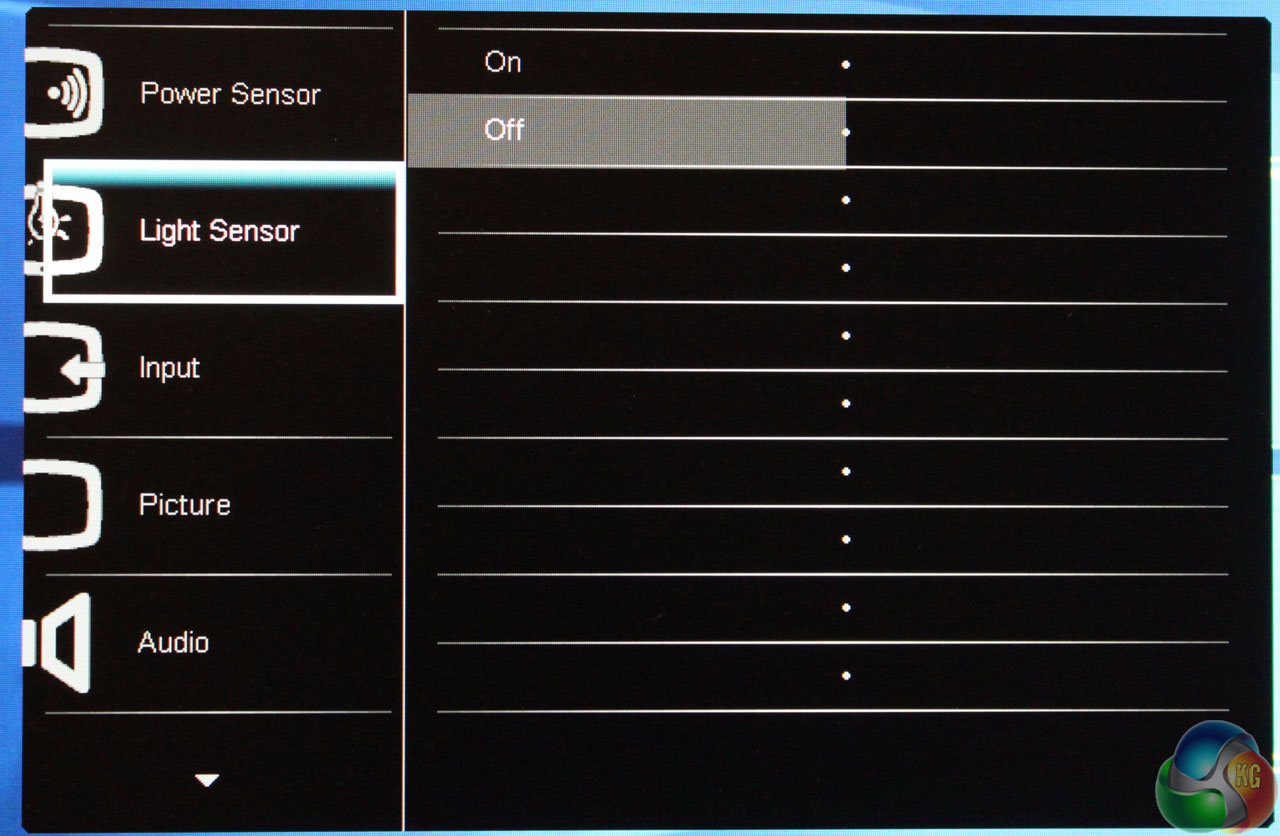
The Philips OSD is almost identical to that on the 227E, with the exception of some added screens for the additional features in the 241P.
The first option at the top of the menu controls the Philips PowerSensor setting.
Underneath that is a setting for the light sensor. The light sensor dims the screen brightness according to ambient light in the room.
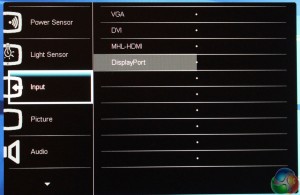
The input selector does what you’d expect – allows you to choose between the four video inputs.
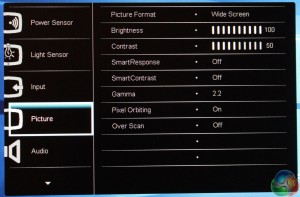
The picture menu provides all the usual settings: brightness and contrast, Philips’ SmartResponse and SmartContrast settings (which we avoided using during testing), a choice of five Gamma levels between 1.8 and 2.6, with 2.2 as the default, Pixel Orbiting (set to On by default) and an Over Scan function.
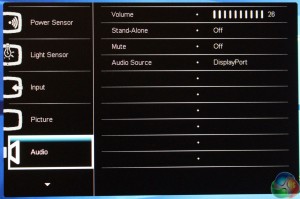
The audio menu comprises just a volume control, mute setting and a way to select the source of the sound.
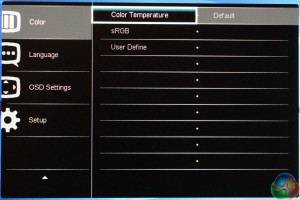
The Color menu gives you a choice of six colour temperatures, from 5000K all the way up to 11500K, with 6500K as the default. The SRGB setting returns the picture to its defaults, while the User Define setting lets you customise it.
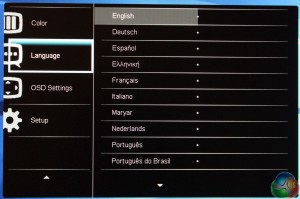
There’s a wide range of supported languages.
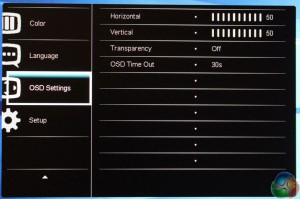
The OSD Settings menu lets you adjust the OSD transparency, on-screen position, and Time Out.
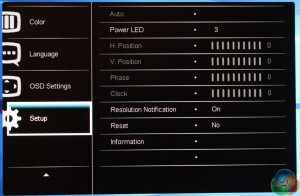
Lastly, the Setup menu gives a few more ways to look at more detailed technical information about the 241P, and reset the OSD to default settings.
 KitGuru KitGuru.net – Tech News | Hardware News | Hardware Reviews | IOS | Mobile | Gaming | Graphics Cards


