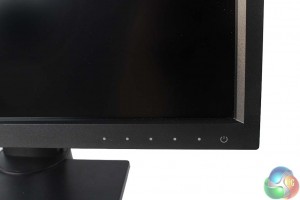
At the lower right corner of the bezel are 5 touch-sensitive buttons to control the on-screen menus, along with a power button.
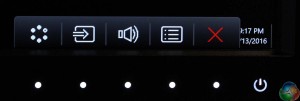
Tap any of them and the white LEDs light up, with a small bar of shortcuts above them. The controls are fairly self explanatory, and it’s dead simple to use, with a red cross to cancel, a blue tick to confirm, up and down arrows and forwards and backwards to go through menus. A great effort. The other three shortcuts can be customised in the menu, but the following are the default settings.
The first shortcut shows the list of display presets.
The next selects the input.
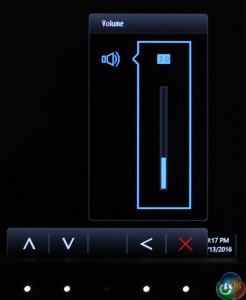
And there’s a volume control.
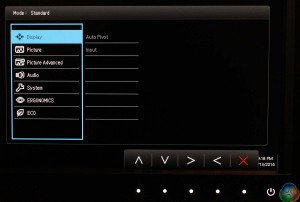
The fourth button along selects the main menu screen, which defaults to a simple Display menu with an input selector and auto-pivot option.
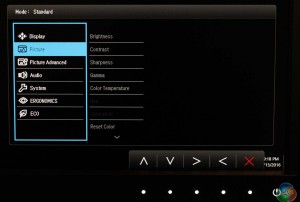
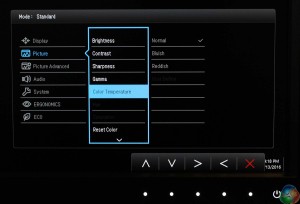
The next one down is the picture menu, with brightness, contrast and sharpness controls. Hue and saturation are blurred out and only become available when creating a user preset. There are also gamma and colour temperature controls.
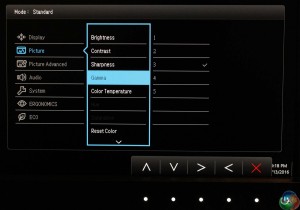
The gamma controls are unhelpfully labelled 1-5, rather than any values. What do they mean? We’ve tested them on the next page.
There are also three colour temperatures labelled reddish (warm, a low kelvin), coolish (blue, a higher kelvin) and normal (close to 6500K).
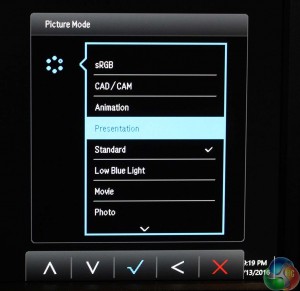
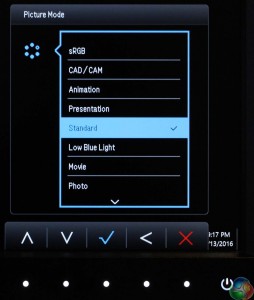
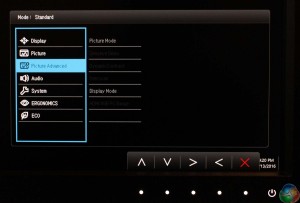
The advanced picture menu has a set of options that are greyed out or enabled depending on the picture mode. The Picture Mode menu shows the list of presets, the Display Mode allows you to change the default scaling (we left it on Full).
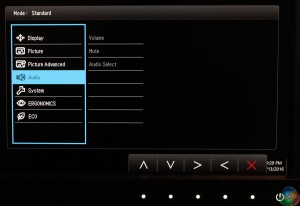
The audio menu has some simple sound controls including a mute option, the volume and audio input selector.
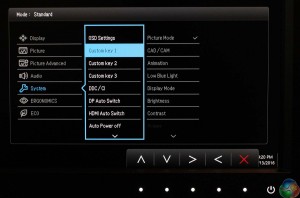
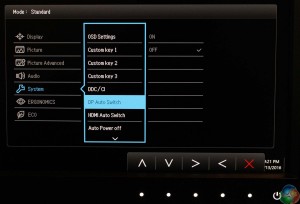
The system menu has a few useful settings, including the option to change any of the three main shortcuts.
And choose whether to automatically switch to DisplayPort or HDMI inputs.
 KitGuru KitGuru.net – Tech News | Hardware News | Hardware Reviews | IOS | Mobile | Gaming | Graphics Cards


what were the proper calibrated settings on the OSD?