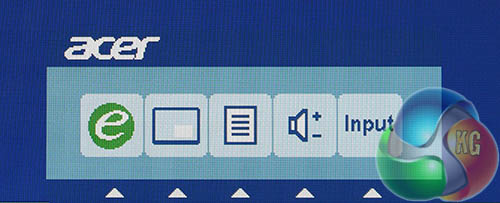
Pressing any of the five buttons at the bottom of the display brings up a main menu in the OSD. Unsurprisingly, this then gives you five options for each of the buttons – Acer eColor Management, picture-in-picture (PIP) toggle, the main display controls, a volume control and an input selector.
The left-most button is the Acer eColor Management, which is a fancy term for preset colour modes. The options are ‘User’, ‘Eco’, ‘Standard’, ‘Graphics’ and ‘Movie’.
As with all the other submenus, pressing the buttons which correspond to left and right arrows cycles through the settings, while the back button returns to the main menu. On other sections with additional submenus, there's a ‘forward’ button as well to drill down further into the additional options.

The volume control is operated in this exact way with left and right controls adjusting the level.

As are the input controls, except you’re going up and down instead of left to right.
The PIP/PBP control toggles the location of a secondary video input through each of the four screen corners. A fifth press switches to picture-by-picture mode, with the secondary input placed on the left and your main PC display on the right.
Irritatingly, one final press does not restore normal single-screen viewing, but returns the secondary input to the top-left corner. If you wish to turn off PIP mode it has to be done in a separate submenu.
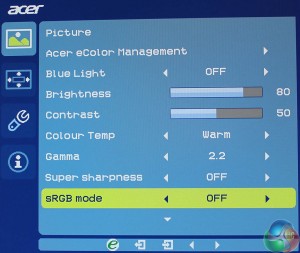
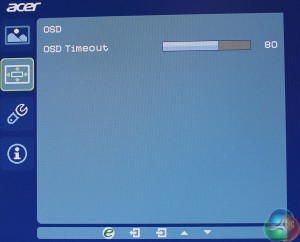
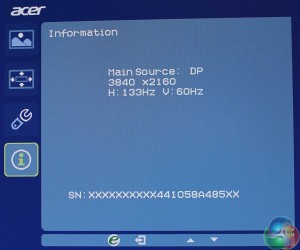
Pressing the third, middle button brings up the main controls in the OSD, which is full of further sub menus to navigate.
You can switch between a picture menu, OSD timeout controls, display settings and a general information page.
The eColor Management option again brings up colour presets. There’s a Blue Light option, brightness and contrast controls, colour temperature and gamma controls.
The Colour Temp setting has four options: ‘Warm’ (default), ‘Cool’, ‘User’, and ‘BlueLight’.
There’s also an sRGB mode which by default is set to Off and we kept it this way during testing.
Perhaps the most interesting setting is one called Super sharpness. For Windows desktop use, it’s best left off, for it highlights the edges of objects, which introduces artefacts. However, a connected PS4 running at 1920×1080 looked extremely blurry, which was fixed by enabling this setting.
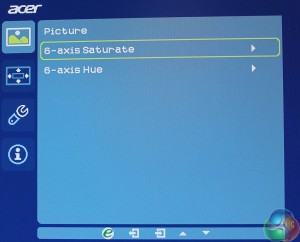
Move further down for additional picture controls, giving you fine control over the RGB colour settings and hue.
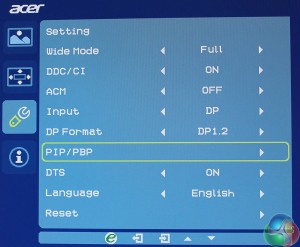
In the display settings submenu is another PIP/PBP control, where you can choose a secondary input. It’s in this menu where you can turn off the mode completely and return to viewing a single display input.
DDC/CI is supported, along with DTS audio. You can also switch DisplayPort version, change OSD language and reset the display to factory defaults.
 KitGuru KitGuru.net – Tech News | Hardware News | Hardware Reviews | IOS | Mobile | Gaming | Graphics Cards



42$/hour@kitguru
>/