The joystick on the rear is the main menu controller for the C32HG70's OSD menu, but the three buttons beneath the bezel also have a function.
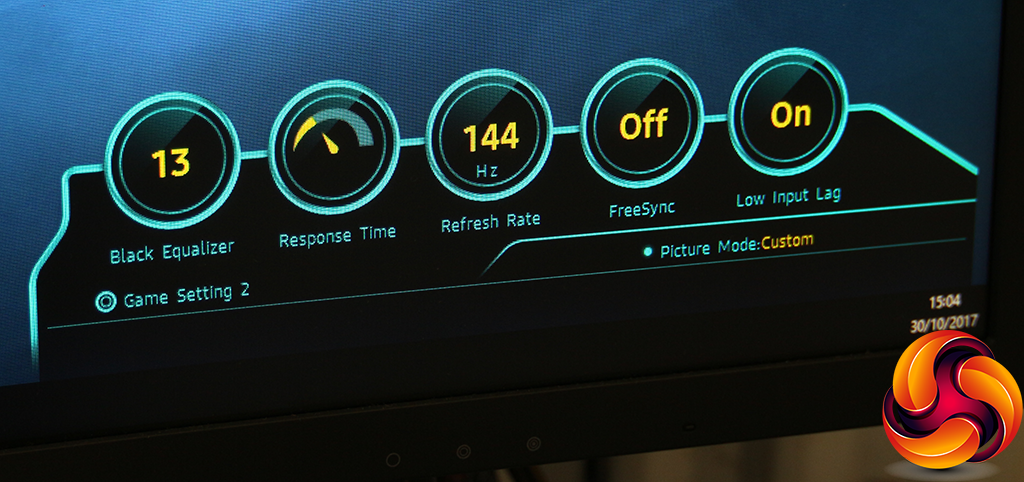
Each of the three buttons recalls a Game Setting, with the middle one here shown activating Game Setting 2.
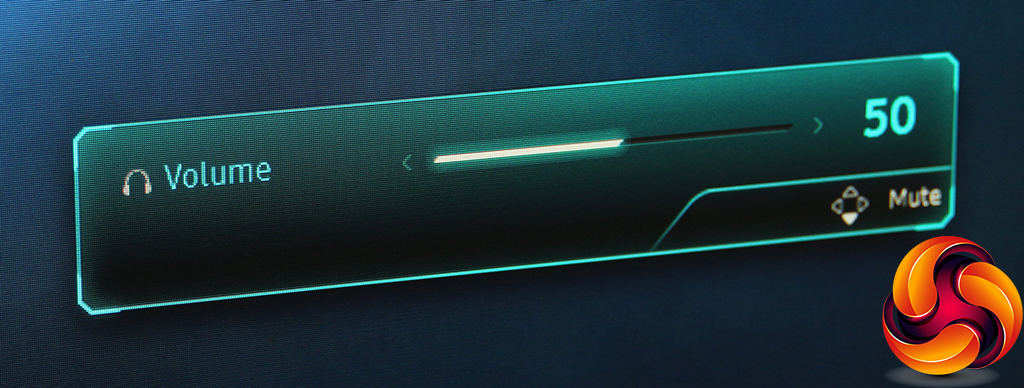
Press the joystick left or right and you get a volume control for the audio routed through the screen to headphones (although the C32HG70 doesn't have any built-in speakers).
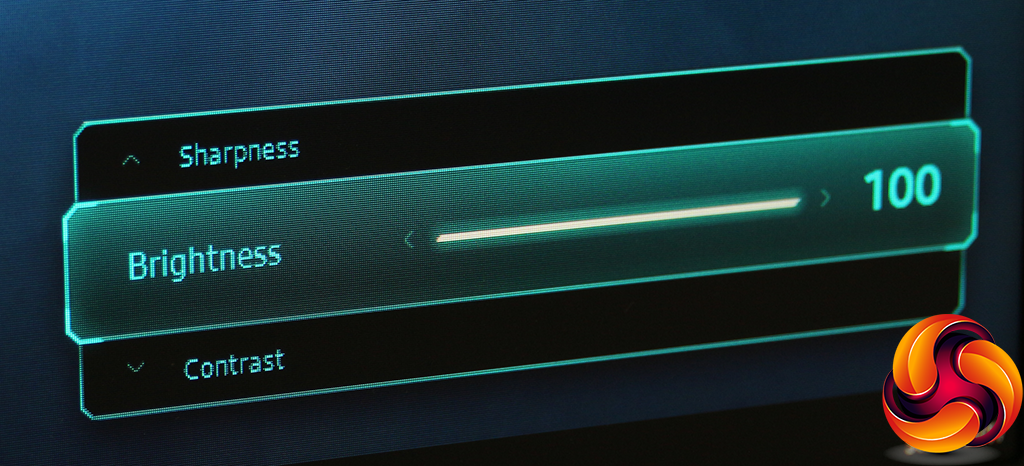
Pulling the joystick up or down provides access to a quick menu for adjusting sharpness, brightness and contrast.
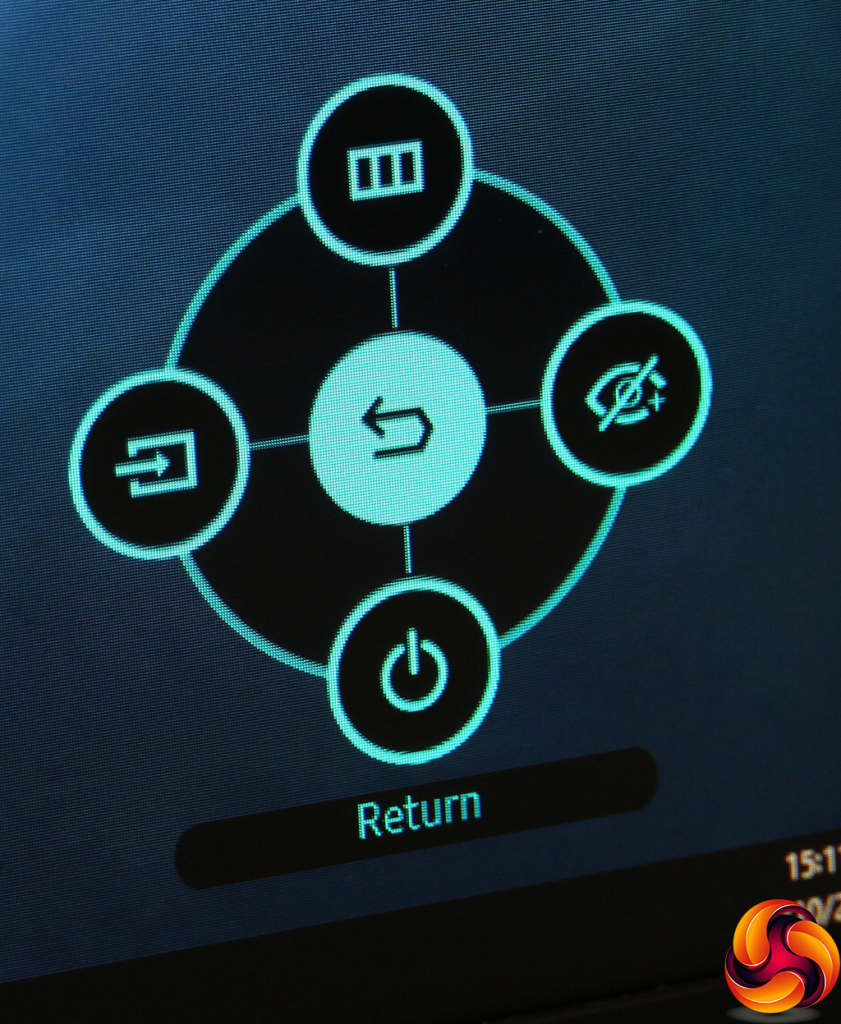
If you push the joystick in (which is also how you turn it on when it's off), you get another set of options for the joystick.
Now, pulling the joystick down turns it off, pushing it left lets you manually select input source, pushing it right lets you toggle Eye Save mode (Samsung's version of a low blue light setting). Pushing up gets you to the main menu.
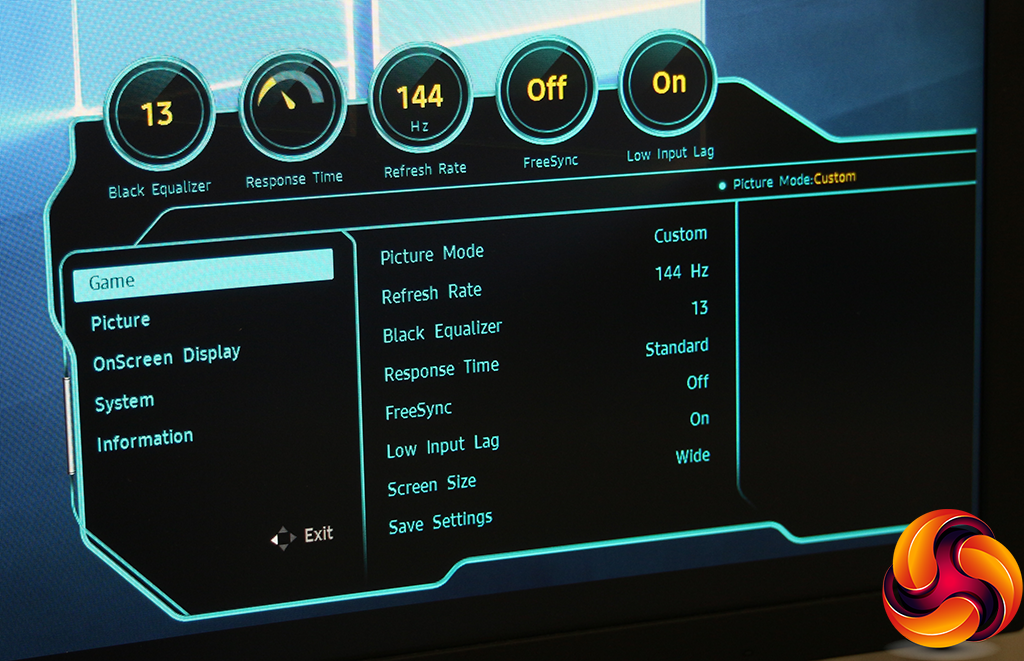
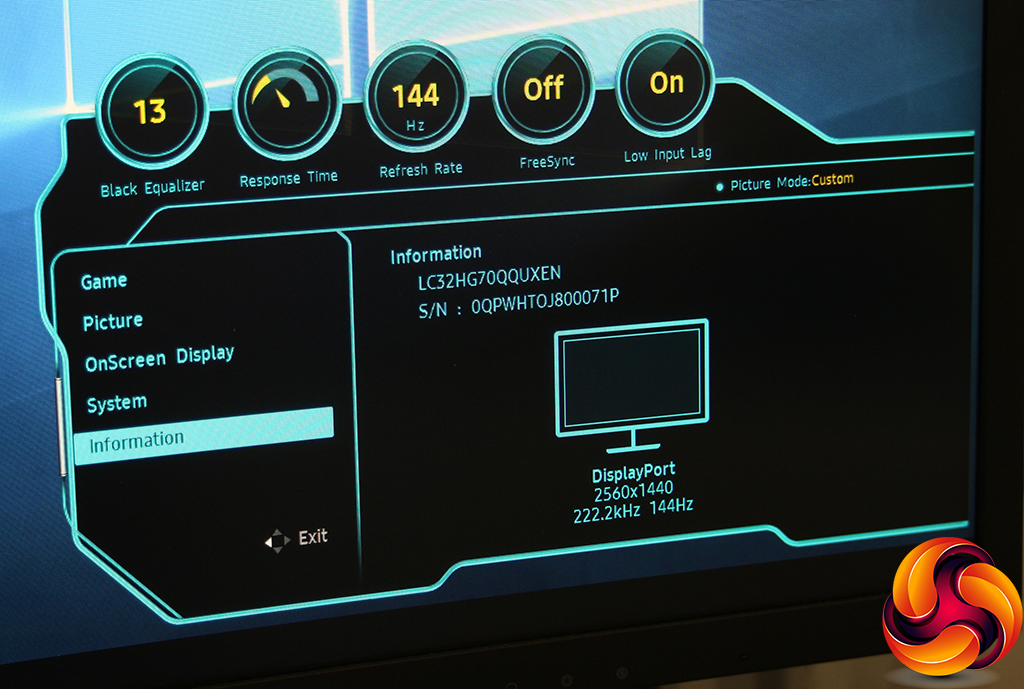
The default screen when you get to the main menu is Game. This lets you adjust the maximum refresh rate to 60, 100, 120 or 144Hz. The black equalizer is a kind of smart contrast control that lightens dark areas in games. The response time setting is a pixel overdrive system. You can toggle FreeSync, and turn on Low Input Lag, which reduces the circuitry-related delay in displaying an image, albeit at the slight expense of processing quality.
You can also set the screen to a smaller area of the actual display, from 17in to 23in. You can choose one of the Picture Mode presets via the Game submenu. All of these options can then be saved to one of the three Game Settings slots described above, which can be rapidly recalled via the three buttons along the bottom-right corner.
The Picture Modes pop up in their own interface at the bottom corner of the screen, and are quite extensive. These include High-Brightness, FPS, RTS, RPG, AOS, sRGB, and Cinema. This is relatively game focused, but that's understandable for this monitor, and it's good to see a few included for other types of entertainment and even work activities (sRGB).
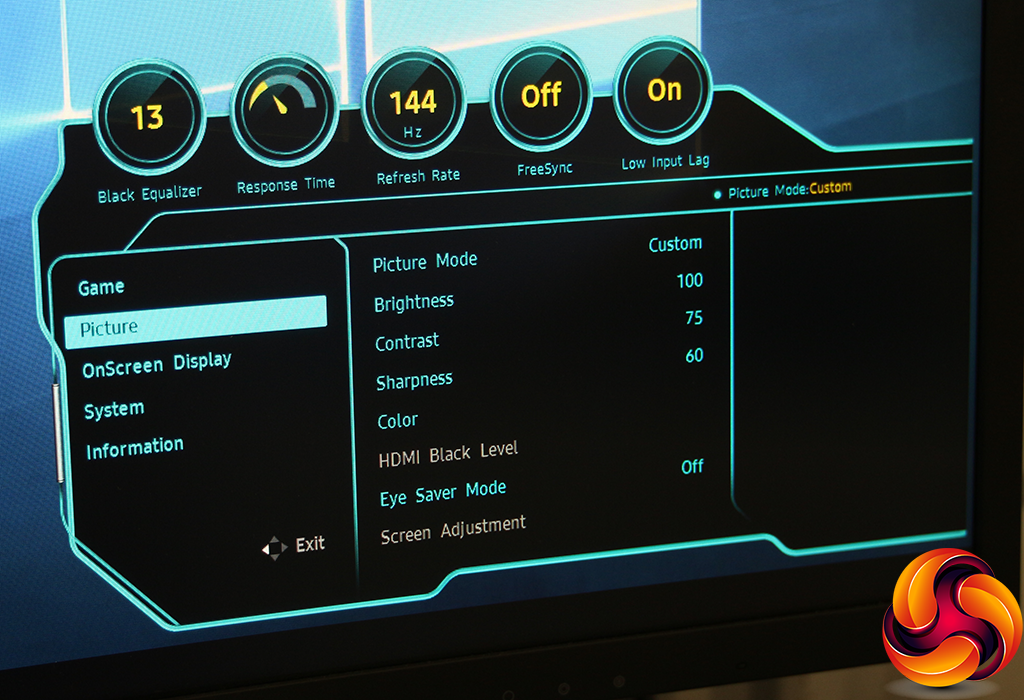
The Picture menu also provides access to the Picture Modes, but focuses primarily on image quality settings. Here you can adjust brightness, contrast, and sharpness. The Color section lets you adjust tone via RGB settings, or you can choose two warm or two cool presets.
There are three Gamma modes hidden under Color too. You can toggle the Eye Saver Mode here. The HDMI Black Level and Screen Adjustment are only available when you are using HDMI with an analog source.
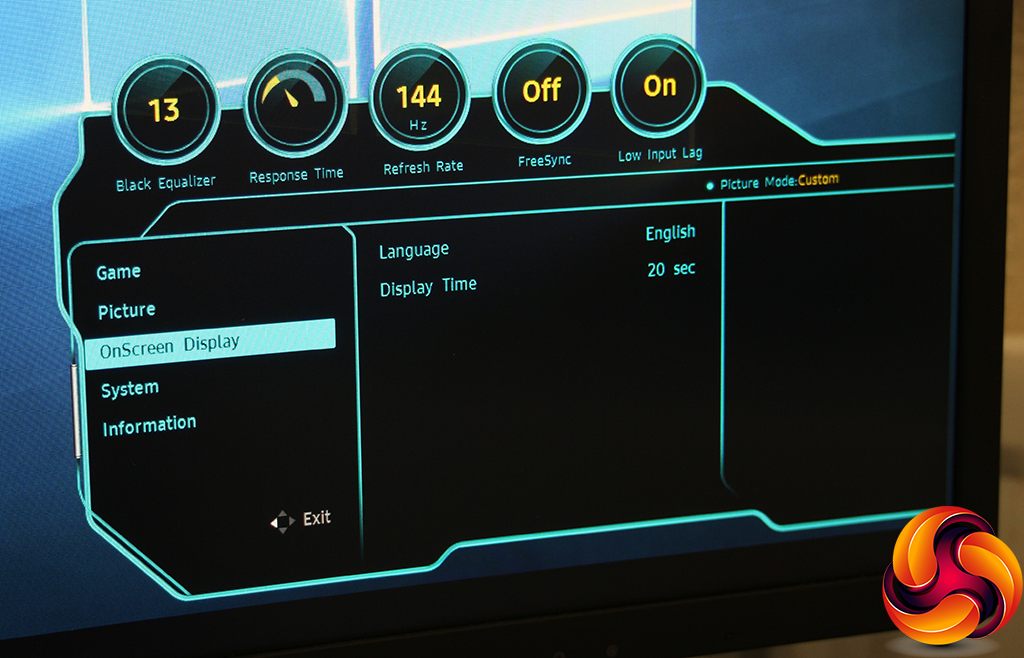
The OnScreen Display submenu only gives language options and the ability to change how long the OSD stays onscreen when invoked. You can't reposition it.
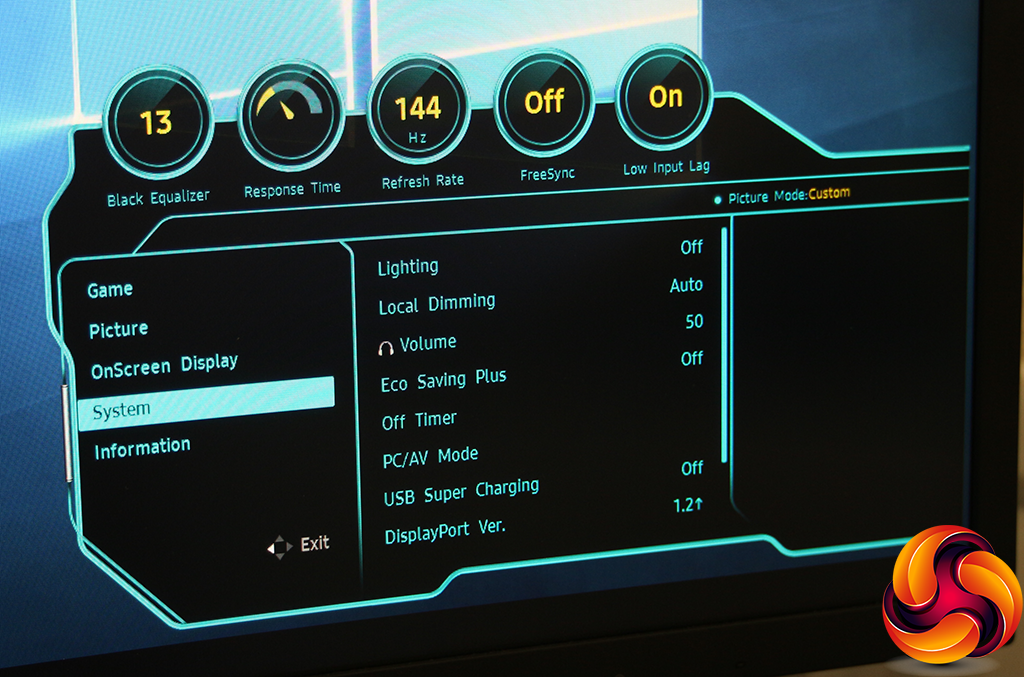
The System submenu brings together a grab bag of sundry options. You can turn the LED lighting on the rear on, and adjust how local dimming works. This is the process whereby the LED backlight is reduced in areas of the screen to aid contrast. You can adjust the headphone volume, turn on the Eco Saving Plus mode, and set the screen to turn off after a fixed period. By default, all the inputs are in PC mode, but you can also switch them selectively to AV mode, which enlarges the picture to remove the black border from an analog signal.
USB Super Charging allows the USB ports to send a higher voltage and amperage to a compatible device, for faster charging. You can set the DisplayPort connection to lower versions of the standard. Finally, you can choose whether the screen autodetects the source, whether the power LED is on during standby, and you can reset everything to default.
On the last screen, the Information title lives up to its name, because that's all it provides.
Overall, the OSD is just about right. It's a shame that the gamma settings are hidden so deeply in the Picture submenu, alongside tone adjustments, but other than that most options are relatively easy to get to. There are plenty of presets, and it's great to have three custom slots you can save your own configurations to and recall with just a single button press. The screen is appropriately gamer-focused, but with enough extras that it isn't just a one-trick pony.
 KitGuru KitGuru.net – Tech News | Hardware News | Hardware Reviews | IOS | Mobile | Gaming | Graphics Cards



Instead of lamenting the lack of Gsync, Tell nVidia to support open standards.
Have you tested the range on freesync? Apparently its quite poor on this monitor
That’s like asking apple to use a standard charging cable… isn’t going to happen
Did you upgrade the firmware before the review? Latest firmware is from November 10th, ver 1016.2.
Did you test the range of Freesync? Pixel response times and input lag? <- what gamers care about most.
THIS!
Literally had one of these delivered yesterday to replace my ROG Swift – £540
that is what CRU is for
Picked up this monitor a couple months ago and it is a great monitor. My only 2 issues with it are the cable area and included cables are terribly designed, the power cable plugs in backwards, it is an angled plug but plugs in so the cables goes into the side of the cable area instead of towards the hole in the plastic cover, the cord included to allow the monitor to act like a usb hub for your computer is very large and difficult to plug in without forcefully bending the cord just to fit it into the cable area to plug it in.
My other issue is that the stand is way too damn big, there is absolutely no reason for it to be so large, dumb thing is as deep as the actual monitor is tall, it is basically the size as a 32 inch crt would be. The stand being so large makes placement on your desk very limited. If you have your desk up against the wall you are forced to place your monitor at an uncomfortable angle. If you have a shallow desk you better get used to having your nose literally touching the monitor. The size of the stand nearly made me send the monitor back but it looking as nice as it does made me give it a chance, i will eventually get a new stand to replace it because it is a near dealbreaker. I am shocked that the stands size isn’t listed as a con because it is a very serious one imo.