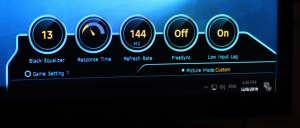
When one of the preset buttons is used, a display pops up showing the settings that are associated with that button.
Press the joystick left or right and a volume control appears.
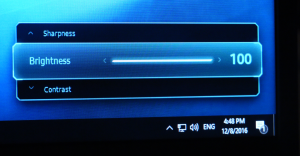
Press the joystick up or down, and you get quick access to brightness, contrast and sharpness.

Press the joystick in and the primary menu appears. You can select input source on the left, turn Eye Saver mode on or off to the right, and turn the monitor off downwards. But pushing upwards takes you to the detailed settings menu.
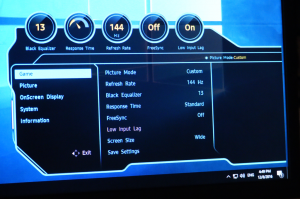
The full OSD provides five submenus – Game, Picture, OnScreen Display, System and Information. The Game menu lets you choose the Picture Mode presets, change the refresh rate from the default 144Hz, select the Black Equalizer setting, choose a Response Time of Normal, Faster, or Fastest, toggle FreeSync and Low Input Lag, or alter the aspect ratio of the frame. You can then save all these settings into one of the three preset slots that are activated by the buttons on the bottom of the bezel.
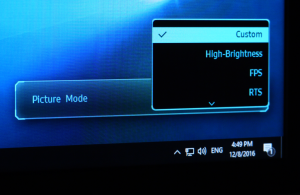
Both the Game and Picture submenus let you change the Picture Mode. There is a plethora of presets here for the main genres of game, including FPS, RTS, RPG and AOS (like DotA and LoL). There's also a High-Brightness option, sRGB and Cinema.
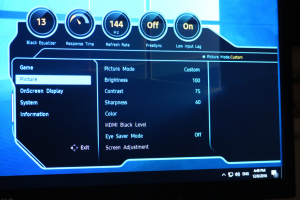
The Picture Menu provides access to the Picture Modes, plus Brightness, Contrast, Sharpness, Color, HDMI Black Level, and toggling the Eye Save Mode. Depending on the connection type, you can also configure HDMI Black level and adjust the screen positioning.
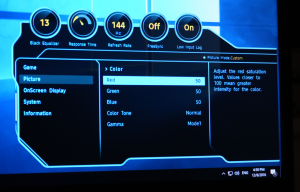
The Color configuration includes red, green and blue adjustment, plus three Gamma modes, and five presets for Color Tone (also known as colour temperature). The Custom Color Tone is simply when you have changed the RGB settings from a preset. The one thing missing is a direct control over colour temperature K-values.
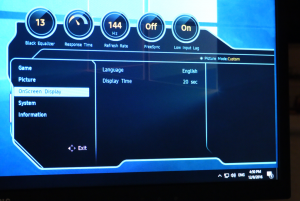
There aren't very many options for the OSD, just the ability to change the language and how long it stays onscreen before disappearing.
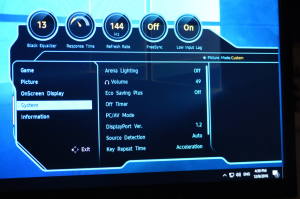
Sundry settings can be found in the System menu. The most interesting thing here is the Arena Lighting, which can be set to Blinking or Interactive. This is a light on the bottom of the screen that can add some extra immersion. In Blinking mode it just pulsates.
But in Interactive mode it will react to the sound volume coming in alongside the video signal, so that explosions will cause a rapid change in brightness. It's actually quite fun, although currently only uses white light.
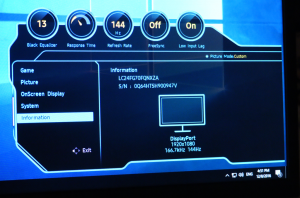
The Information menu, unsurprisingly, just includes some information. There is the full model number, the unit serial number, and the current connection, resolution and scanning frequencies.
Overall, the OSD provides pretty much all the controls you will need. There is a good range of presets for gaming, entertainment and serious activities, plus plenty of configuration should you want to customise behaviour. The joystick makes these relatively painless to access, too.
 KitGuru KitGuru.net – Tech News | Hardware News | Hardware Reviews | IOS | Mobile | Gaming | Graphics Cards



When the site change or it happening now. Photos don’t show for me .
I’ve profited $104000 last year by working from my house and I did it by working in my own time for 3 or sometimes more hours a day. I used an earning opportunity I found on-line and I am amazed that i made such great money. It’s so beginner-friendly and I’m just so blessed that i discovered this. This is what i did…FACEBOOK.COM/Jobs-from-home-for-US-UK-Cananda-Australia-and-New-Zealand-251232438633700/app/208195102528120/
Still not good enough. Bring out OLED and MicroLED or improve IPS GTG to 1ms.