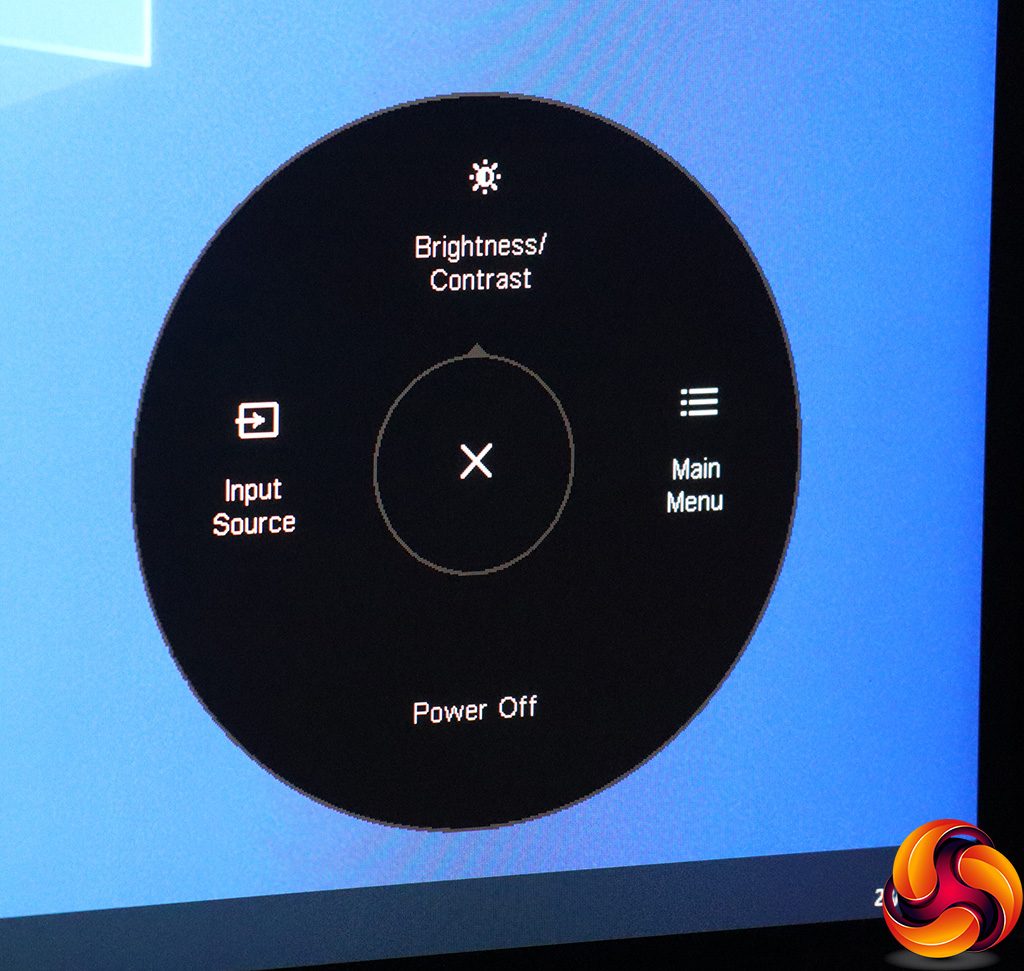
Pushing the joystick in turns the unit on when it's off.
Pushing the joystick in again, or indeed in any other direction when the monitor is on, will call up the quick menu, which includes two customisable slots. Pulling down turns the screen off, and pushing right always gets to the main menu.
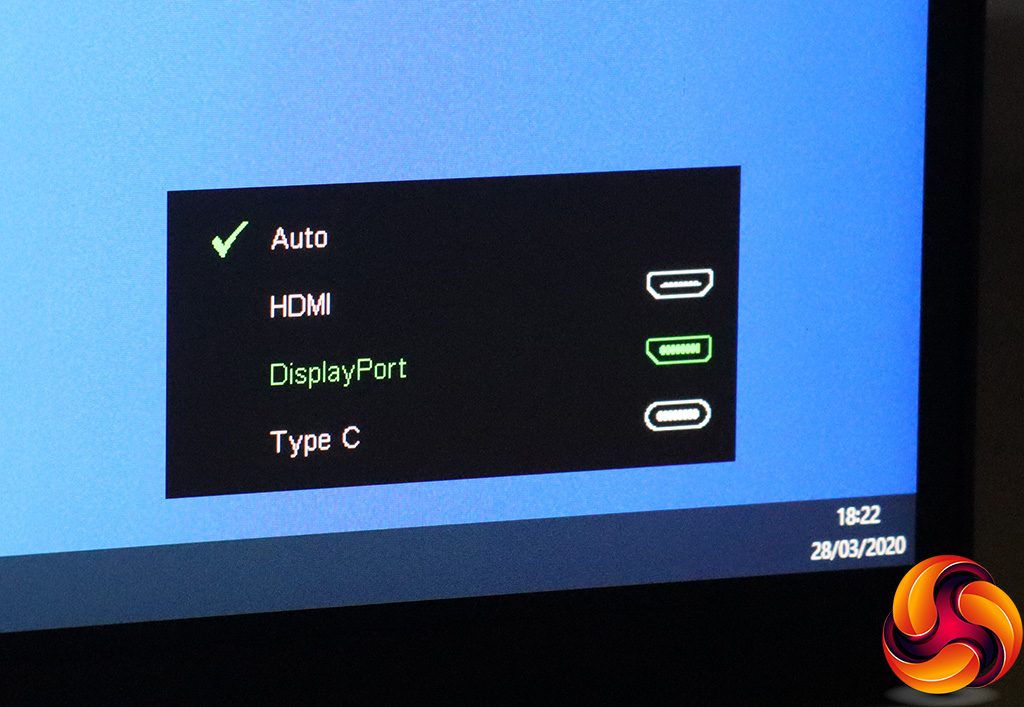
With the default options, pushing the joystick left lets you switch between auto-detection or manual selection of one of the three video inputs.
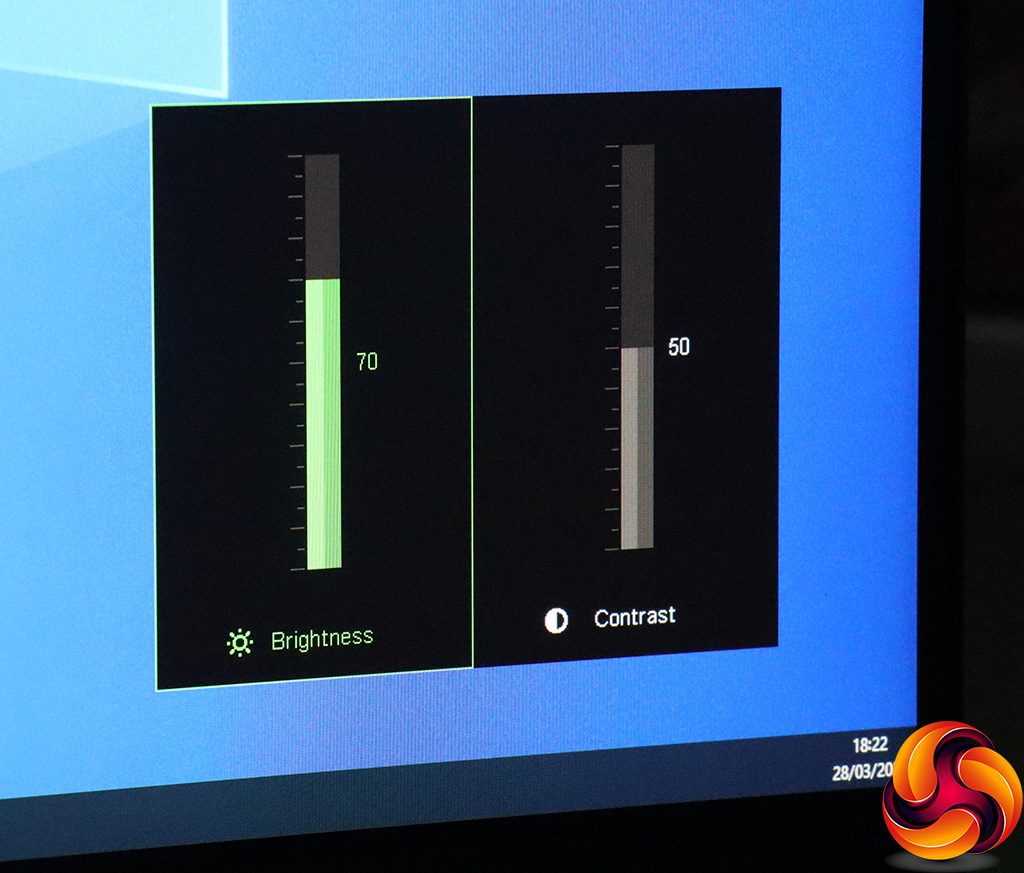
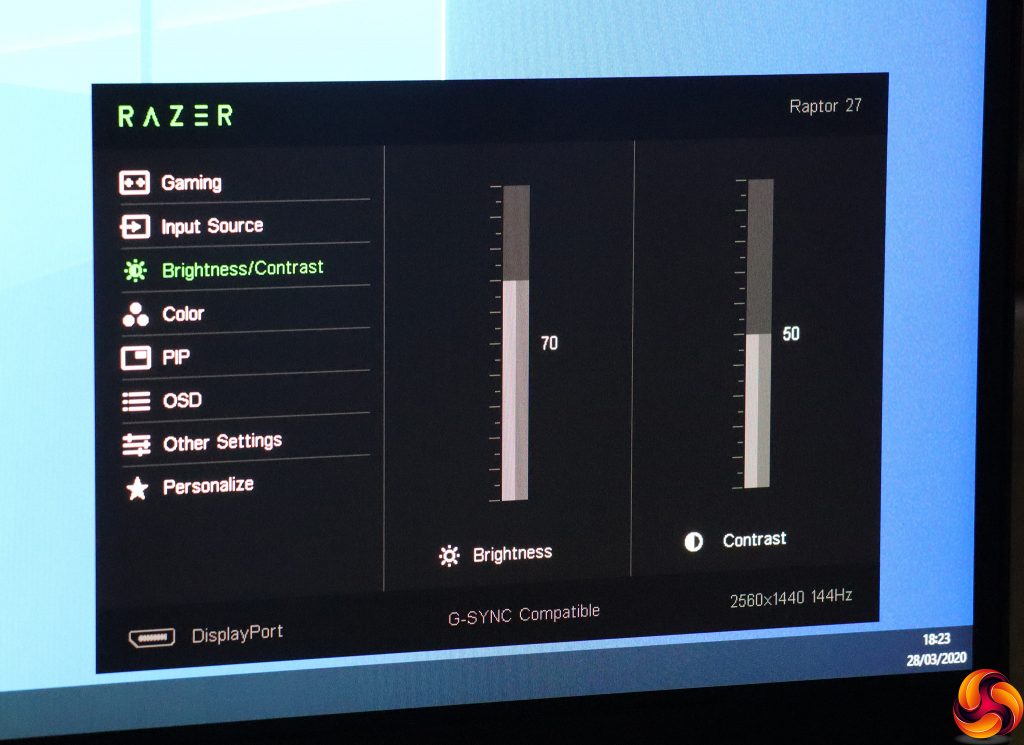
Pushing the joystick up calls up Brightness and Contrast controls.
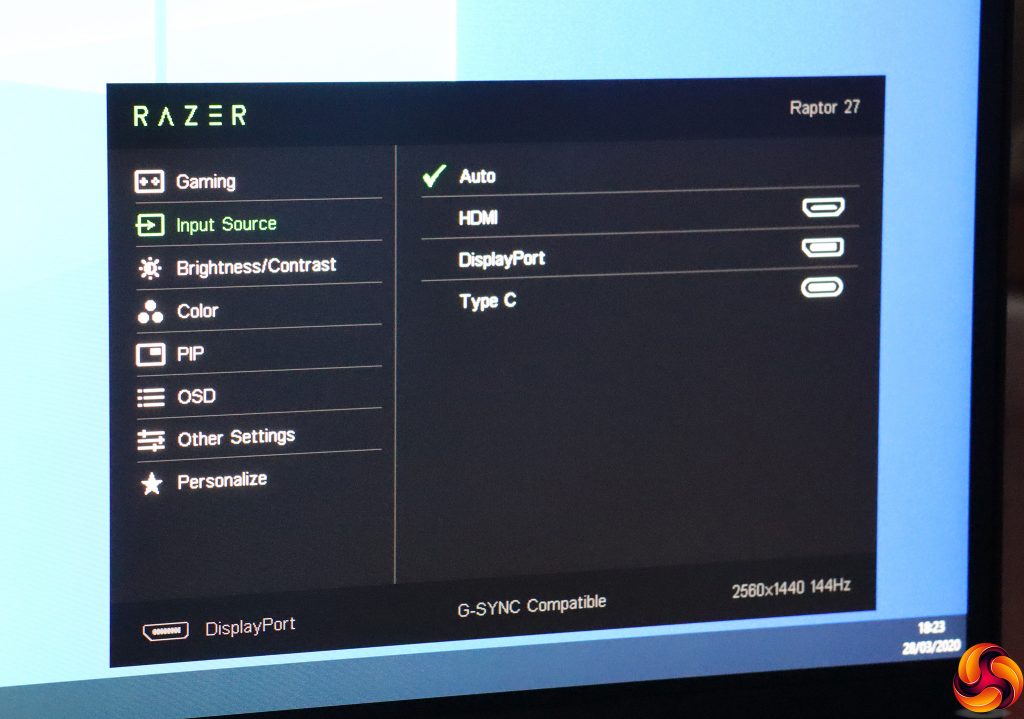
Finally, pushing the joystick right calls up the main menu, with Gaming the first subsection to appear. Here you can select a Game Mode preset, with options including Default, FPS Game, Racing Game, MMO Game, Streaming and Custom. You can enable or disable Adaptive-Sync, and adjust the level of pixel overdrive.
You can also toggle Motion Blur Reduction, HDR mode, and the Synapse & Chroma RGB lighting, as well as place a Refresh Rate Counter onscreen in various locations. Note that you have to turn HDR off and on manually – the monitor won't detect HDR content and do this for you automatically.
Next down in the main menu is another opportunity to change the video Input Source.
Further along, Brightness and Contrast have their own submenu.
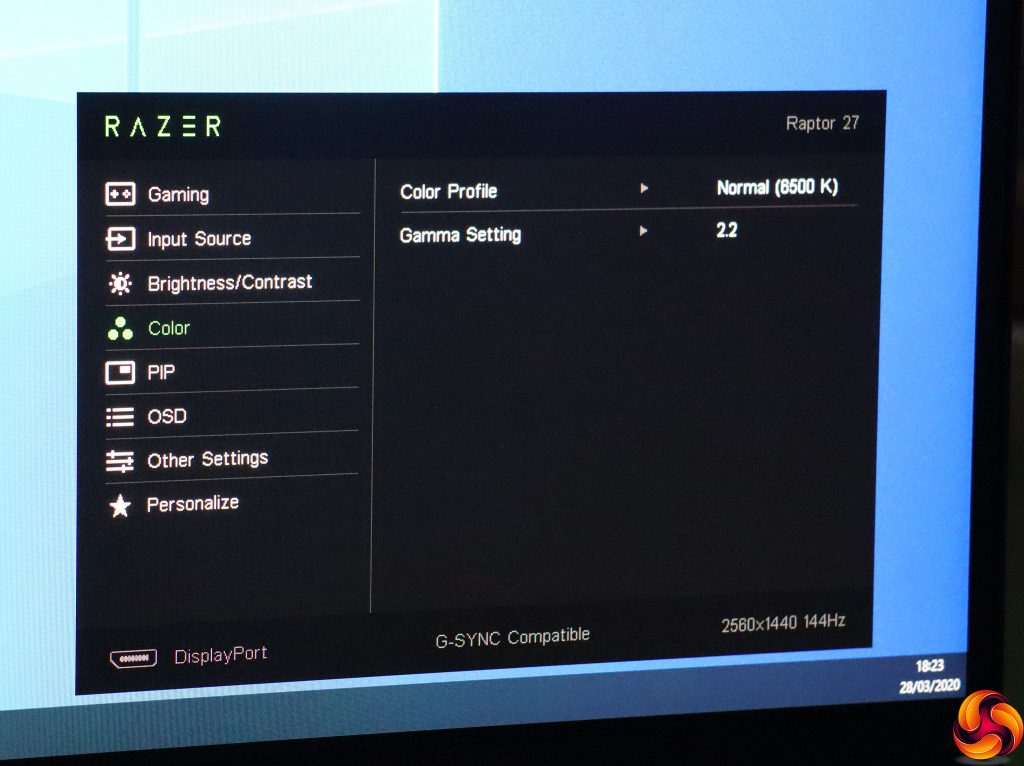
The Color submenu offers Color Profiles. The default is Normal (6500K), but you also select Low Blue Light, Warm (5000K), Cool (9300K), sRGB and a User Custom option where you can just red, green and blue levels manually. The Gamma Setting options include 1.4, 1.8 and 2.2, with the latter the default.
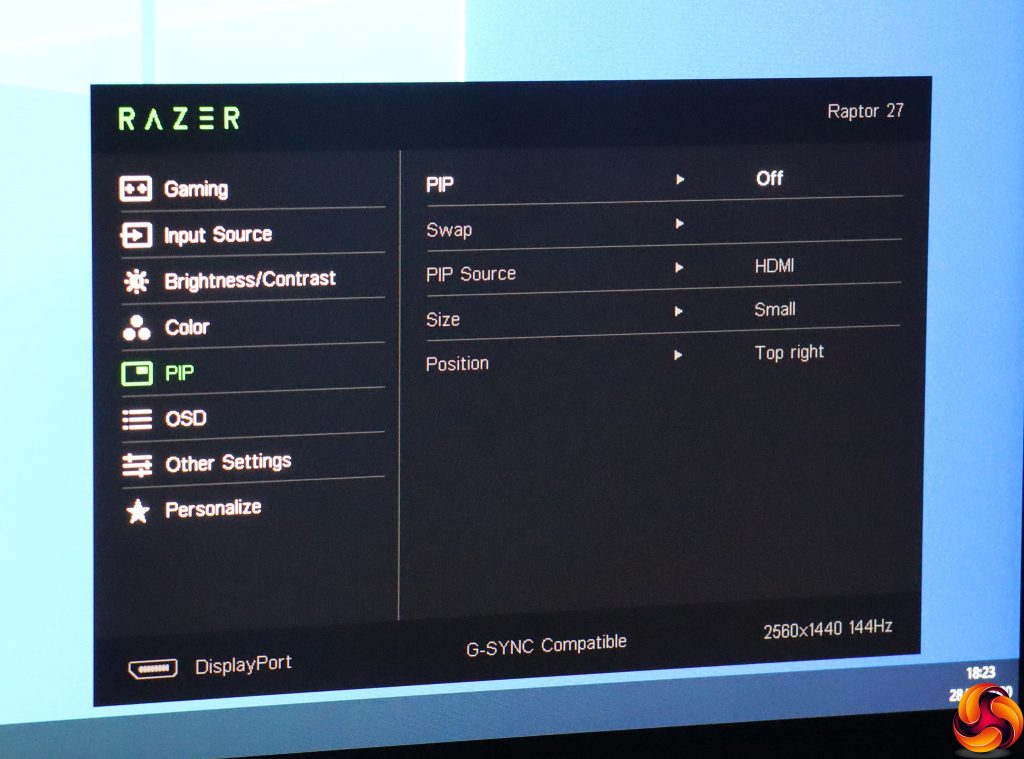
The Raptor 27 doesn't offer the option of picture-by-picture, but you can superimpose the signal from a second video input as a picture-in-picture, with some limited size and position parameters.
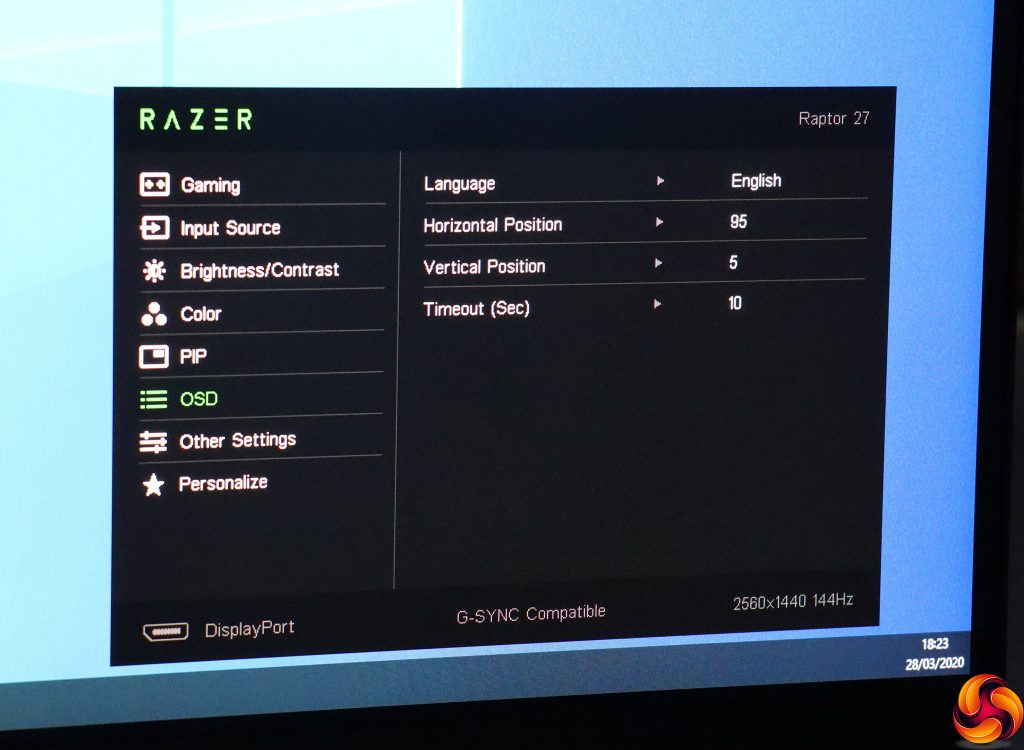
The usual options are available for altering OSD language, position and timeout, but not transparency.
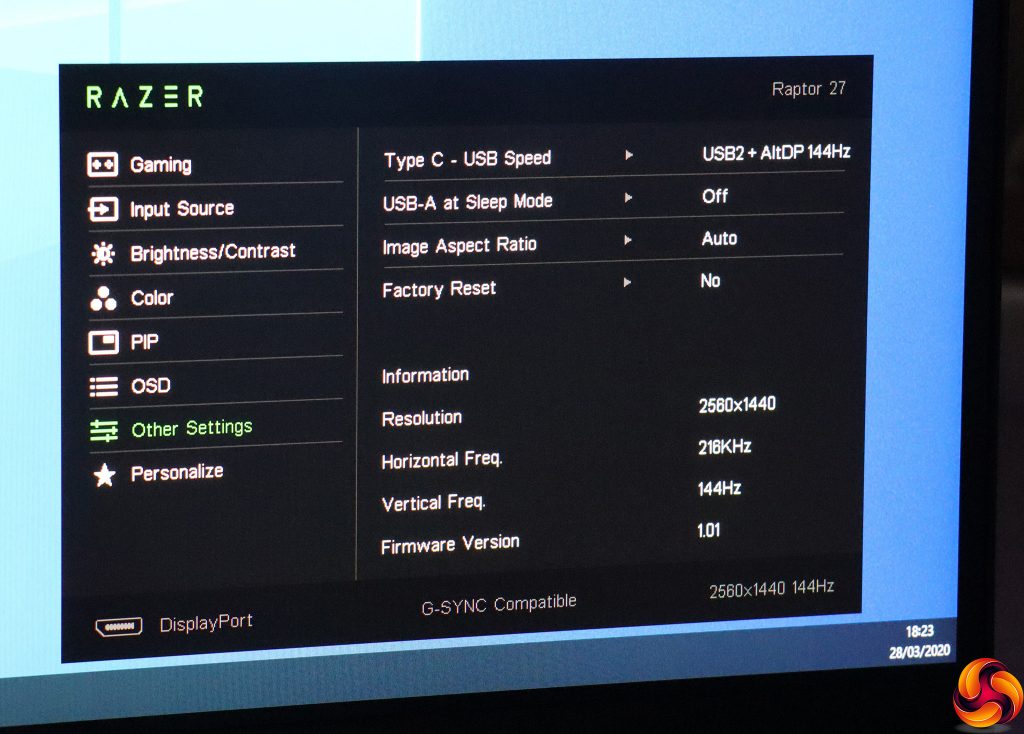
The Other Settings submenu includes configuration of the USB port behaviour, and the ability to adjust the aspect ratio from native. You also get an informational readout in this section.
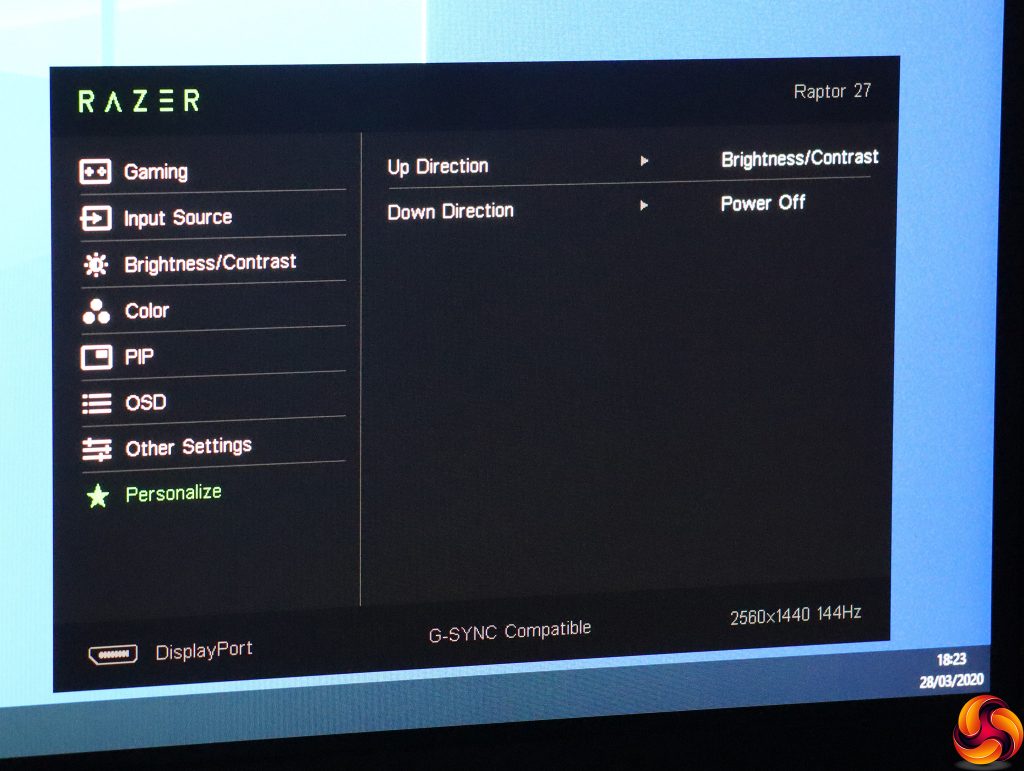
Personalise is where you can adjust the functions of the two custom joystick directions. We're not sure how you turn off the monitor if you change this one, however.
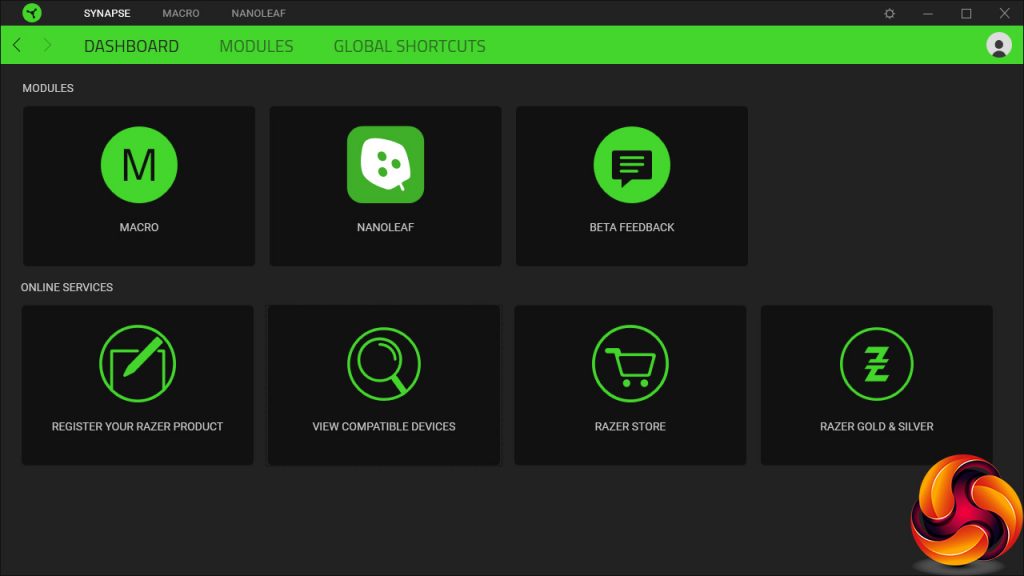
You can also register your Raptor 27 with Razer so that it will appear on your Synapse 3 software interface, allowing settings to be adjusted from your Windows desktop. However, we suspect that this requires a USB C connection, which we weren't able to supply from our host test PC.
Overall, the OSD is easy to navigate, but is very gaming focused. There aren't any presets for everyday multimedia or work tasks. That's not necessarily a disaster when the intended audience is very clearly gamers, and we're not sure how often people use these presets anyway.
But there is also a more limited range of gaming options compared to monitors we have recently tested that are also focused on this area. No hardware crosshairs or countdown timer, for example, and no option to boost detail in shadows. Okay, many of these features are considered borderline cheating, but you might still want them anyway, you massive cheat.
 KitGuru KitGuru.net – Tech News | Hardware News | Hardware Reviews | IOS | Mobile | Gaming | Graphics Cards
