The joystick on the rear is the sole way of accessing the 349X7FJEW's settings.
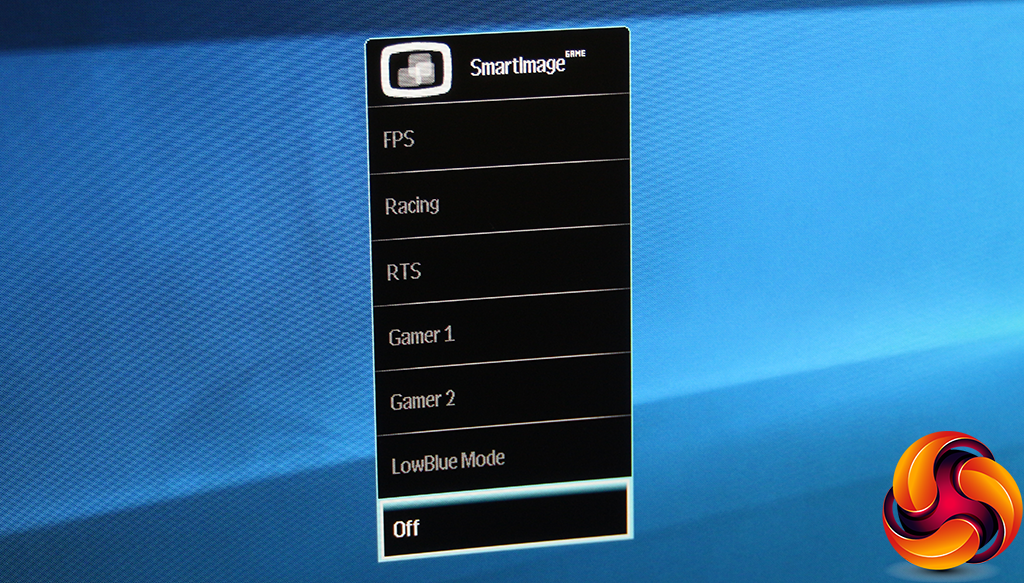
Push the joystick left and the SmartImage presets appear. Although this isn't specifically a gaming monitor, the presets appear to be gaming focused, with FPS, Racing and RTS options, two user-configurable settings, and an eye-saving LowBlue Mode.
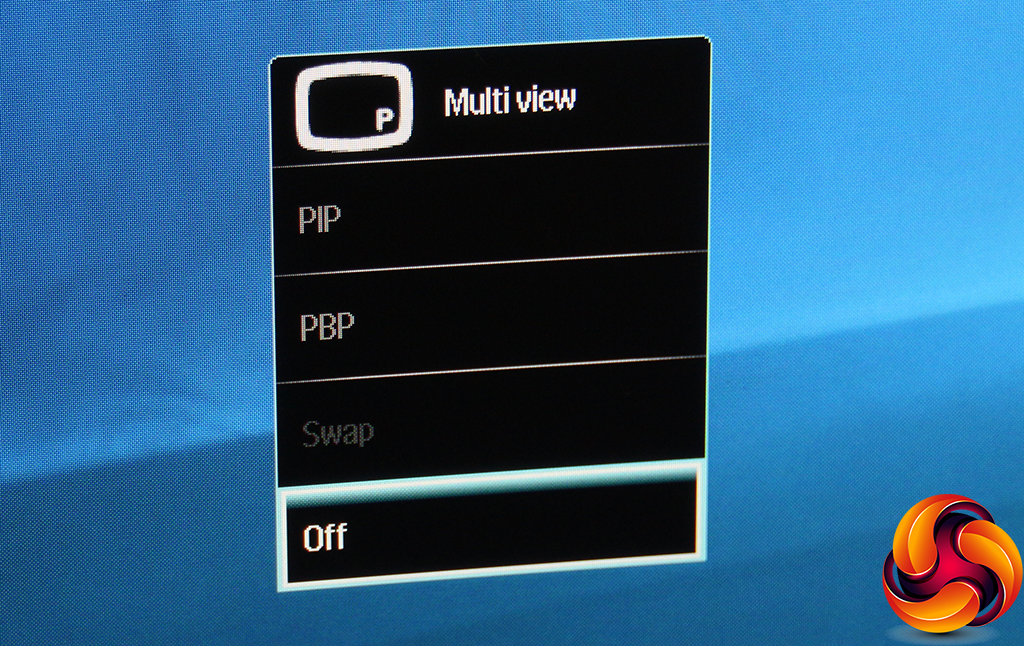
Press the joystick up and you can view multiple inputs at once, either as picture in picture or side by side. With a 21:9 aspect monitor and a native resolution of 3,440 x 1,440, this might actually be useful.
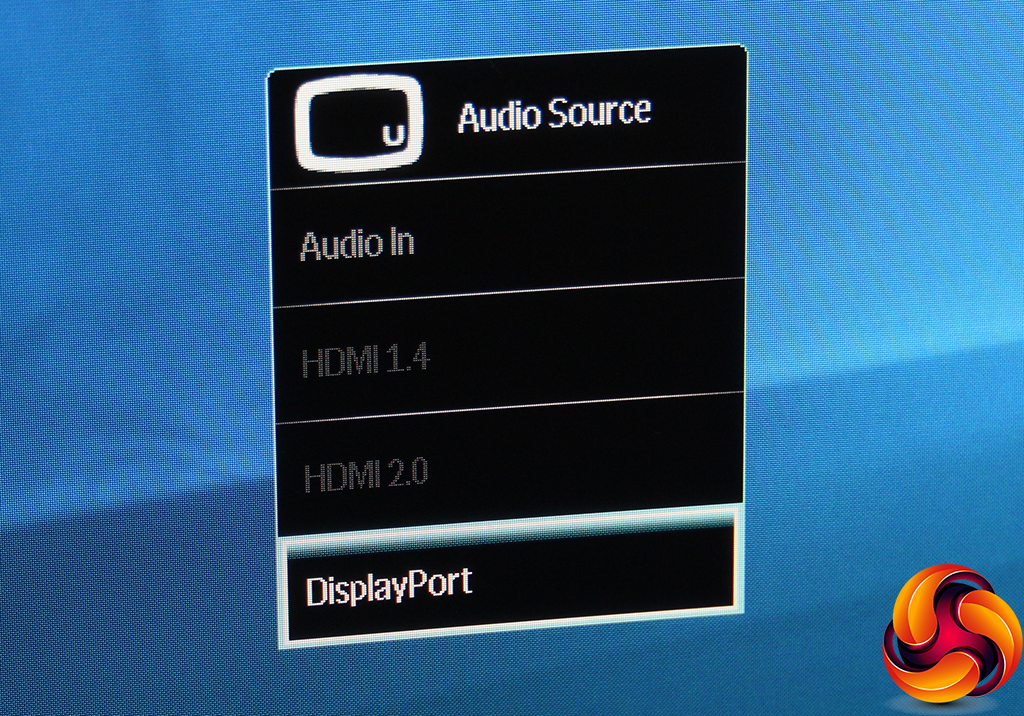
Pulling the joystick down lets you choose which audio source will be piped to the built-in speakers – either digital sources from one of the three video inputs, or the analog audio minijack input.
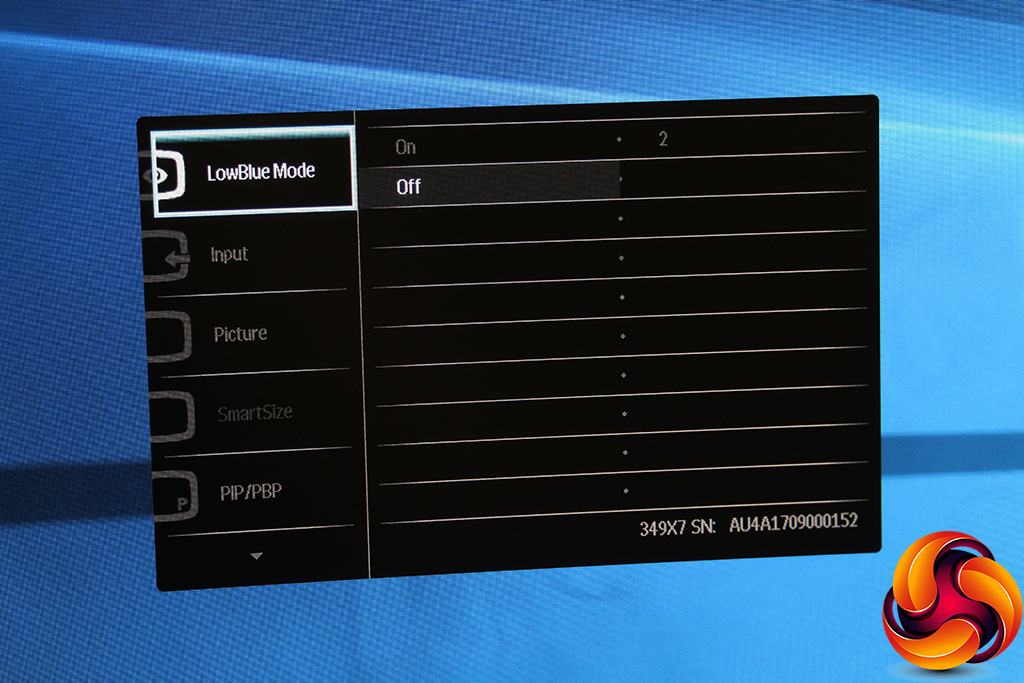
Pushing the joystick right calls up the main menu, with the first option being configuring the LowBlue Mode. This has three levels.
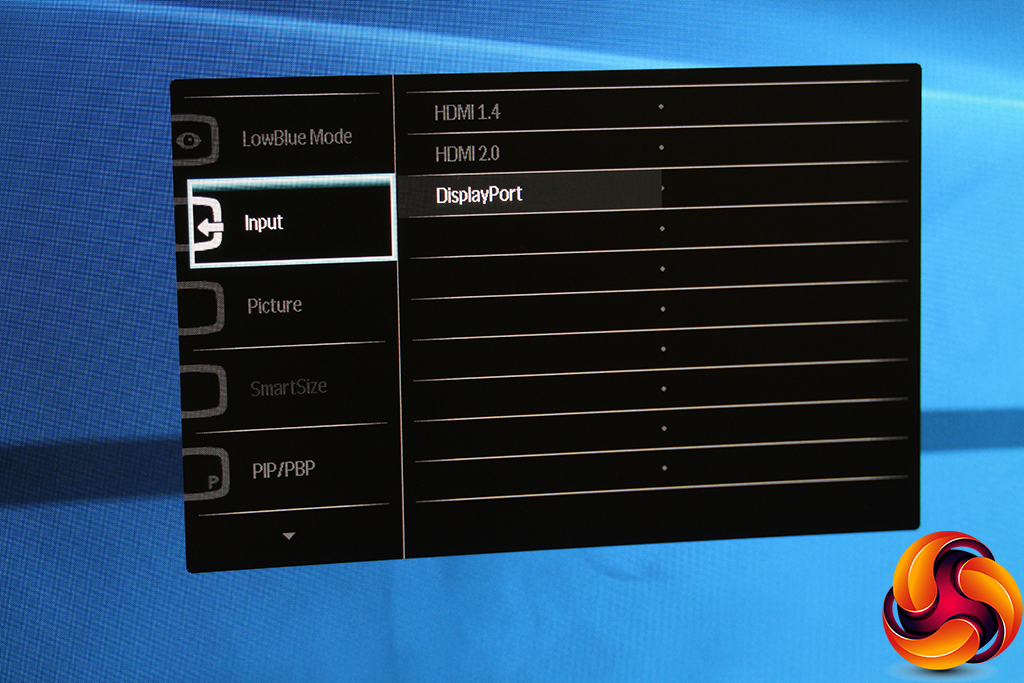
Next along the main menu is the Input section, where you can choose between the three options manually.
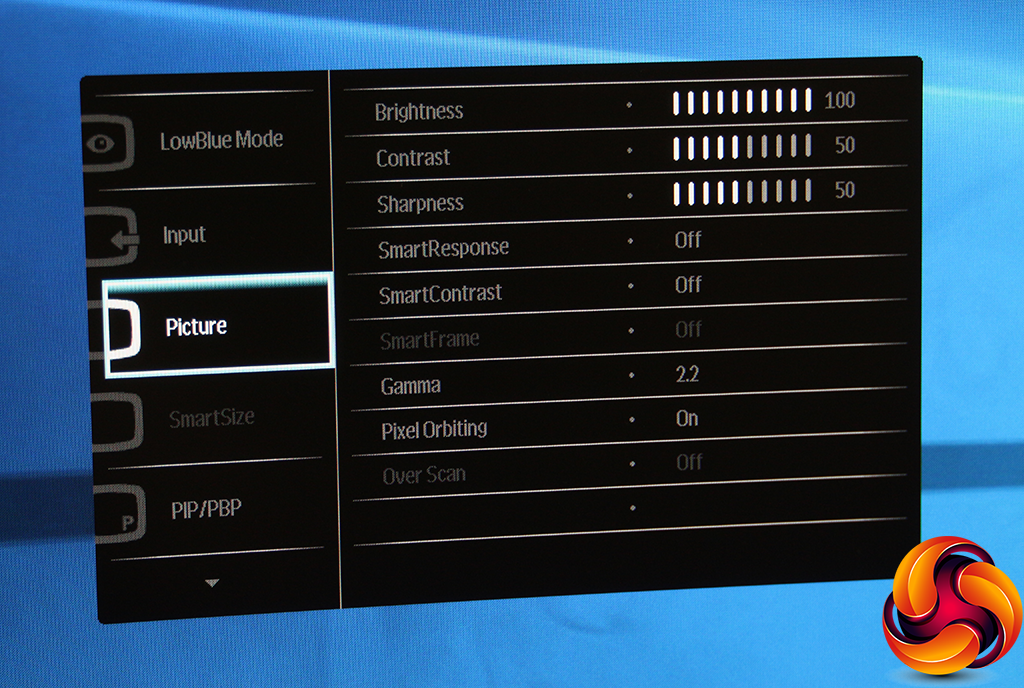
The Picture section in the main menu is one where you may find yourself regularly. It contains options for adjusting brightness, contrast and sharpness, plus SmartResponse, an overdrive system that reduces ghosting on fast-moving images due to the relatively slow pixel response of a VA panel. SmartContrast is a dynamic contrast mode that adjusts the backlight to give a greater perceived contrast between darker and lighter areas.
There are five Gamma modes, from 1.8 to 2.6 in 0.2 increments. Pixel Orbiting is a technology aimed at reducing burn-in when a static image stays onscreen for a long time. SmartFrame and Over Scan are only available when an analog source is used, which presumably would only be when using a VGA-HDMI adapter.
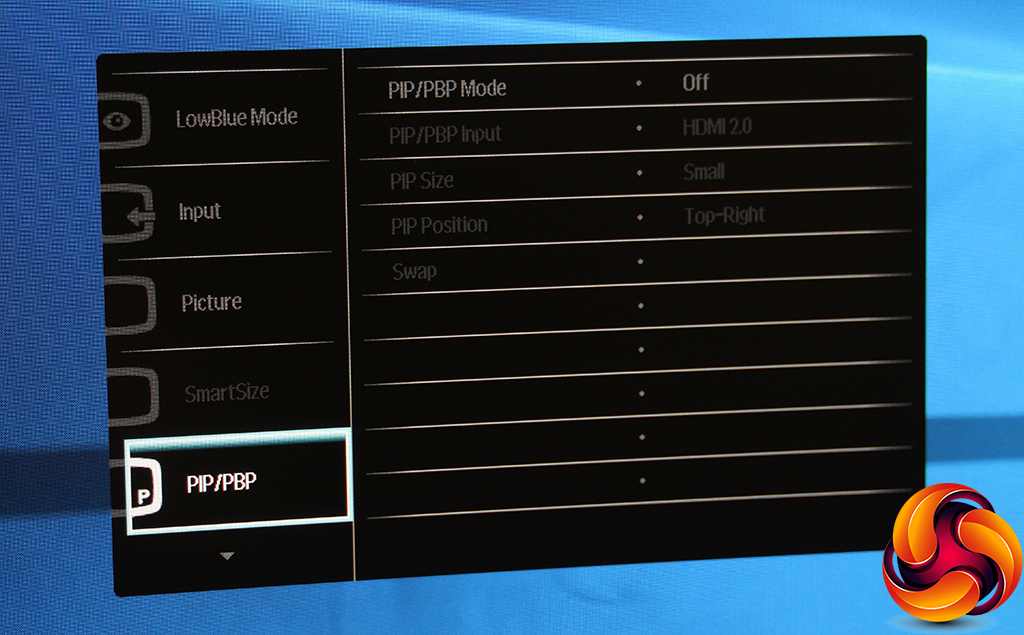
The PIP/PBP menu option copies the features of the standalone quick menu described above, but also lets you choose where your picture in picture sits on the screen.
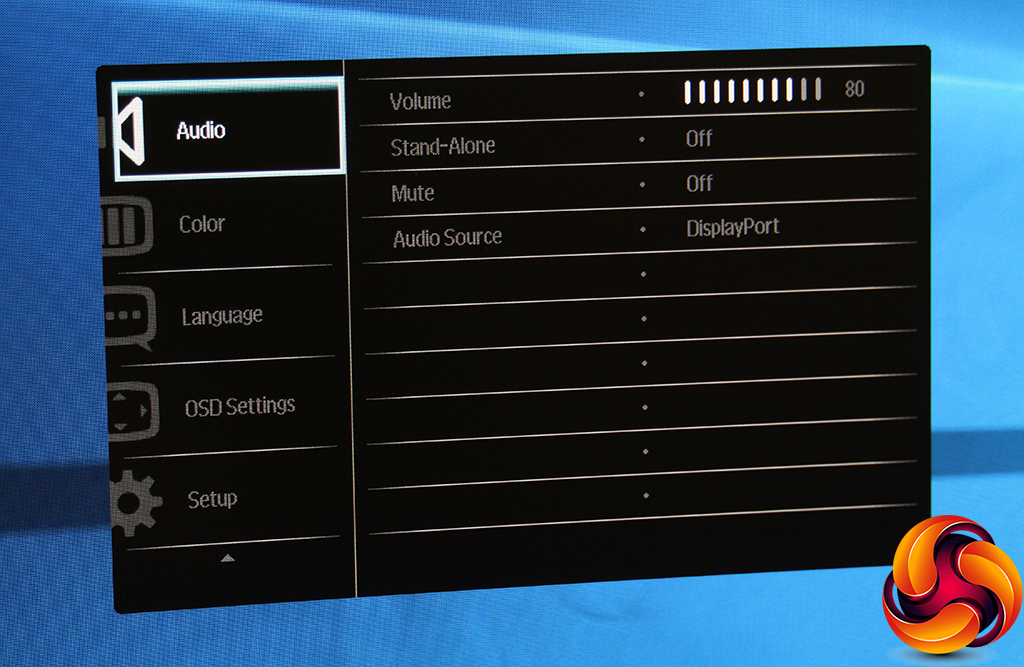
The Audio submenu lets you choose the audio source, like the quick menu option, but also lets you adjust the volume, which might have been useful as a separate control you can access without a trip to the main menu.
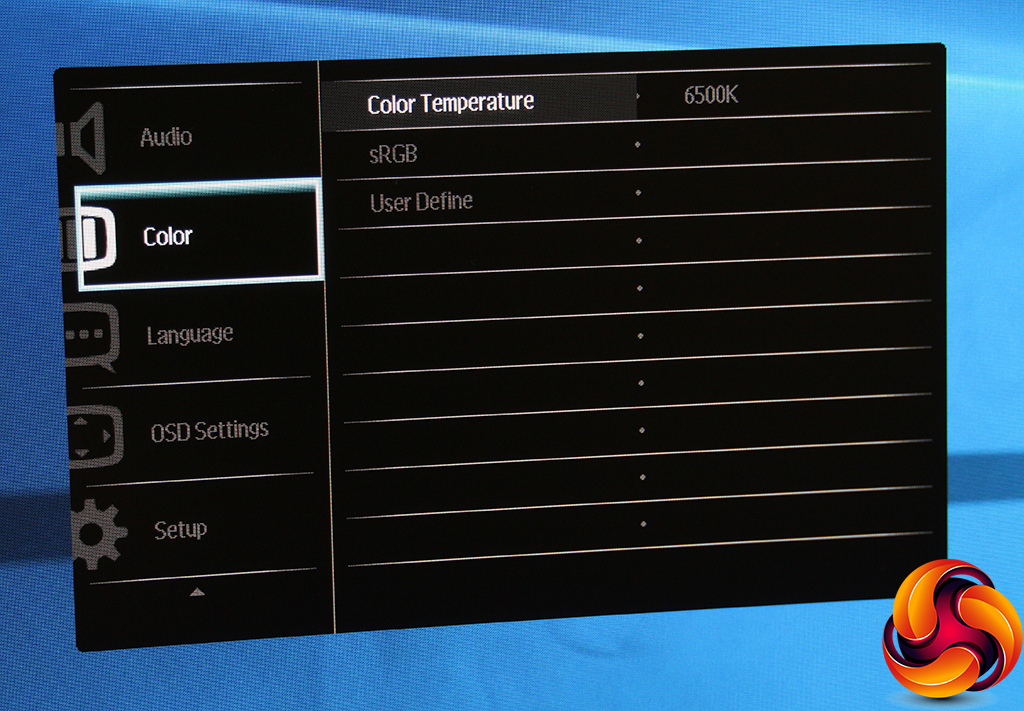
The Color submenu provides temperature options of 5000K, 6500K, 7500K, 8200K, 9300K and 11500K, plus sRGB mode. The User Define option reveals RGB settings.
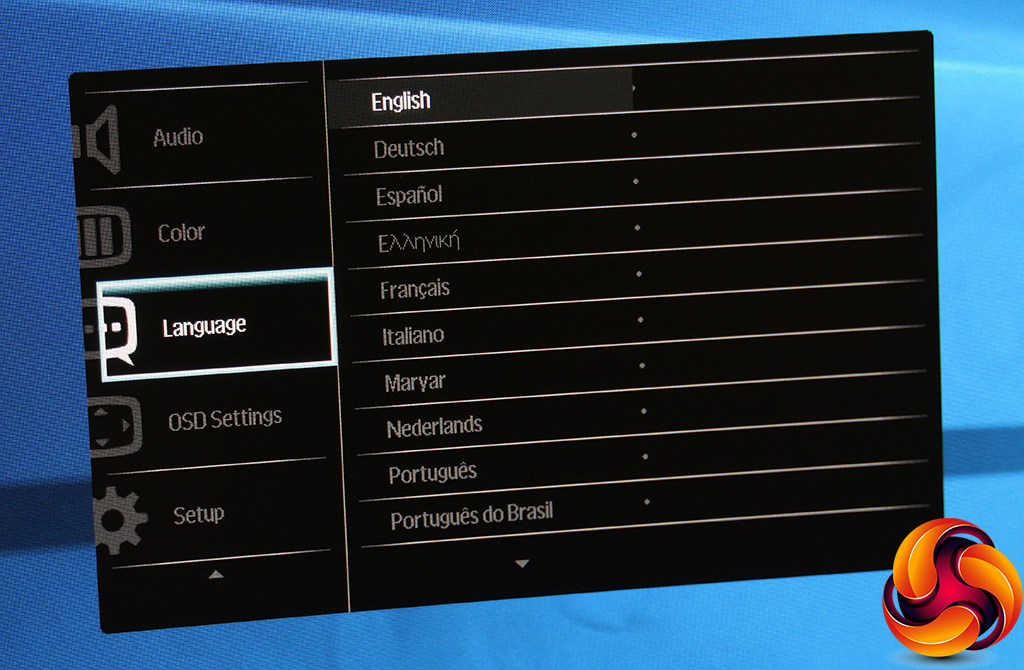
Lots of different languages are available for the menu text.
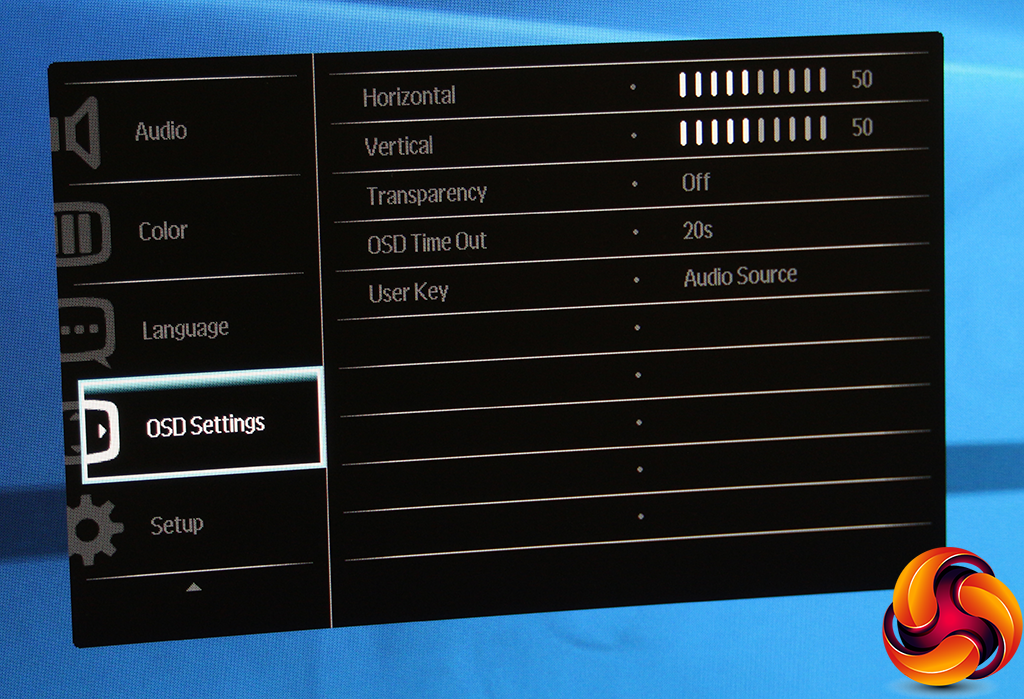
You can choose exactly where you want the OSD to appear, whether it is transparent, how long it remains onscreen for, and also configure which quick menu option to show when you pull the joystick down.
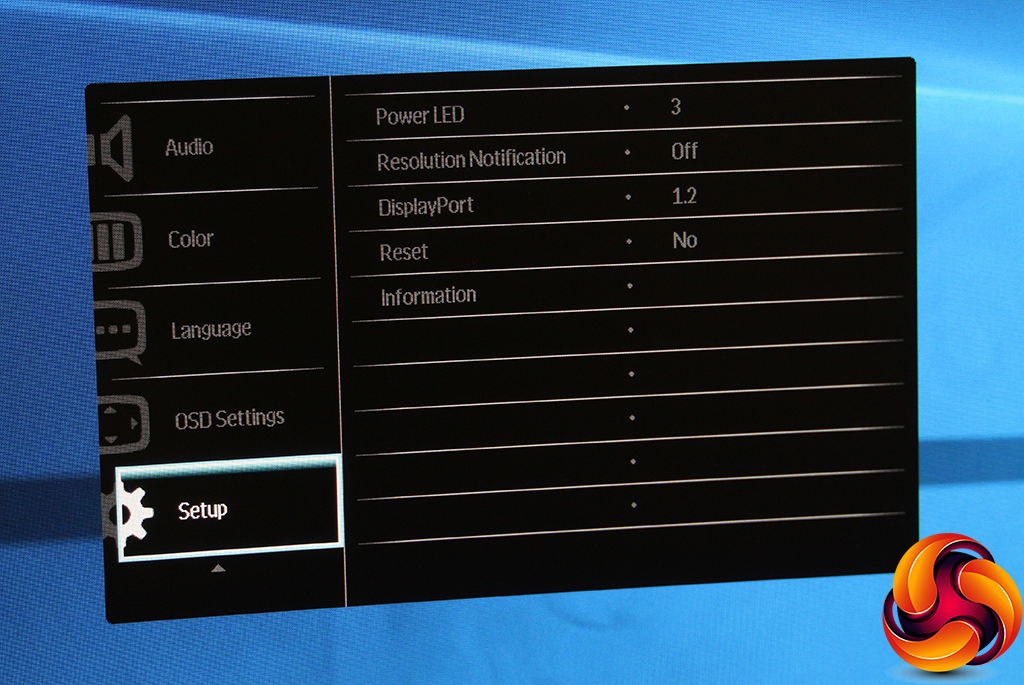
Sundry configuration options can be found under Setup, including how intense the power LED that lights the Philips logo at the bottom is, plus the facility to reset to factory defaults.
Overall, almost every adjustment you might need is available in the OSD. The one area of weakness is that the presets seem focused on gaming, when this screen is more of a general entertainment and work screen with gaming abilities thrown in, as the high resolution isn't ideal for gamers since most current graphics cards will struggle to drive this display at its native resolution and a high frame rate.
 KitGuru KitGuru.net – Tech News | Hardware News | Hardware Reviews | IOS | Mobile | Gaming | Graphics Cards


Wrong amazon link