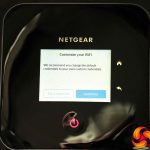
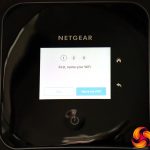
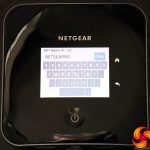
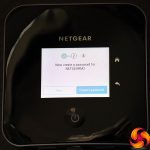
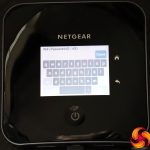
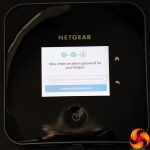
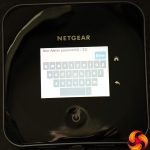
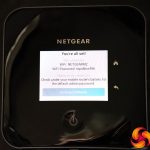
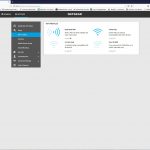
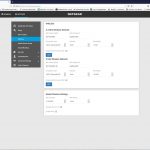
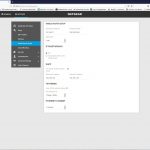
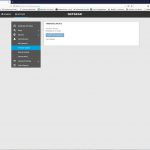
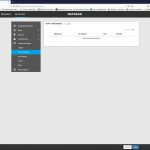
Initial setup can be performed entirely with the built-in LCD panel. On first starting the unit, you're prompted to set up your WiFi SSID and password, and then your admin login and password. However, all of these functions use a touchscreen keypad that is quite fiddly. Your next step is configuring the SIM, but we turned to the Web interface for that.
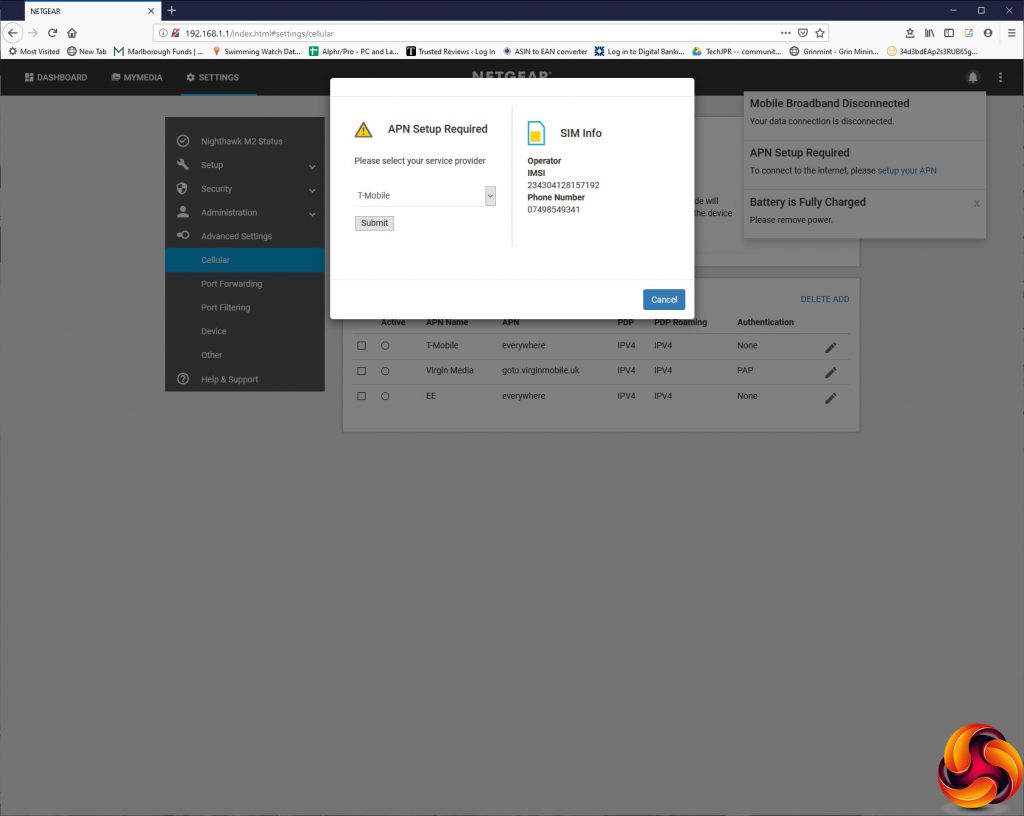
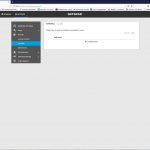
SIM setup looks like it should be pretty simple (and follows the same route if you use the LCD screen). You just confirm your SIM provider and Submit. Here we used an old T-Mobile SIM to get started, although our primary mobile data testing was performed with a Vodafone SIM instead. With the latter, we had to look up the APN settings and type those in manually to get onto the mobile data connection.
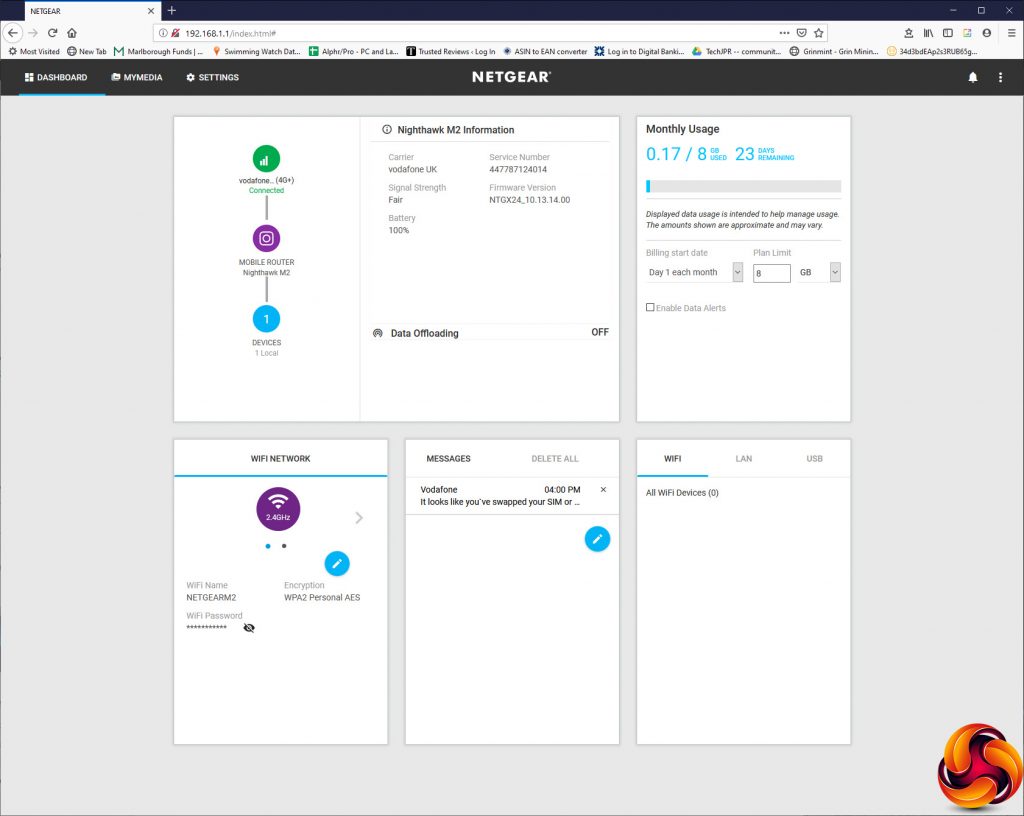
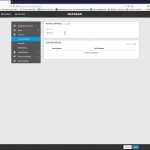
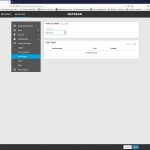
The main Dashboard gives you a readout of current settings and status, such as connected devices, firmware status, and WiFi configuration. You can input your monthly data plan limit and see a readout of how much you have used within that.
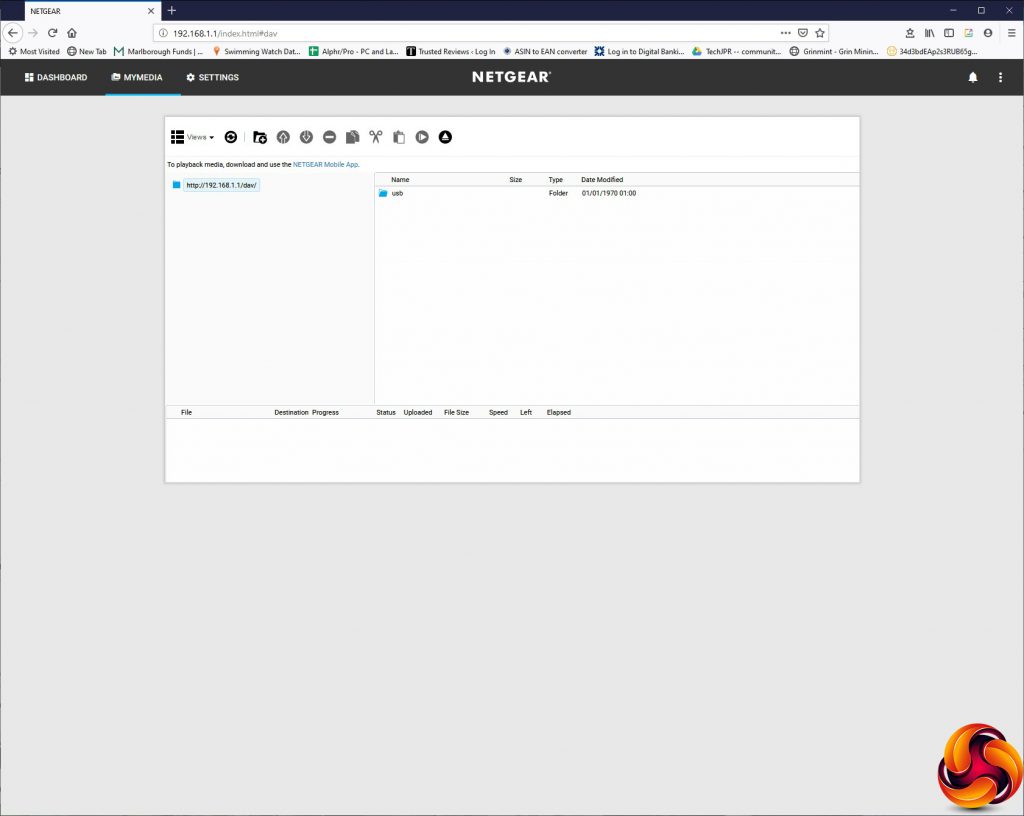
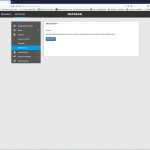
If you have a storage device connected to the USB 3.0 port, the MyMedia section is where you can configure how this behaves and how it is shared across the network. The M2 doesn't include a Samba server, however, so can't directly share files to Windows clients over the workgroup network. You can upload and download files via HTTP using the Web interface, and DLNA support means you can play back media files using a DLNA-compatible client.
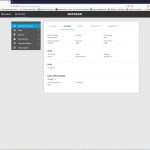
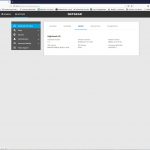
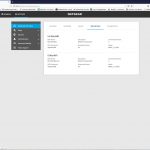
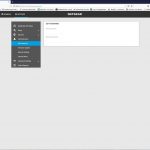
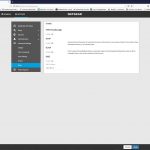
Under Settings, the Nighthawk M2 Status section gives you a subset of five more tabs. The first Account tab merely tells you the current SIM status and MAC addresses of the various adapters. The Network tab is also mostly informational, but adds the option to enable Data Offloading. This allows you to switch data traffic to a WiFi or LAN client to reduce the reliance on your mobile data connection – essentially load balancing with a bias away from mobile data.
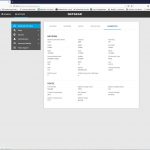
The Device section is informational, giving you details about the firmware, GUI and hardware versions. WiFi Details tells you about the wireless network, and Diagnostics provides a plethora of data about signal quality, channel usage, battery charge and even battery temperature.
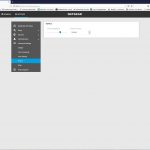
The Setup section, however, doesn't use tabs but more of a drop-down list. Under WiFi Profiles, you can choose whether you use both 2.4GHz and 5GHz radios, just one or other, or turn the WiFi off entirely when operating the M2 as a USB tethered mobile data modem.
If you head to the Wireless section, you can change the SSID and passwords for the two frequencies, security setup and channel bandwidth configuration. You can also alter global settings for standby timeout and range across both radios.
Under Mobile Router Setup, you can change the router IP and DNS mode, the DHCP range, and whether the USB port just charges or also provides data tethering. You can configure a backup WiFi or Ethernet connection under Data Offloading.
Security includes familiar options such as blacklisting certain devices by MAC address from gaining access. You can also set up a time schedule for when the hot spot is accessible for client devices, and SIM Security lets you add a PIN that must be entered every time you turn the router on before access is possible.
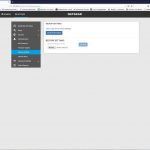
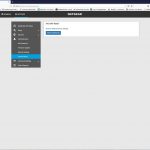
The Administration section has the usual options of changing the admin login password, updating firmware, backing up or restoring settings, and returning to factory defaults.
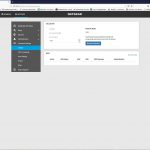
The Advanced Settings let you configure your mobile data connection in more detail via the Cellular section. When we swapped to the Vodafone SIM, we had to use this section to edit the APN settings for our mobile data connection. You can set up Port Forwarding, although there aren't any popular application presets here. You can filter out services by port, and change how the screen brightness and timeout behaves. Finally, you can enable VPN passthrough, UPnP, DLNA support for USB-attached storage, and nominate an IP address as the DMZ.
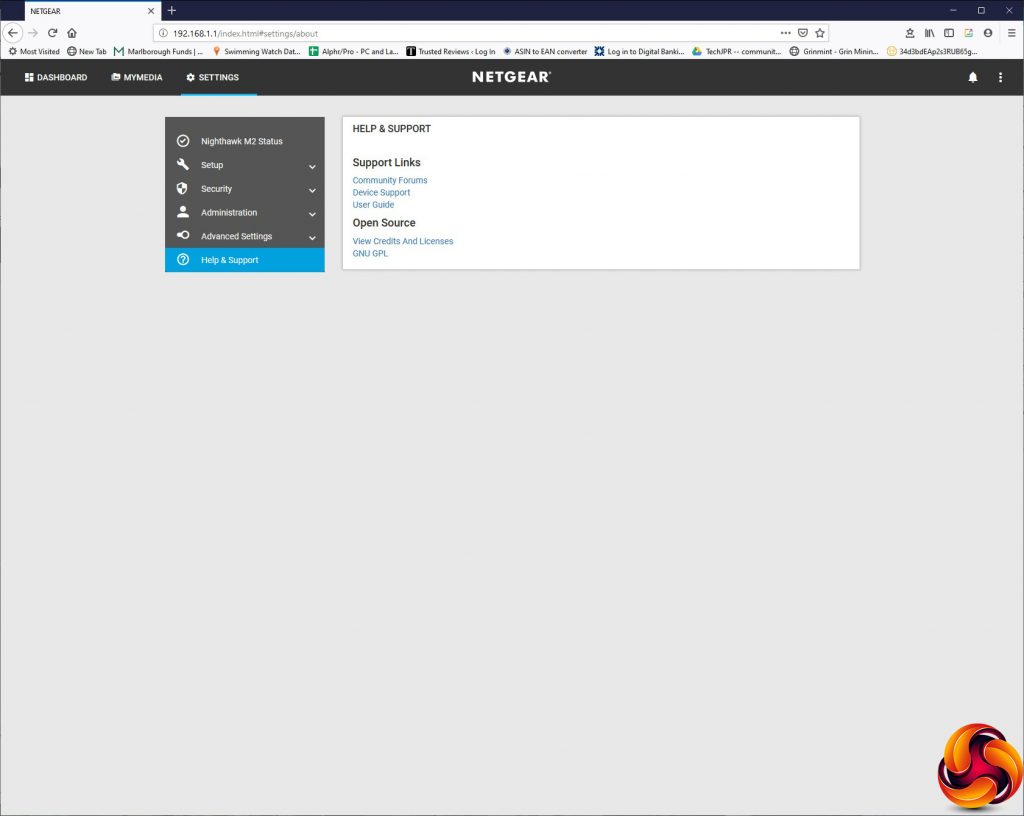
Finally, there's a section with links to online help and support.
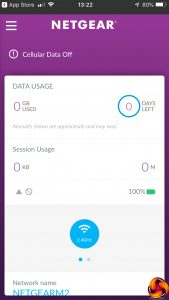
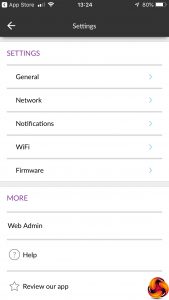
Like any self-respecting contemporary router, there's a smartphone app to configure settings as well. Called NETGEAR Mobile, it's not the same one as the NETGEAR Nighthawk app used by regular desktop routers, which is incompatible with the M2. It offers a status screen and access to a subset of setup options.
Overall, whilst you don't get anywhere near as many configuration features as desktop routers, you do get some useful things to play with. A more sophisticated firewall could have been a bonus, but in reality you're probably not going to use the M2 for much more than providing an Internet connection for Web browsing and media streaming on the move. The ability to connect a USB storage device and share that via DLNA will also be handy for a family wanting to bring media for local streaming.
The next question, therefore, is just how strong is the M2 as a WiFi and mobile broadband router.
 KitGuru KitGuru.net – Tech News | Hardware News | Hardware Reviews | IOS | Mobile | Gaming | Graphics Cards


