With a separate button to control power, the joystick is exclusively used to access OSD functions, which we think is a good idea. Using a joystick for power as well can be a bit fiddly.
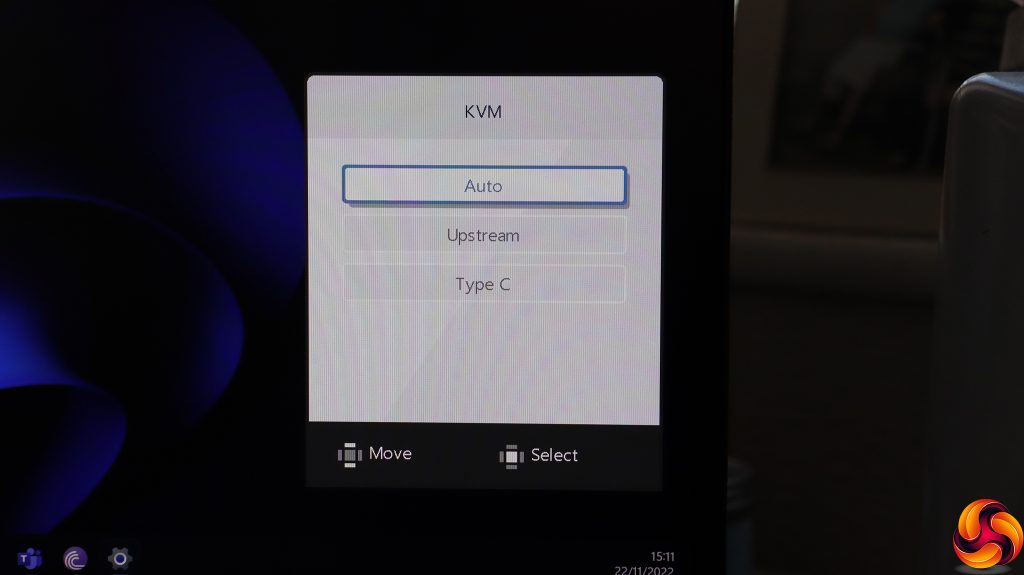
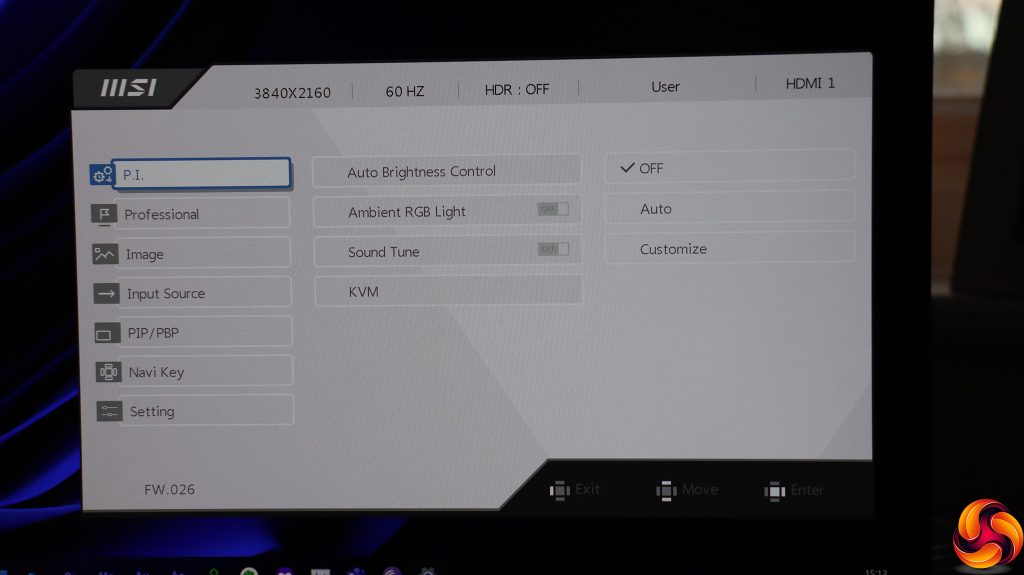
Pushing the joystick left allows you to select the KVM function, either switching the input automatically or by manually choosing the upstream Type B port or USB C.
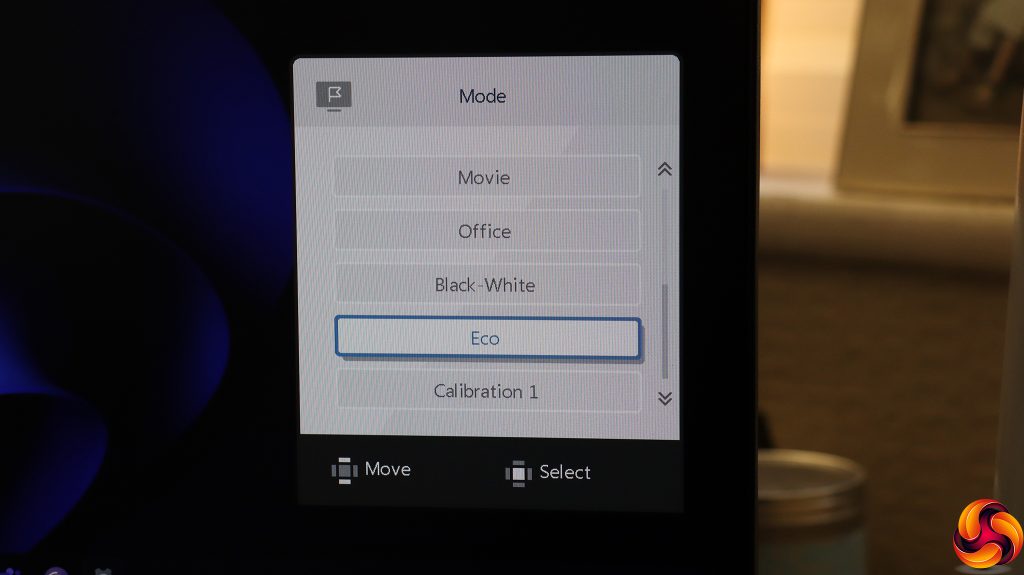
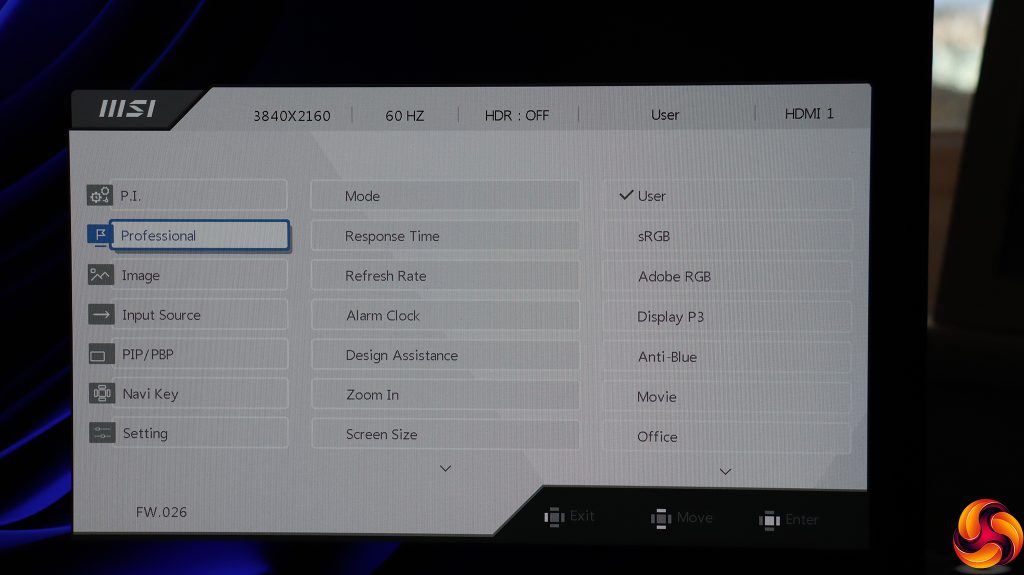
Push the joystick up and you will find the screen presets. Aside from a basic User profile, there are three colour space oriented options – sRGB, Adobe RGB, and Display P3. These are clearly aimed at working with a predictable gamut. The Anti-Blue option is for reducing eye strain, albeit to the detriment of colour fidelity.
Then there are Movie and Office, for more general entertainment and activity. The Black-White option, as the name suggests, is monochromatic, and Eco mode drops brightness to save power. Finally there are three Calibration options, which are actually user slots to save your own setups once the monitor is configured for specific activities.
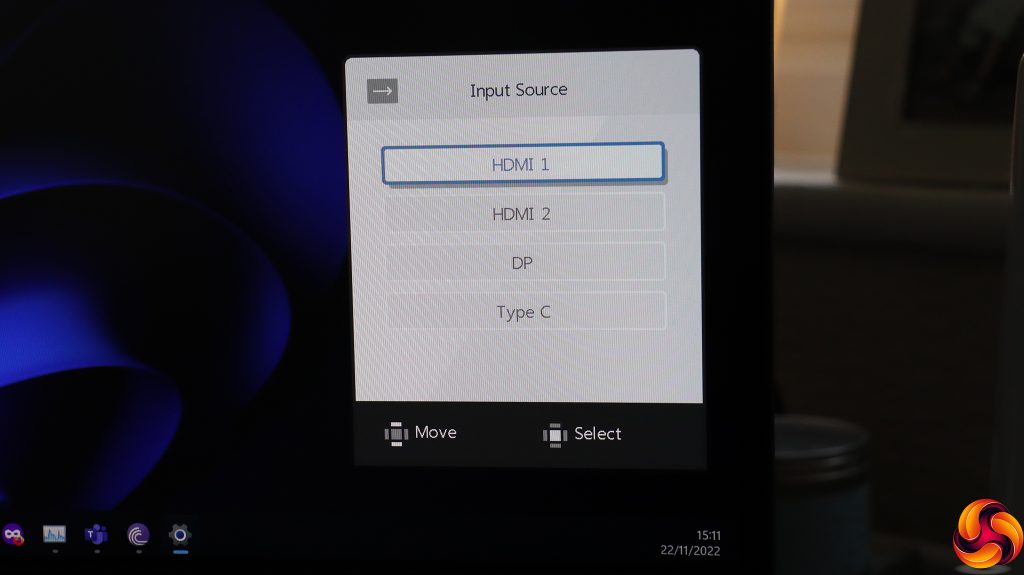
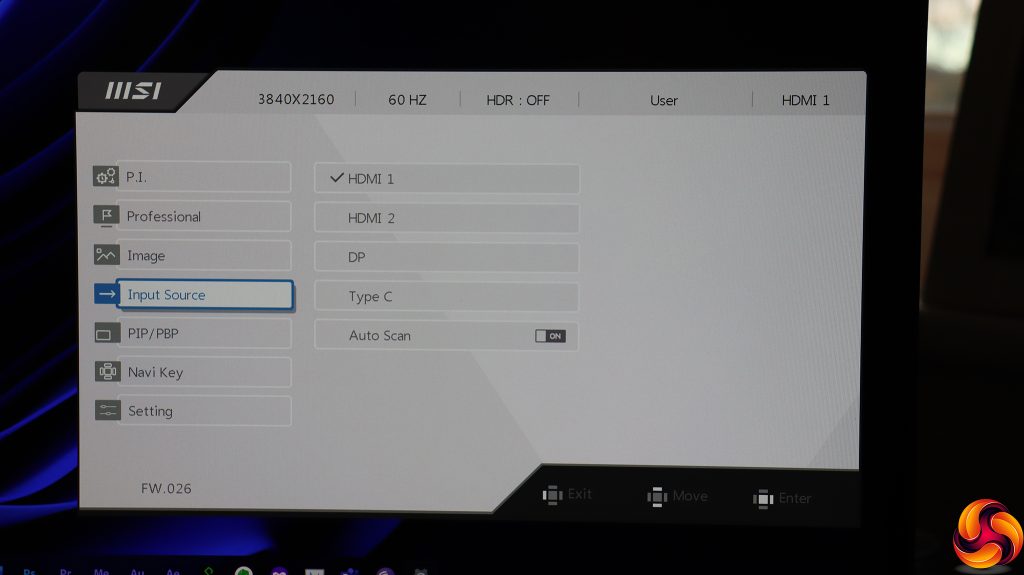
Pushing the joystick right lets you choose between the four video inputs.
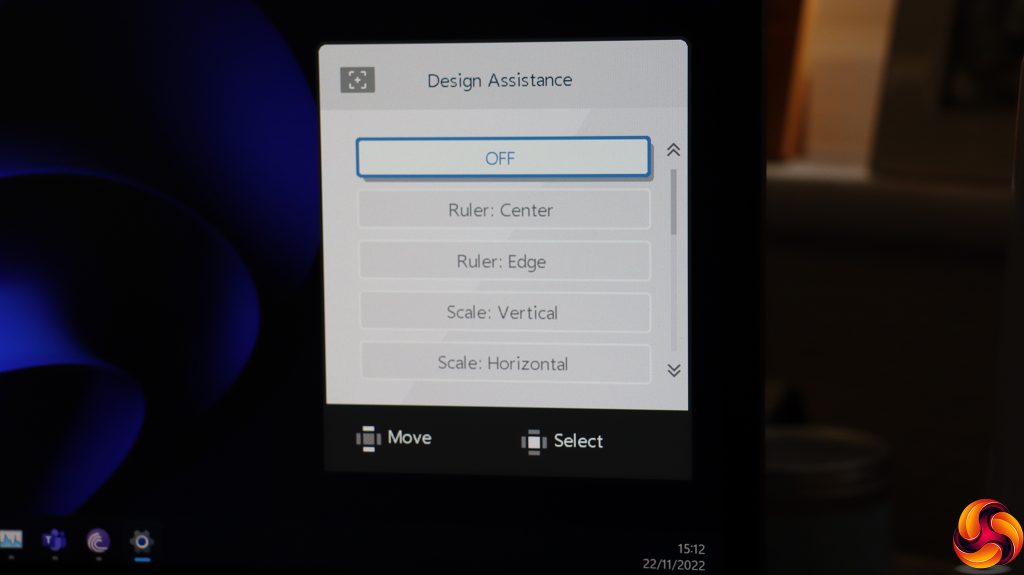
Pulling the joystick down reveals some of this screen's “special sauce” for creatives. The Design Assistance options include rules and grids for all manner of work, including precise measurement or application of the rule of thirds. Few screens have so many choices in this area, even high-end displays for graphics professionals.
Push the joystick inwards and the main menu appears, starting with the OSD-based version of Productivity Intelligence. This enables features such as ambient light, auto brightness control, and how the KVM feature functions.
Next down is the Professional section, where you can choose the preset, enable pixel overdrive to speed up Response Time, display the refresh rate onscreen, set an alarm to help you limit your screen time, and turn on the Design Assistance screen guides already mentioned. You can also zoom into a screen area or adjust the screen size, which actually means the aspect ratio here. Hidden further down is the facility to turn AMD FreeSync off and on.
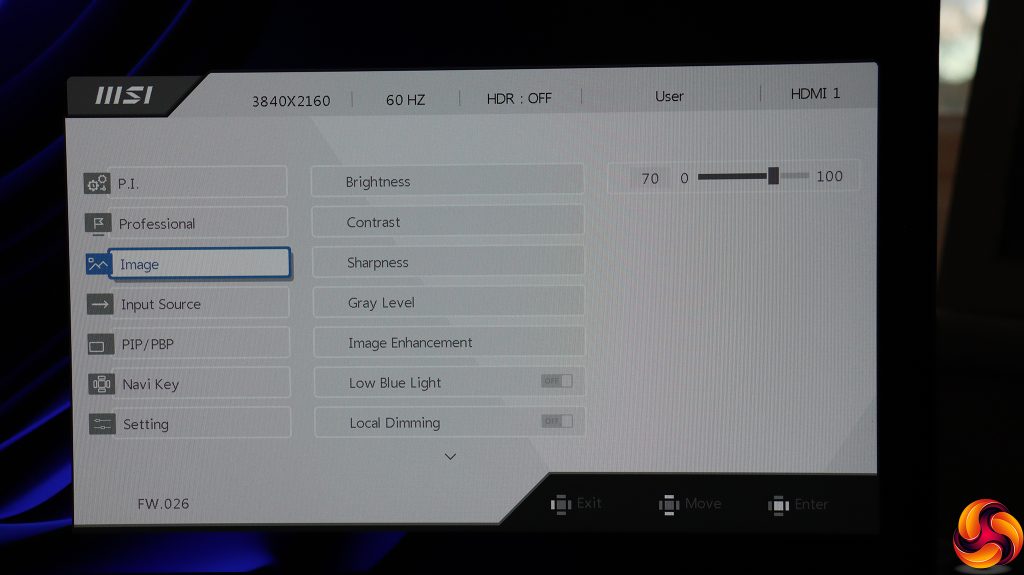
The Image section includes sundry adjustments such as brightness, contrast, sharpness and gray level. Image Enhancement is a sharpening system for edges. You can reduce the level of blue light to reduce eye strain, while local dimming increases the contrast by reducing the backlight. There are colour temperature presets from 5000K to 10000K, or you can adjust red, green and blue values separately.
Gamma options range from 1.8 to 2.6 in increments of 0.2. Saturation controls let you adjust red, green, blue, cyan, magenta and yellow. Alternatively, hue controls offer the same colour parameters.
The fourth main menu options simply lets you select from the four video inputs.
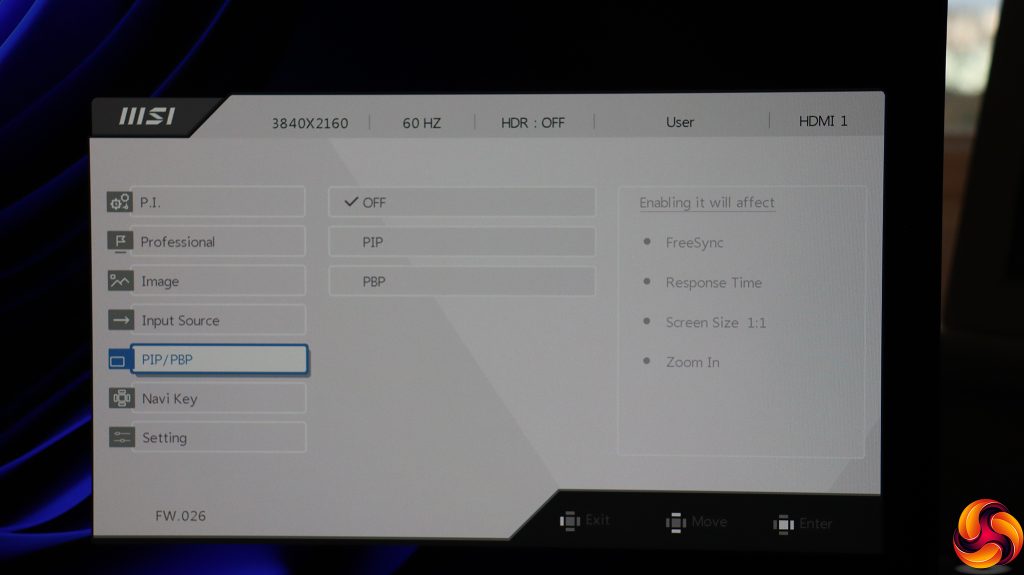
There are picture-in-picture and picture-by-picture options, which makes sense when you have four video inputs and a 4K screen resolution.
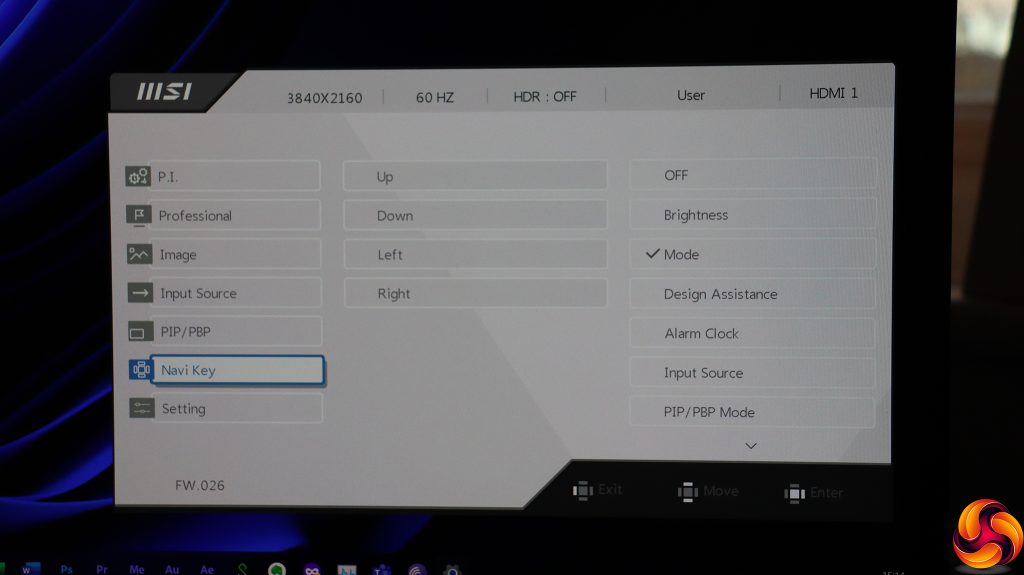
The Navi Key section lets you configure the joystick functionality, although only from a limited range of functions.
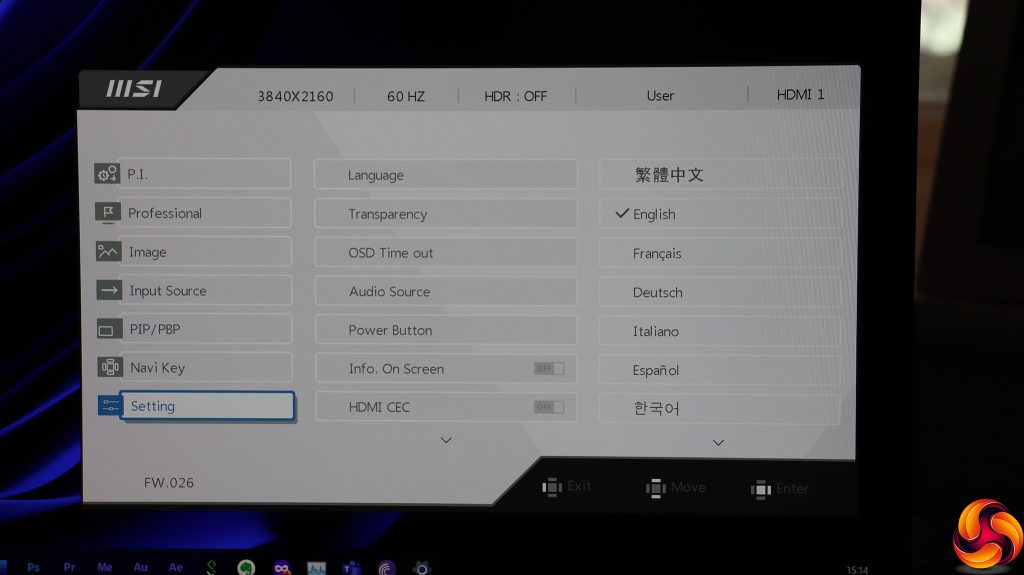
Finally, the Setting section is for altering the OSD behaviour, such as language used, transparency and time out.
Overall, there is lots of functionality here but the highlights are the specific support for colour gamuts and Design Assistance features, which you won't find in a more general monitors
 KitGuru KitGuru.net – Tech News | Hardware News | Hardware Reviews | IOS | Mobile | Gaming | Graphics Cards


