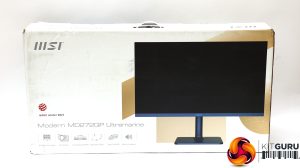
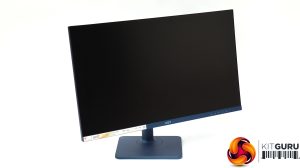
The MSI Modern MD272QP Ultramarine is a business screen, so the packaging is quite sober.
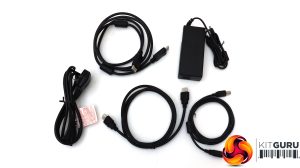
Inside there are cables for DisplayPort, HDMI, and USB Type B upstream cables, but sadly not USB C, so you will need to supply this yourself. There's also a power brick and the requisite mains cable to go with it..
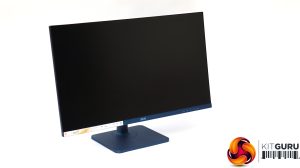
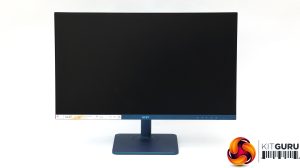
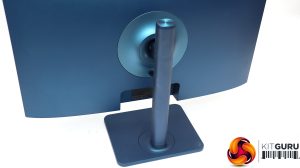
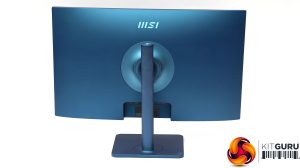
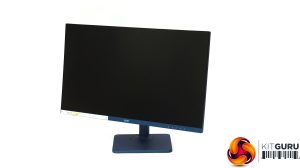
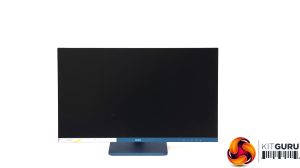
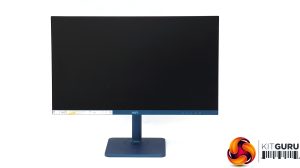
The “Ultramarine” part of the MD272QP's name clearly refers to the main colour of the monitor, which is a bright metallic blue. It's not quite the classic ultramarine blue made from lapis lazuli, but this is without doubt a handsome screen. The overall build has a quality feel as well.
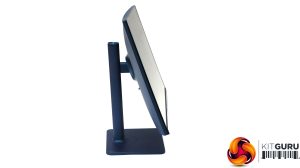
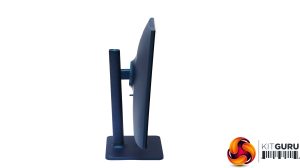
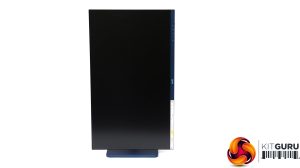
All the requisite adjustments are available. You can swivel the screen 30 degrees in either direction, or raise and lower it through a 110mm range. Tilt angles are 5 degrees forward or 20 degrees backward. You can also rotate the panel by 90 degrees into a portrait orientation.
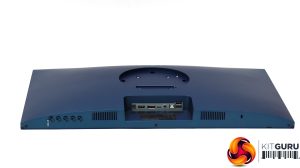
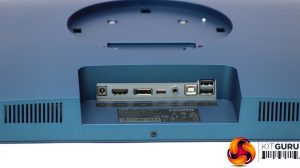
The port allocation is comprehensive, although there is only one example of each type. Next to the input for the power from the external supply is a single HDMI 1.4b port. The DisplayPort is only 1.2 level, although that will be sufficient for the resolution and refresh rate available. The USB-C port supports DP Alternate and can supply up to 65W. This means that a compatible notebook will only need one cable to receive power while delivering video and USB connectivity to the screen.
Next along is a minijack for analog audio output, aimed at headphones, although there are also stereo 2W speakers built in. Then there is USB Type B 2.0, which is clearly only intended for keyboard and mouse, as the two Type A ports are also only 2.0 level. However, since this screen supports KVM functionality, you can attach a keyboard and mouse to these two ports, with a desktop PC attached via HDMI or DisplayPort and the Type A USB. You could then attach your notebook via a single USB C cable and switch the screen, keyboard and mouse to driving that – a handy capability for some business users.
It is a shame that there are no USB 3.0 ports, however, because it's always handy to have these on a screen for quick attachment of external storage devices such as Flash memory drives.
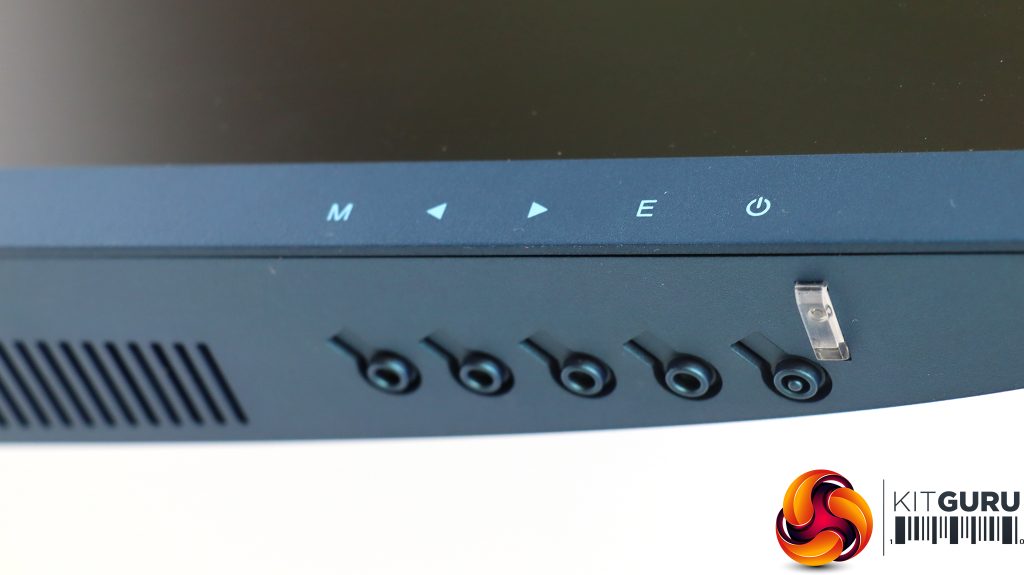
Five buttons along the bottom of the screen bezel on the right operate the settings for the OSD, which we will turn to next.
 KitGuru KitGuru.net – Tech News | Hardware News | Hardware Reviews | IOS | Mobile | Gaming | Graphics Cards
