We're going to go from right to left with the buttons rather than the other way round, because the button on the far left marked 1 actually calls up the main menu.
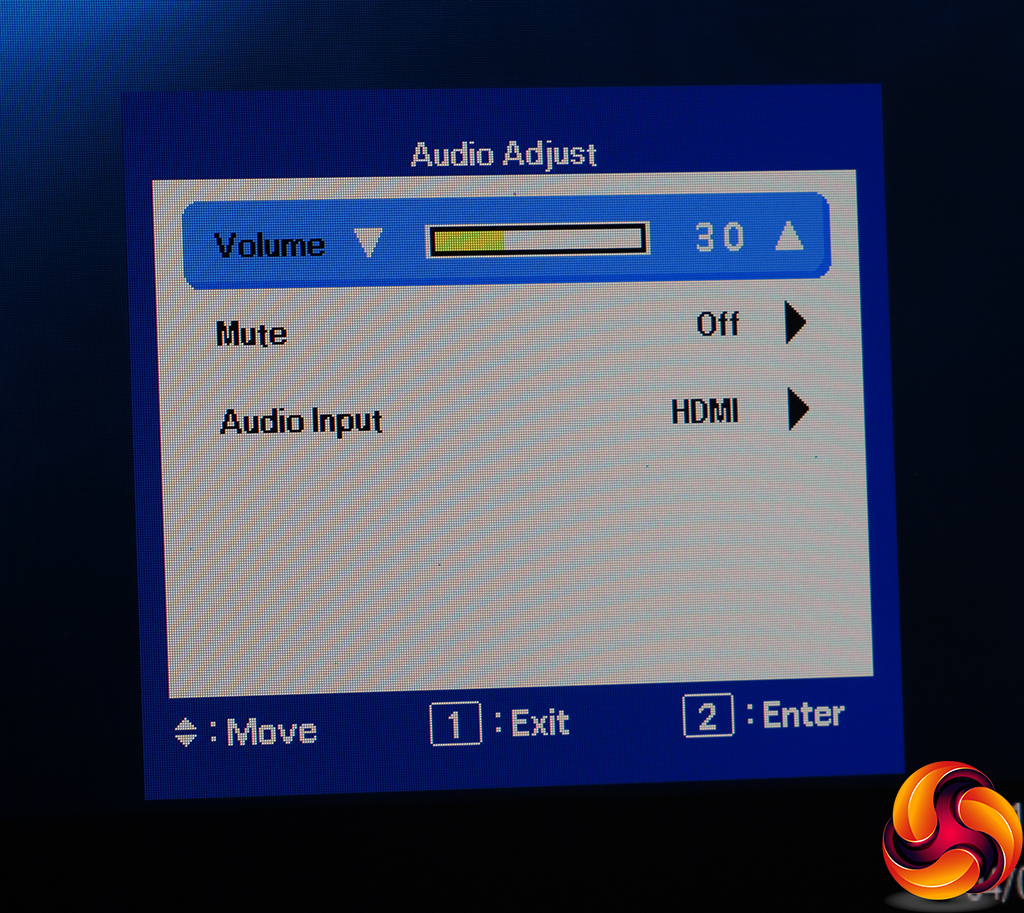
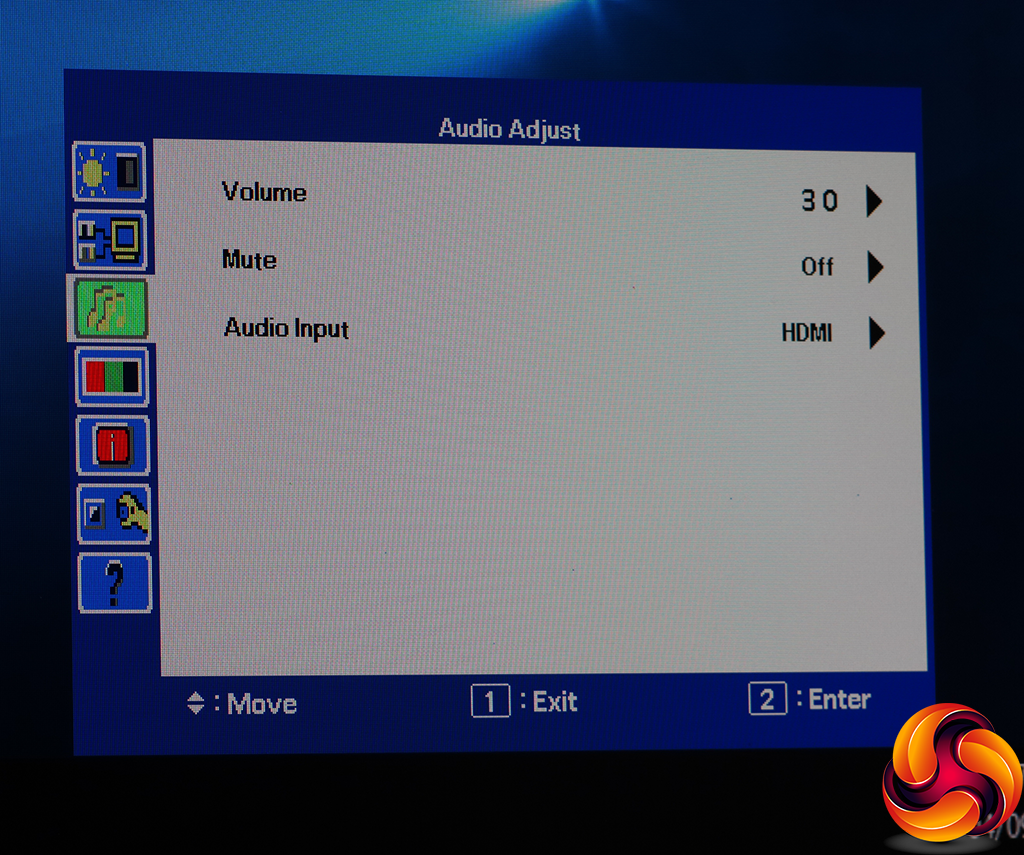
Whichever volume control you press (+ or -), this menu appears, so you can adjust the sound level. However, you can also use the arrow buttons to select the mute control, or change the audio input from the default (which will be the same as the current video input).
This isn't the most aesthetically pleasing OSD we've seen, sitting clearly on the utilitarian end of functional.
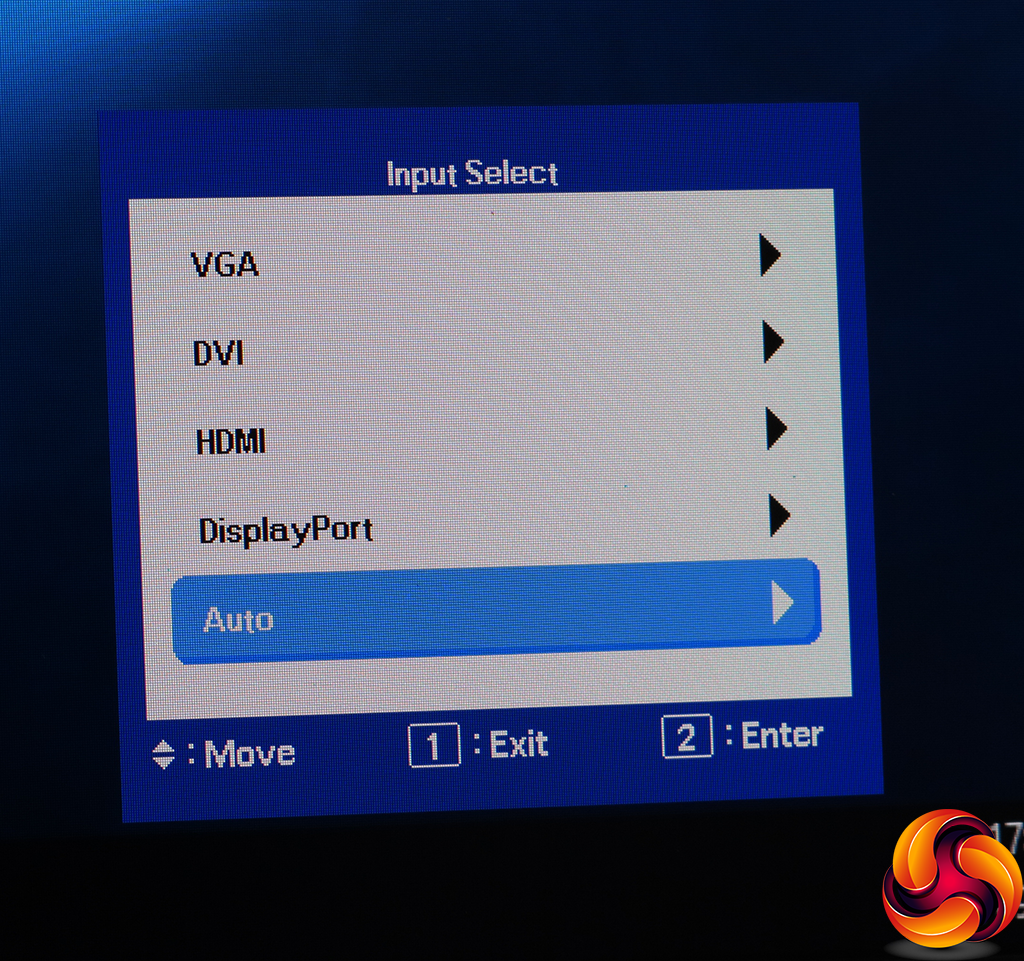
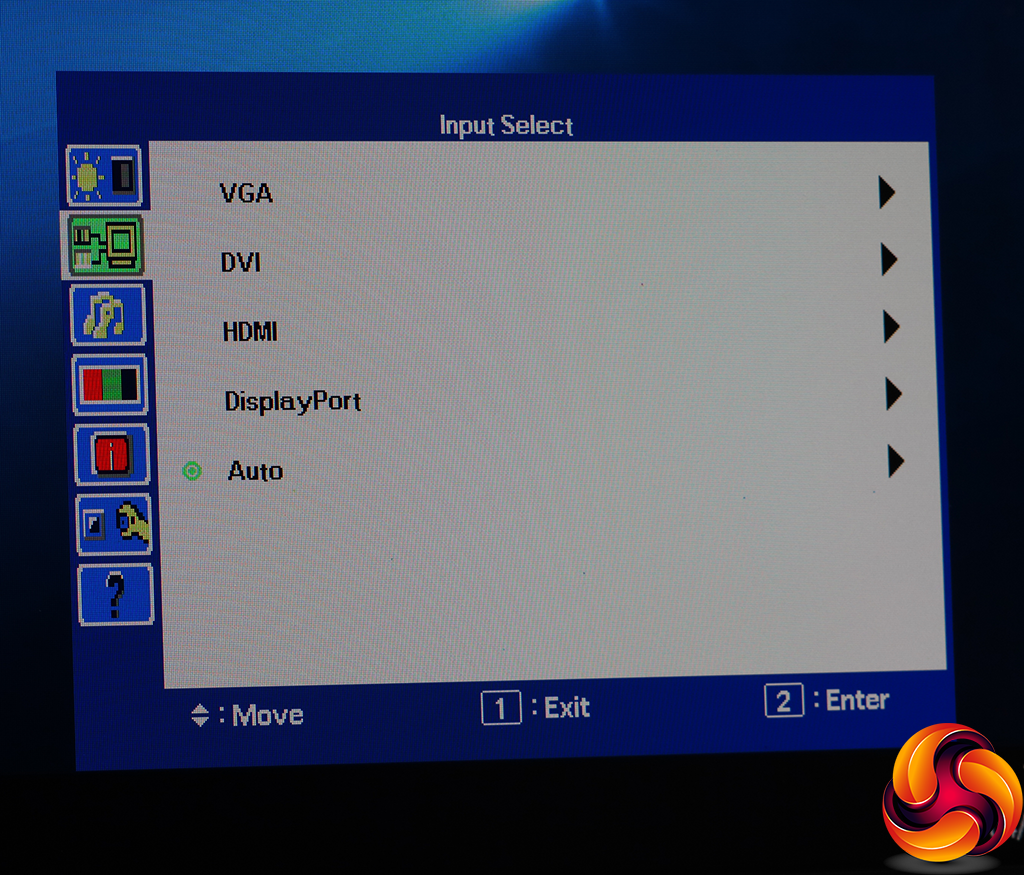
The button marked 2 calls up an input list, so you can choose manually if you have multiple sources attached.
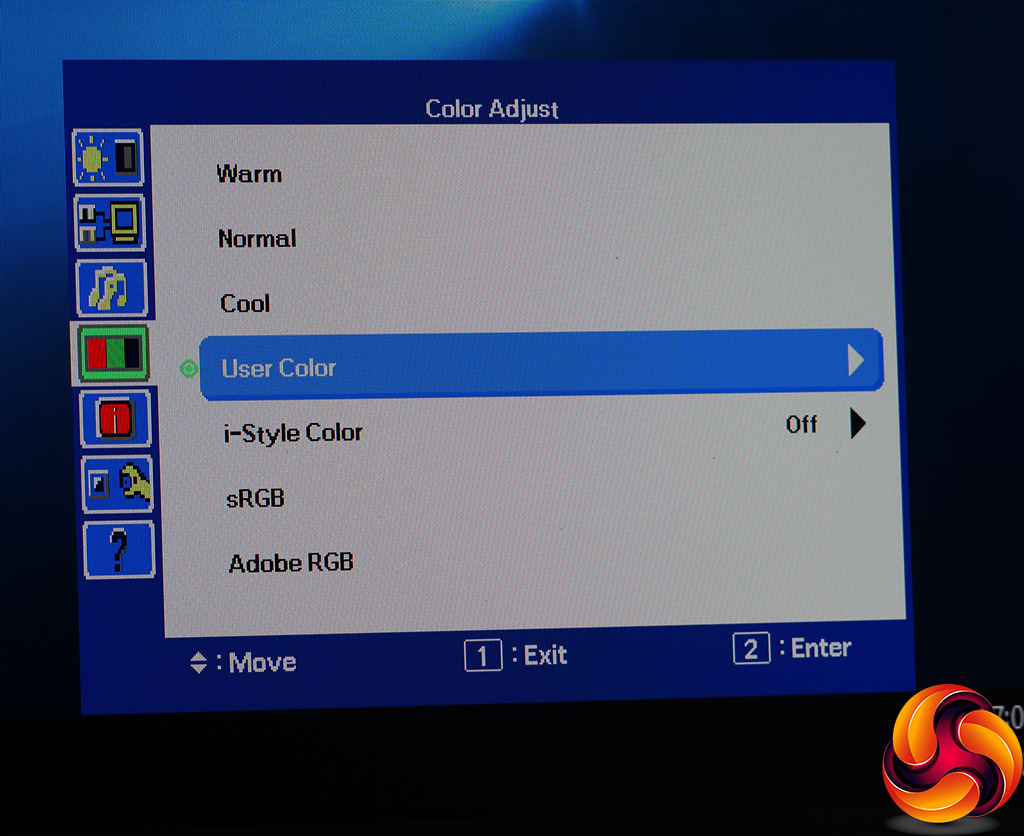
Pressing the “up” button gets you straight into the User Color section, where you can adjust RGB values individually.
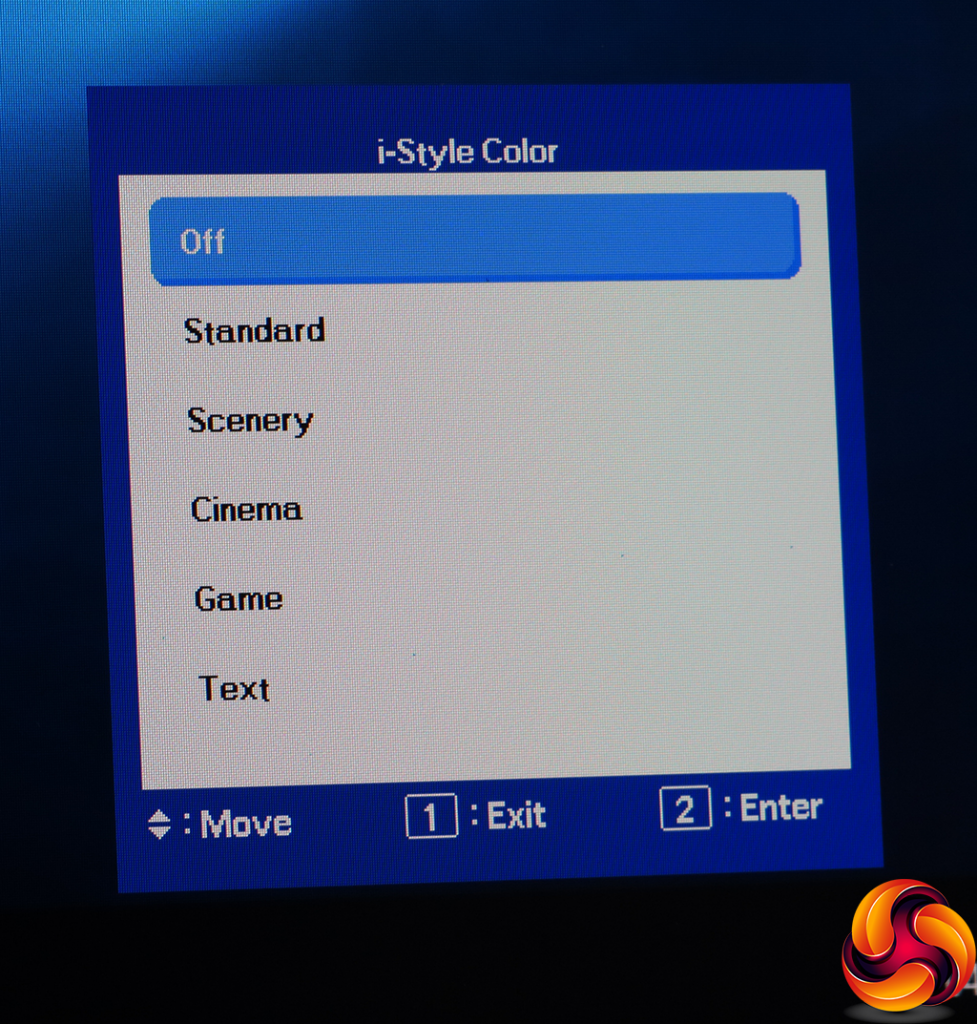
The “down” button calls up the i-Style Color OSD presets, which include Standard, Scenery, Cinema, Game and Text.
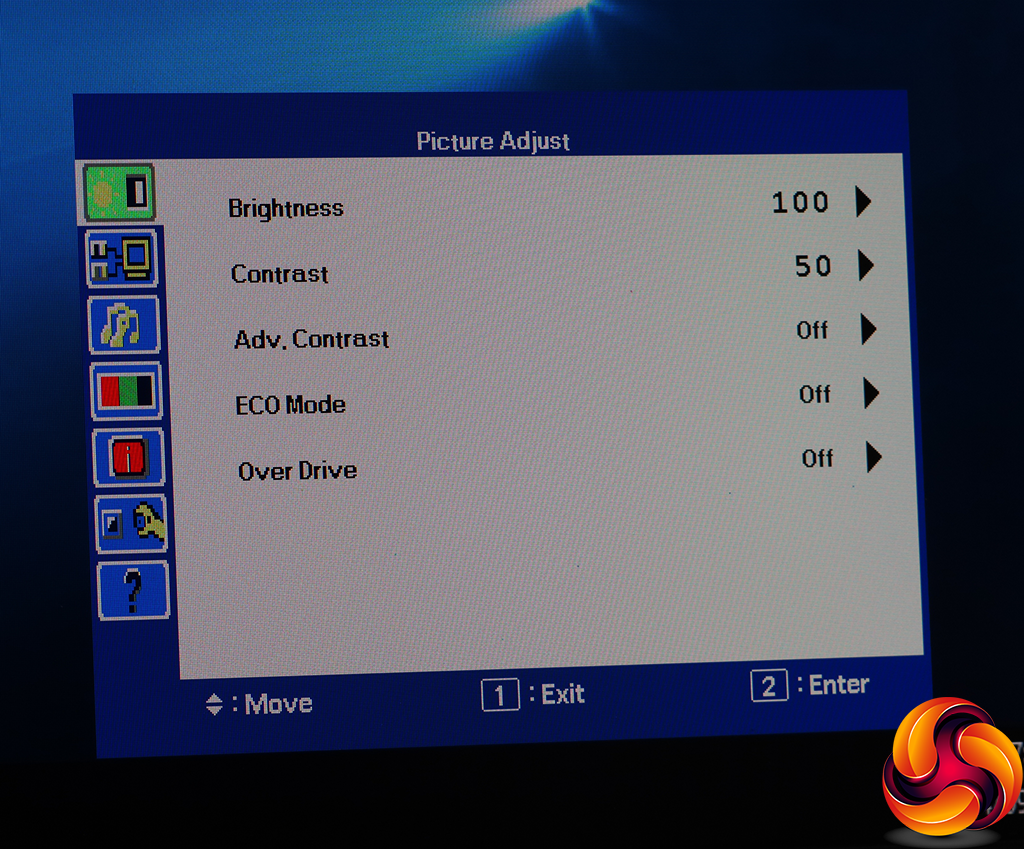
The left-most button, labelled “1”, calls up the main menu with the first Picture Adjust section highlighted. This provides control over brightness and contrast, plus the ability to turn on Advanced Contrast. The latter adjusts the backlight to create a greater perceived contrast, so you can't change brightness manually in this mode. The ECO Modes lower the backlight to save power, and the OverDrive option improves pixel response or reduces it for better quality, with settings ranging from -2 to +2 in single steps.
The next entry on the full menu list is another route to changing the video input manually.
You can access the Audio Adjust submenu via the main menu as well.
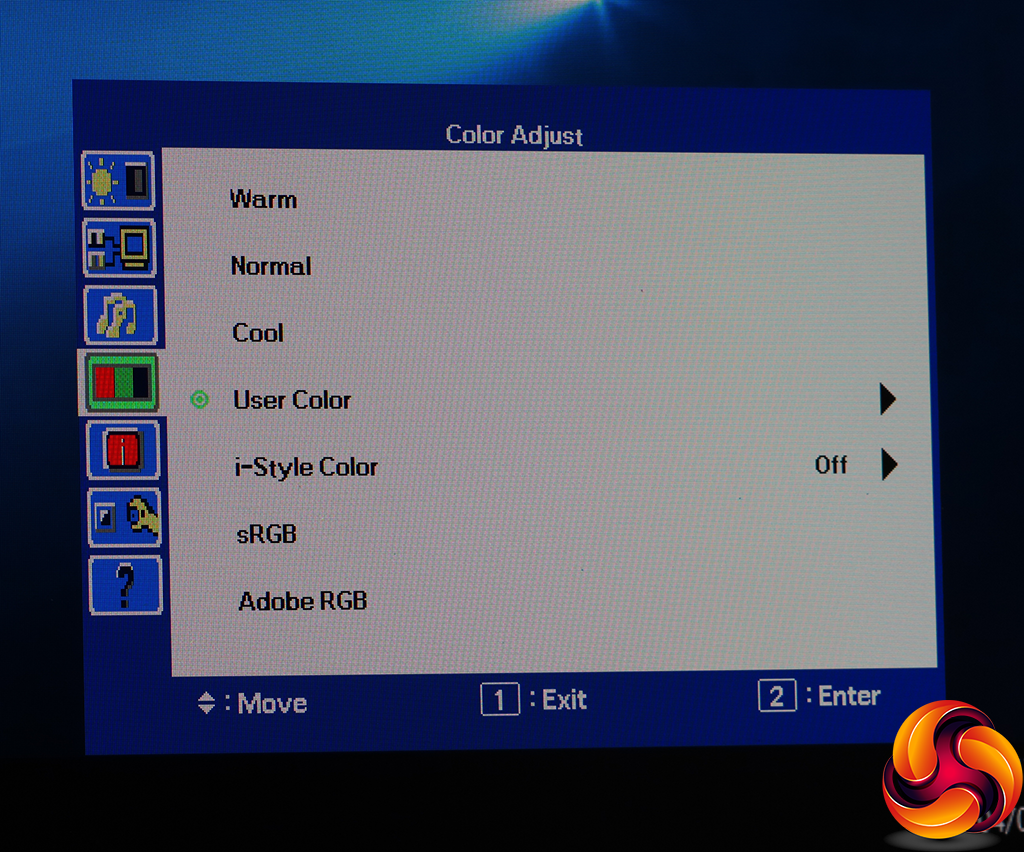
The Color Adjust menu provides temperature presets including Warm, Normal, Cool, sRGB and Adobe RGB, plus access to the User Color and i-Style Color options we described already.
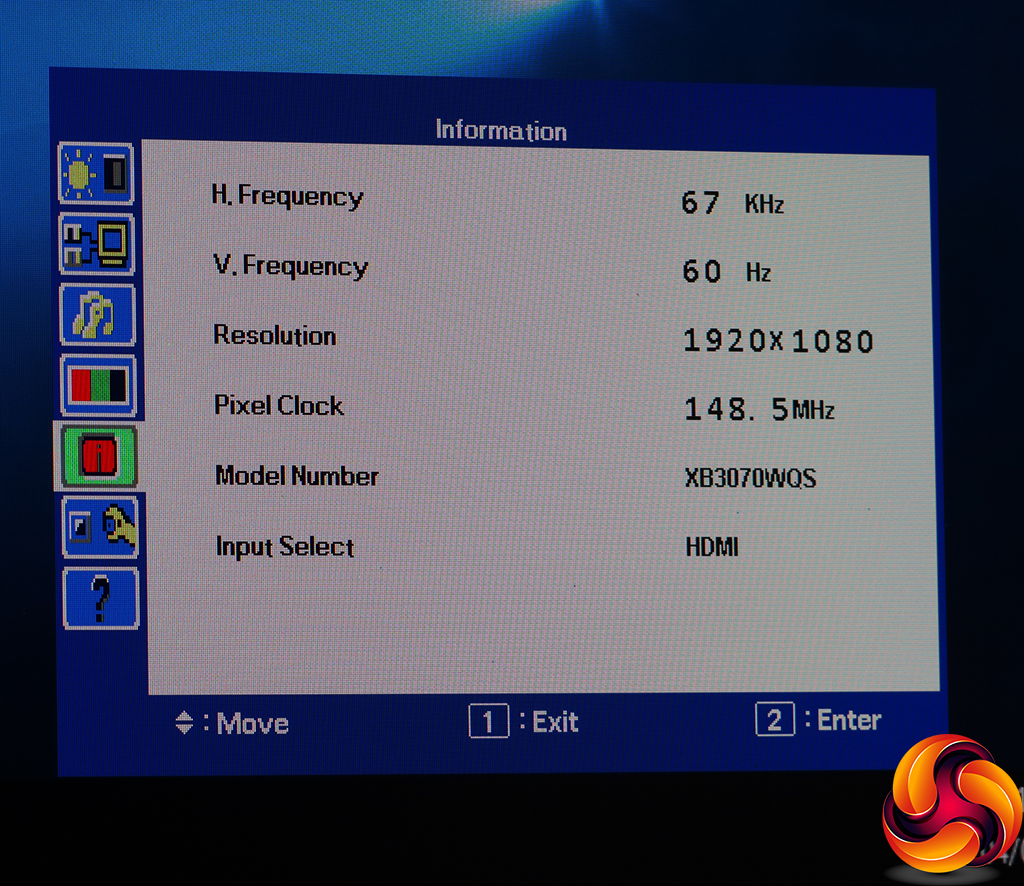
The Information panel merely tells you the current screen frequencies, resolution and input, without the option to change anything.
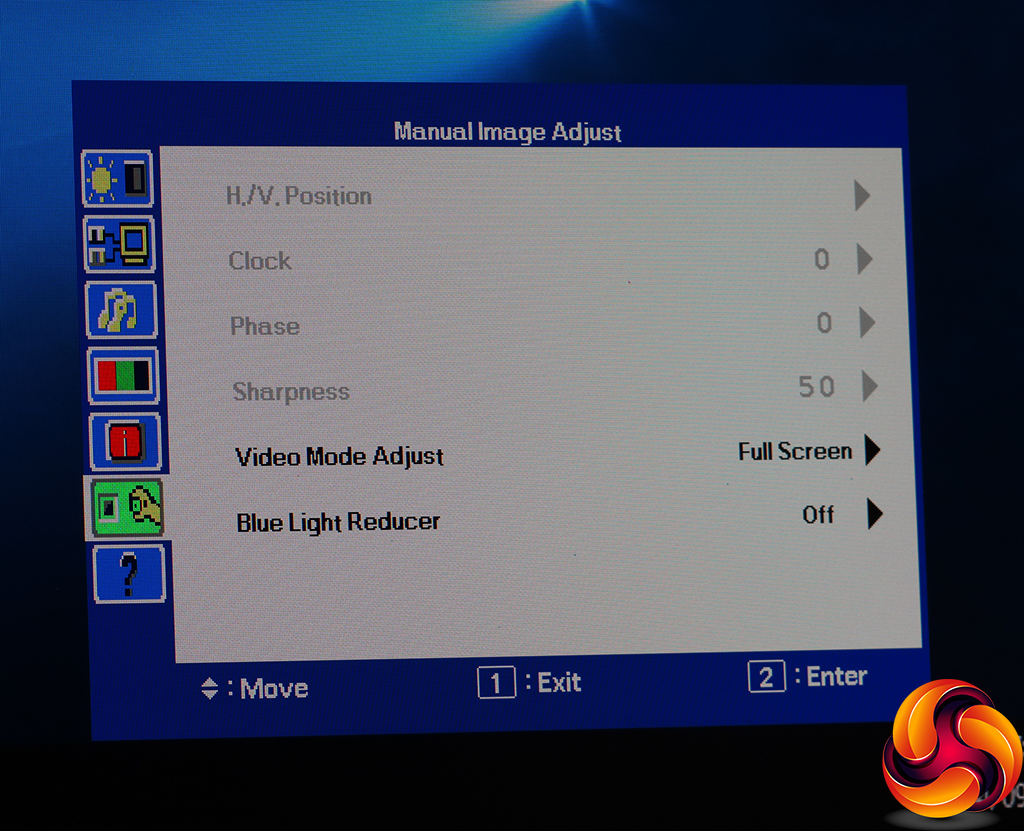
Most of the Manual Image Adjust options are greyed out with a digital input. If you're not running a native resolution, you can choose whether to expand the input signal to full screen, display it with the correct aspect ratio, or simply a pixel-by-pixel window. There's also a Blue Light Reducer to prevent eyestrain, with three levels available.
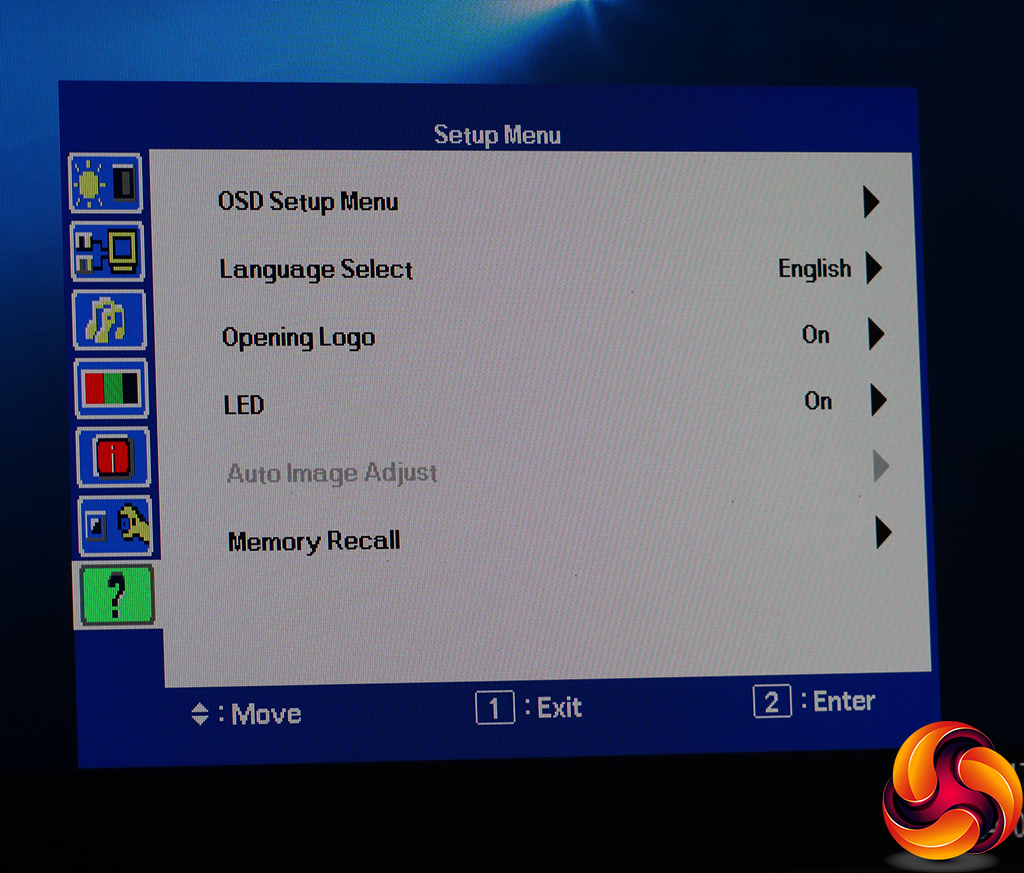
The final menu option provides various options for how the OSD is displayed and whether or not the LED power light on the front is enabled.
Overall, the OSD is very rudimentary in appearance and not packed with a huge range of features, but the colour presets and manual adjustments are easily accessed, which are the most likely options for you to need access to in a professional screen. The only notable omission is control over gamma. Even more important, however, is performance. So let's turn to this aspect next.
 KitGuru KitGuru.net – Tech News | Hardware News | Hardware Reviews | IOS | Mobile | Gaming | Graphics Cards


