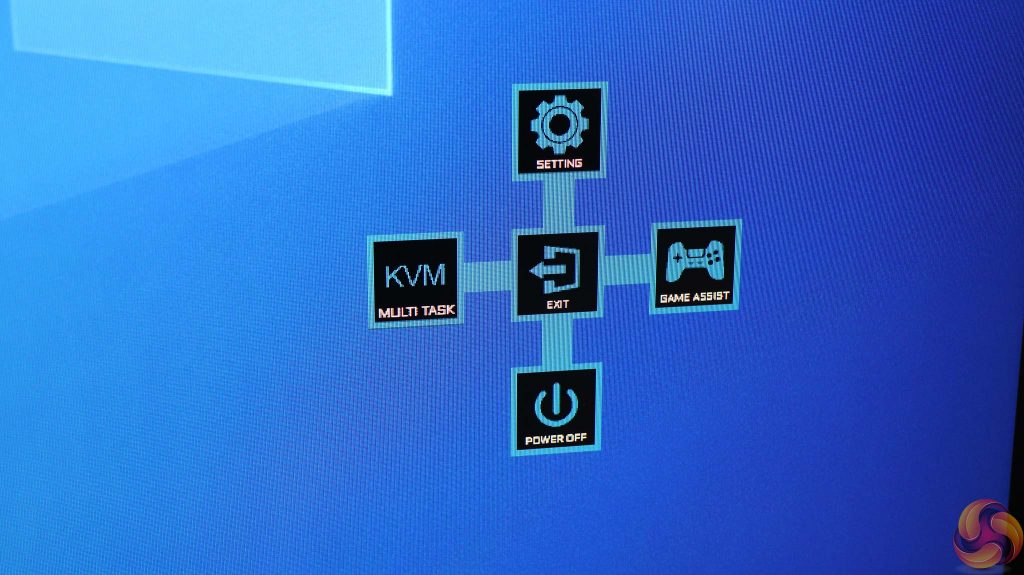
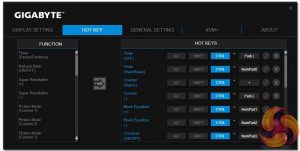
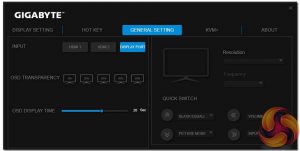
Despite just having a joystick, the M27Q offers a plethora of quick menus depending on how you press the joystick. You can also customise the next four options.
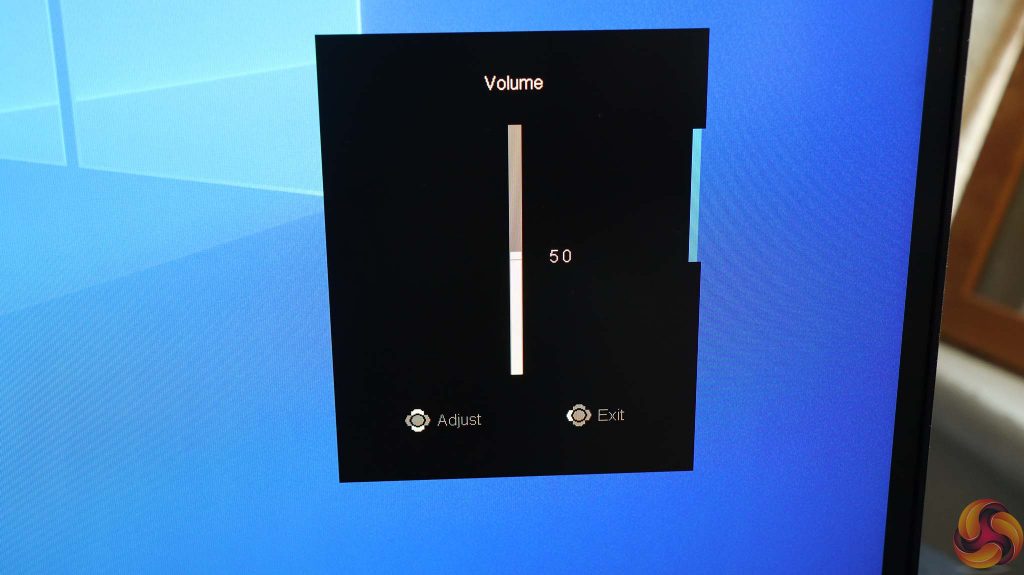
Pushing the joystick left (when viewing the monitor from the front) calls up a volume control, which alters the output of the analog headphone jack.
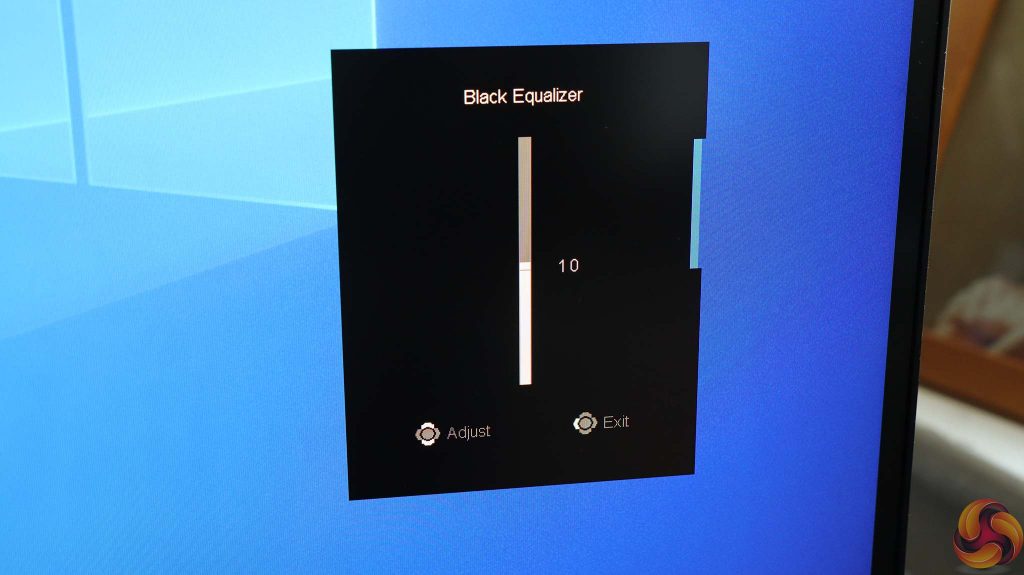
Pushing the joystick upwards lets you select the level of the Black Equalizer. Rather than being anything to do with the BLM movement, this is a setting to increase the detail visible in dark or shadowy areas of the screen.
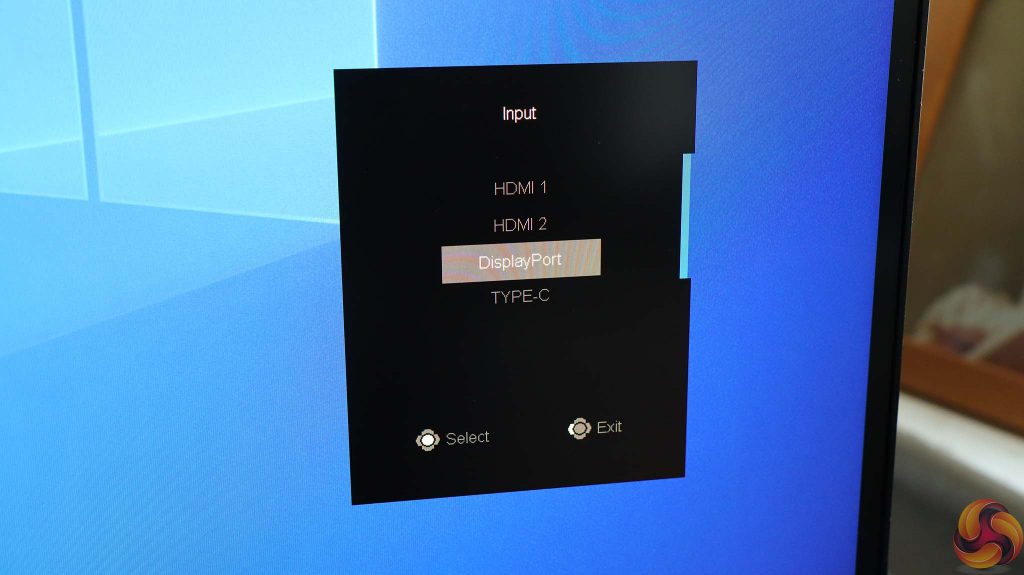
Pushing the joystick right lets you manually select the video input to use from the four options this monitor has on offer.
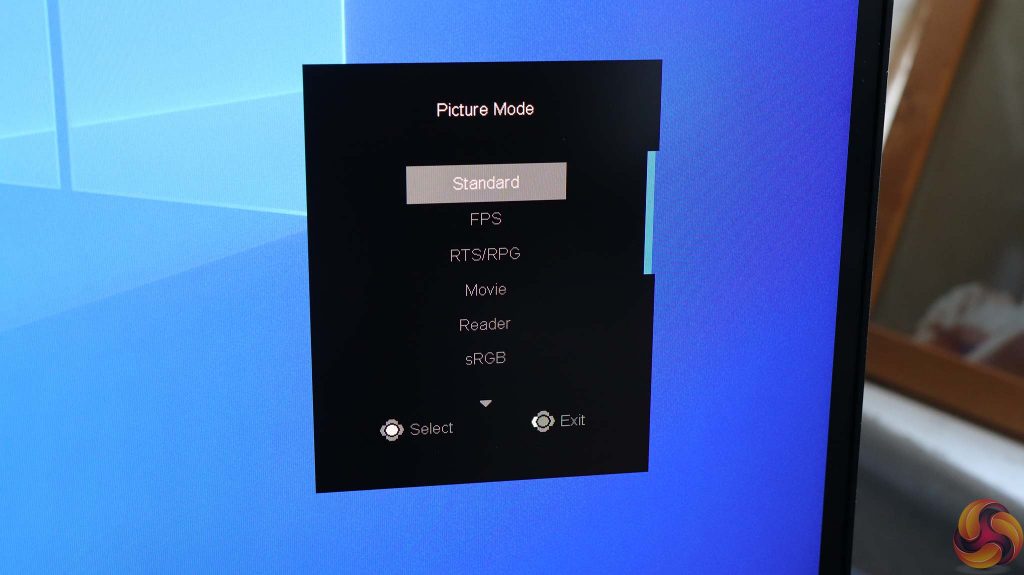
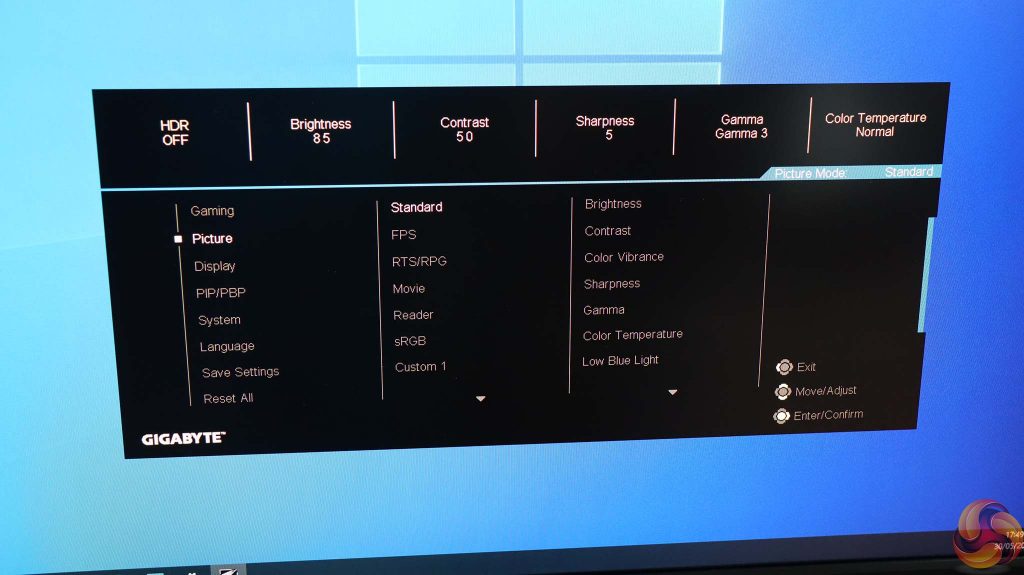
Finally, pushing left lets you select the Picture Modes. Unlike some manufacturers, Gigabyte groups all of these together, whether game-related or aimed at more general usage scenarios. The options include Standard, FPS, RTS/RPG, Movie, Reader, sRGB, and three Custom slots where you can save your settings.
As we mentioned earlier, all four of these joystick positions can be changed, with these options available: Aim Stabilizer, Black Equalizer, Low Blue Light, Volume, Input, Contrast, Brightness and Picture Mode.
Pushing the joystick in reveals another menu layer. If you now pull the joystick down, it will turn off the monitor. The other directions have alternative functions too.
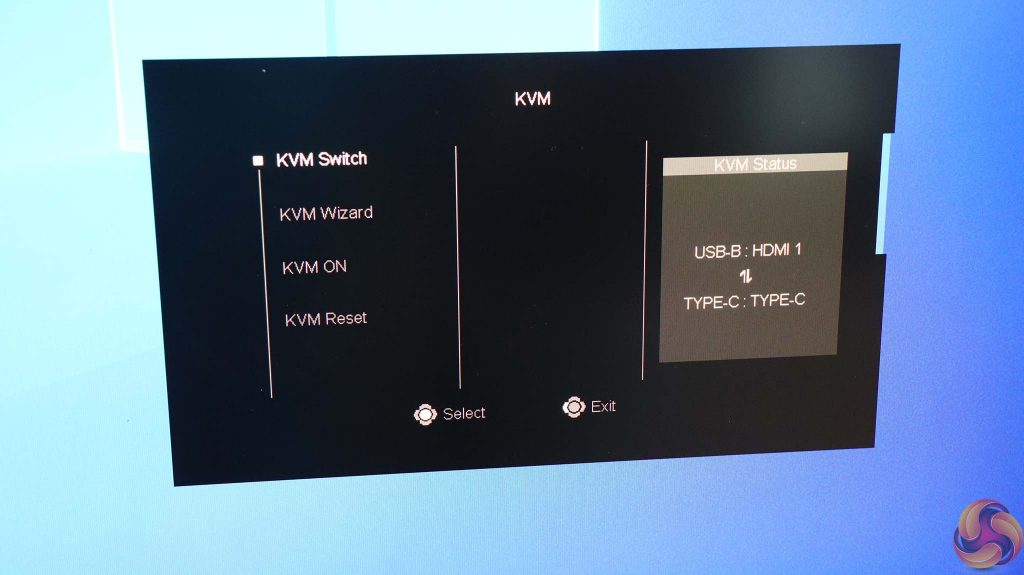
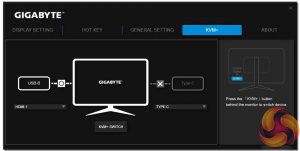
Now, if you push the joystick left, you reveal some settings for the KVM system, including a setup wizard for the two slots. Although the neatest system is when you have a portable that can deliver video, data and receive charge over USB C, but some only have a subset of this, and as already said the M27Q's power output is only enough for a tablet. The ones we tried only offered data and video. Some only offer data, so you will have to use one of the other video inputs alongside USB C, which is possible.
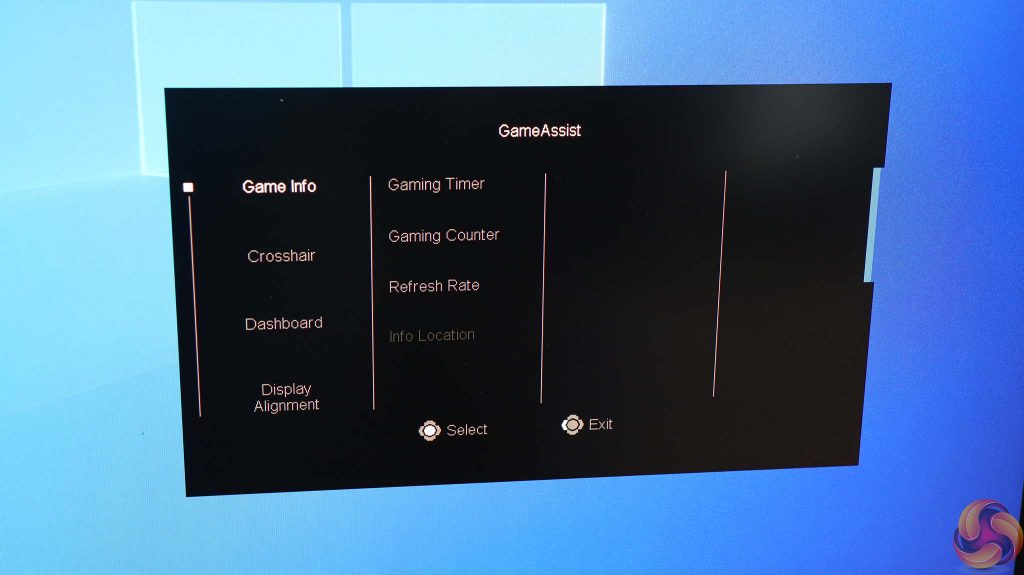
Pushing the joystick right now calls up the GameAssist functions, where you can superimpose useful things onscreen, such as a timer, frame counter, crosshair, and guides to help you align multiple screens.
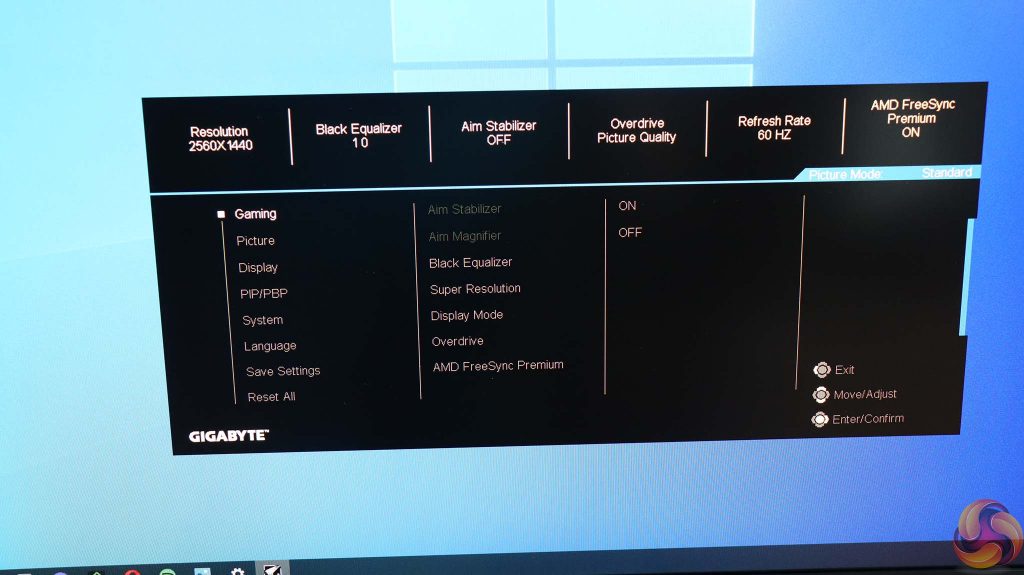
Pushing the joystick upwards calls up the Main Menu, with the Gaming section the first to appear. This provides access to the aforementioned Black Equalizer, Super Resolution (a sharpness / upscaling option), pixel Overdrive, and the option to toggle AMD FreeSync Premium adaptive synchronisation. There is also a setting to turn on the Aim Stabilizer, but this is not selectable at default settings.
Next along is the Picture menu, where you can select one of the presets, and then adjust Brightness, Contrast, Color Vibrance, Sharpness, Gamma, Color Temperature, Low Blue Light level, and turn on Dynamic Contrast. The monitor will then remember these settings until you reset to default.
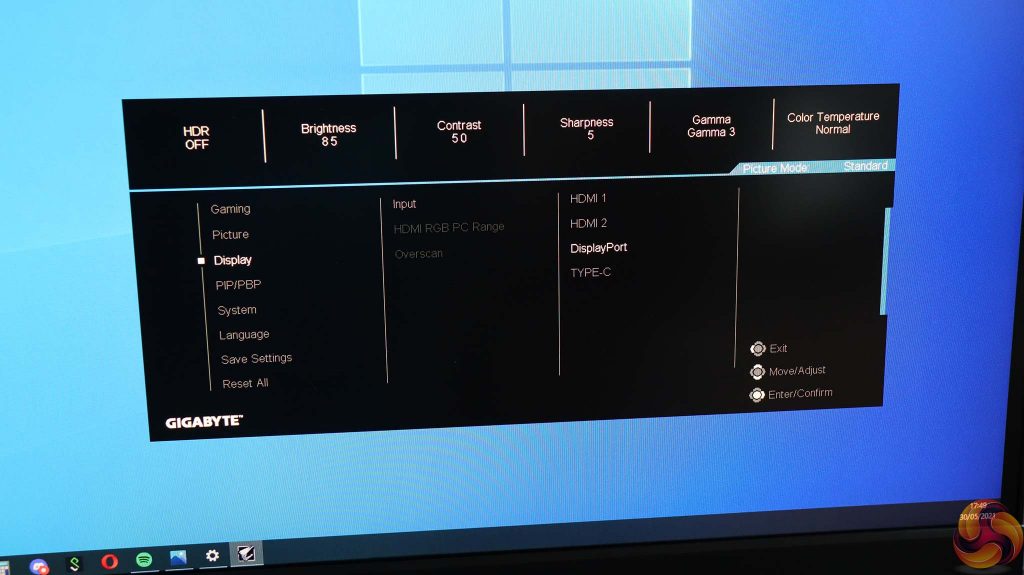
The Display section lets you select the input, change the colour range of the HDMI input, and (with an analog input) overscan so that the image fills the screen.
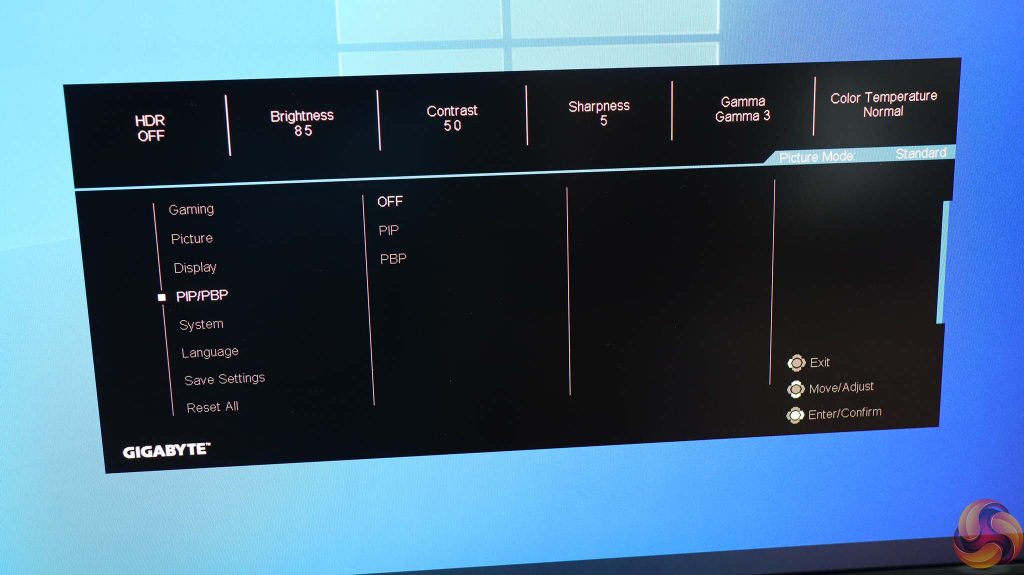
With lots of different inputs available, the M27Q's ability to display picture-in-picture and picture-by-picture could be useful. For example, you could hook up your set-top box and have broadcast TV in a window on your desktop.
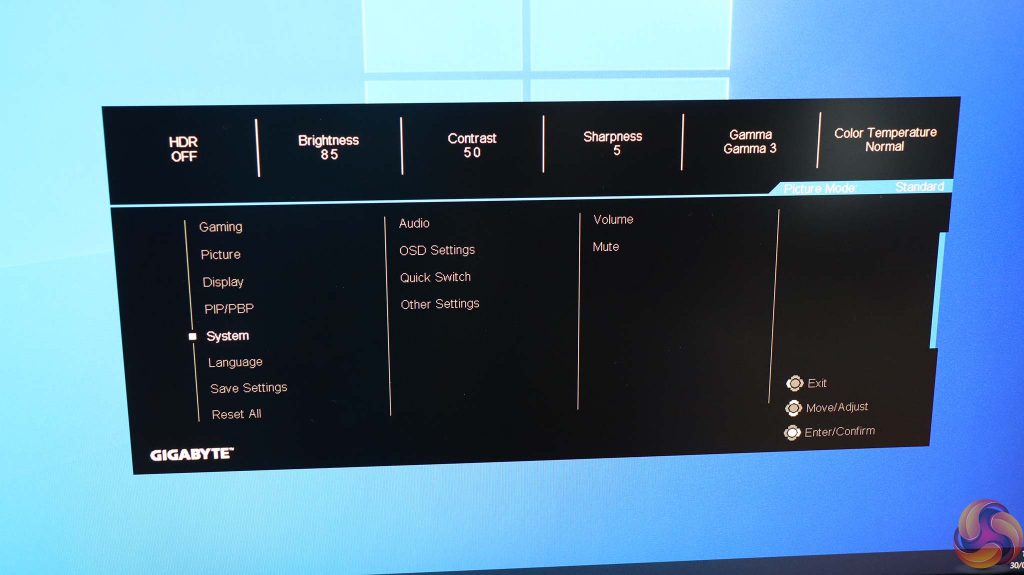
The System section appears to be a grab-bag of configuration options, such as volume control for the audio output, settings for the OSD including transparency and timeout, plus the ability to change what the four joystick directions do (as we already mentioned above).
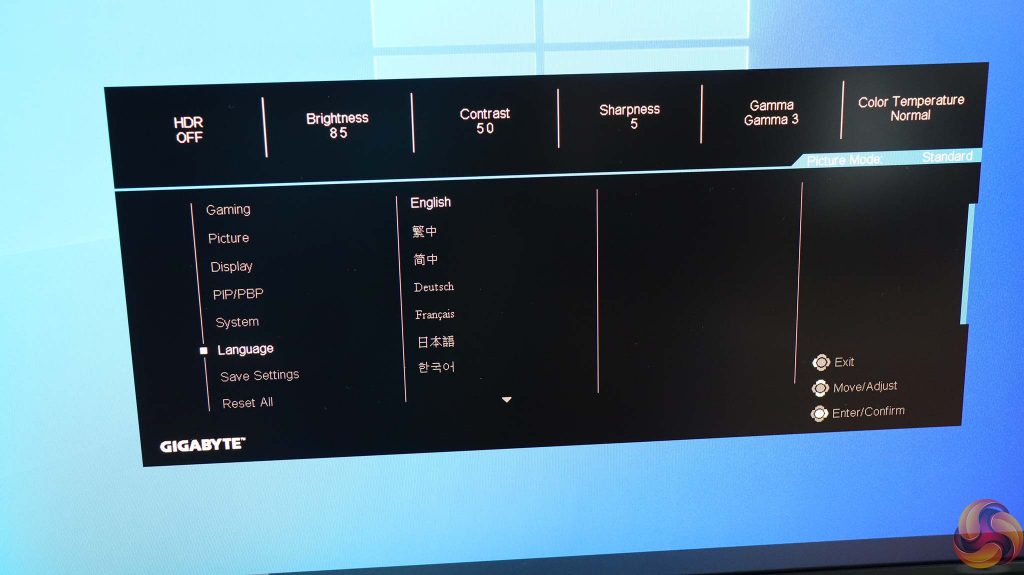
You can change the language of the OSD in its own dedicated section.
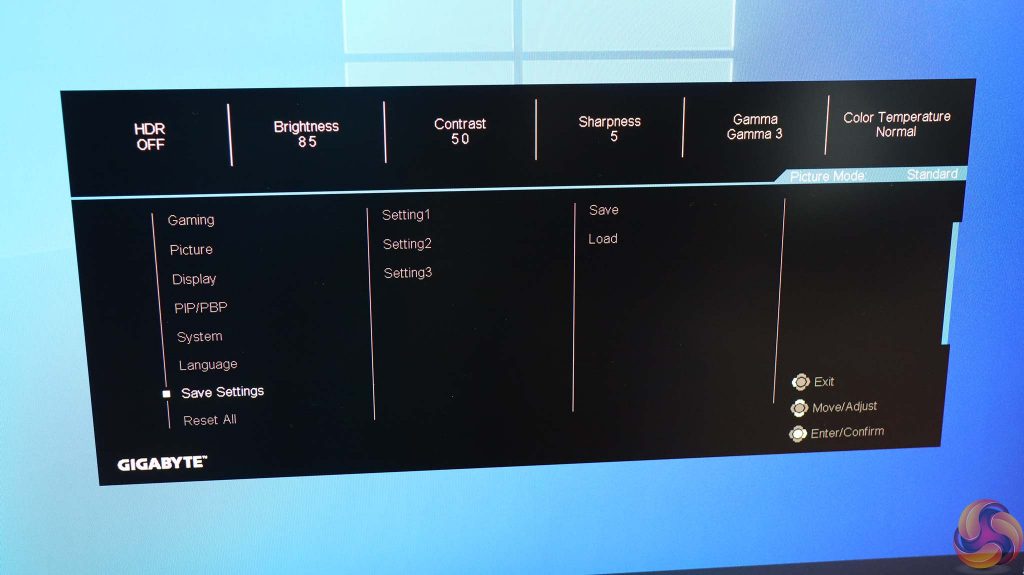
Under Save Settings you can store the current configuration in one of the custom Picture slots for rapid retrieval.
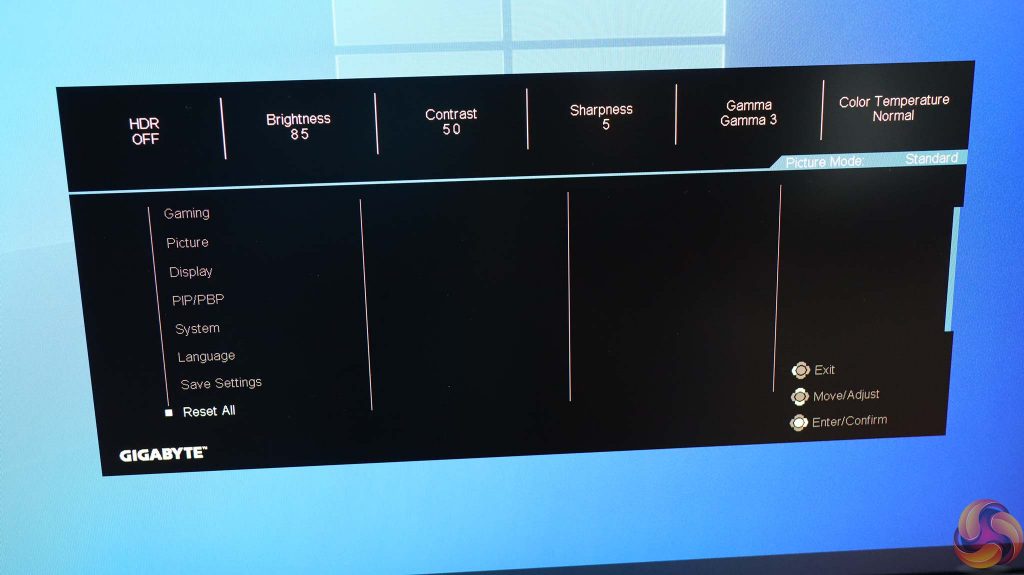
The final submenu is Reset All. Clicking Enter/Confirm on this resets everything to default.
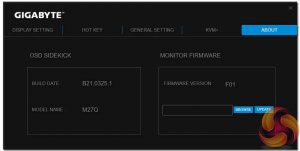
You can also control the monitor through Gigabyte's OSD Sidekick Windows software. This provides most of the same features, but grouped slightly differently. The KVM configuration is particularly useful, making it easy to combine each USB input (Type B and C) with a video input of your choice. This software also provides the ability to update the monitor firmware.
Overall, there's a good range of features here and Gigabyte has organised things in a logical fashion. We particularly like that all the presets are in the same place, whether for work or for play. There's also quite a lot of opportunity to customise how the OSD quick options function, so you can get to the settings you use all the time rapidly.
 KitGuru KitGuru.net – Tech News | Hardware News | Hardware Reviews | IOS | Mobile | Gaming | Graphics Cards
