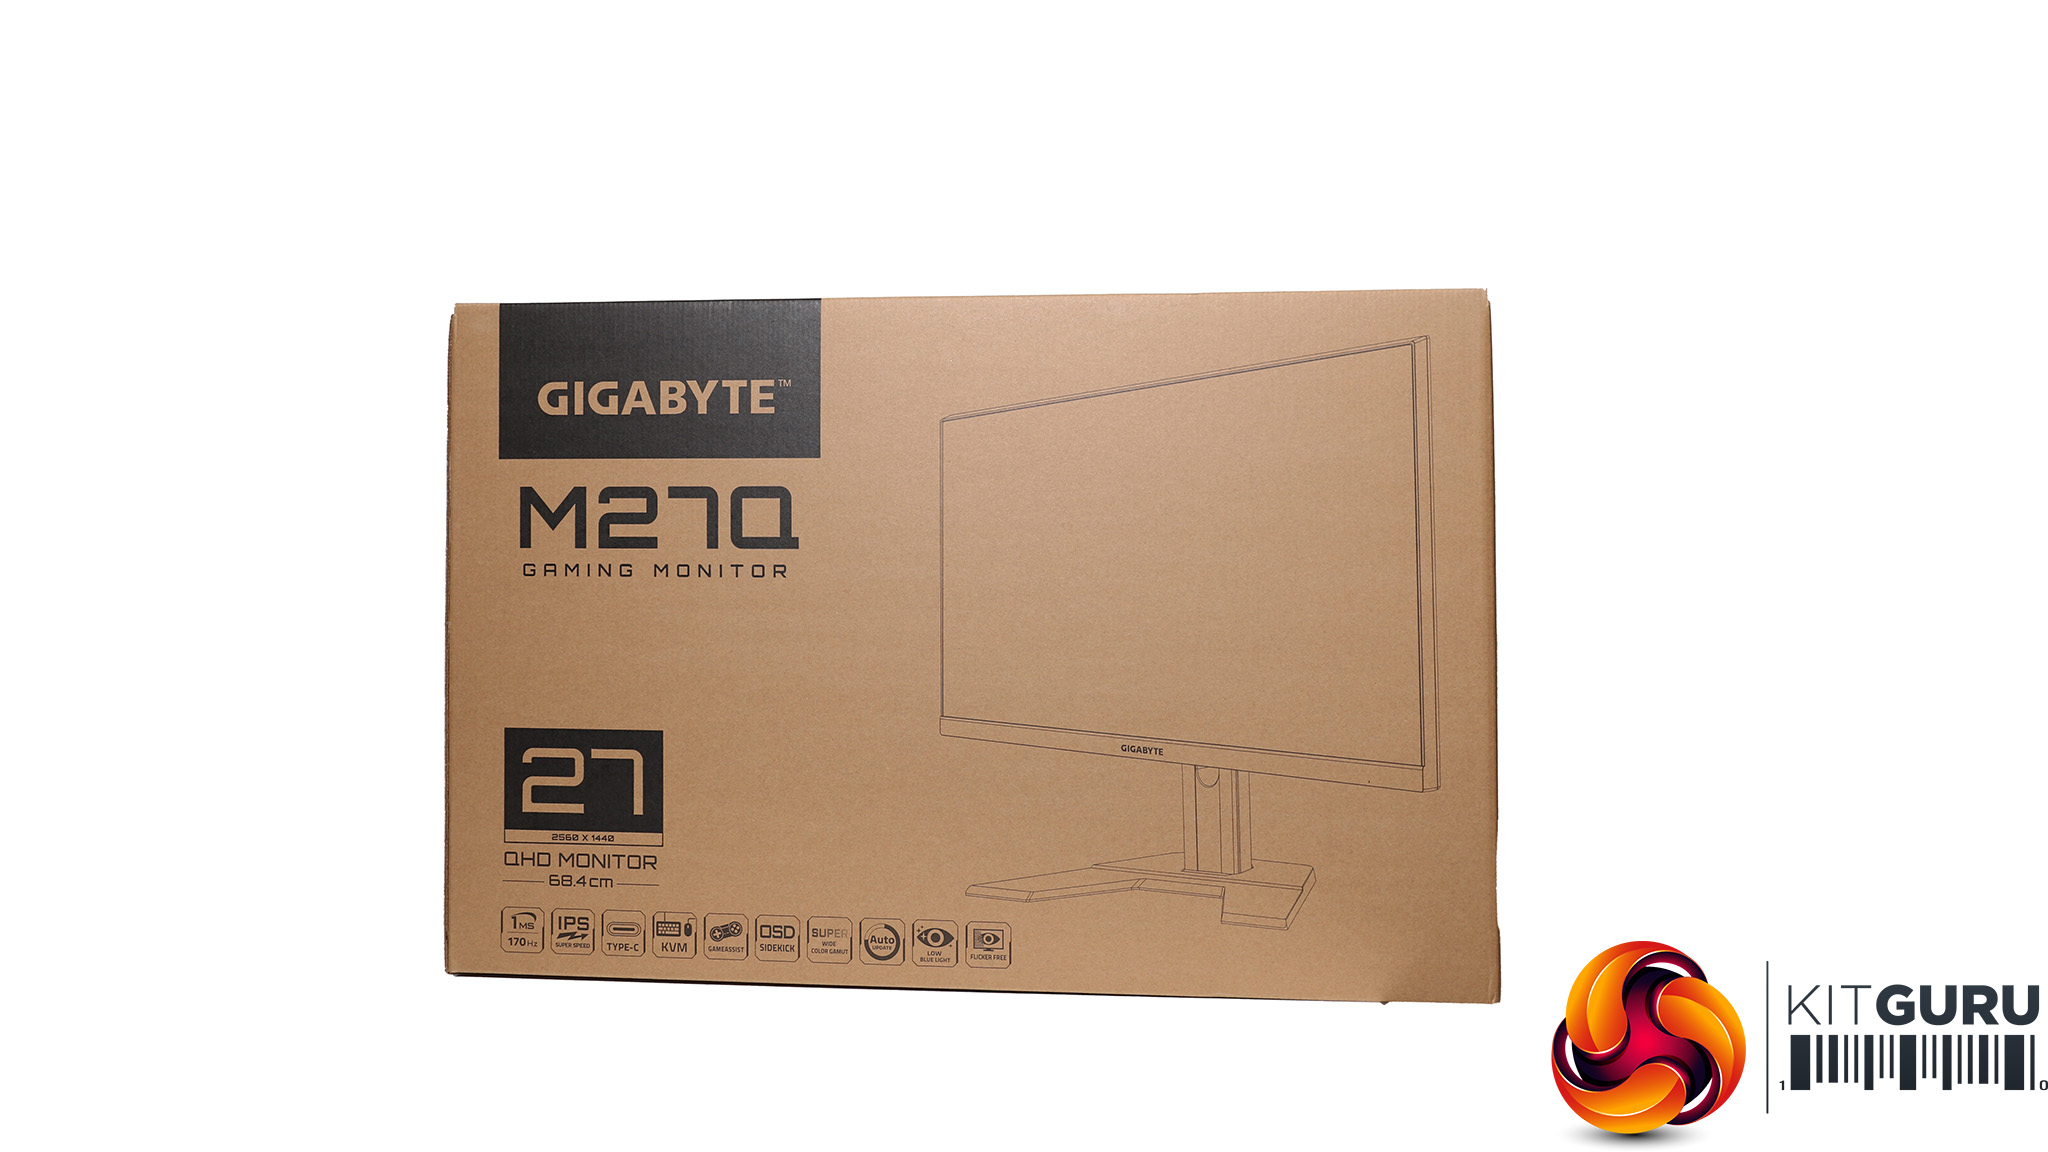
The Gigabyte M27Q‘s box isn't exactly the most exciting one we've seen. But you don't buy a product for its packaging. Or, if you do, you should have a good hard look at your priorities.

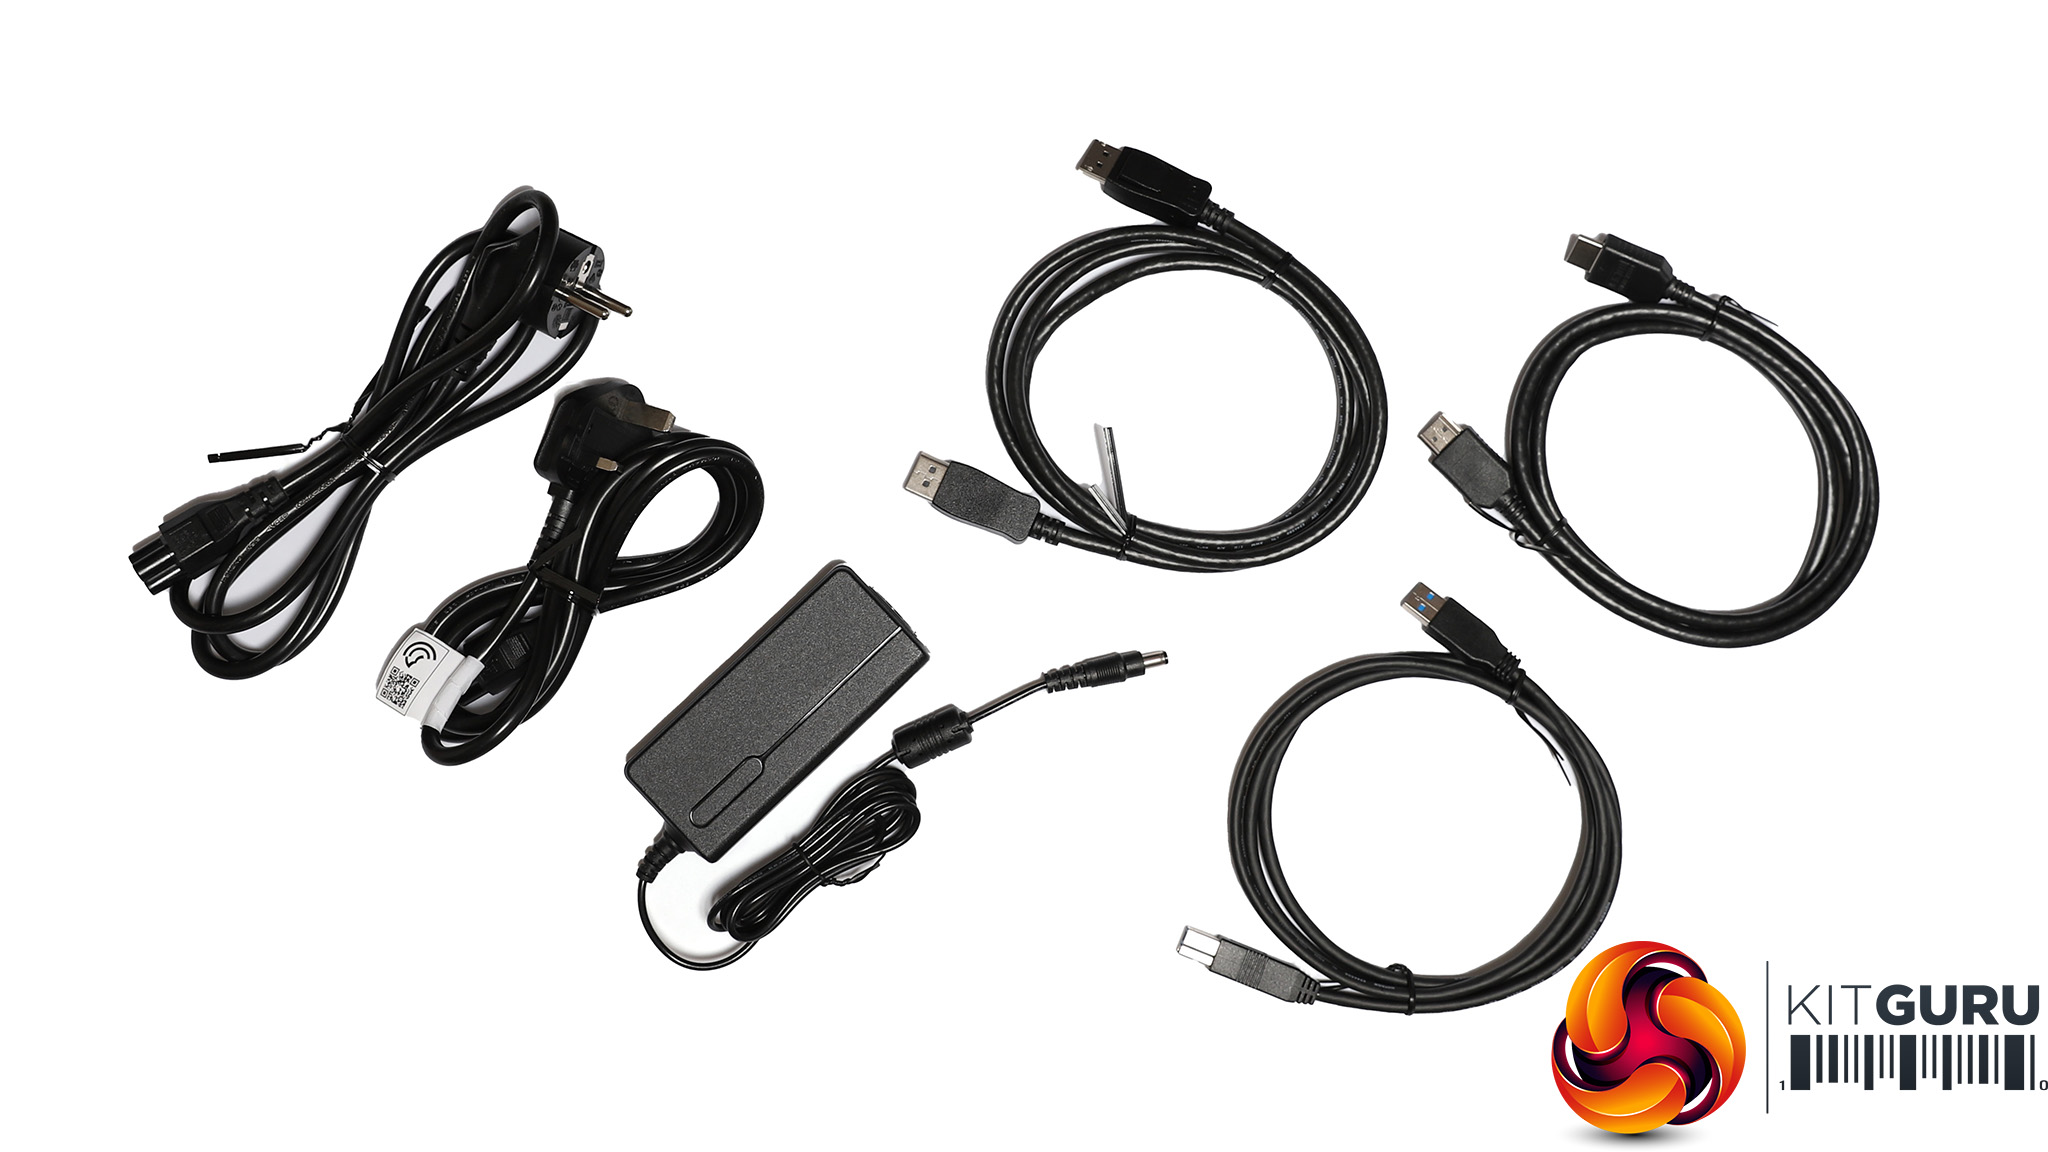
Inside is an external power brick, plus UK and European power cords, HDMI and DisplayPort cables, plus an upstream wire for the USB hub.
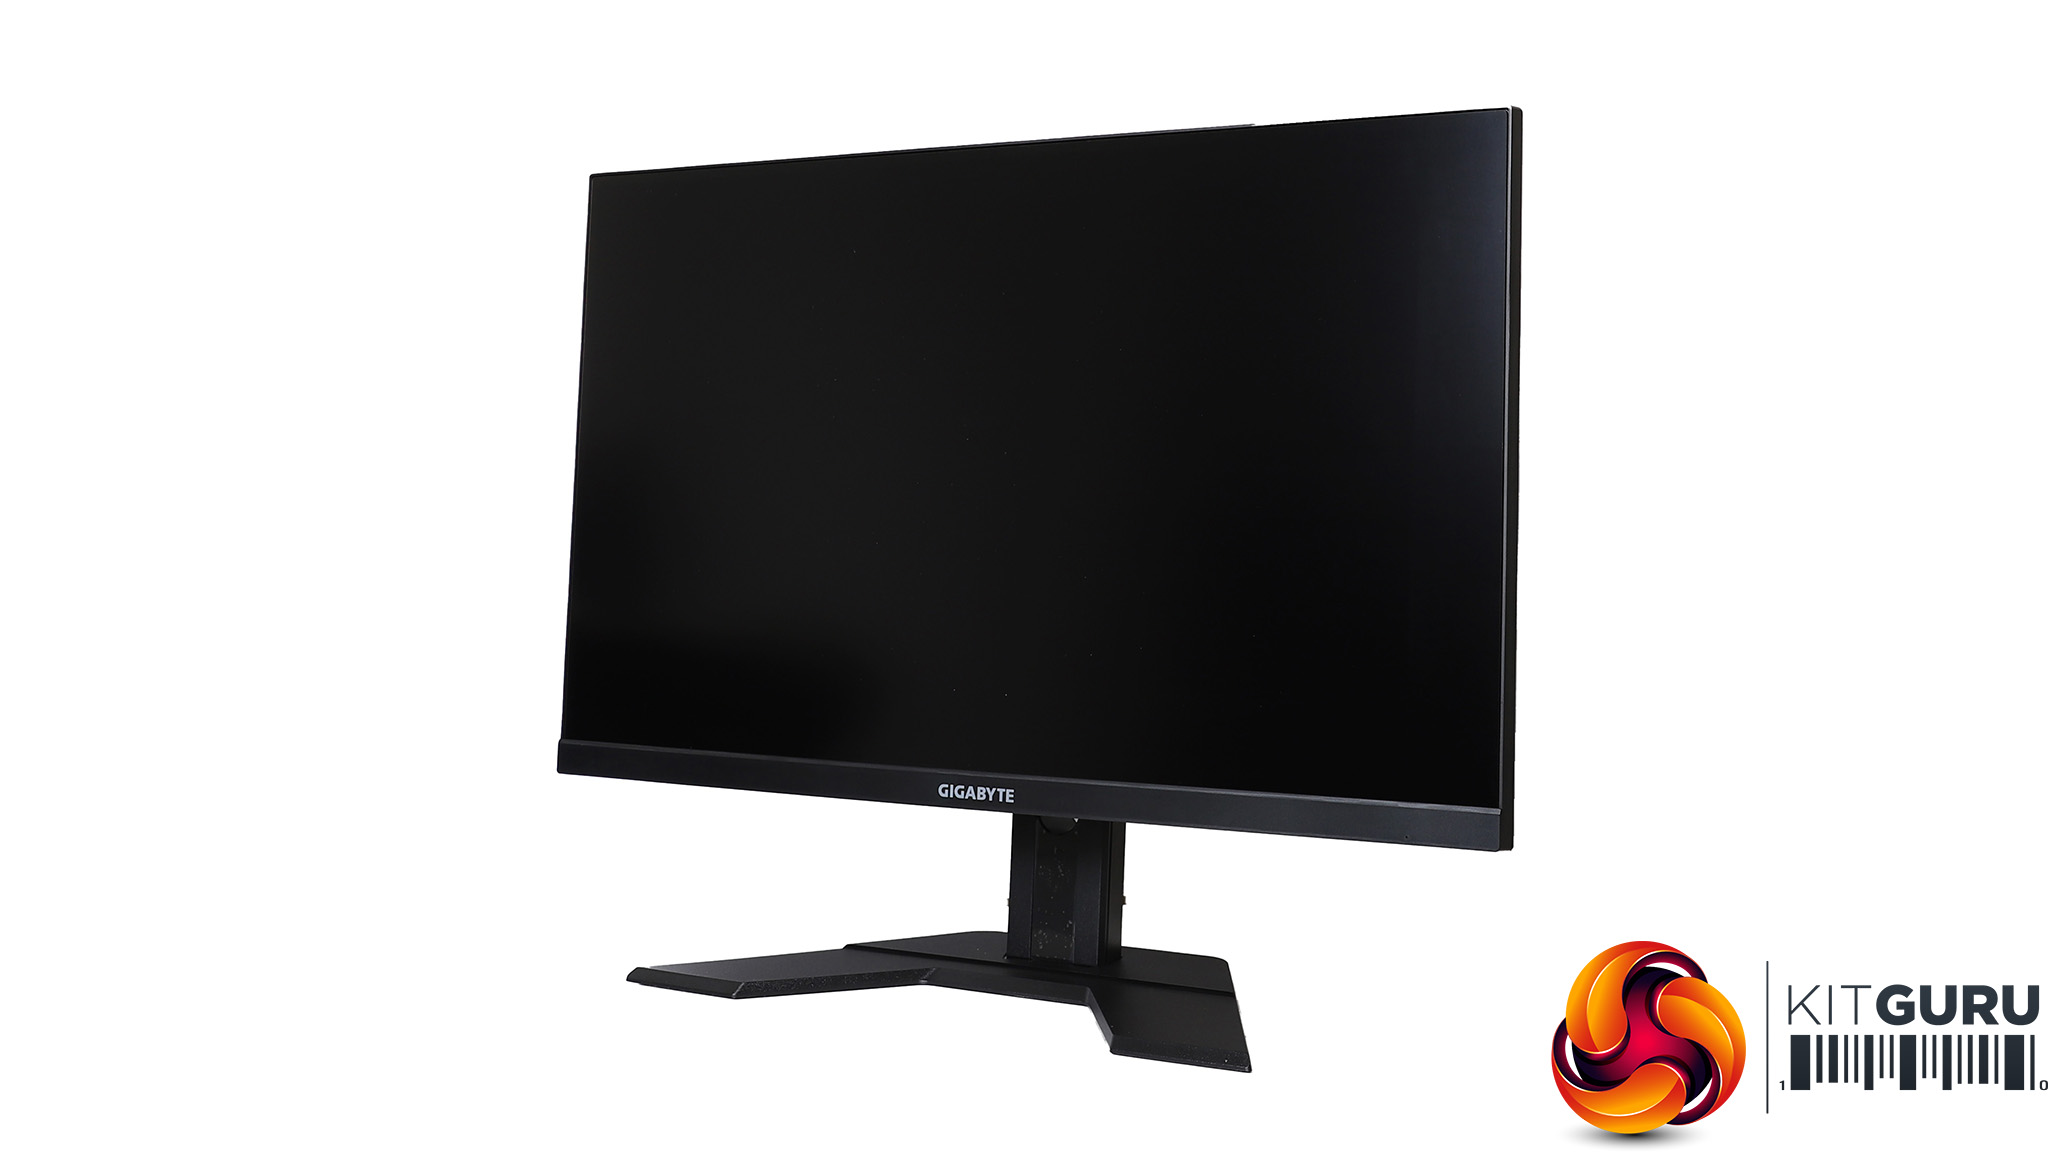
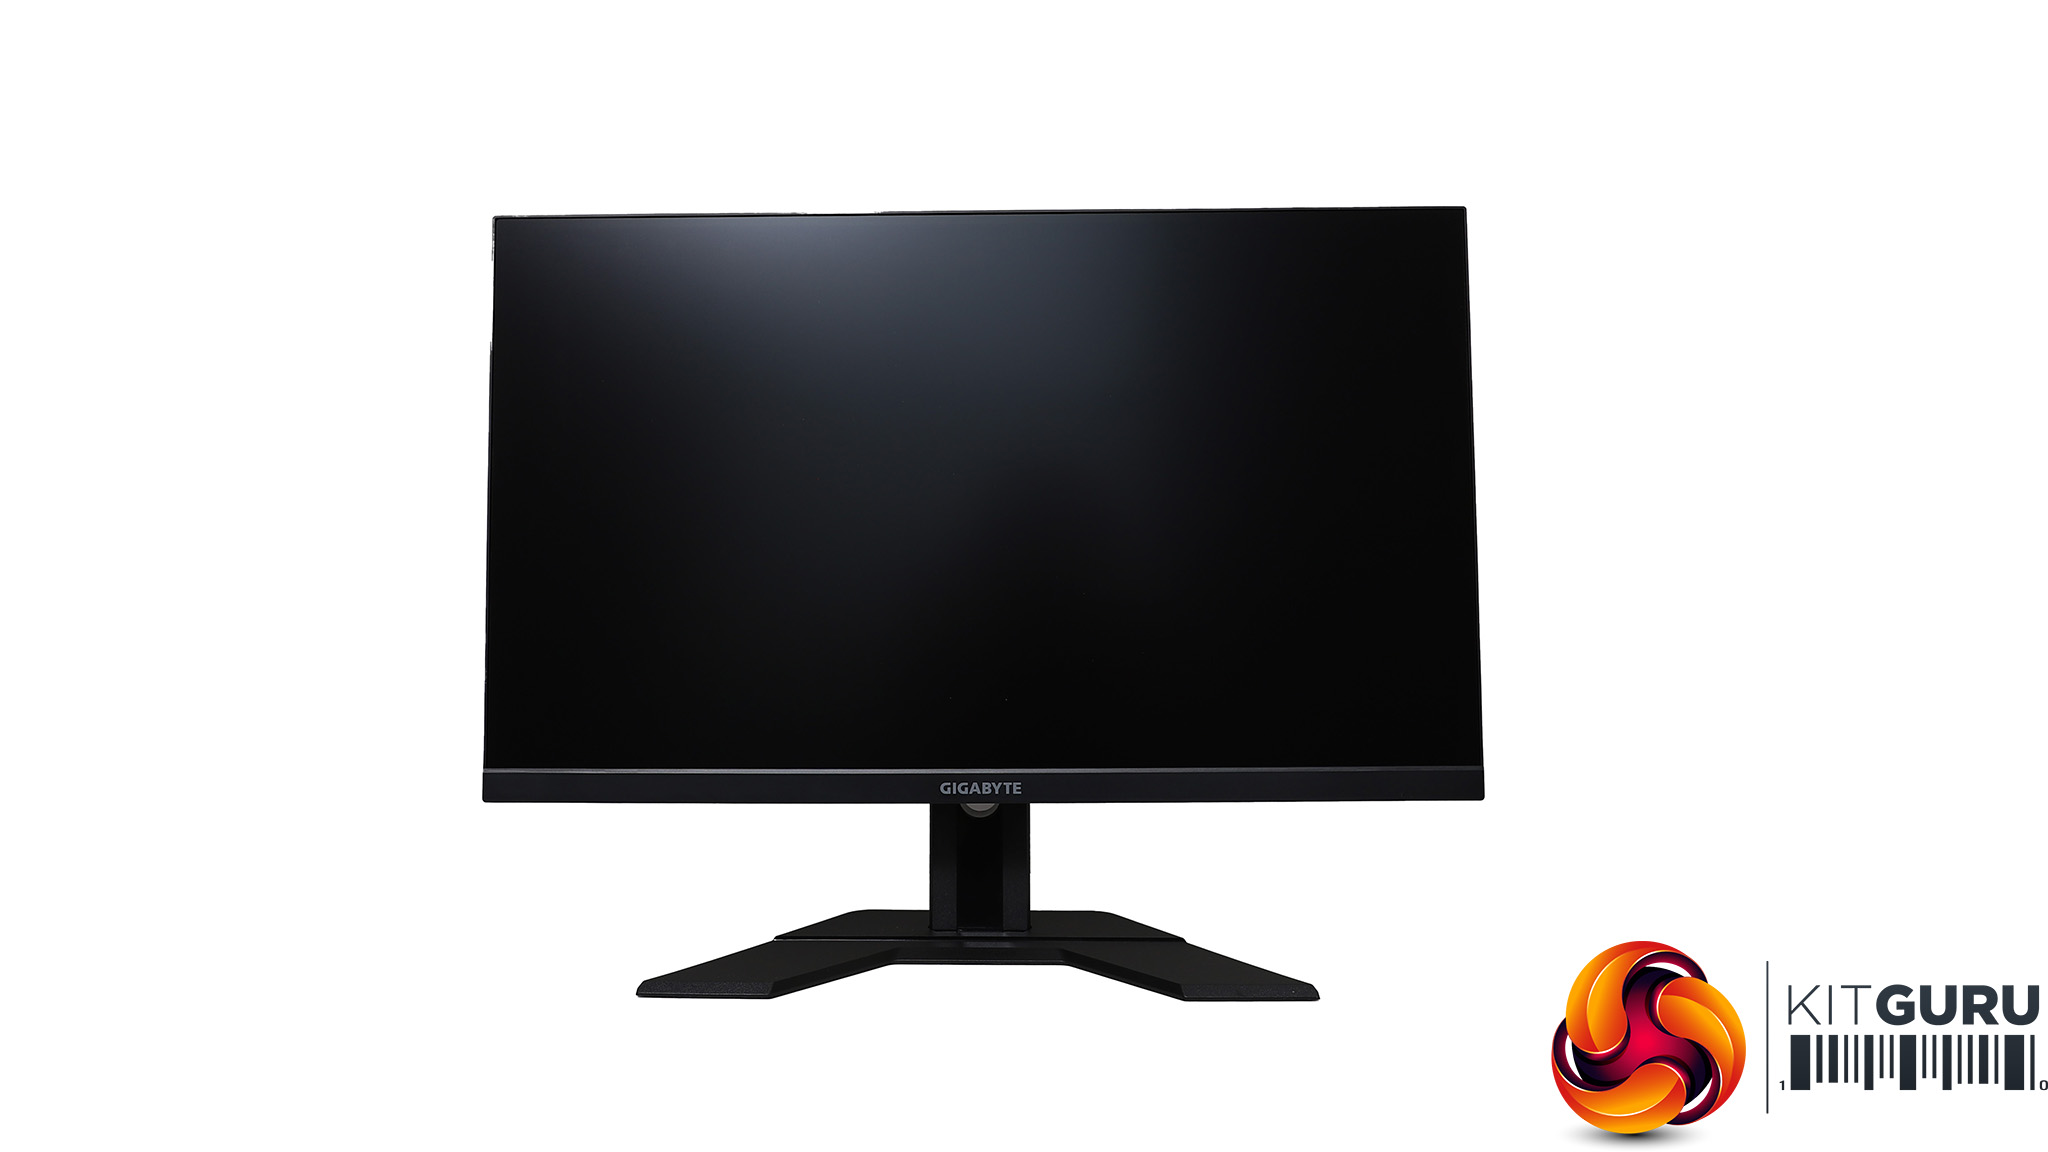
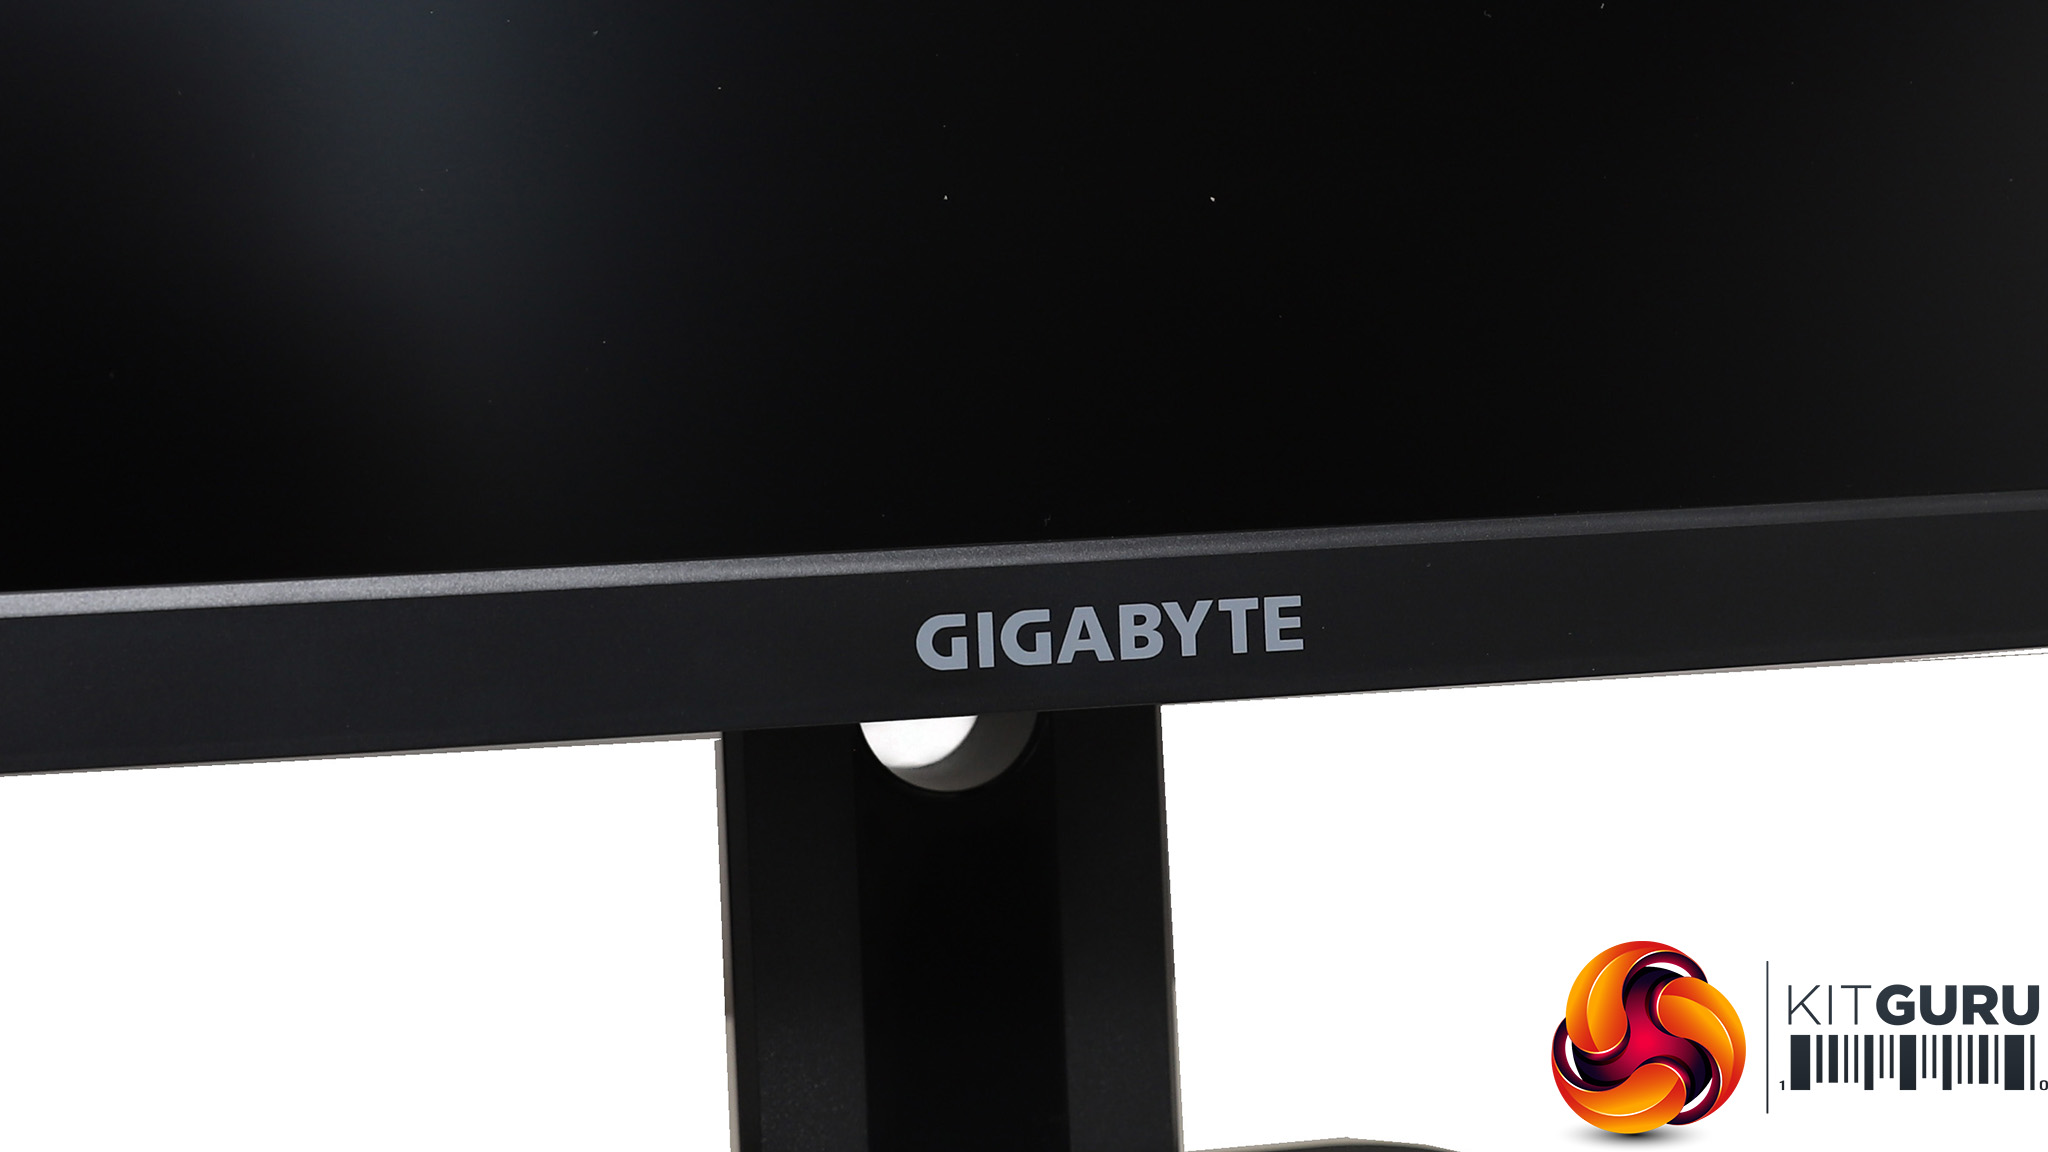
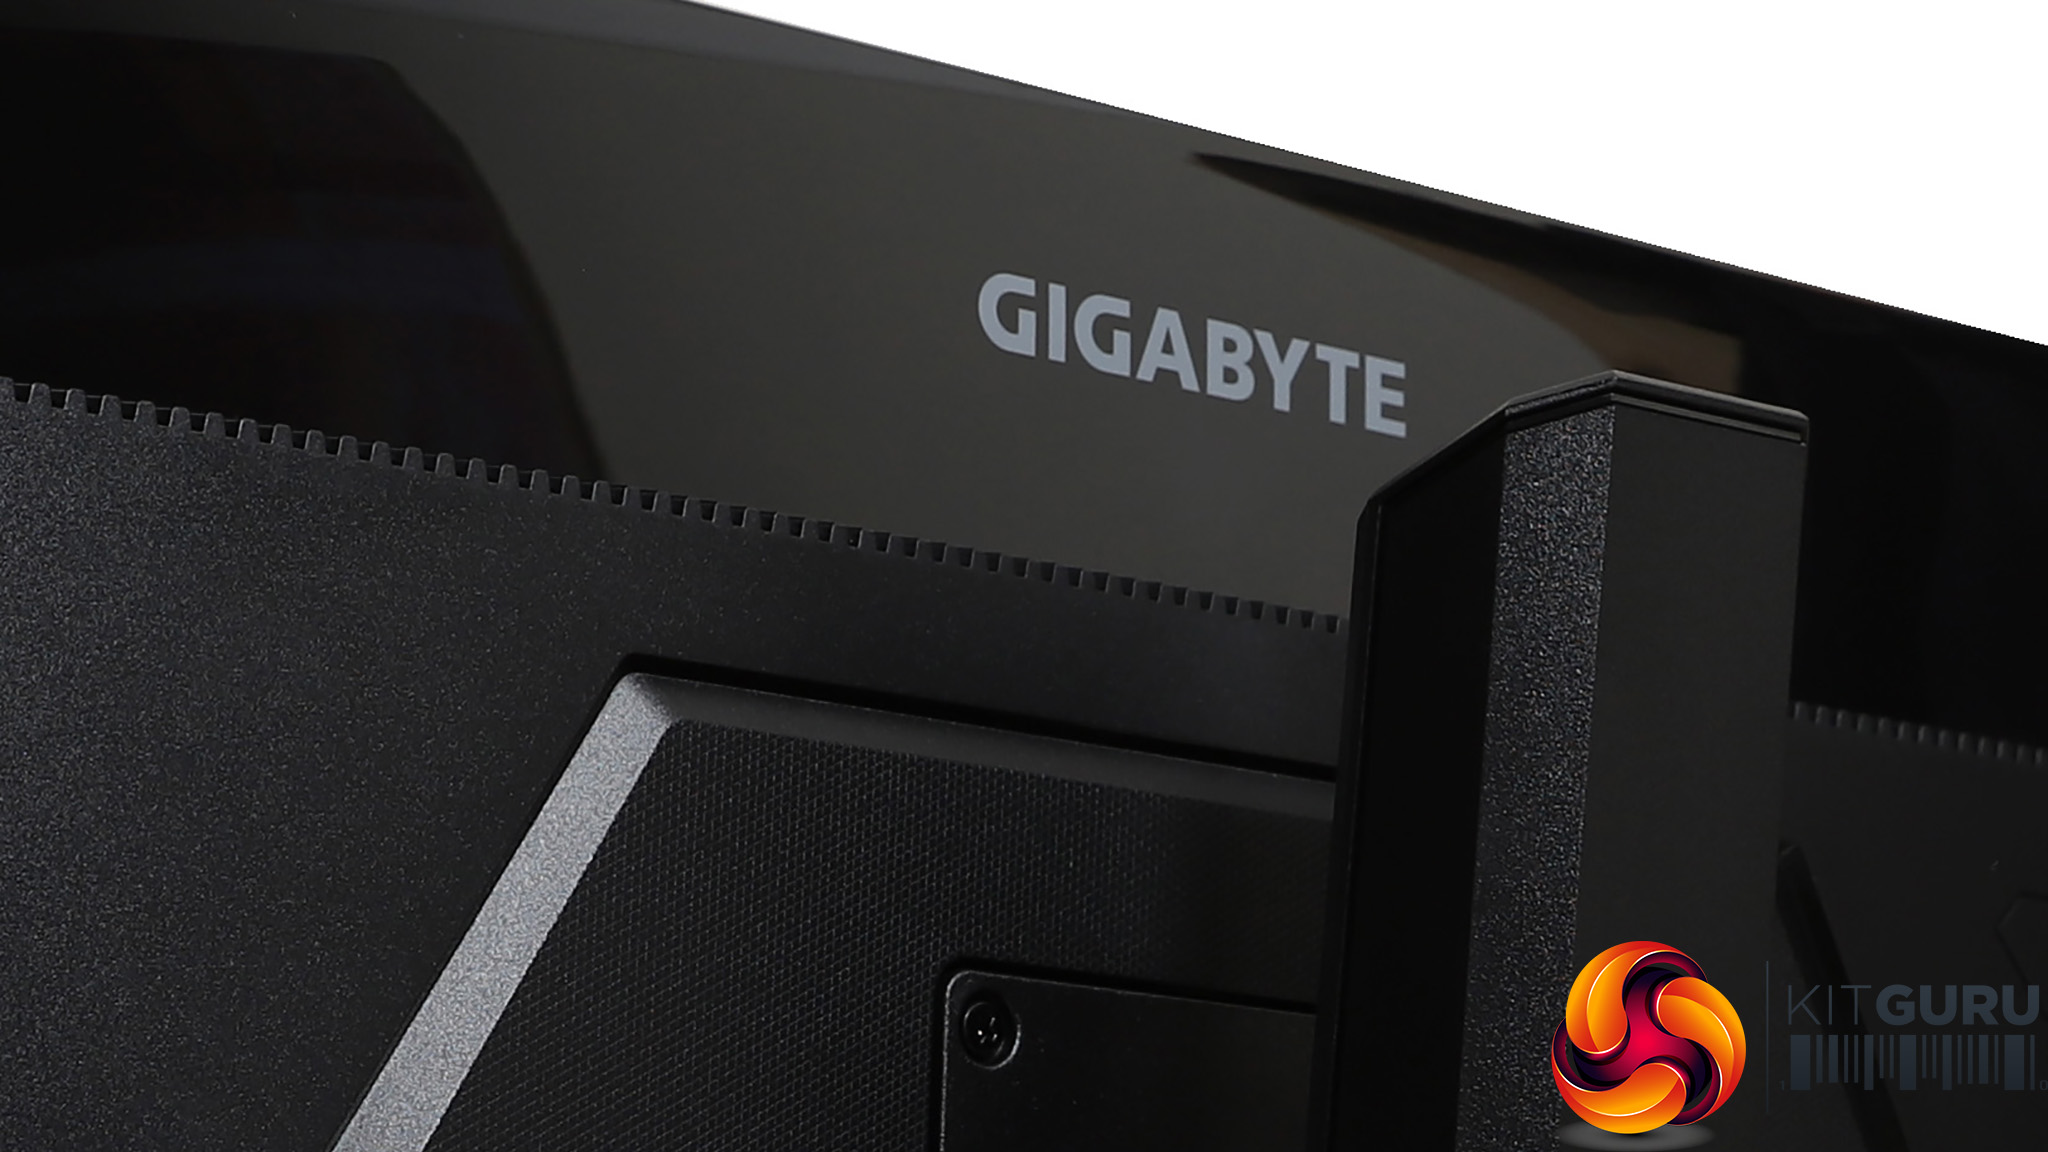
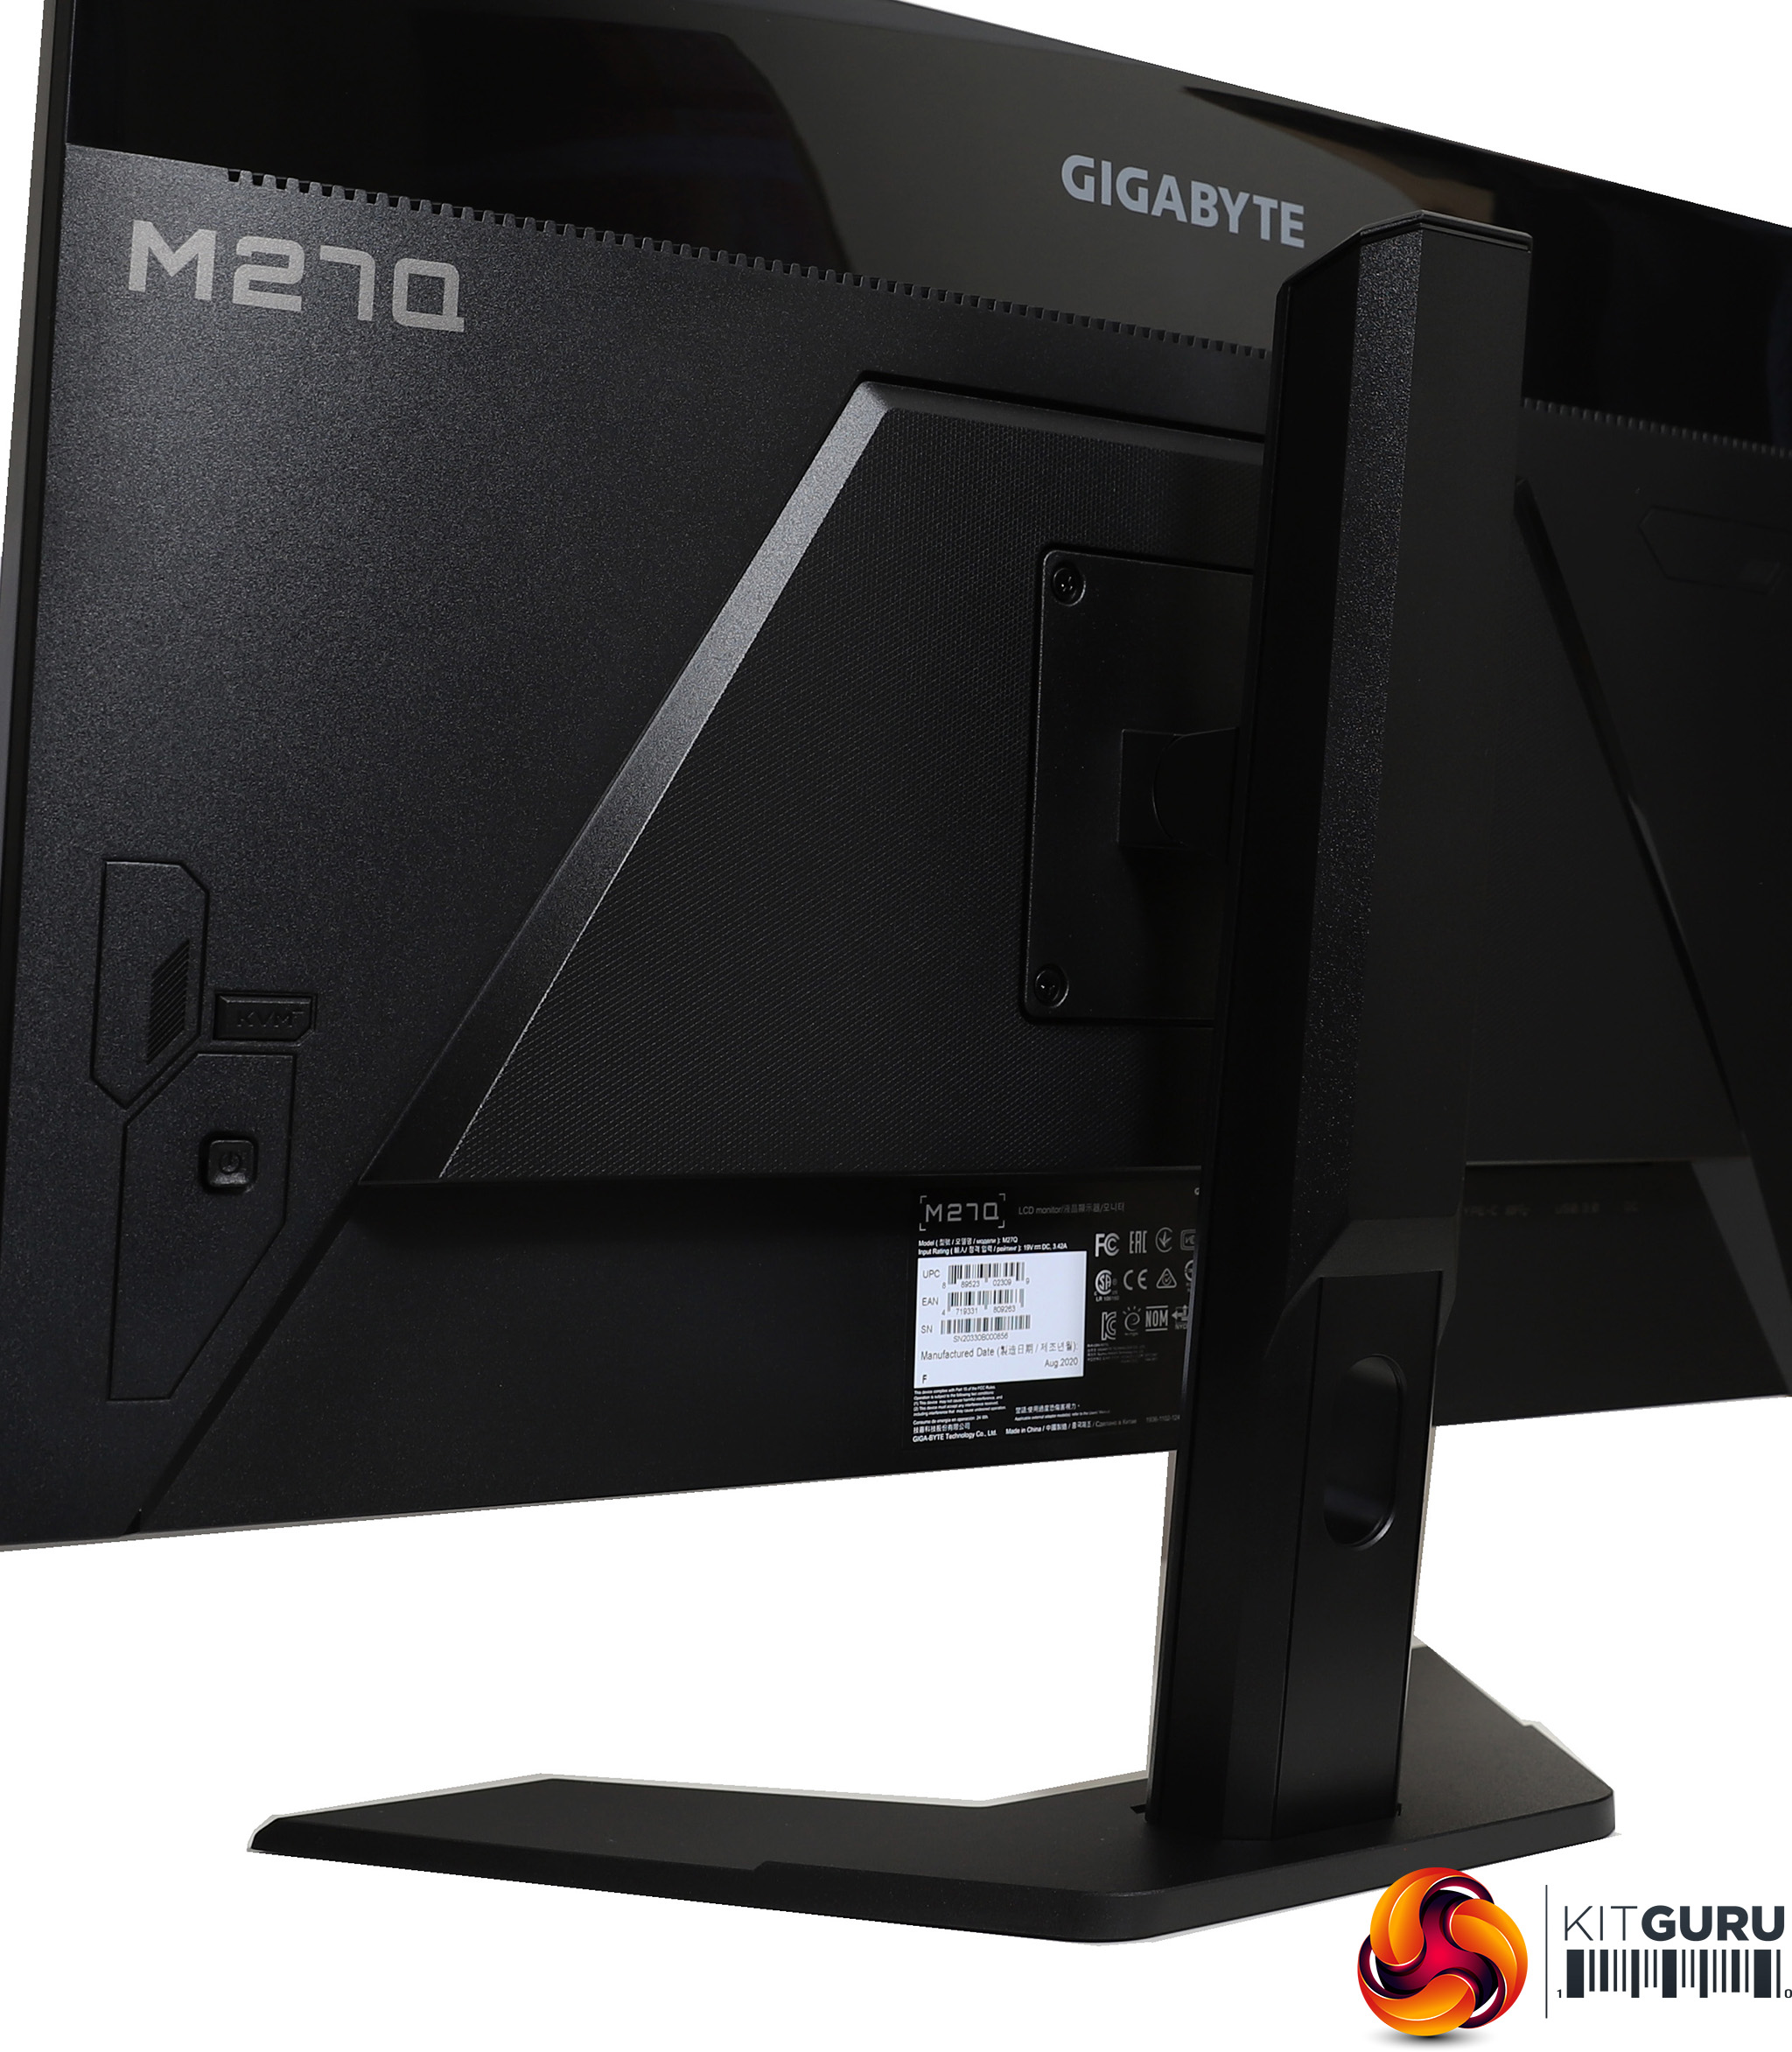
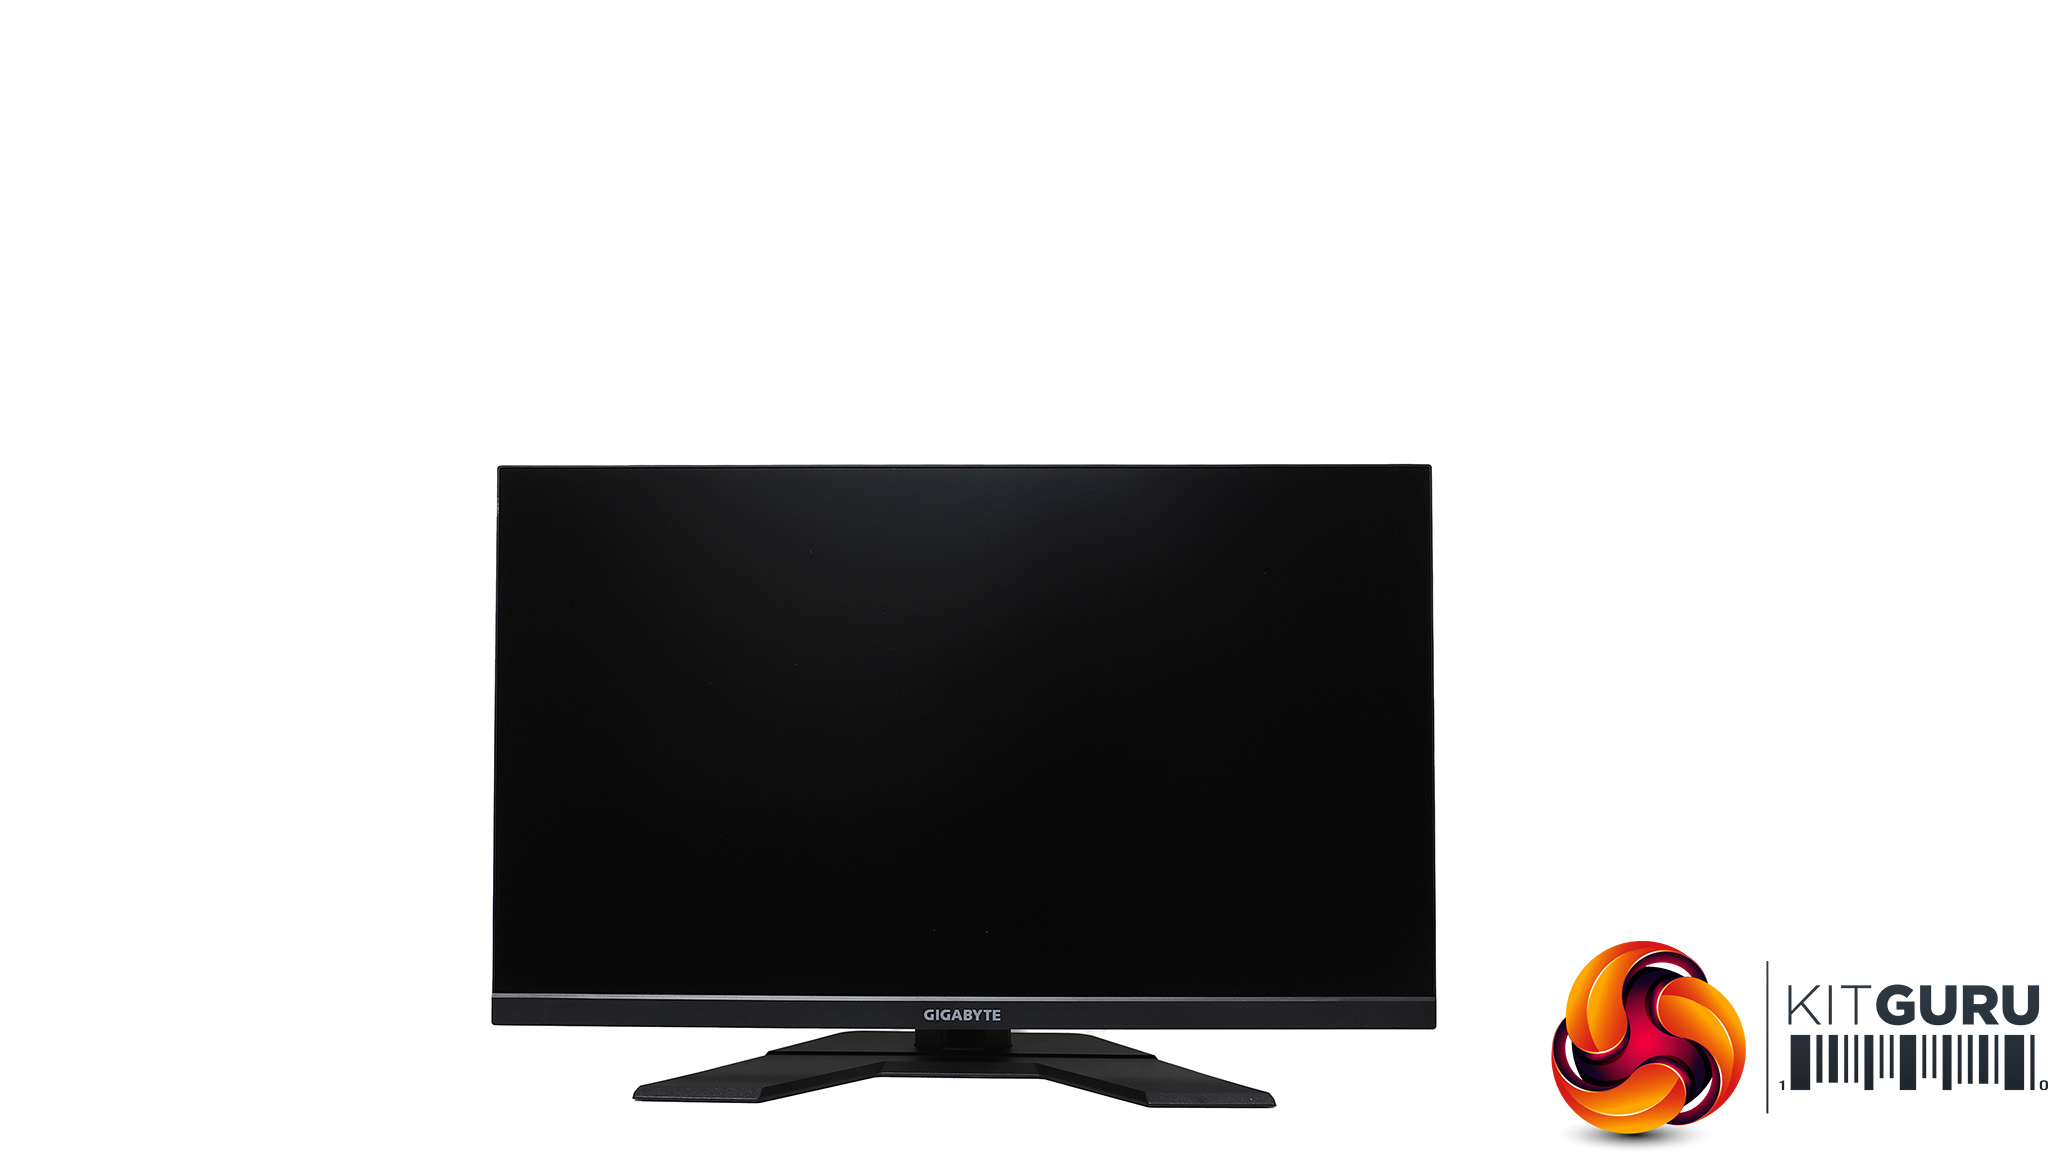
The M27Q has a rather unassuming appearance. If you're after monitor bling, look elsewhere. Apart from the Gigabyte logos and model name, you can have none more black than this screen.
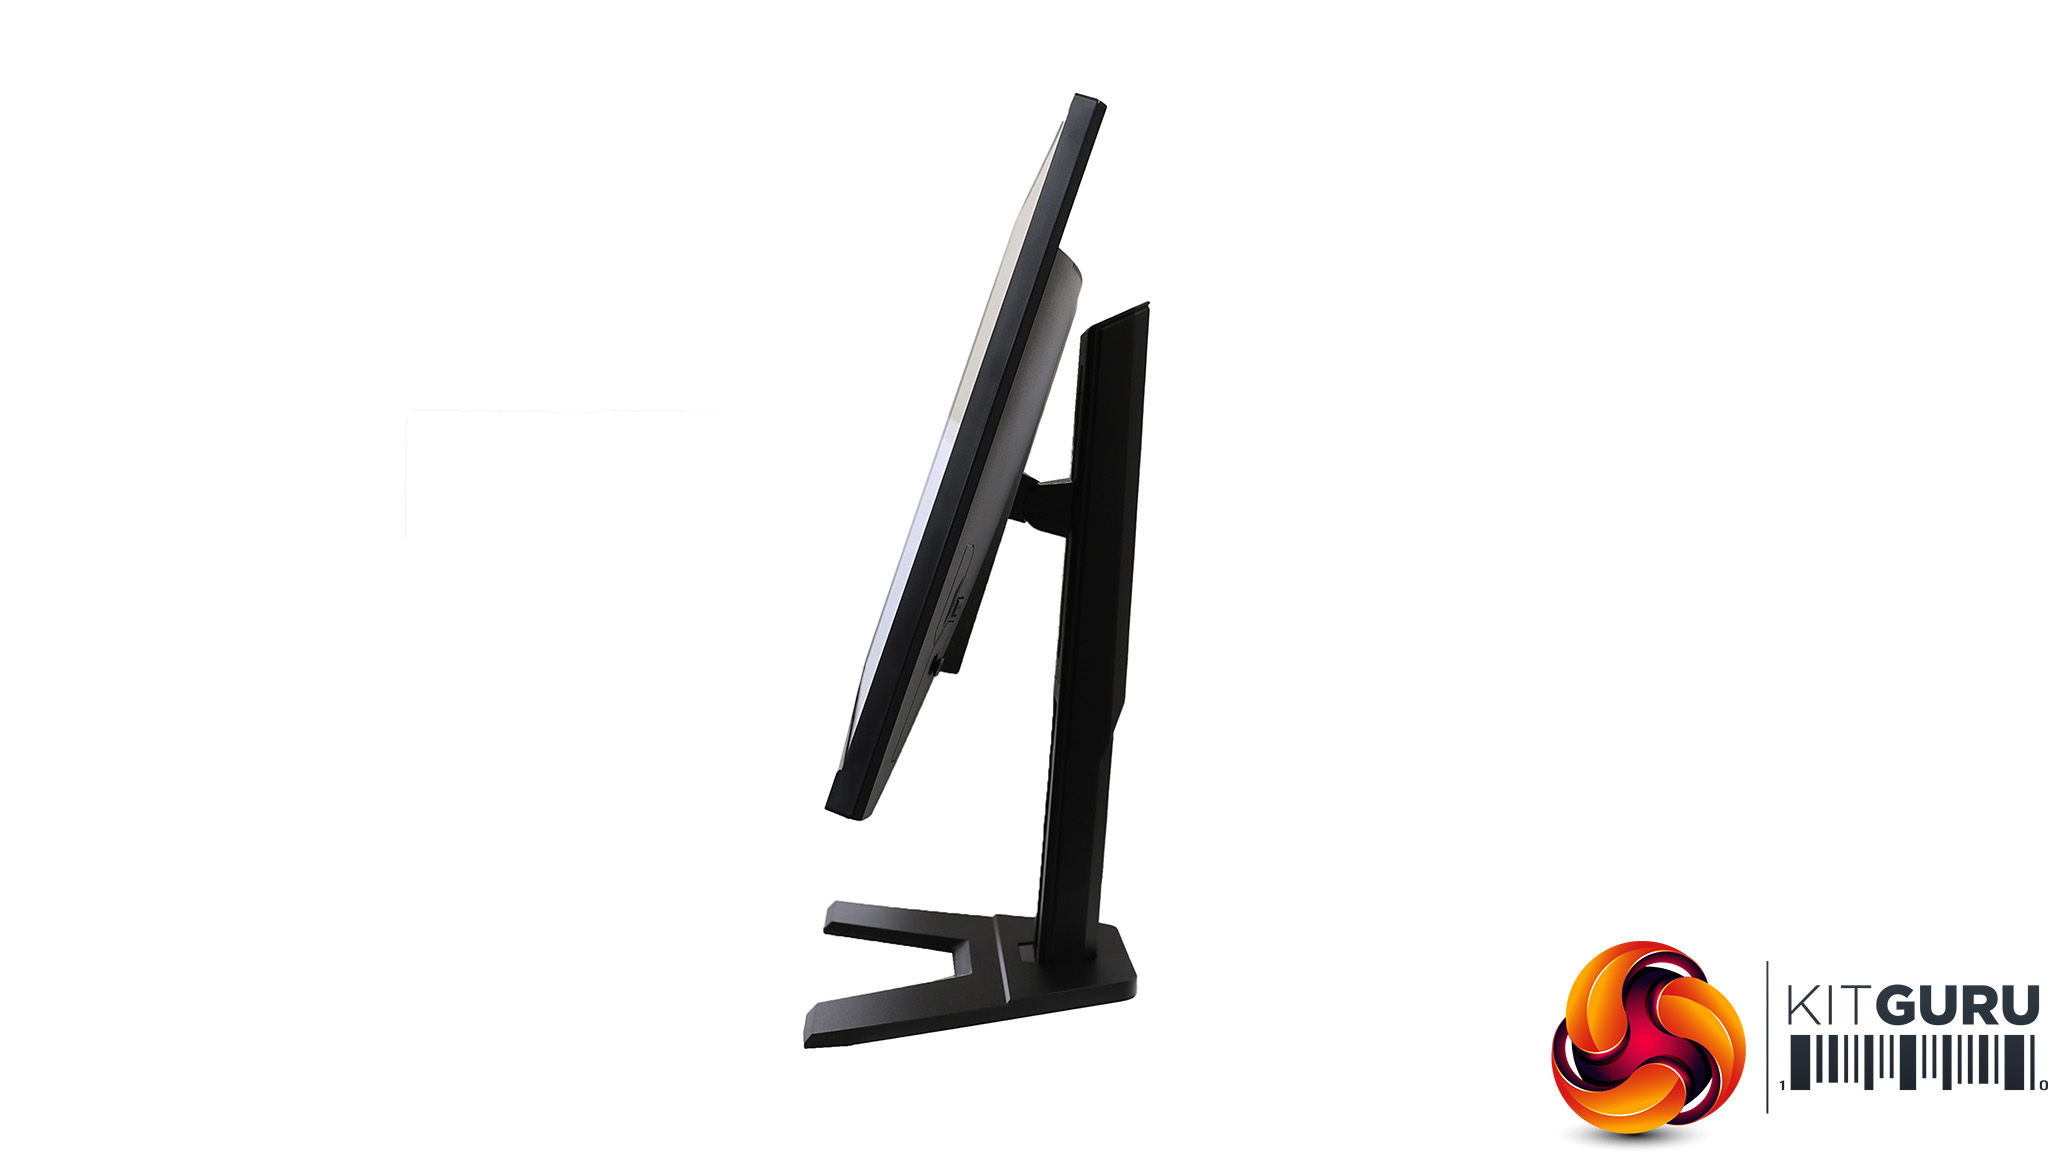
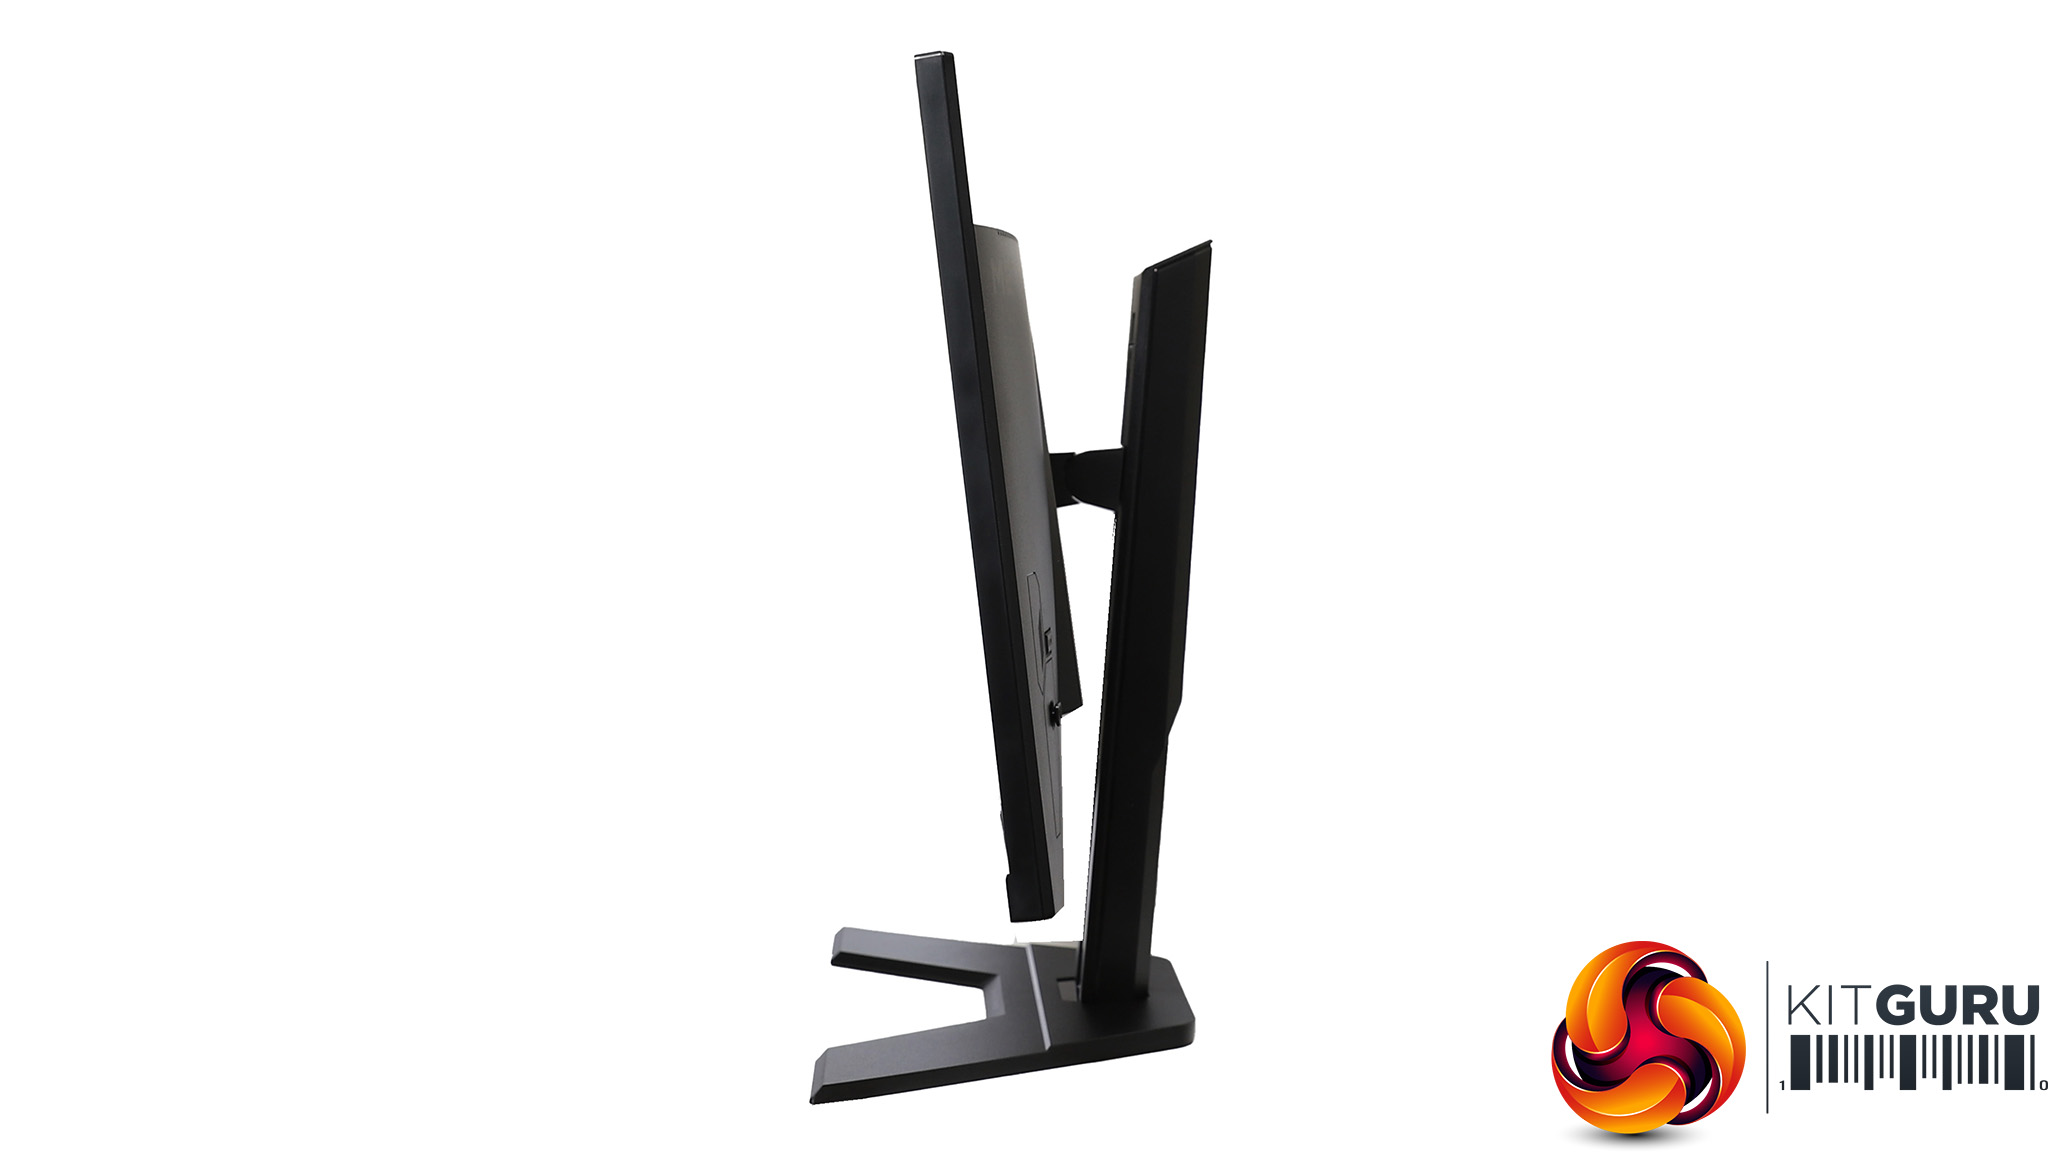
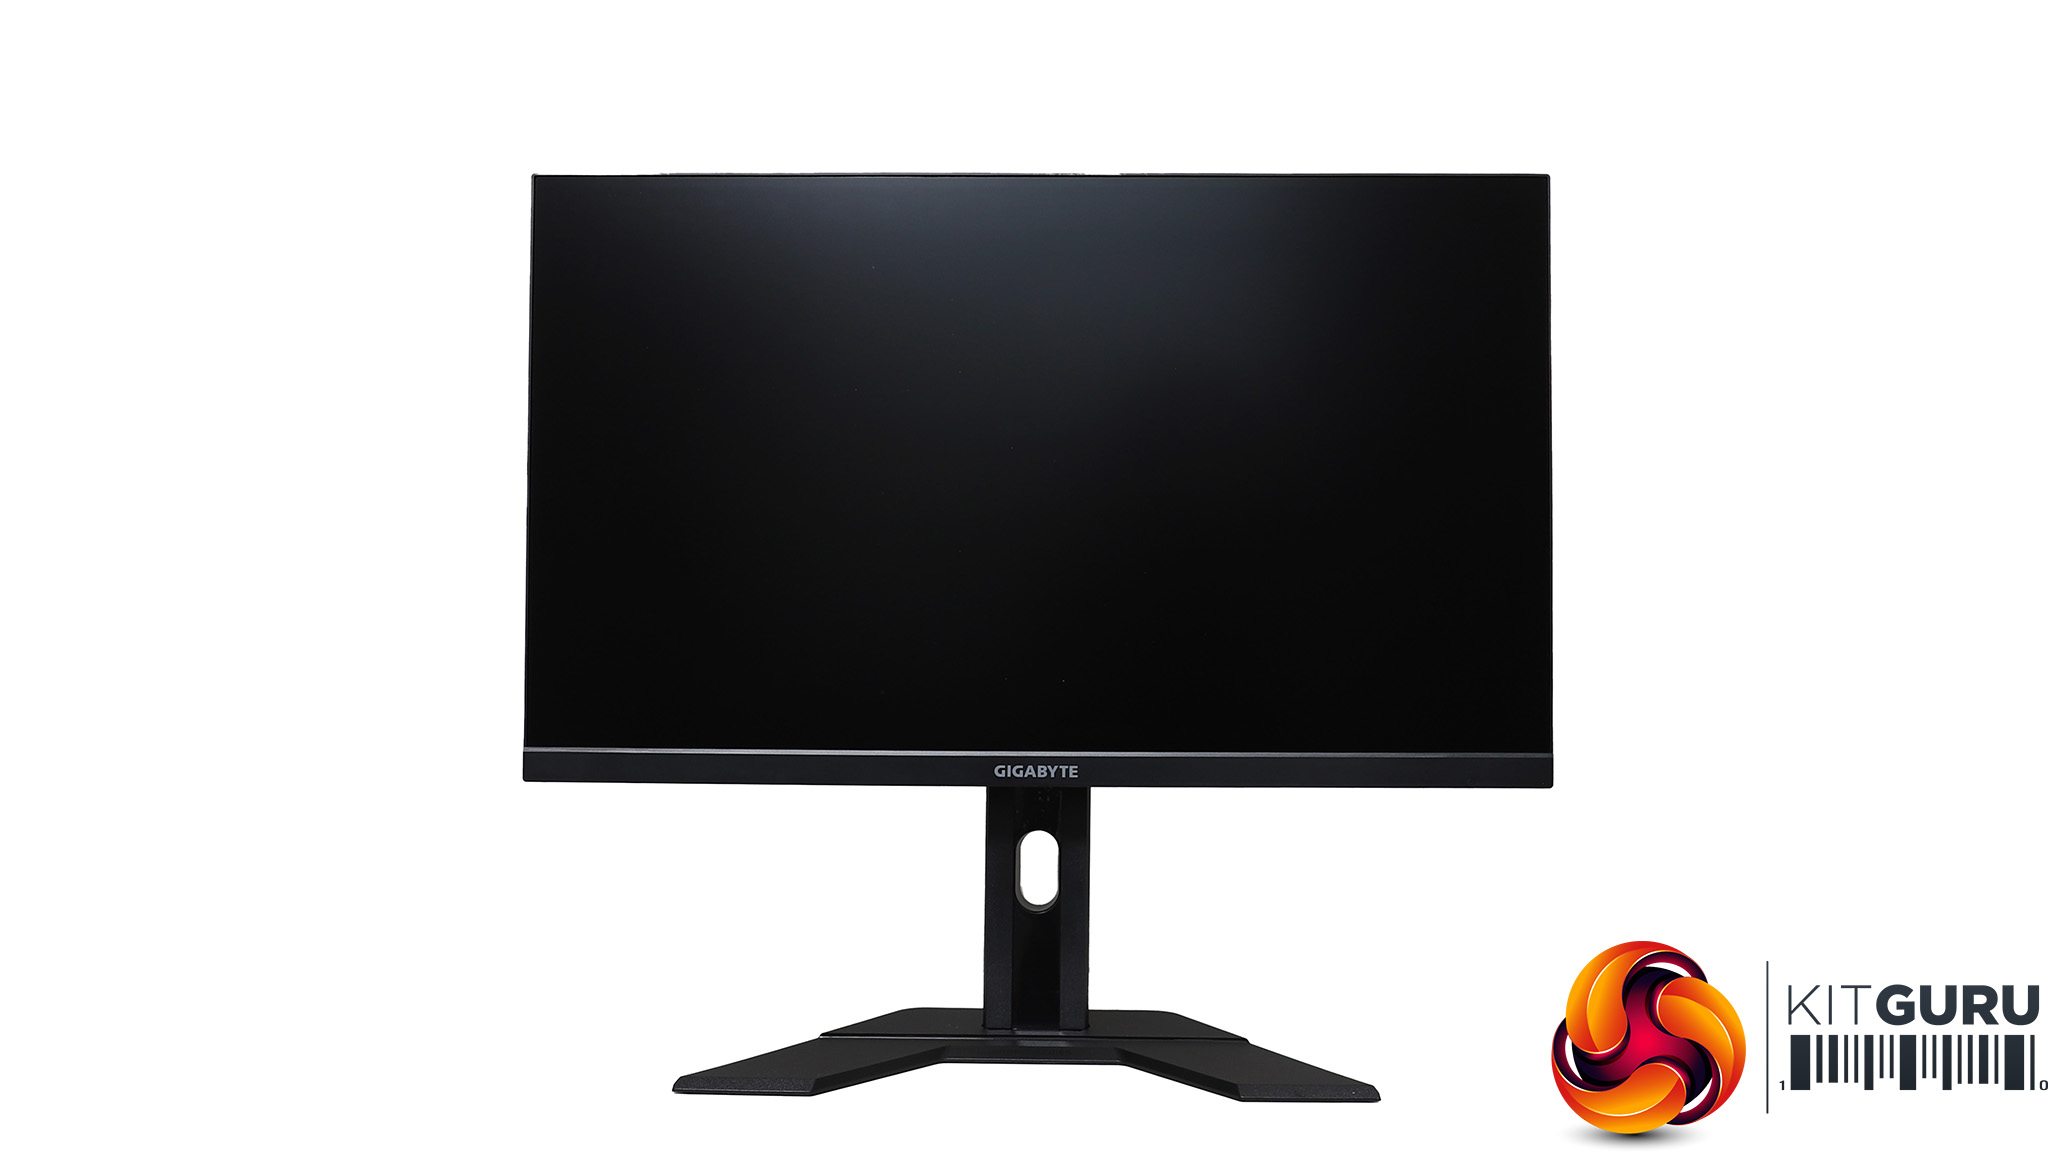
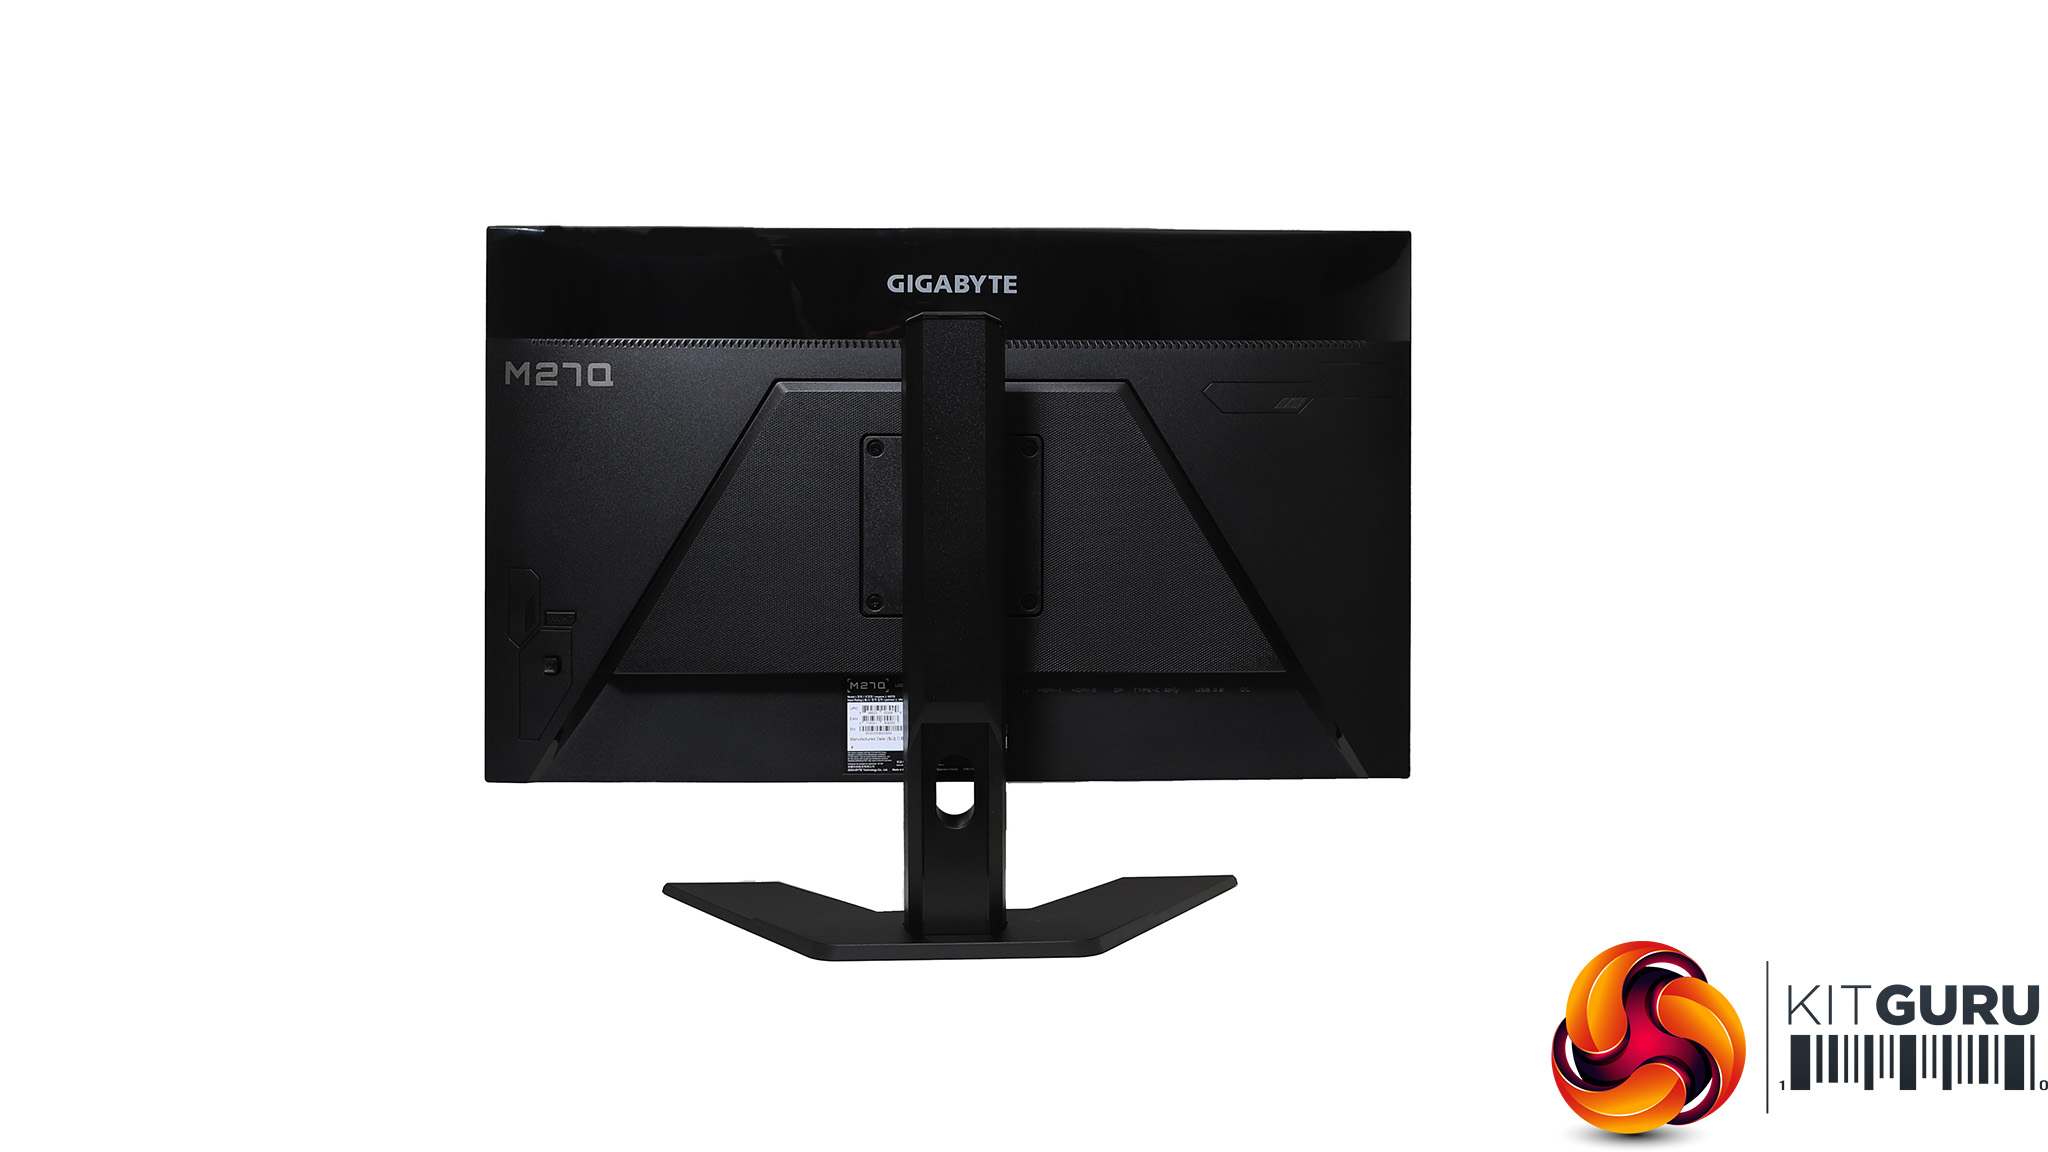
Adjustments aren't exactly plentiful either. You can tilt forwards 5 degrees or backwards 20 degrees. It's possible to raise and lower the panel through 130mm. But there is no option to swivel around the stand or rotate the screen into portrait mode.
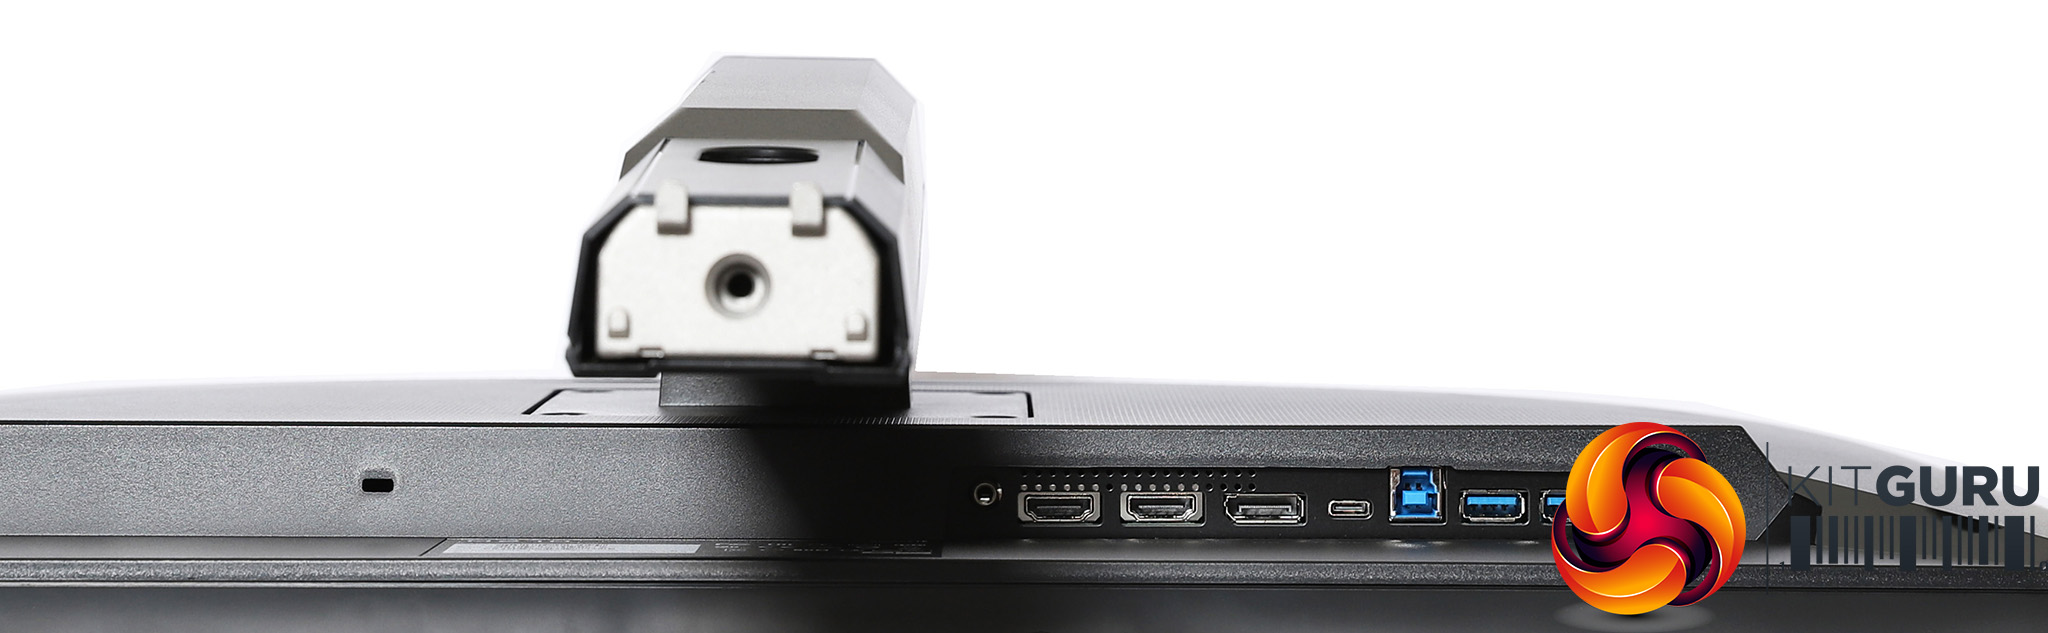
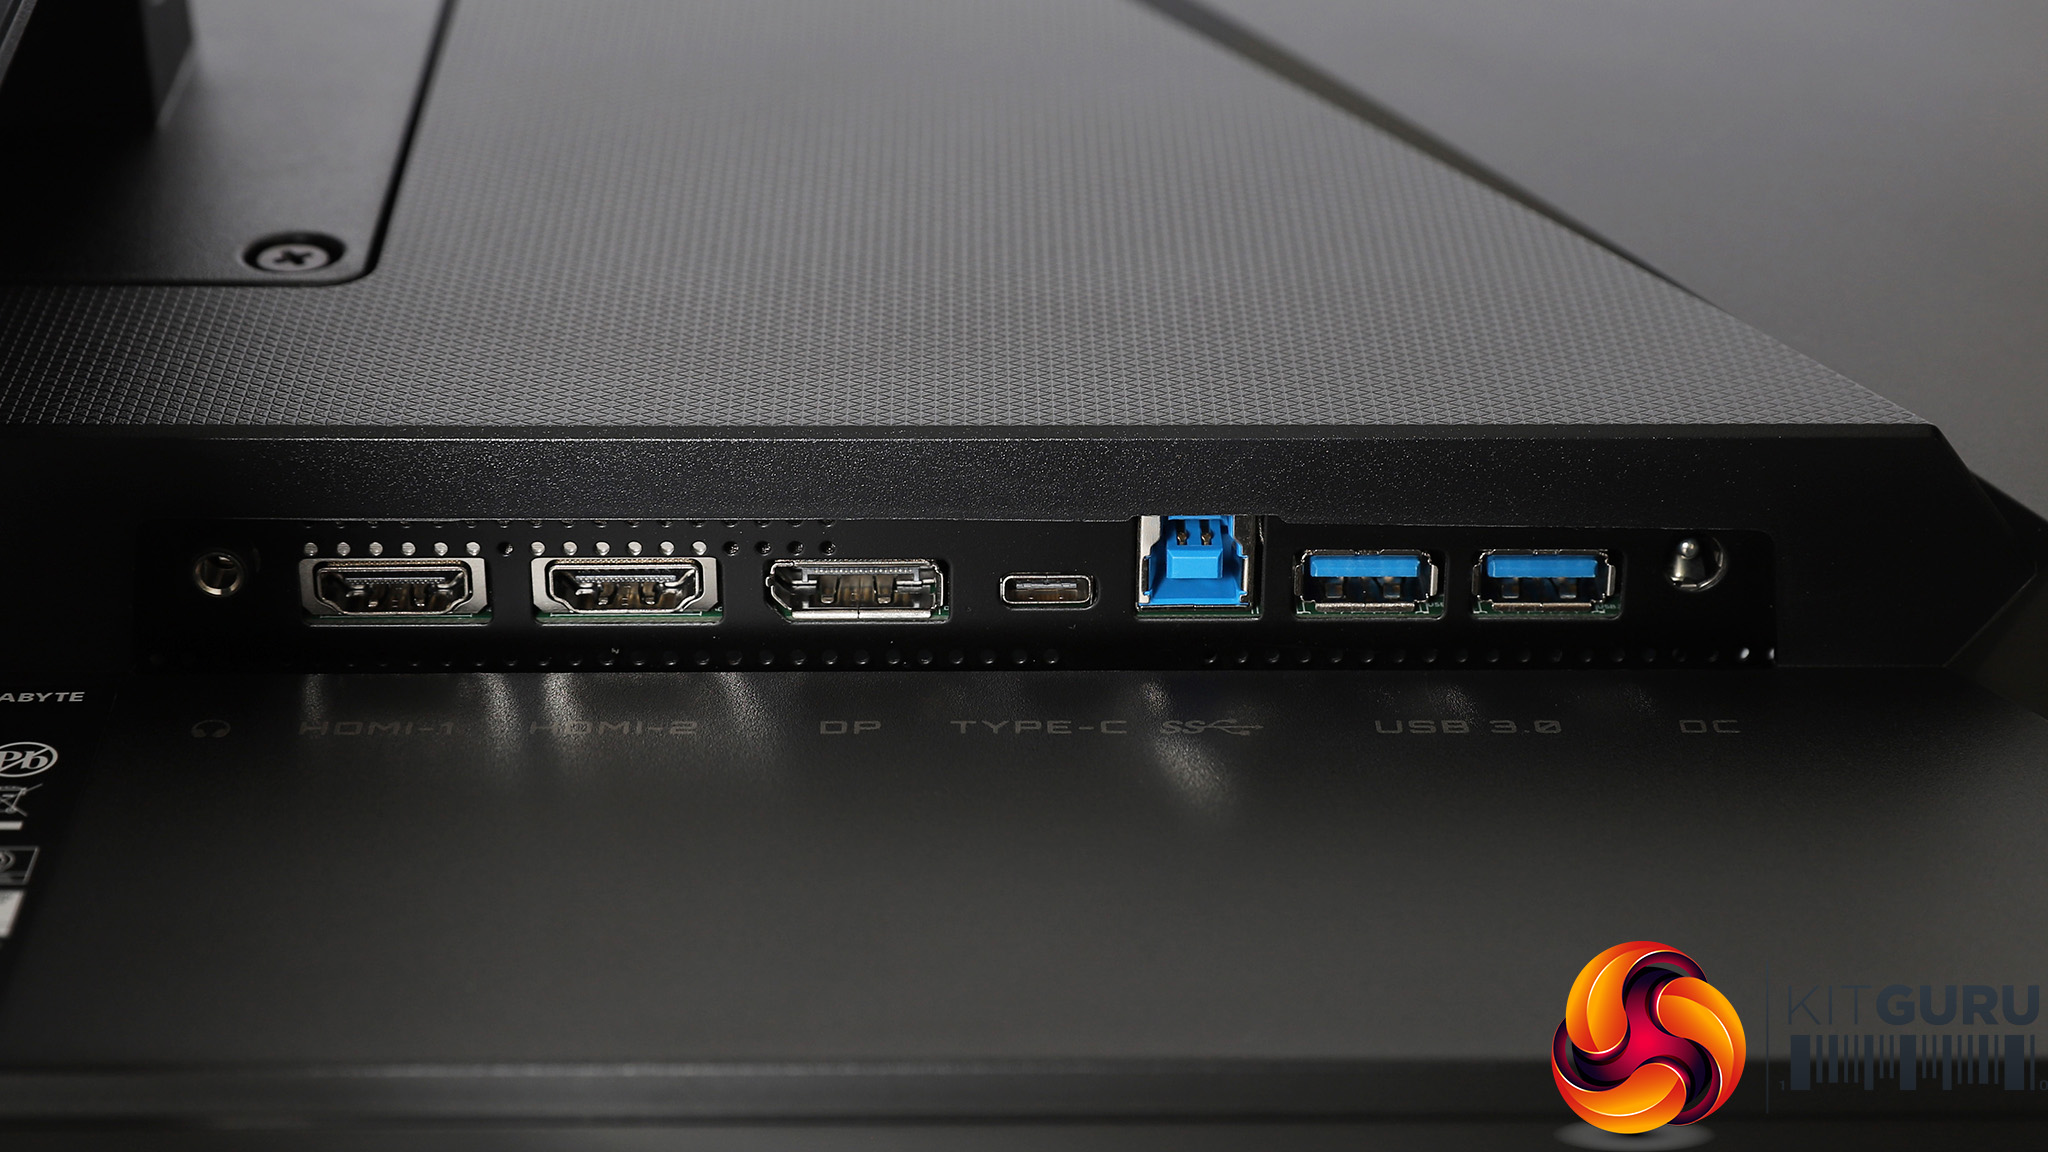
All the ports are on one side of the screen. The AC power adapter is an external brick, so there's a small plug input for this. Next door can be found the two USB 3.0 Type A downstream ports for attaching the keyboard and mouse you intend to use with this screen's KVM capability. Then there's a USB 3.0 Type B connection, which you would use for one host system connection – presumably your desktop. Then there's a USB C port, which will carry video, power and data simultaneously, so can be used to power a device, as well as supply it with a video connection plus USB for the aforementioned keyboard and mouse.
Next along are the pure video inputs, for the desktop system. These consist of one DisplayPort 1.2 and two HDMI 2.0 connections. If you want to take full advantage of the 170Hz refresh at 2,560 x 1,440 resolution, you will need to use either the DisplayPort 1.2 or USB C connection. The HDMI 2.0 ports only stretch to 144Hz at the native screen resolution. It's also worth noting that the USB C connection can only deliver 10W, so can't charge a laptop, just an iPad or Samsung Galaxy tablet.
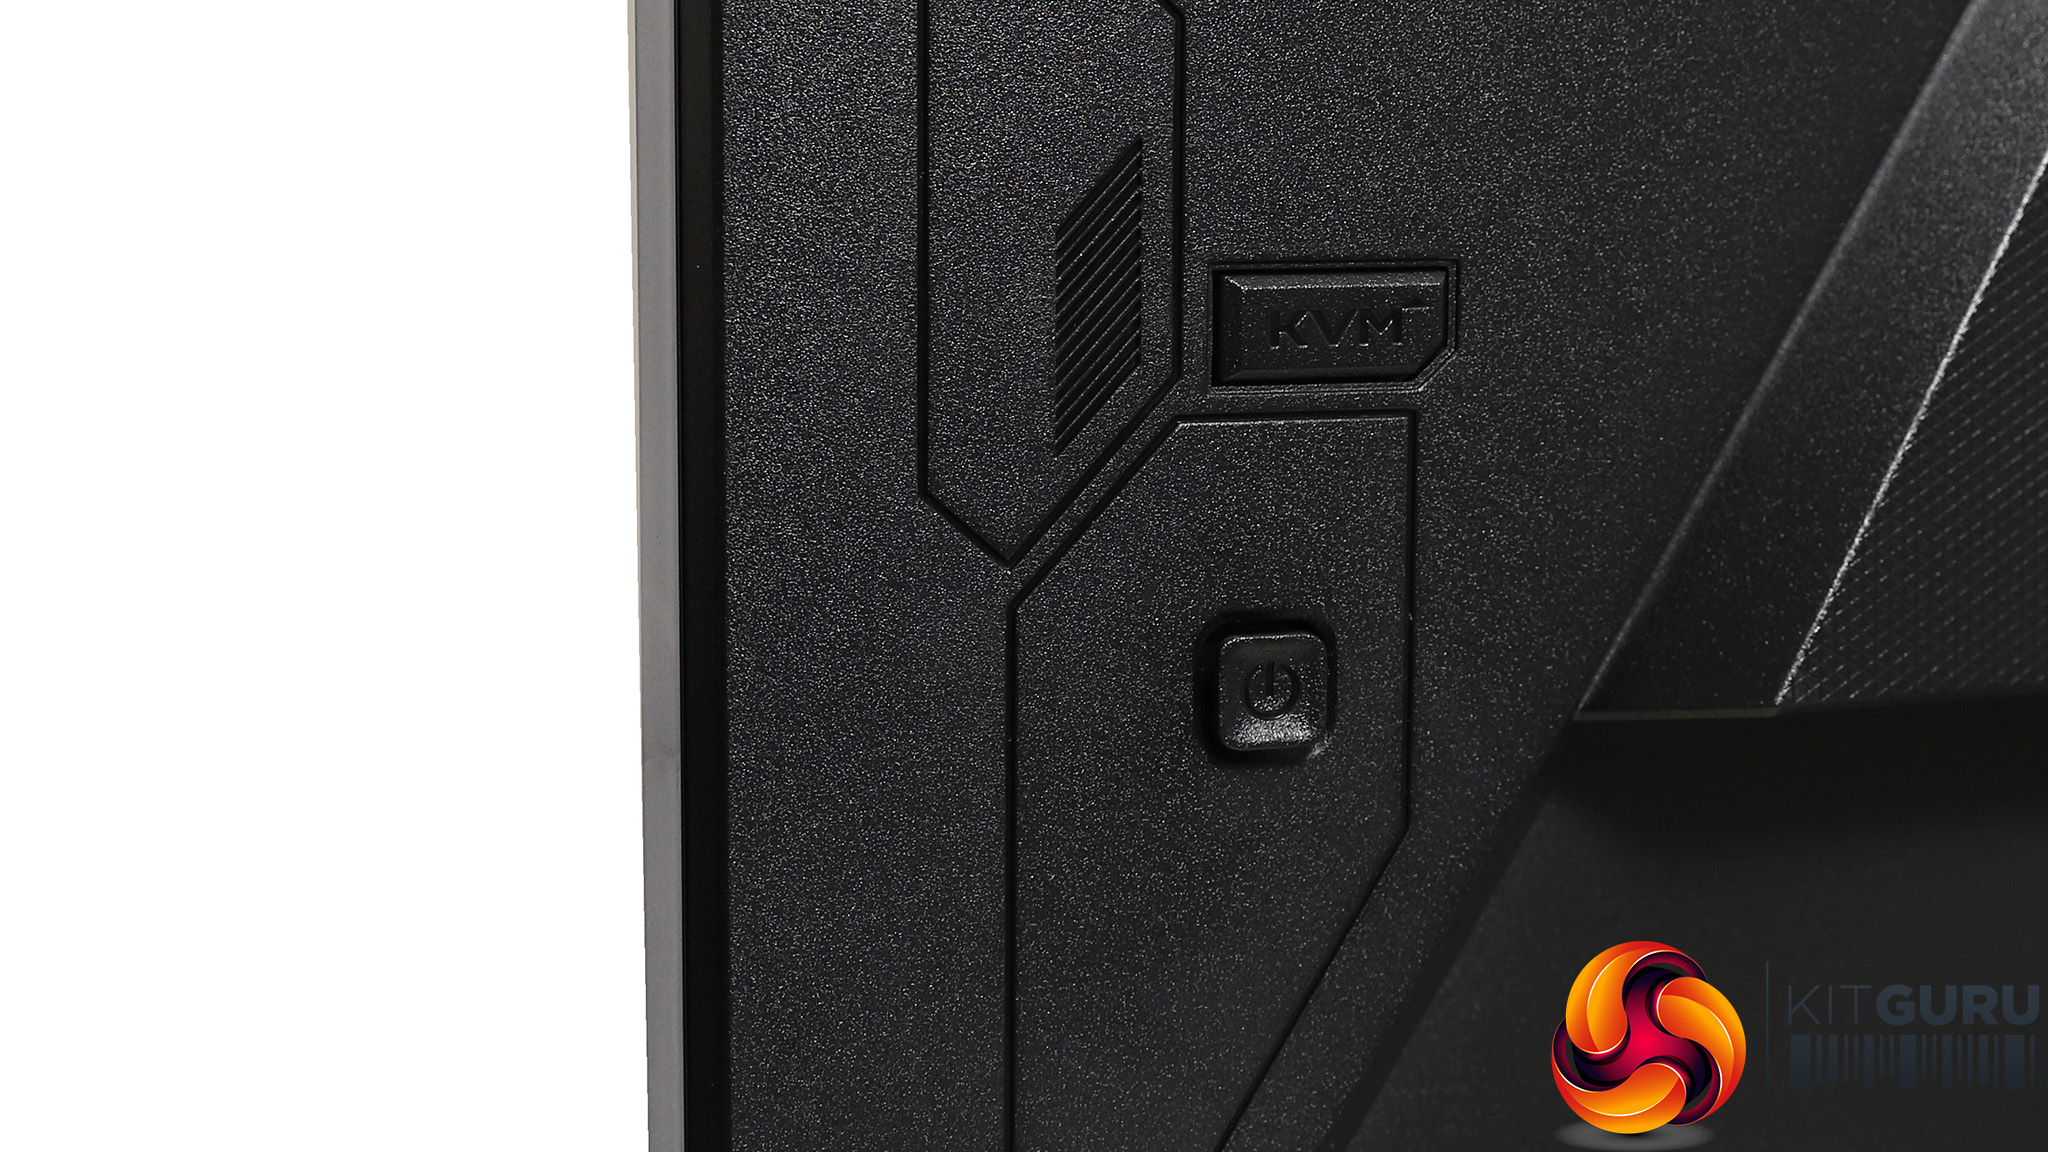
The screen is powered on and the OSD navigated using a joystick button on the rear right-hand side. Above this is the KVM button, which you choose to switch between KVM inputs. This can be either the USB Type C connection or the USB Type B plus one of the standalone video inputs. In other words, there can only be two options, but that's probably enough for most needs.