The bottom button turns power off and on.
The next button up lets you select the GameVisual presets, which include Scenery, Racing, Cinema, RTS/RPG, FPS, sRGB, and MOBA, with Racing the default. You can change the function of this button, of which more later. To get to this interface, you press the button once to see the little menu on the right, then again to get the menu you actually want.
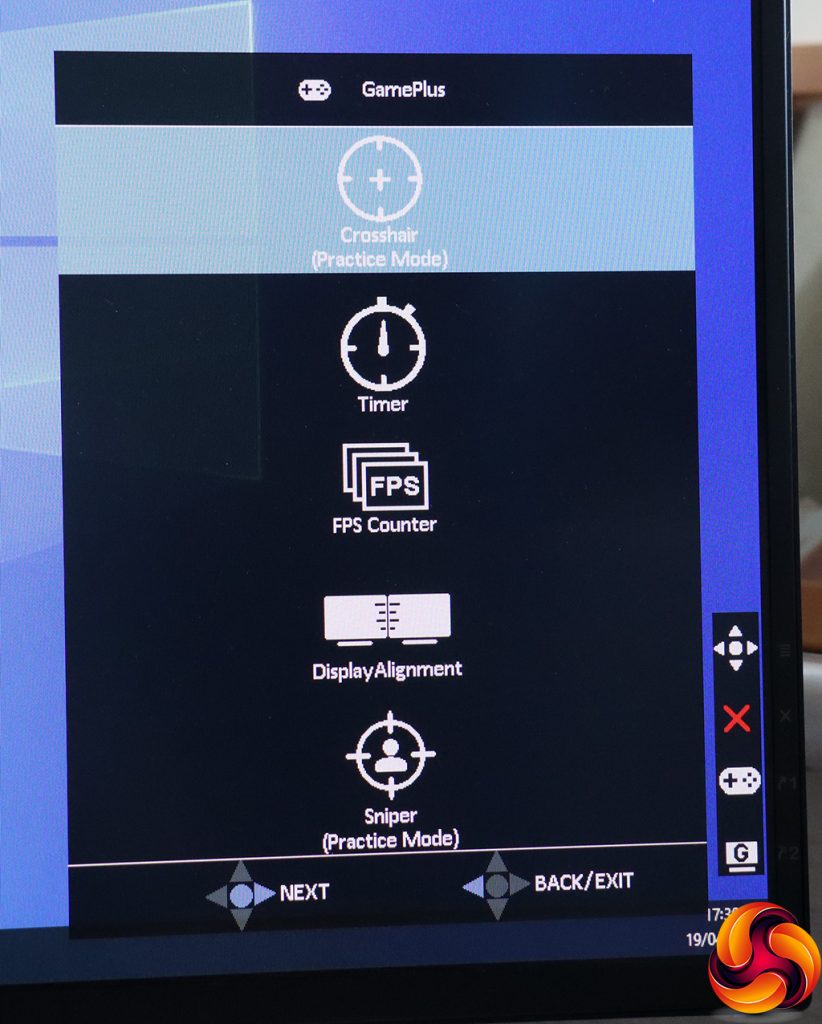
The next button up (again, user-configurable) provides access to the GamePlus options. These include the ability to put a hardware crosshair onscreen – for practice only, obviously. You can set a timer so you don't play too long (that never happens, obviously) and an onscreen hardware FPS counter. There's also the option to add rulers onscreen so you can align a multi-monitor setup, assuming you have two VG279QM screens. There's even a Sniper mode that magnifies a section around the crosshair. Again, for practicing only, obviously.
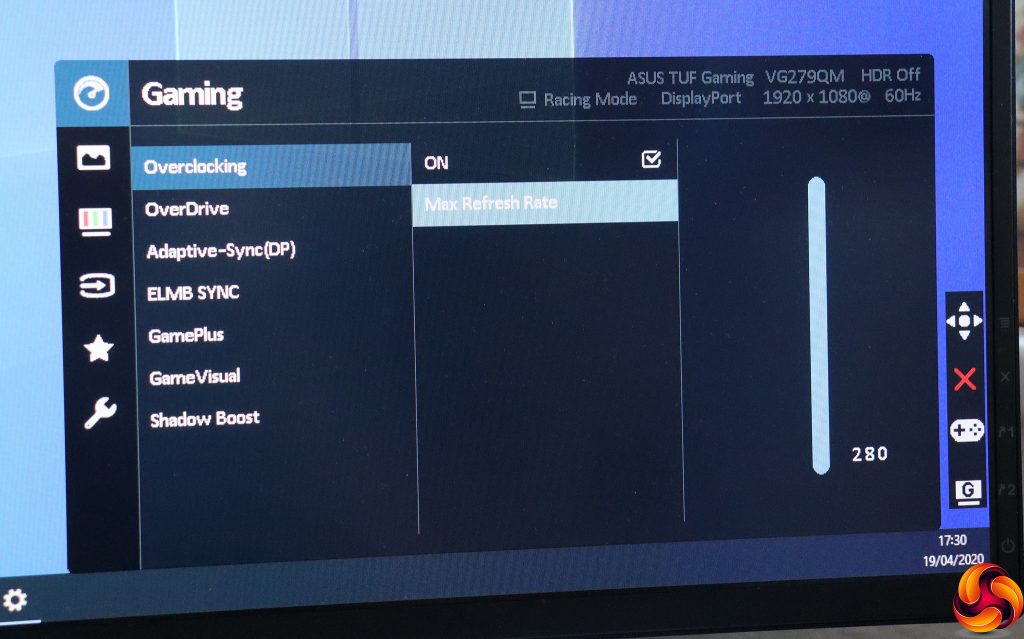
Finally, pushing the joystick in calls up the main menu, with the first option being Gaming. Here you can set the refresh overclocking. The default maximum is 240Hz, so you need to enable this feature and increase the value to get to the much-vaunted 280Hz. You can also enable OverDrive to further improve pixel response, and toggle Adaptive-Sync, which is on by default. ELMB Sync is “Extreme Low Motion Blur Sync”, which reduces motion blur whilst also allowing adaptive sync to be enabled. Many other monitors don't allow this. You can access the GamePlus modes and GameVisual options here as well, and finally Shadow Boost improves detail in dark areas.
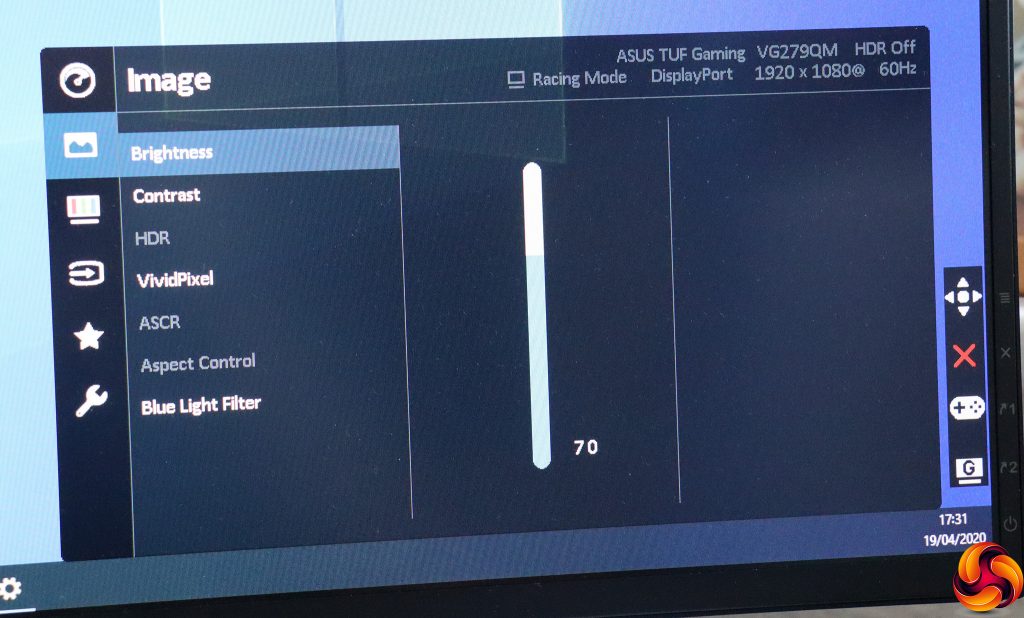
The next main menu section is Image, where you can adjust Brightness, Contrast, and HDR type (when enabled). You can also add VividPixel to boost sharpness with lower resolution inputs. ASCR is a dynamic contrast system, and you can adjust the aspect ratio with a non-native video input resolution here too. Finally, the Blue Light Filter lets you reduce the blue level to give your eyes a rest.
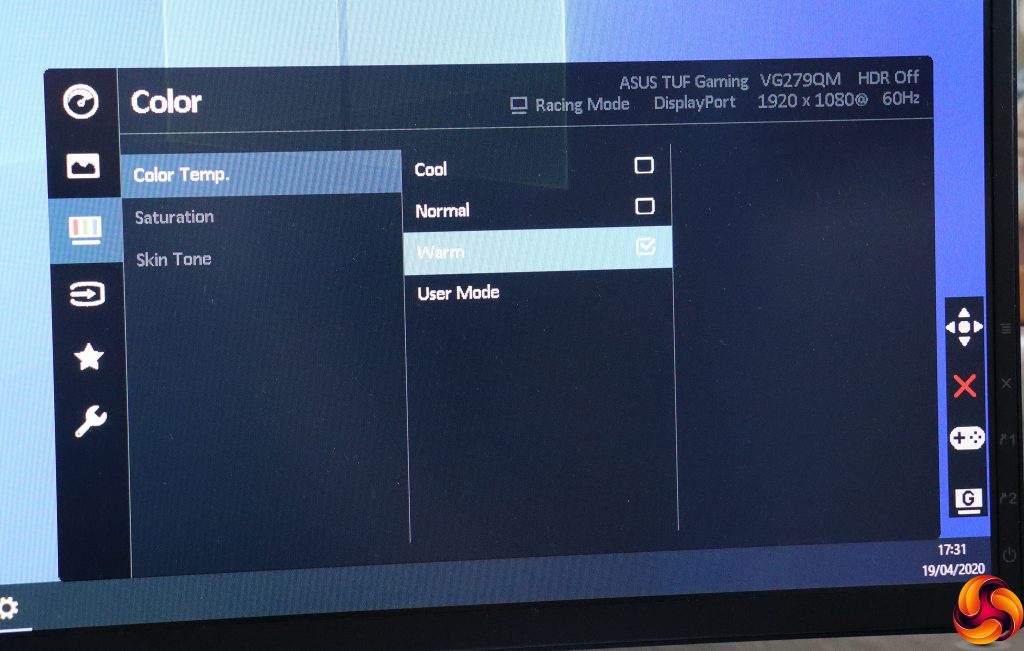
The Color section lets you choose a colour temperature, with Cool, Normal and Warm presets, or you can employ User Mode to adjust red, green and blue manually. There's a saturation control and the ability to adjust skin colours specifically via Skin Tone. One thing missing here or in the Image section is any kind of gamma control.
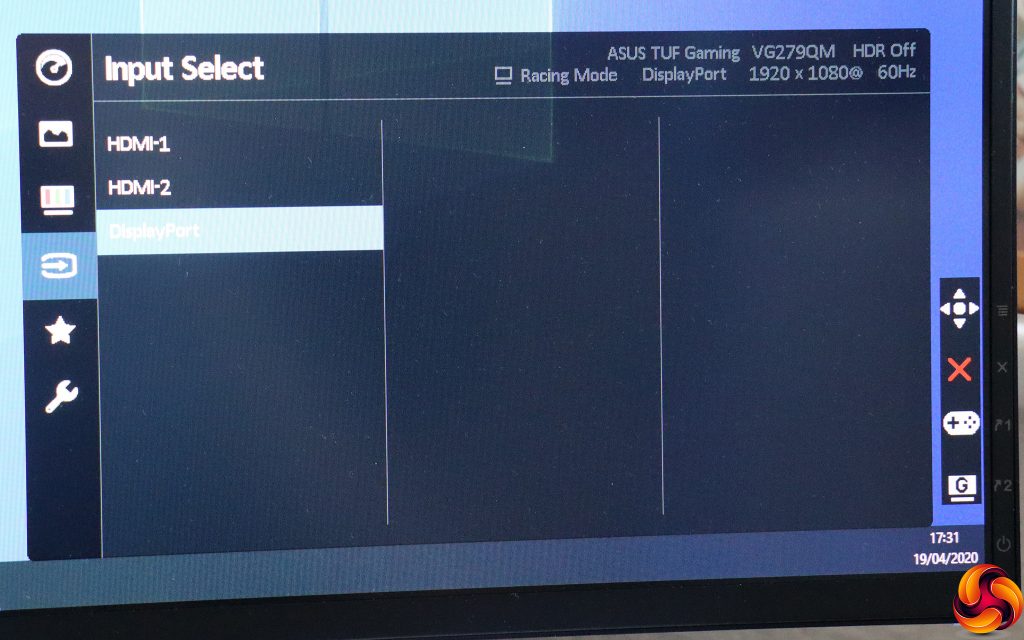
The Input Select section merely lets you choose between the three video ports manually.
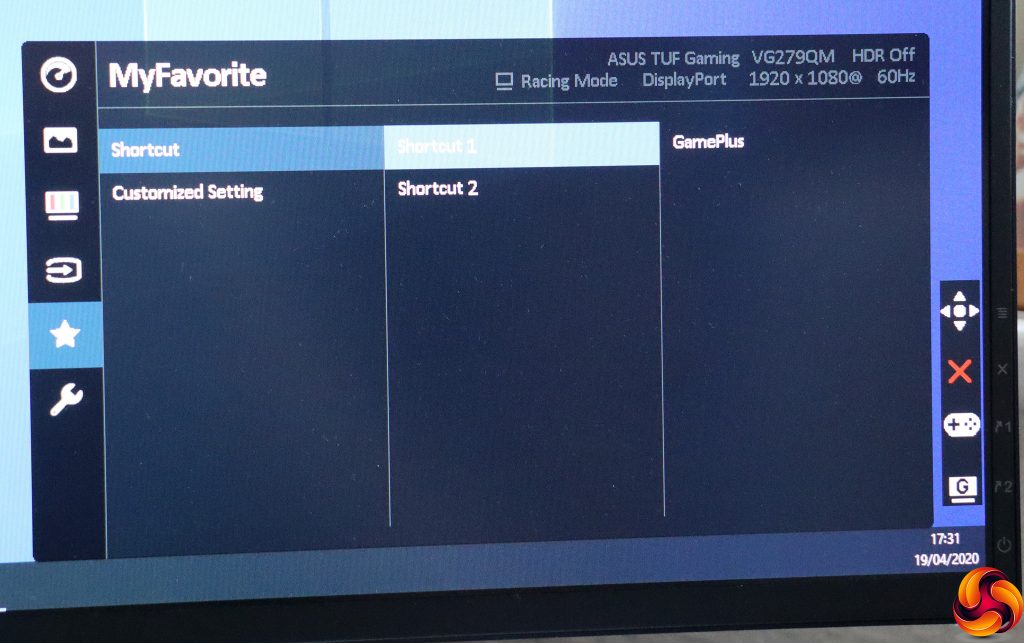
MyFavorite is where you can change the function of the two keys that by default provide immediate access to the GameVisual modes and GamePlus options. You can also save and load four different custom settings collections.
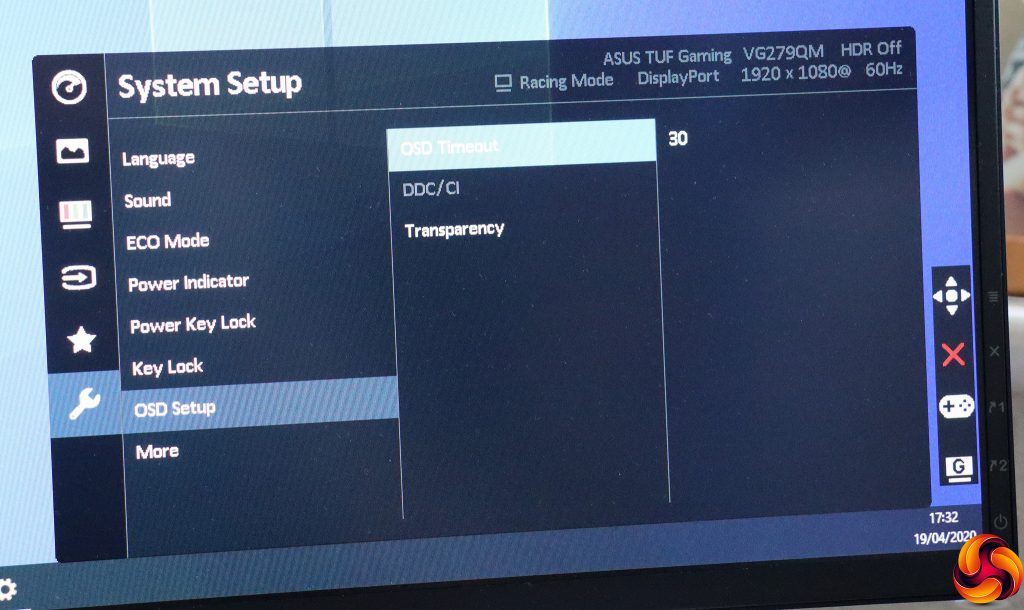
Finally, under System Setup you can change the OSD language, control speaker volume under Sound, engage an ECO Mode to save power, configure whether the power LED is on and whether the power key and other keys are operational. You can also change how the OSD is displayed. If you scroll further down, you can reset all the settings to default.
Overall, this is a sufficiently capable OSD, albeit very focused on gaming, as you'd expect. The lack of gamma modes or many non-gaming-related presets make this a less flexible screen, but you're unlikely to pay extra for a 280Hz screen if you're not primarily a gamer anyway. The OSD design is functional and reasonably well laid out, although it's not the prettiest to look at.
 KitGuru KitGuru.net – Tech News | Hardware News | Hardware Reviews | IOS | Mobile | Gaming | Graphics Cards


