The lowest button simply turns the monitor off and on, so we'll move up to the second-from-bottom button.
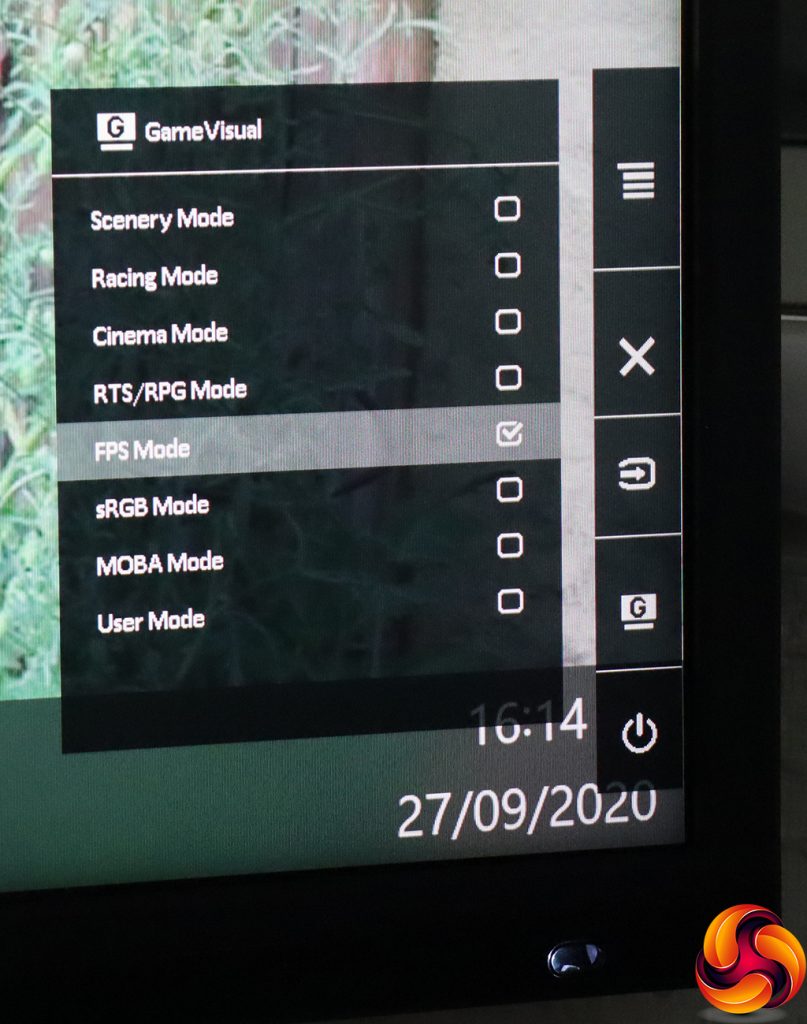
This button reveals quick menu access to the GameVisual preset modes, which include a lot of different game types. There's a more generic Scenery Mode, then Racing Mode, Cinema Mode, RTS/RPG Mode, FPS Mode, sRGB Mode, and a separate MOBA Mode, where many monitors will expect you to use the RTS option for MOBAs. Finally, there's a slot for user-configurable settings.
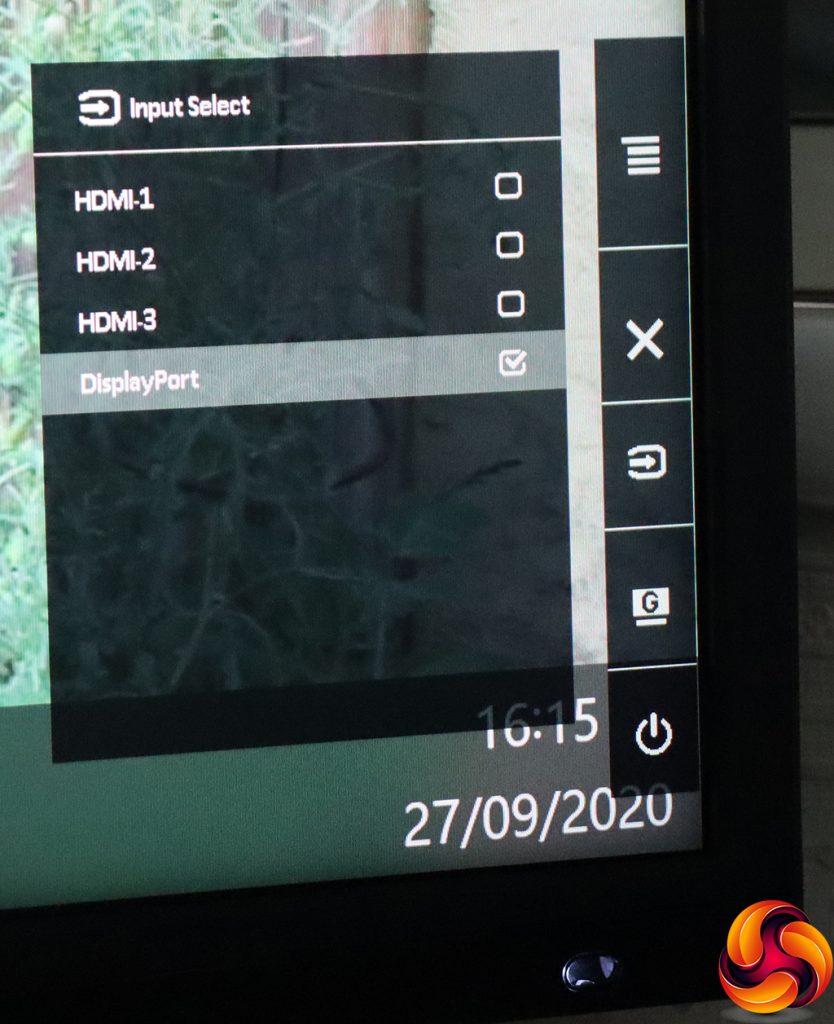
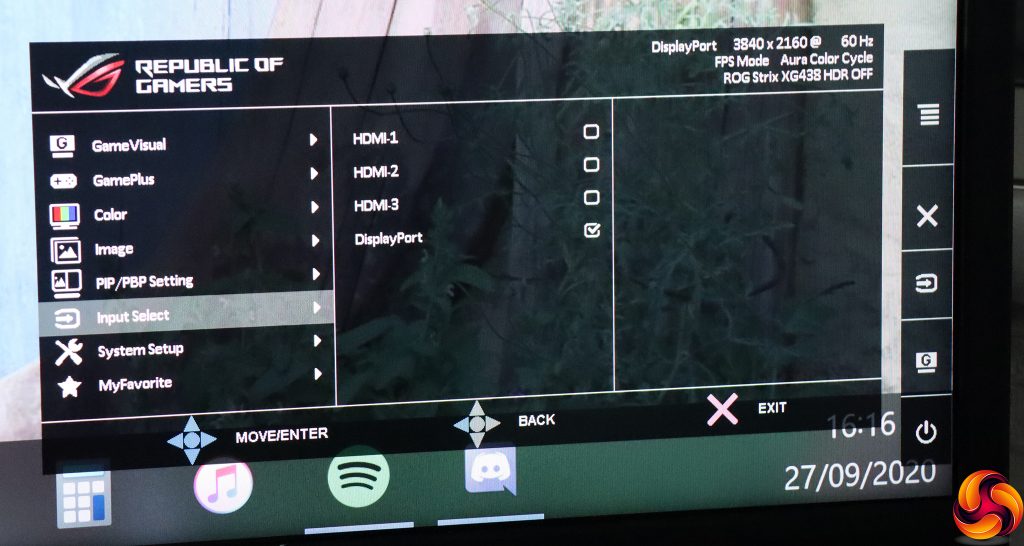
The next button up lets you choose between the four different video inputs manually.
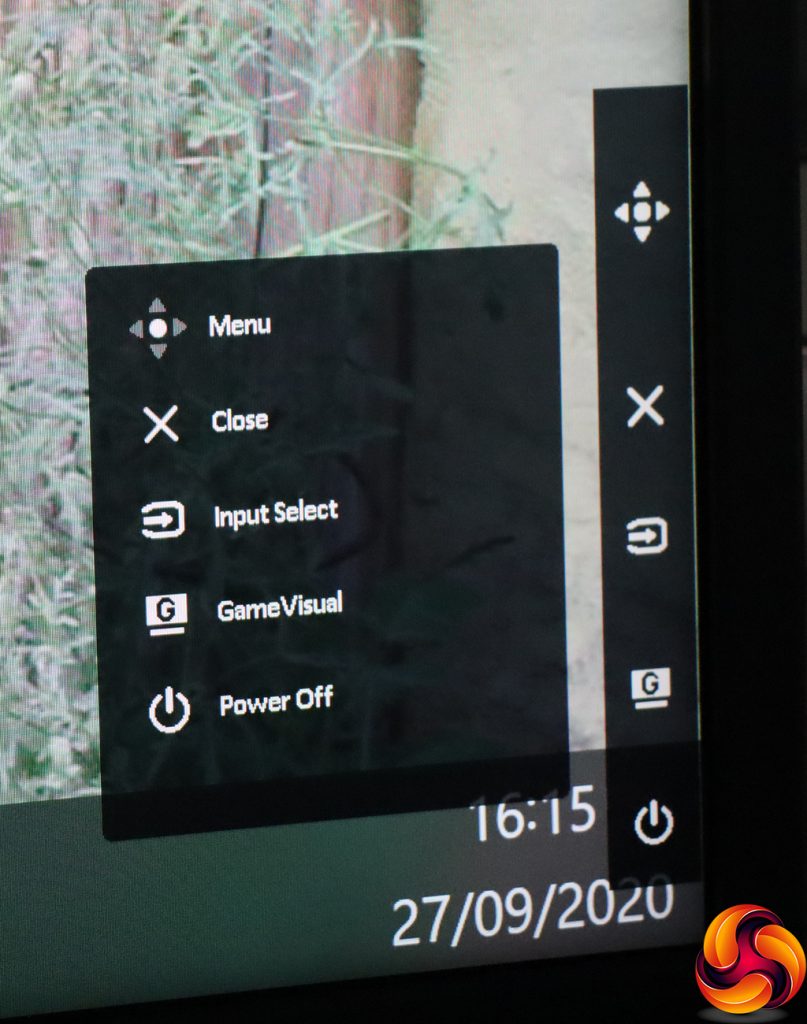
The third button up simply exits other menus, so we move swiftly to pushing in the joystick, which reveals a menu you can now use to get to the same functions as the buttons, as well as the main menu. Note that pulling or pushing the joystick in any other direction rather than pushing it in before this menu appears doesn't do anything.
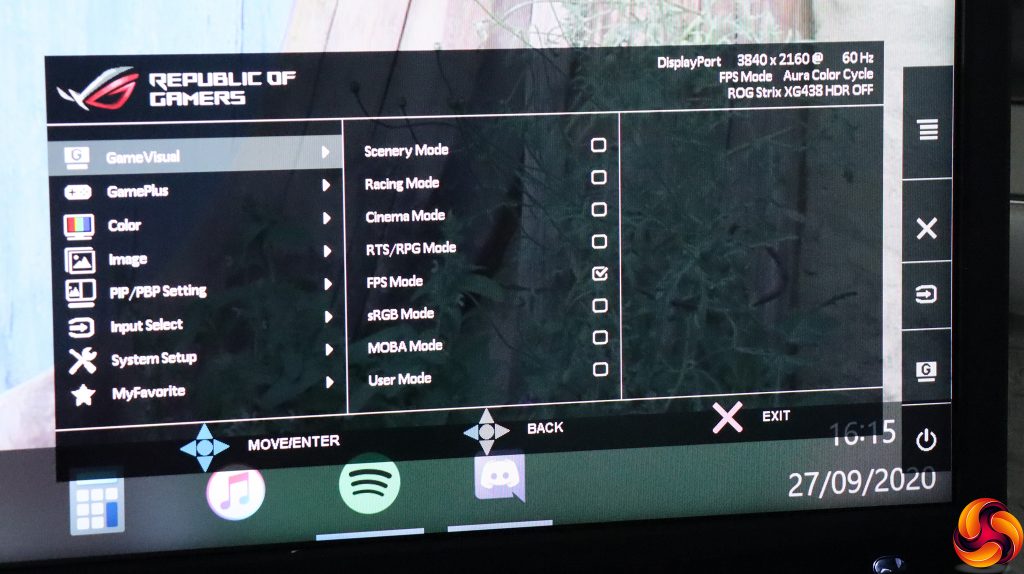
If you push the joystick in again, you get the main menu, with the first subsection being the GameVisual modes once more.
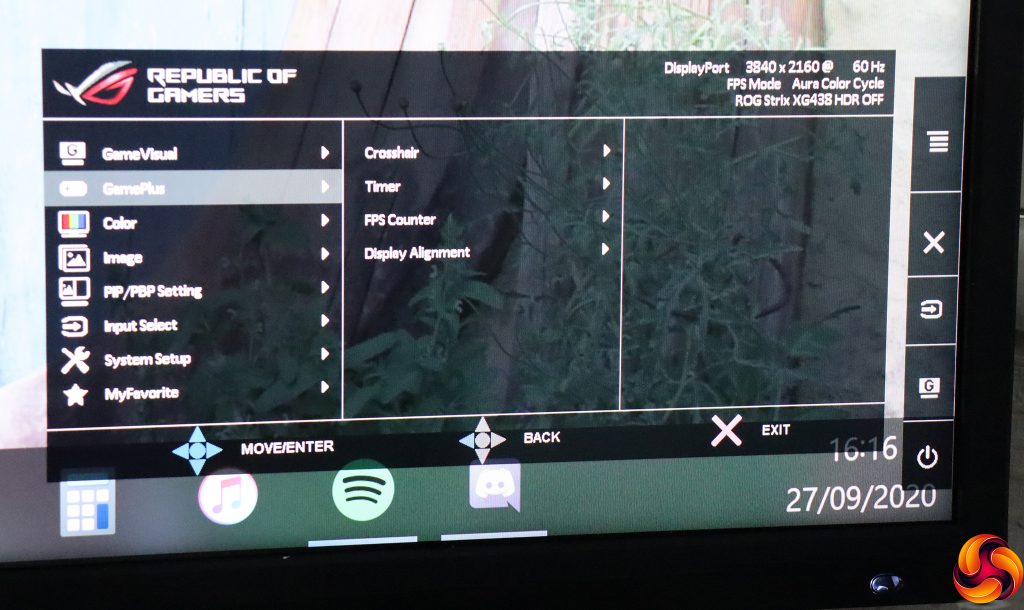
Next along is GamePlus, where you can place a crosshair onscreen – for practice purposes only, we always stress. You can also superimpose a timer, hardware FPS counter, and grid to help with aligning multiple screens. However, you'd have to be truly minted to have more than one XG438Q monitor.
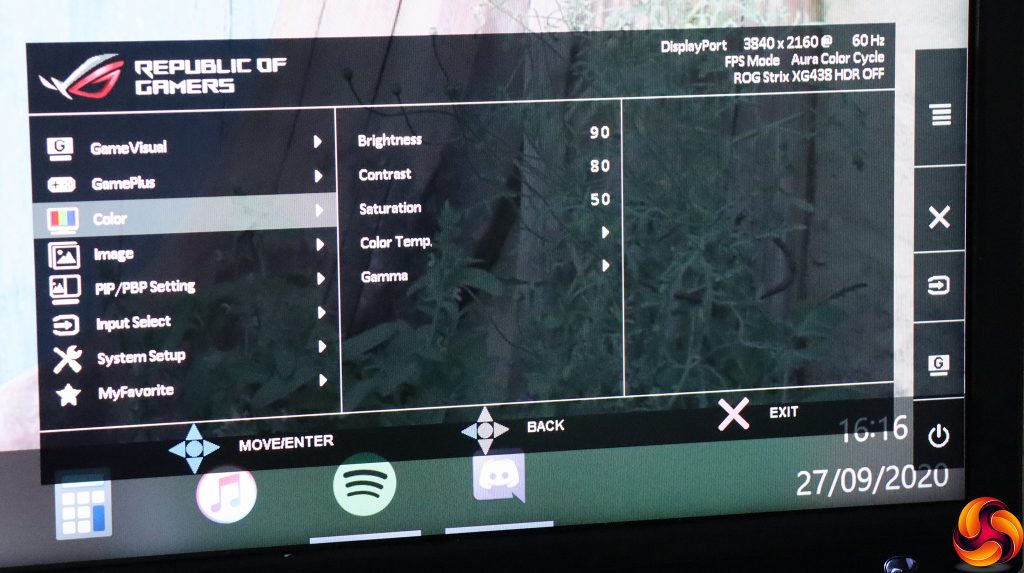
Next down is the Color section, which includes the usual controls for brightness and contrast as well as saturation. Color Temp has Cool, Normal and Warm presets as well as the ability to adjust via separate red, green and blue values. The Gamma options include 1.8, 2.2 and 2.5.
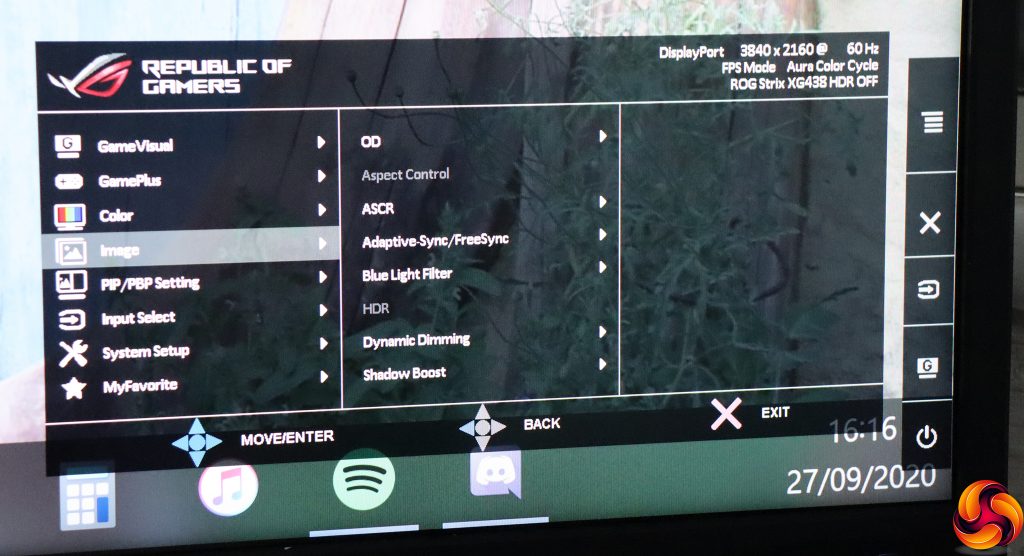
The Image section provides pixel overdrive options under OD. Aspect Control will only be available with non-native resolutions. ASCR is a smart contrast system. You can enable FreeSync here, and add up to four levels of Blue Light Filter to help counter eye strain. HDR is only available with an appropriate video signal, while Dynamic Dimming is another way to improve contrast. Finally, Shadow Boost improves contrast only in dark areas – handy for helping you to pick out enemies who hide in poor illumination, without blowing out brighter portions of the screen.
A screen this big, with this many video inputs, is a prime candidate for picture-in-picture. You could, for example, have your set-top box input superimposed within your Windows desktop.
The main menu also has a section for switching manually between the four video inputs.
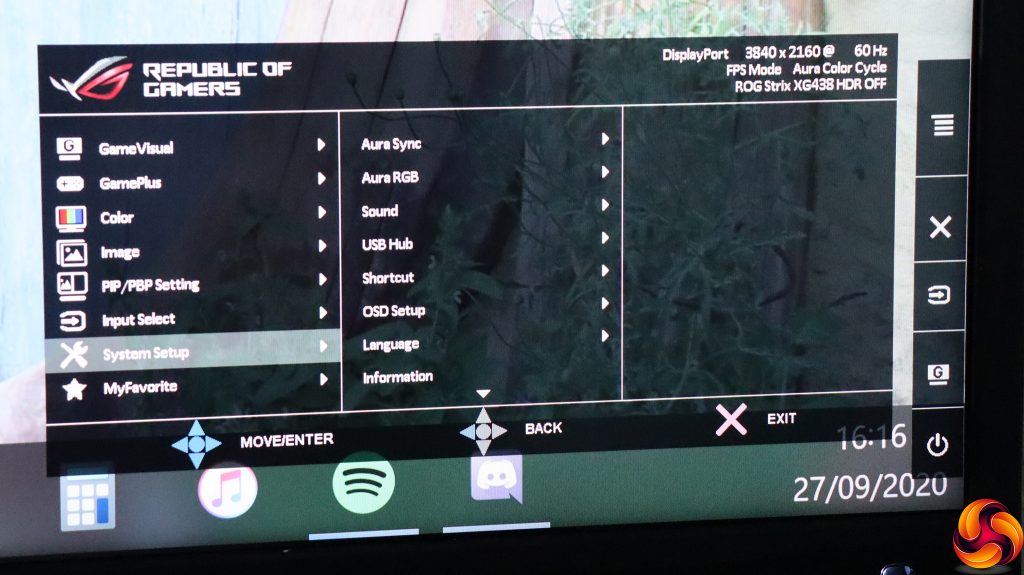
Under System Setup, you find all the sundry configuration options such as how the USB hub behaves, which input is supplying sound, which menu options the quick buttons point to, how the OSD itself behaves, and which language the interface uses. You can also view information about the input signal and screen setup. However, at the top can be found Aura Sync and Aura RGB, which is where you alter the behaviour of the external projector and rear lighting.
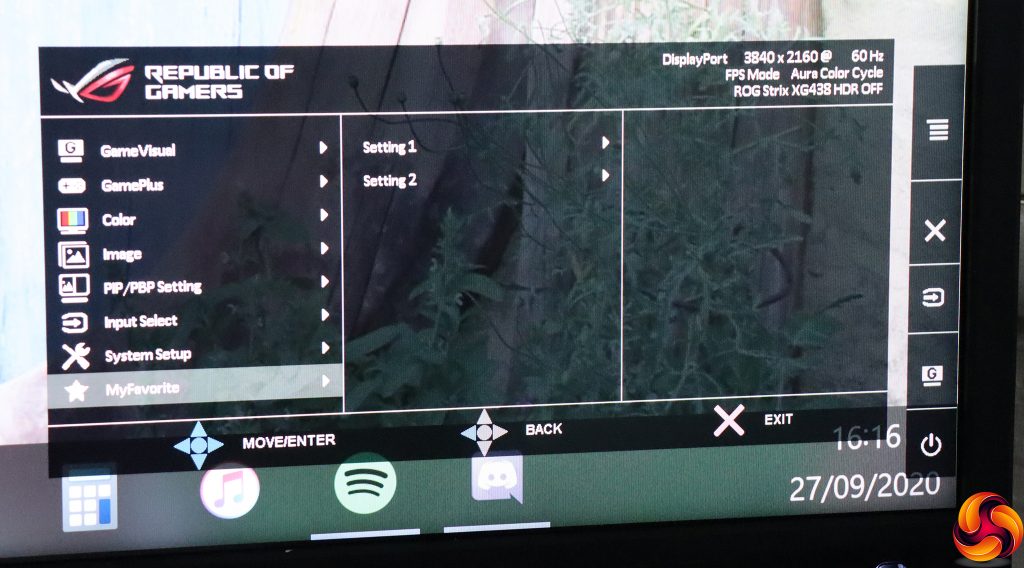
Finally, MyFavorite provides the ability to save and load two full custom configurations.
Overall, the OSD has plenty to offer and makes it all quite easy to find with a logical layout. Unlike some manufacturers, ASUS keeps presets for multimedia and games in one place, although there aren't any work-related options here. There is a good array of game-specific functions available. This is essentially the standard set of ASUS gaming monitor OSD features, and we never really have much to complain about in this area. We particularly like the wide selection of presets for specific game types, including the ever-popular MOBA.
 KitGuru KitGuru.net – Tech News | Hardware News | Hardware Reviews | IOS | Mobile | Gaming | Graphics Cards
