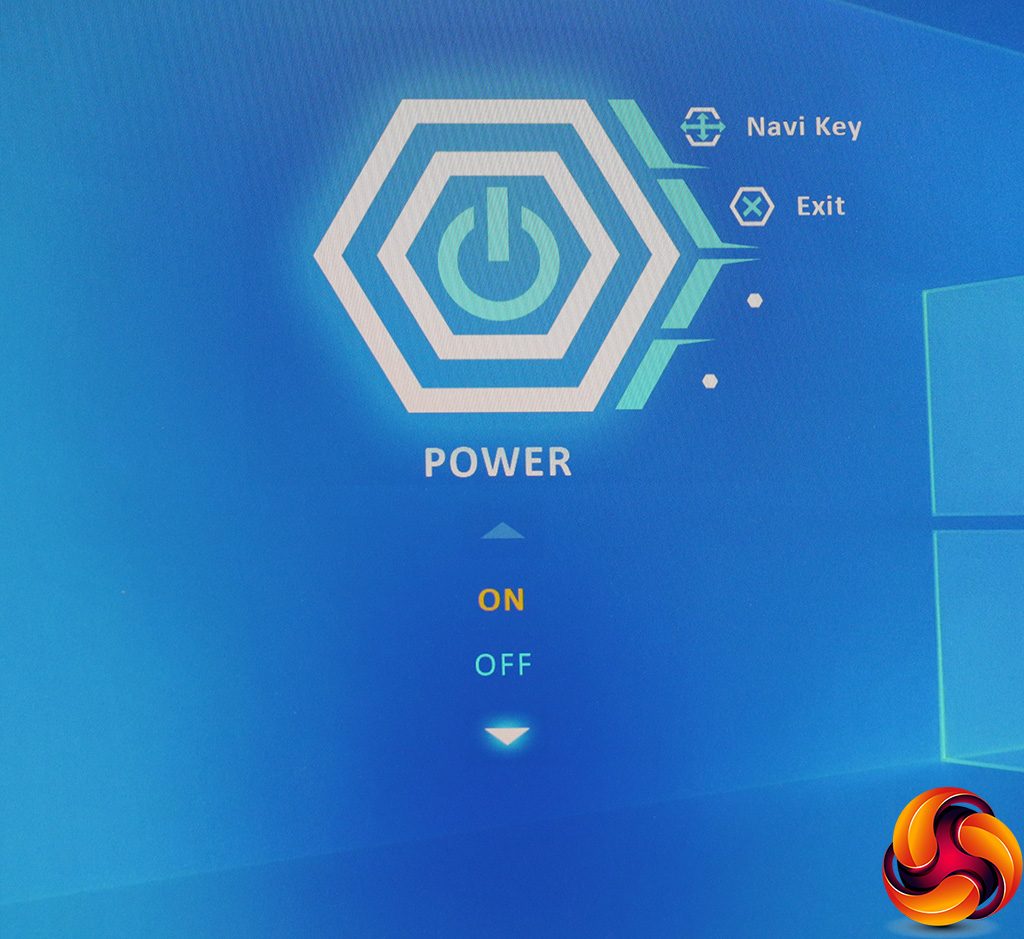
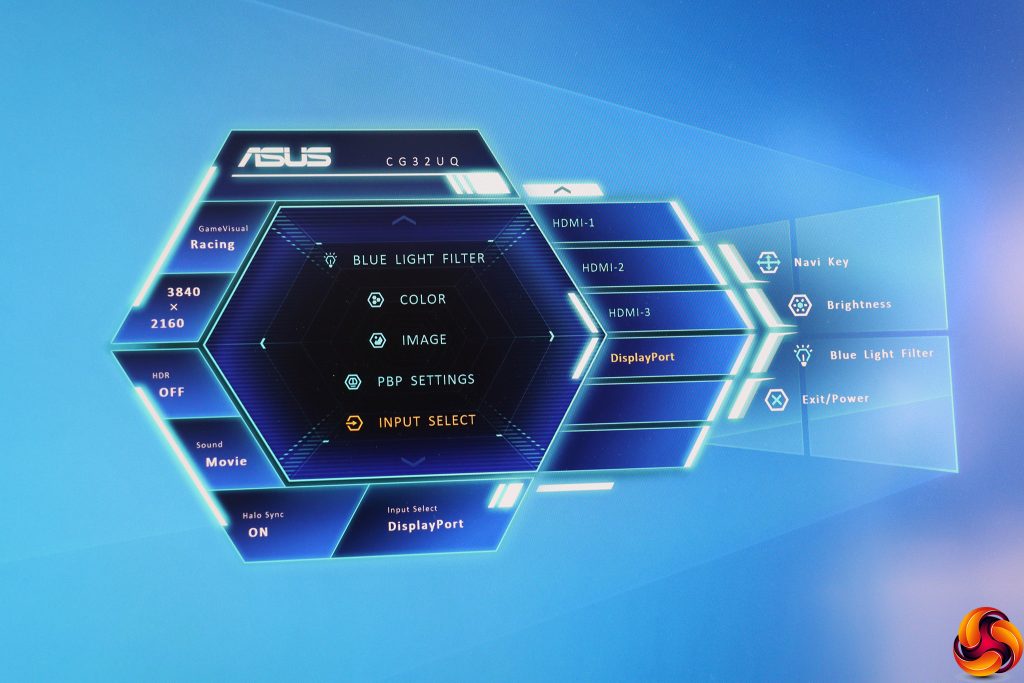
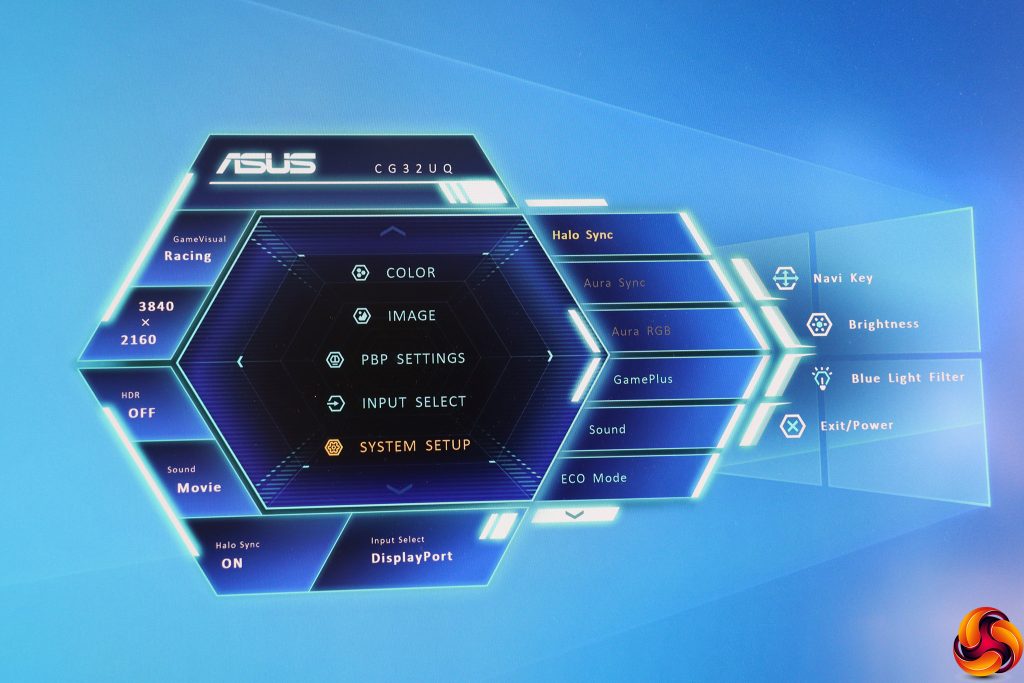
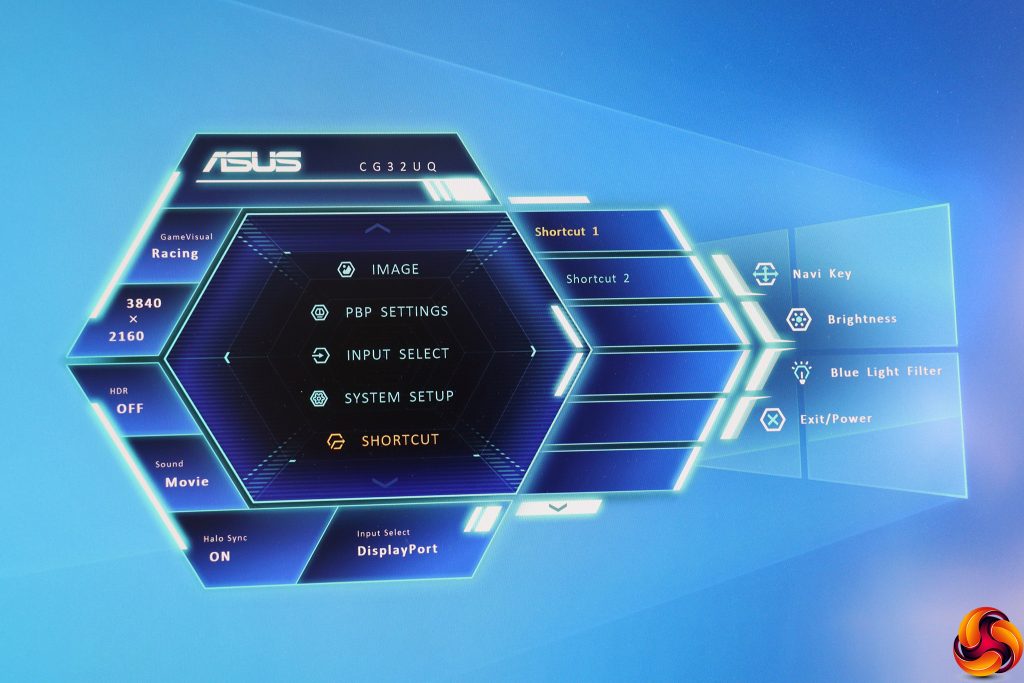
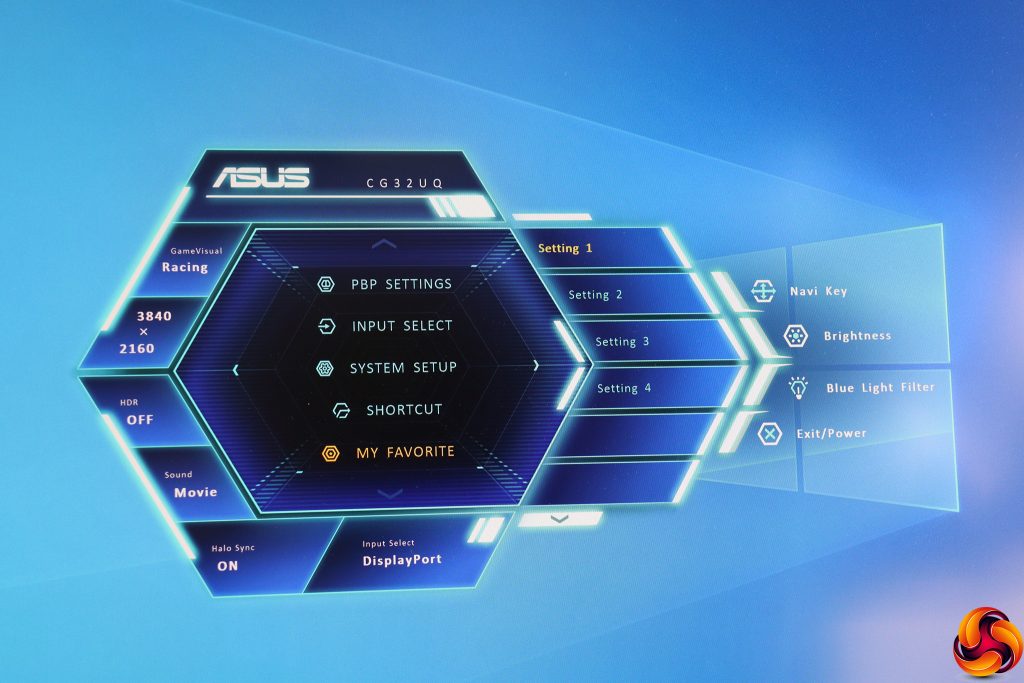
The controls are a little unusual in that the bottom button isn't an immediate power on/off control.
In order to turn off the power, you need to pull the joystick down and press in. This is probably a good thing, as it's easy to accidentally turn off a screen where the lowest button does this without notification.
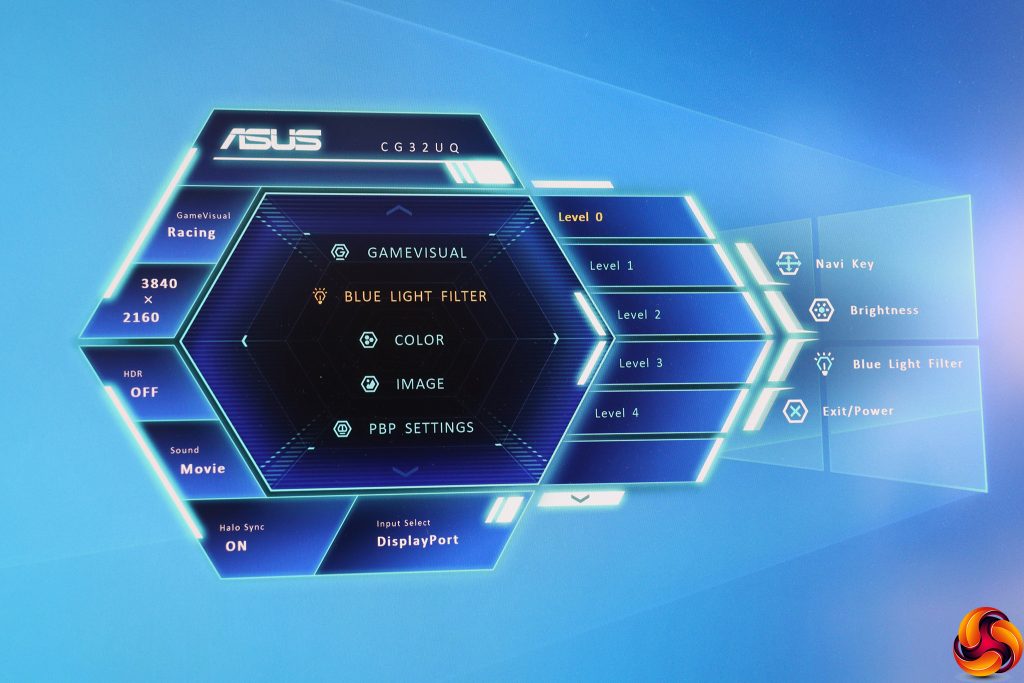
The next button up accesses the Blue Light Filter, which has four levels above zero. This is there to protect your eyes from long durations of usage.
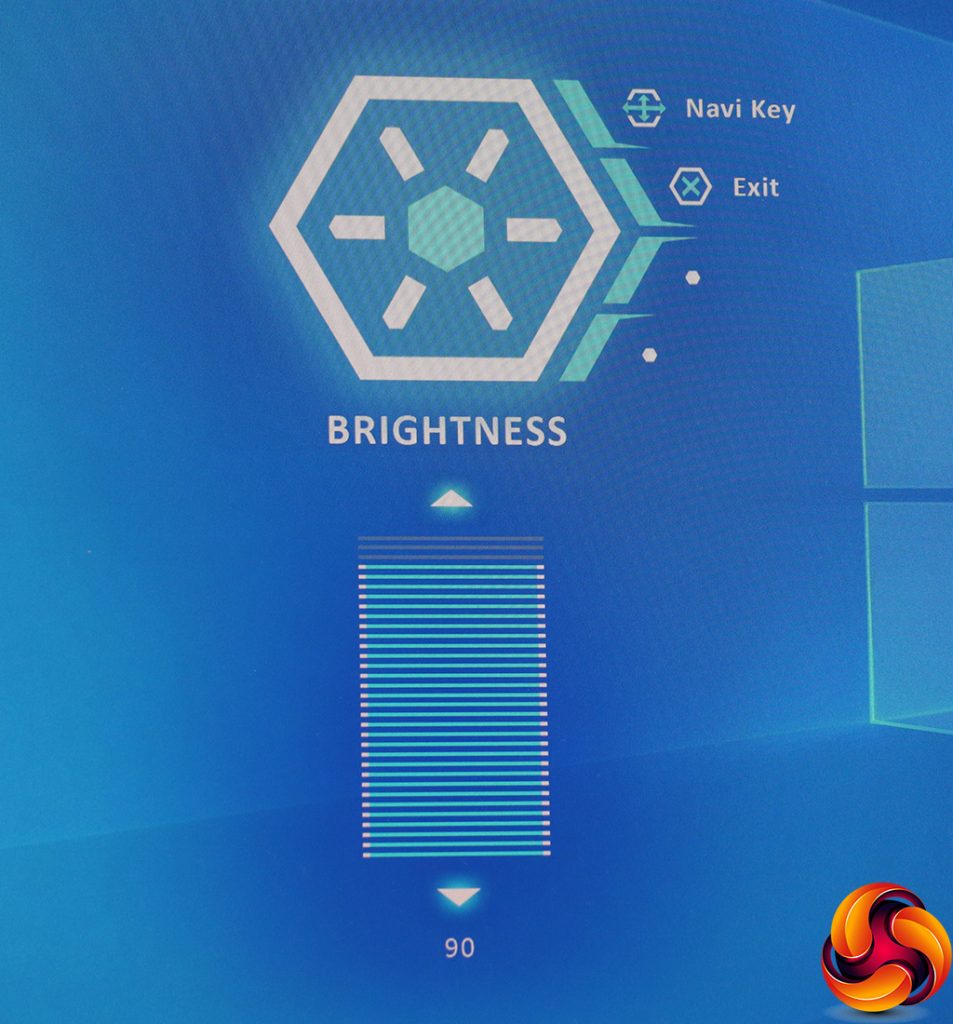
The closest button to the joystick calls up the brightness level control.
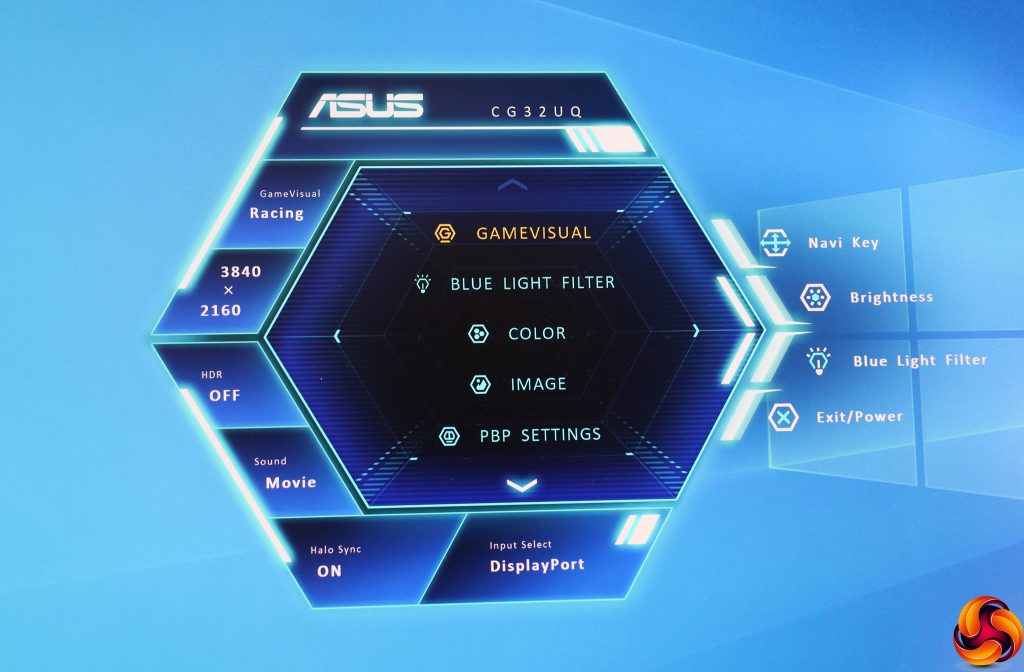
Finally, pushing the joystick in calls up the main menu. Note that pushing the joystick any other direction than in won't do anything unless a menu is already visible, and you need to select each of the items on the main menu to get into its options.
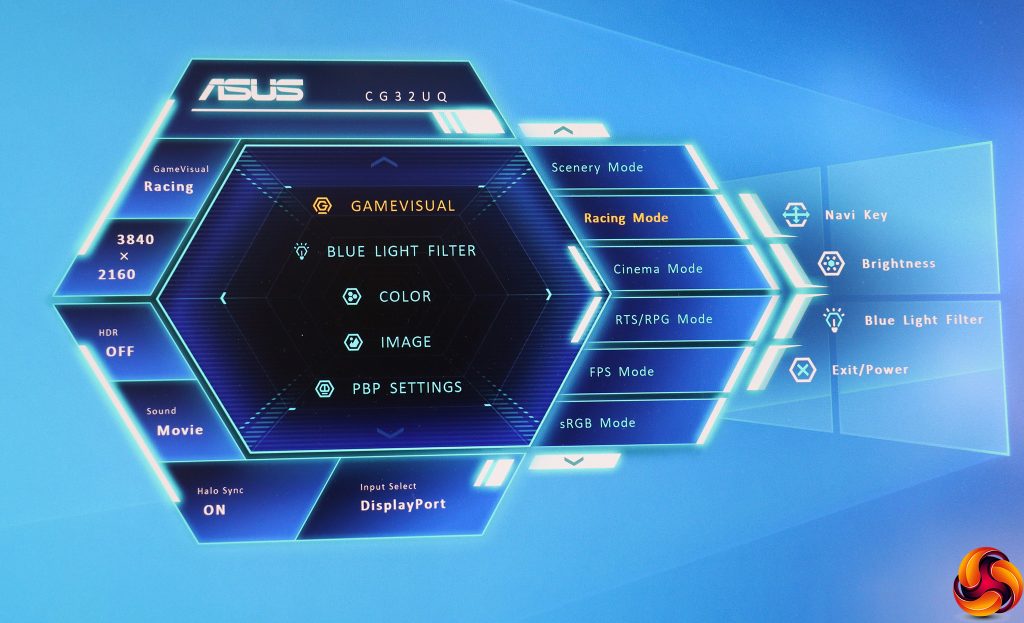
First up on the main menu is the section for choosing a GameVisual preset. The options include Scenery, Racing, Cinema, RTS/RPG, FPS, sRGB, MOBA and completely configurable User mode. There's no standard or default option. The default setting is Racing.
Next down is another opportunity to enable the Blue Light Filter.
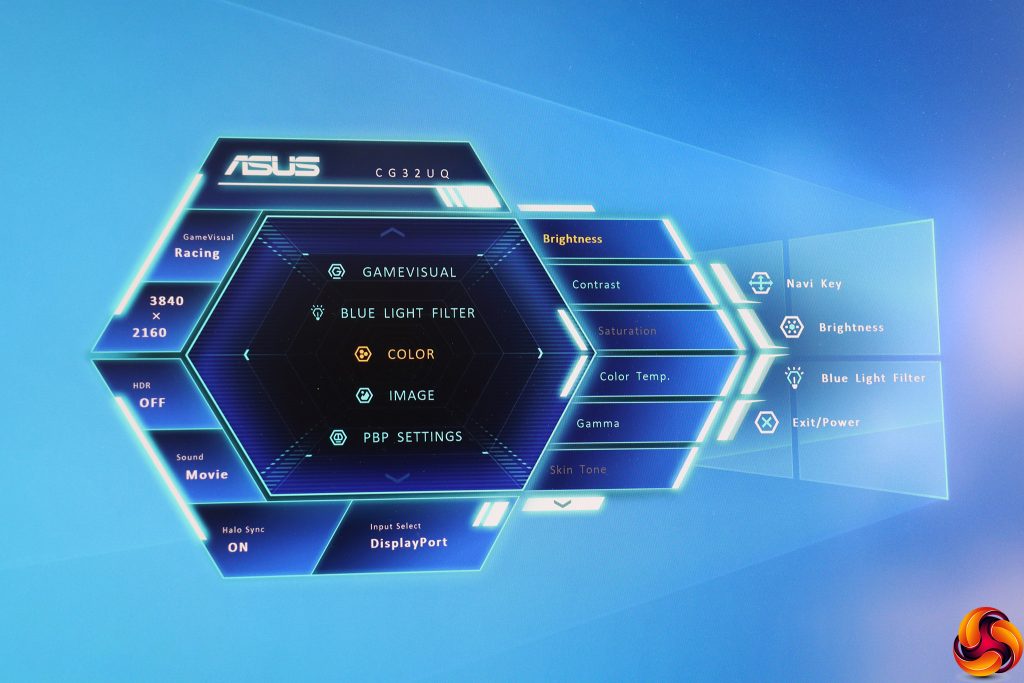
The Color submenu offers the ability to change Brightness and Contrast, although Saturation and Skin Tone are only available with some presets. Color Temperature options include Cool, Normal, Warm, and User-configurable red, green and blue values. Gamma options consist of 1.8, 2.2 and 2.5.
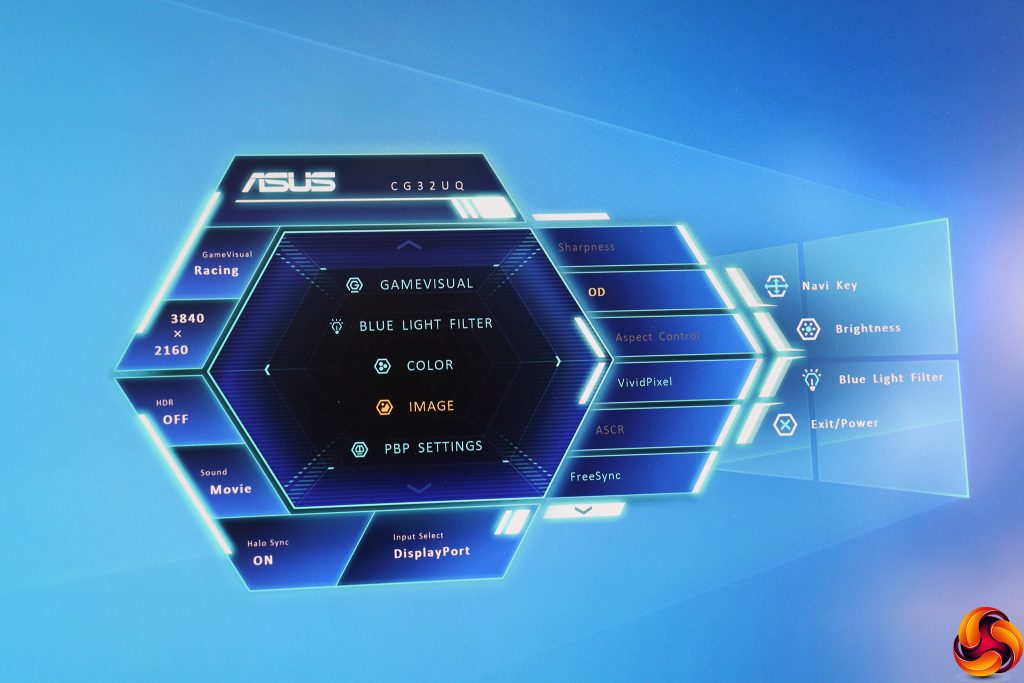
Under Image you can turn on OD pixel overdrive, which improves response time at the expense of quality and has four levels. There's also a VividPixel option which improves colour and ranges from 0 to 100 but only in 25 per cent increments. You can toggle FreeSync adaptive sync. The Sharpness, Aspect Control and ASCR smart contrast options are only available with certain input types and presets.
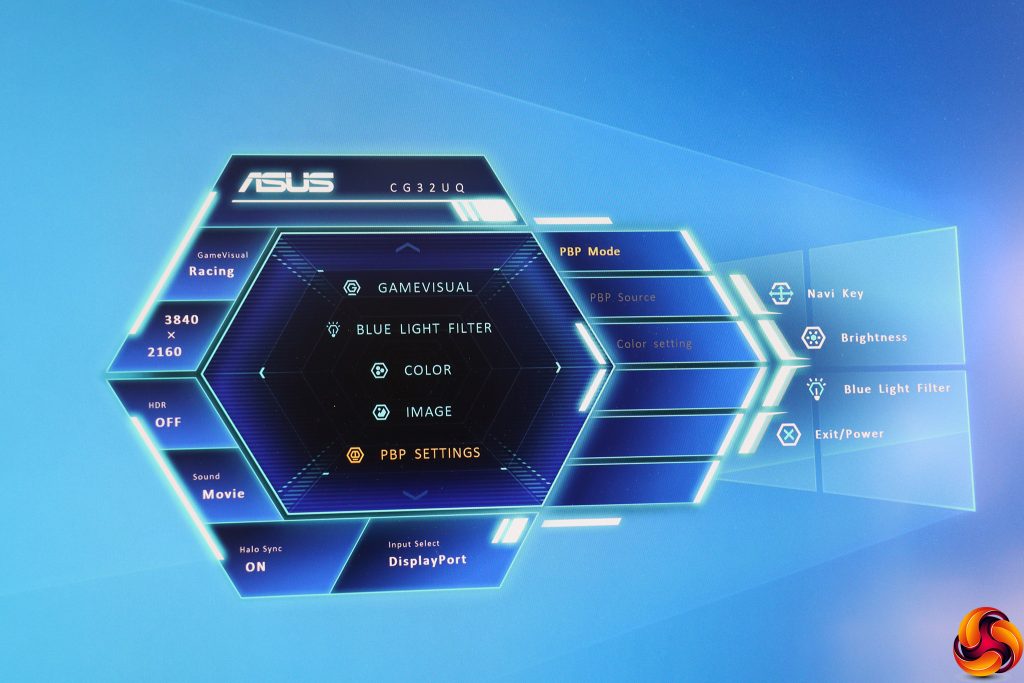
With four different video inputs available and a huge 4K screen, it makes complete sense to have picture-by-picture available, although picture-in-picture might have been handy too, so you could (for example) watch live TV while playing a game.
You can manually select one of the video connections via Input Select.
Sundry options are available under System Setup. Halo Sync is Asus's ambient lighting system, operating via the LEDs on the back of the bezel. Aura Sync and Aura RGB also provide options for configuring lighting. GamePlus provides helpful widgets like a hardware crosshair, timer or FPS counter. It also includes a facility to place a grid onscreen to help with aligning multiple displays.
The Sound option includes volume control and audio muting. You can also follow AudioWizard to set audio according to game type or other kind of usage, such as Movie. There's a power-saving ECO mode here too.
However, System Setup includes a lot of options, some of which might have been better in their own sections. The GamePlus features seem particularly hidden here. The OSD configuration options are buried in this section too, as well as the reset facility.
Luckily, you can use the Shortcut section to change the function of the two buttons between bottom one and the joystick, so you could put the GamePlus options here instead.
You can create up to four different groups of settings that you can save and reload via My Favorite.
Overall, the OSD looks great, and is easy enough to get around. There's a decent range of configuration for a gaming screen. We question some of the menu organisation, and there are too many functions buried within System Setup – some of these could have done with their own section. The remote provides access to some of these functions, like changing the brightness, volume and video input, but won't let you delve into the menu deeply.
 KitGuru KitGuru.net – Tech News | Hardware News | Hardware Reviews | IOS | Mobile | Gaming | Graphics Cards


