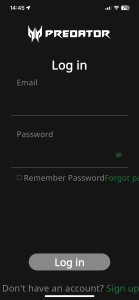
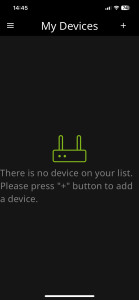
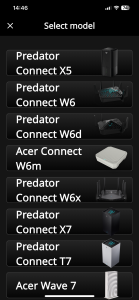
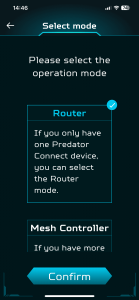
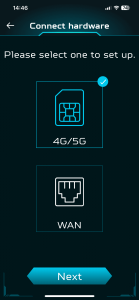
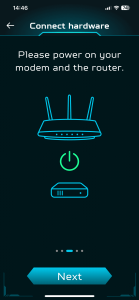
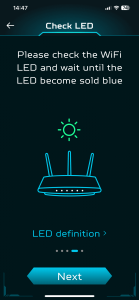
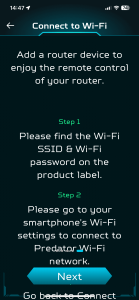
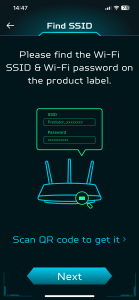
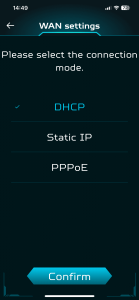
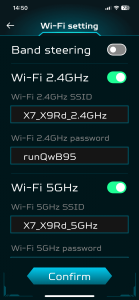
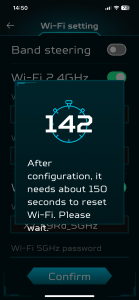
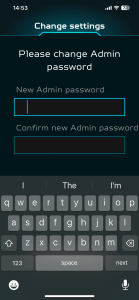
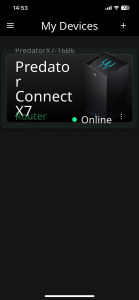
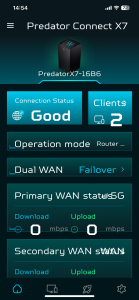
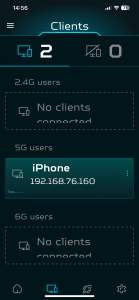
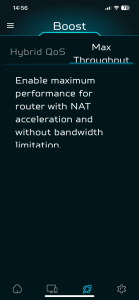
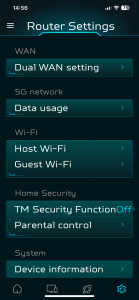
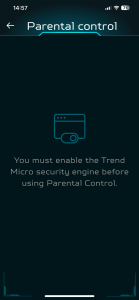
The Acer Predator Connect X7 5G CPE can be set up via the Predator Connect smartphone app or a Web browser. We decided to start off with the smartphone app, as this might be the preferred option for many users these days.
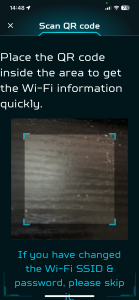
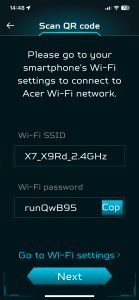
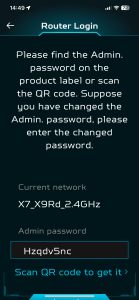
The smartphone app leads you through a simple wizard-based process. This includes setting up an Acer account, plugging in your device, and then connecting your smartphone to the router's wifi. This is facilitated by scanning a QR code on the back of the router itself, which provides the SSID and passcode for you to copy, so you can log into it. Then you can connect to the router and finish off the final settings, which conclude with choosing your router's admin password.
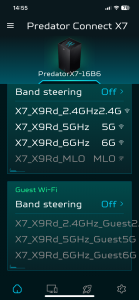
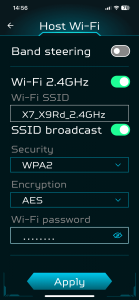
Once you're in the smartphone app, the range of options isn't that extensive. You can configure the way the Internet connection works, and turn on “band steering” for your wifi. This enables devices to hop wavebands to get the best connection. You can configure the QoS system used (of which more later). You can also turn on the Trend Micro security engine, then configure parental control. Again, more on this shortly.
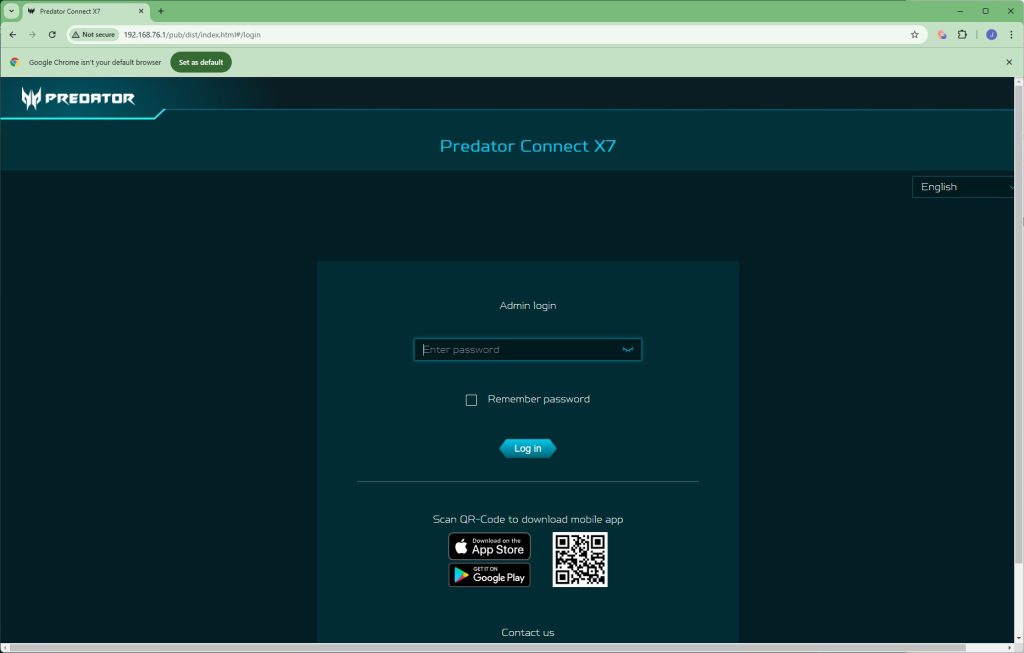
There is a fully fledged Web interface available. Simply log in with the admin password.
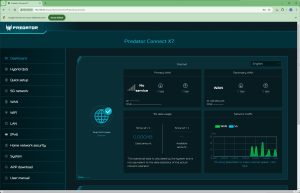
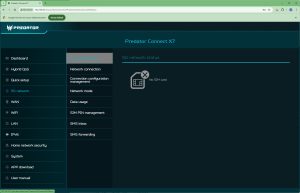
The primary dashboard provides top line information about your broadband connections. We didn't have a 5G SIM installed so the information for this connection was empty.
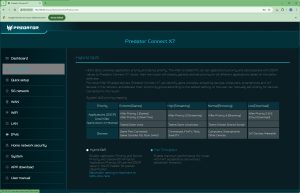
In the Hybrid QoS section you can choose between the default “Max Throughput” option and one that works in tandem with Intel's Killer system. You can see from the table that this also prioritises certain types of stream apps and a console connected to the GAME Ethernet port.
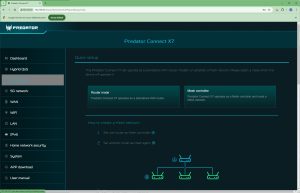
Quick setup takes you through the same options as the smartphone wizard. Note that if you have multiple X7 units you can set them up as a Mesh WiFi network.
If you have a 5G SIM module installed you can configure its behaviour in the 5G network section, including monitoring data usage.
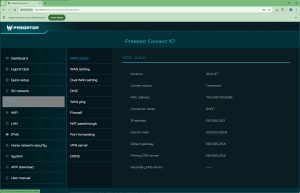
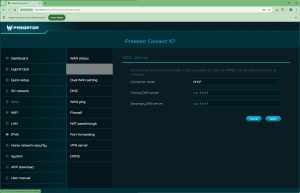
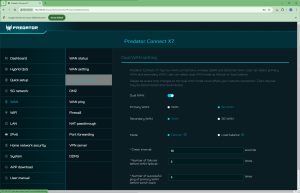
The WAN section is where you start to see some more detailed mainstream router functionality. The initial Status page just provides some basic information like WAN IP address and gateway. You can configure the connection mode and DNS servers in the WAN setting page. The Dual WAN setting page is where you can configure how the 5G and wired broadband work together. They can either operate as “Failover”, where the secondary kicks in when the primary connection fails, or “Load balancing”, where both connections work together, sharing the throughput and effectively adding the two connections together.
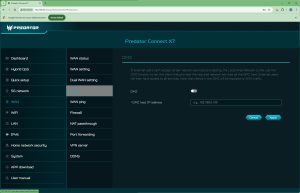
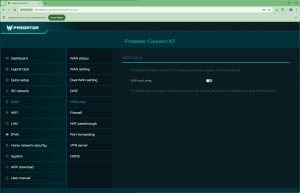
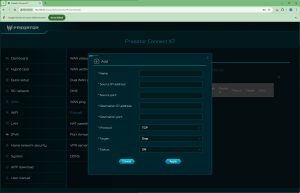
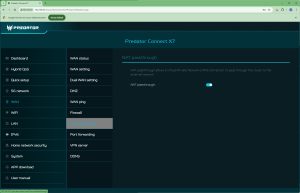
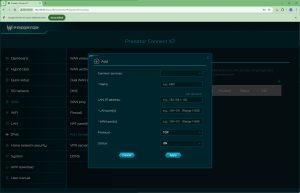
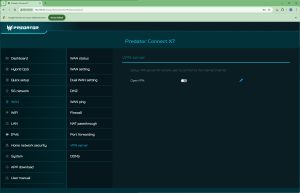
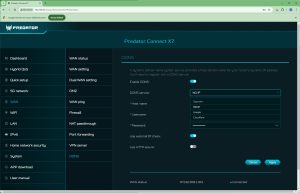
You can set up a DMZ – one client on the local network that is fully open to outside access. You can also set whether the router responds to external pings. The Firewall page is where you configure what services get through or are fully blocked from access across the network. NAT passthrough is for when you want a VPN connection to work across the router, which also has its own OpenVPN-compatible VPN server built in. You can also redirect external port calls to client systems on the local network. This works in tandem with the DDNS capability, which will provide URL-based access via services such as Dyn.com, NO IP, Google or Cloudflare.
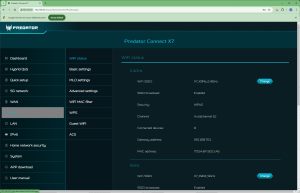
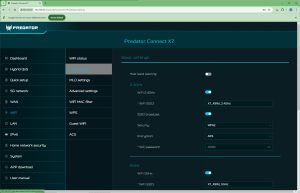
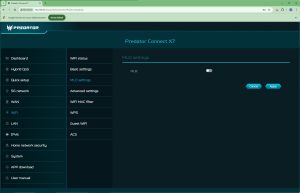
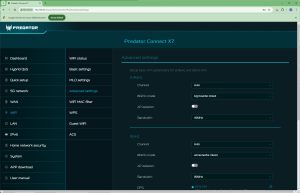
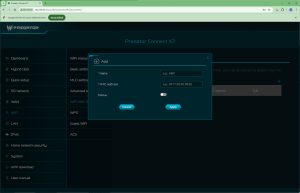
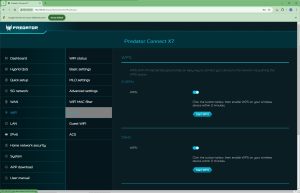
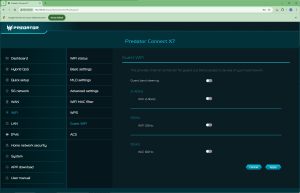
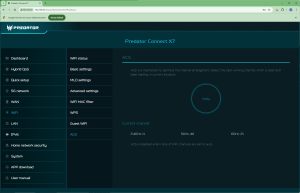
The WiFi tab is pretty standard. You get the usual options to configure the SSIDs of the 2.4, 5GHz and 6GHz wavebands. Interestingly, the MLO (Multi-Link Operation) capability is off by default. As this is a key way that WiFi 7 enhances its performance, you'd think most people would want it on. You can also dig deeper and change how each frequency band operates (although the interface warns you about this when you click on this Advanced page). There are standard MAC Address blocking facilities, WPS for easy client device configuration (with a button on the back of the router), and the option to create Guest WiFi that is kept separate from the main system. ACS optimises WiFi channel selection.
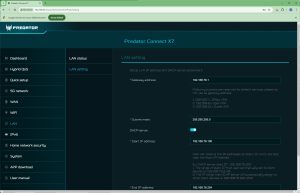
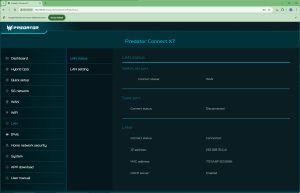
There's not a lot in the LAN section. Primarily, you can configure how the router's DHCP server doles out internal IP addresses.
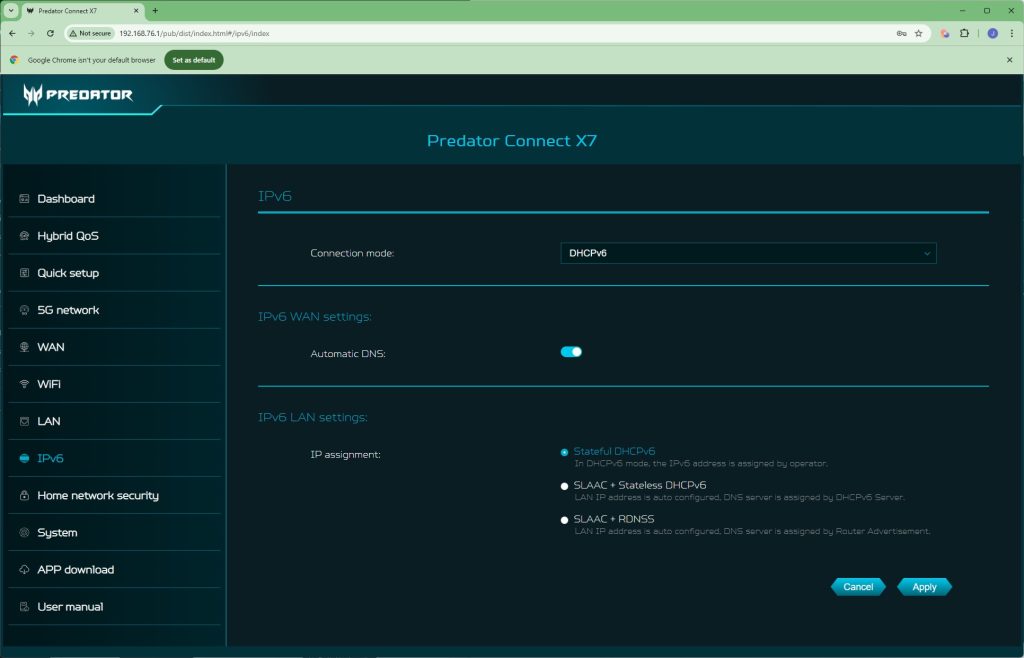
There's a standalone section for configuring how IPv6 works with the router.
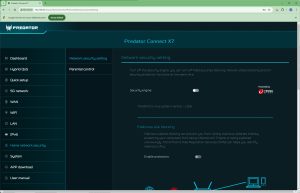
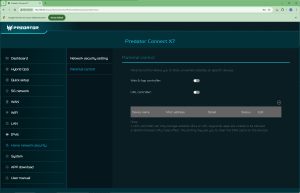
As mentioned when we discussed the smartphone interface, this router has a built-in Trend Micro security system. This includes Malicious site blocking, Network attack blocking, and IoT security protection, which can be turned off independently of the overall system. Parental controls operate via a manual system of blocking websites and apps from certain clients on your network.
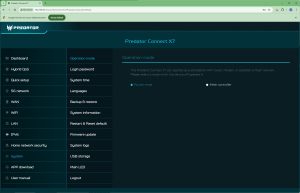
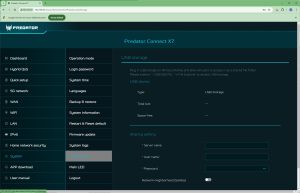
The System section is full of sundry settings, starting with whether the Predator Connect X7 is operating in router or mesh mode. You can change the admin password, set system time, change the interface language, backup and restore settings, and update firmware. Perhaps the most everyday function here is controlling the operation of the USB port, which can be used to share a storage device on the network as a Windows network file system. Strangely, this doesn't appear to include DLNA compatibility, for network media streaming.
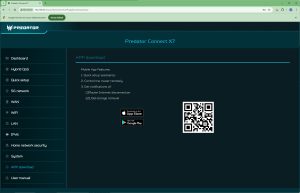
Finally, the last two tabs provide easy QR-code driven access to downloading the smartphone app, plus a link to the router's manual.
Overall, there is a decent level of depth in the Web interface. Port forwarding would be easier to configure with a list of popular apps, which the Acer router doesn't have, although these can easily get out of date. It would also have been useful to have DLNA and FTP support for the USB storage sharing. But these are minor omissions. The main capabilities are available and relatively easy to find.
 KitGuru KitGuru.net – Tech News | Hardware News | Hardware Reviews | IOS | Mobile | Gaming | Graphics Cards


