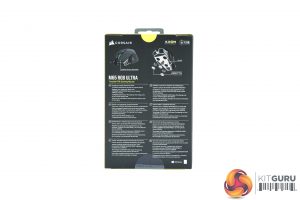
The M65 RGB Ultra packaging is entirely conventional for a new Corsair mouse. A large photo of the mouse dominates the front, while on the back we find various key features highlighted in different languages.
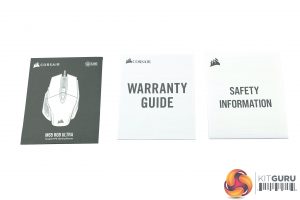
Inside, a quick start guide, warranty guide and safety information booklets are all included.
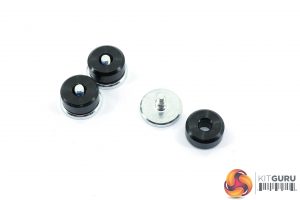
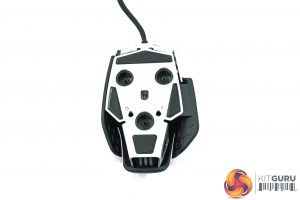
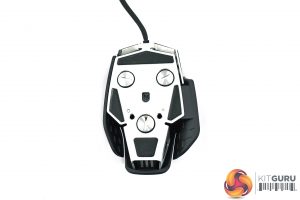
We also get the six extra weights – three silver and three black pieces of metal. These are stackable, so the black weights (at 4.5g) can sit on top of the silver weights (1.5g), to add up to an extra 6g in three different spots on the mouse, as we shall see below. The silver weights screw into the underside of the mouse itself, so it's not possible to only install one of the black weights, but there's a decent amount of customisation available if you want to play about with this feature.
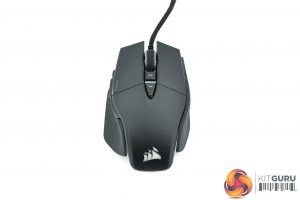
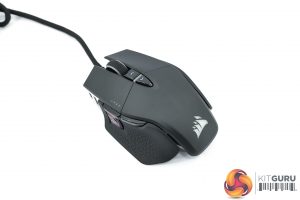
And then we have the M65 RGB Ultra itself. As far as I can tell, the shape and overall body of the mouse hasn't changed since we last reviewed the M65 RGB Elite, and chances are they are using the same outer shell. At the very least, the base weight is the same at 97g, and the shape appears to be identical.
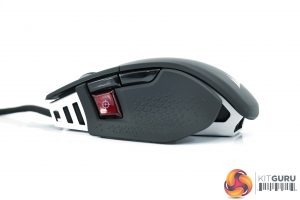
If you've not tried an M65 before, it's a pretty unique shape – nothing immediately springs to mind as offering a similar feel in the hand. We get a hump towards the back of the mouse, but overall it is quite flat and wide. The left-hand side also sports a thumb-rest which flares outwards, making this an ergonomic design for right-handers only.
Above that thumb-rest, we get two side buttons as well as the M65's signature sniper button. Out of the box, this temporarily lowers your DPI – supposedly to make sniping easier when you're scoping in on an enemy's head – but this can of course be remapped within iCUE.
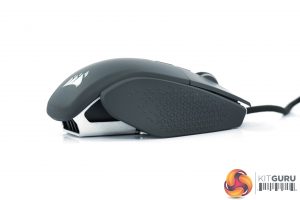
The right-hand side of the mouse is left bare, but Corsair is using a textured material, with lots of little triangles in the plastic, to act as grips. These are directly moulded into the sides of the mouse, so they're not rubber grips that have been glued on.
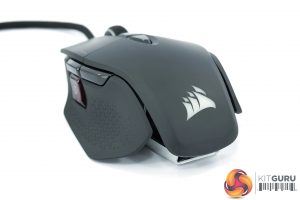
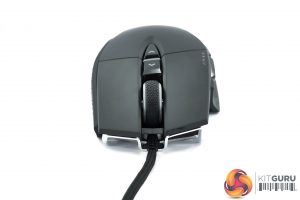
The rear of the mouse tapers down, with the Corsair sails logo visible here, and this acts as one of the RGB zones.
At the front, we get a look at the textured rubber scroll wheel (the second of the RGB zones), as well as the split button design. These buttons use Corsair Quickstrike technology, which is described as a ‘pre-tensioning of the left and right buttons (click plates) with downward spring-loaded force to close the distance between them and their OMRON switches for zero gap.' In other words, it should allow for a more satisfying button press with less pre and post-travel.
Behind the scroll wheel, we can also note two DPI buttons – one for increasing, and one for decreasing, the DPI on the fly.
On the underside of the mouse we see the aluminium frame used, another staple feature of the M65 series. The three holes are where the adjustable weights can be screwed in, and you can see how you could – in theory – tune the mouse to be more top or bottom-heavy depending on your preference.
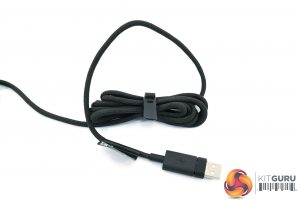
As for the cable, Corsair is calling this a ‘lightweight paracord cable', and it measures 1.8m long, terminating in a USB 2.0 Type-A connector. We talk about cable quality and flexibility on the next page.
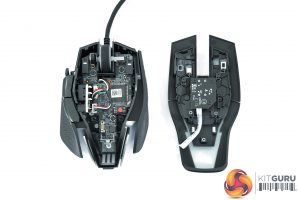
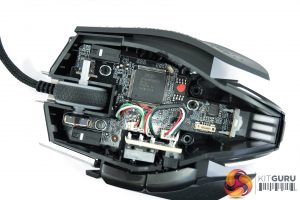
In terms of mouse disassembly, the top of the shell is easily removed once two screws have been extracted from the underside of the mouse. As you can see, the PCB is still somewhat obscured by the sides of the shell, and unfortunately one of the screws holding the PCB in place stripped itself – despite using the same screwdriver to easily remove the other two.
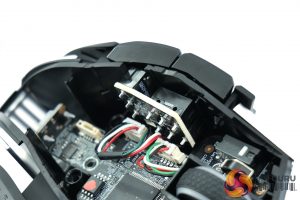
That meant I was unable to get as close a look at the different components as I would have liked, but we can still comment on a few areas. The first of these is the primary button switches, with Corsair using optical Omron switches. I've not tested a mouse with optical Omrons before, so this will be interesting indeed!
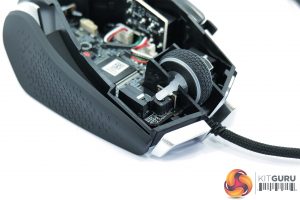
As for the scroll wheel, this uses a Kailh encoder along with a standard tactile switch for the scroll click, though I did not see any visible branding on the switch itself. The Marksman sensor is notable as it is not immediately visible, so it is likely on the underside of the PCB. An NXP LPC54605J512 microcontroller is used.
Lastly, we were also able to make out that the side buttons – at least, the forward and back buttons – do use standard Omron D2FC-F-7N(10M) mechanical switches.
 KitGuru KitGuru.net – Tech News | Hardware News | Hardware Reviews | IOS | Mobile | Gaming | Graphics Cards


