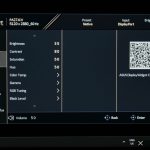
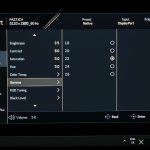
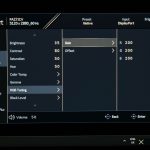
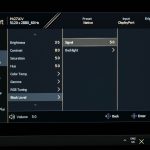
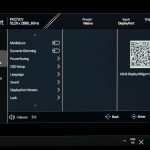
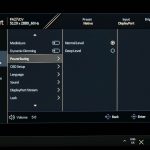
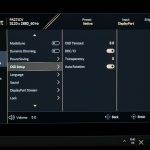
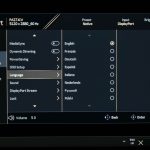
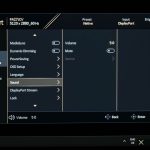
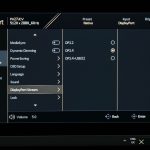
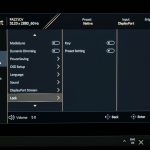
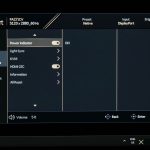
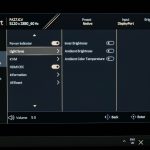
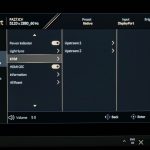
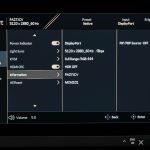
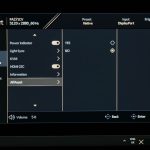
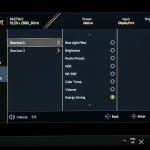
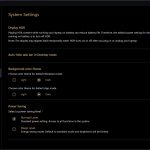
The ProArt PA27JCV OSD is split into eight main tabs, which we will break down below.
Shortcut options
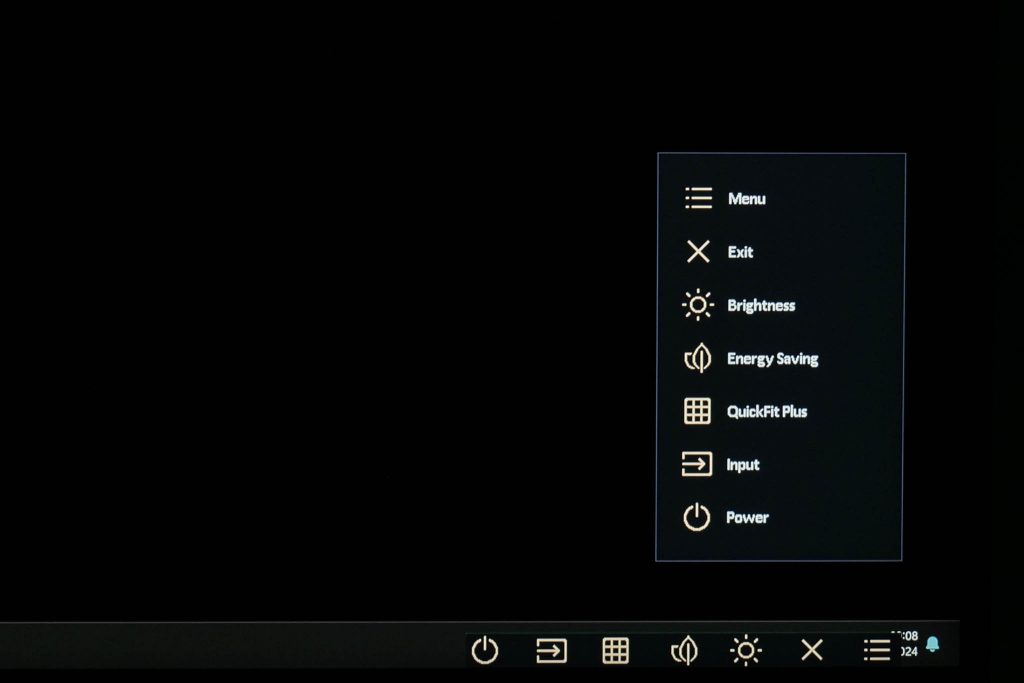
Before you get into the main settings menu, an initial pop-up menu appears, giving quick access to the above settings via the buttons on the chin. Two of these shortcuts can be customised, as we show at the bottom of this page.
Preset settings
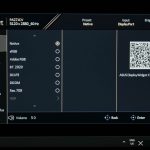
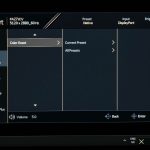
Clicking in the joystick brings up the main menu, with the first tab being the Preset settings, where you can choose between various colour space modes.
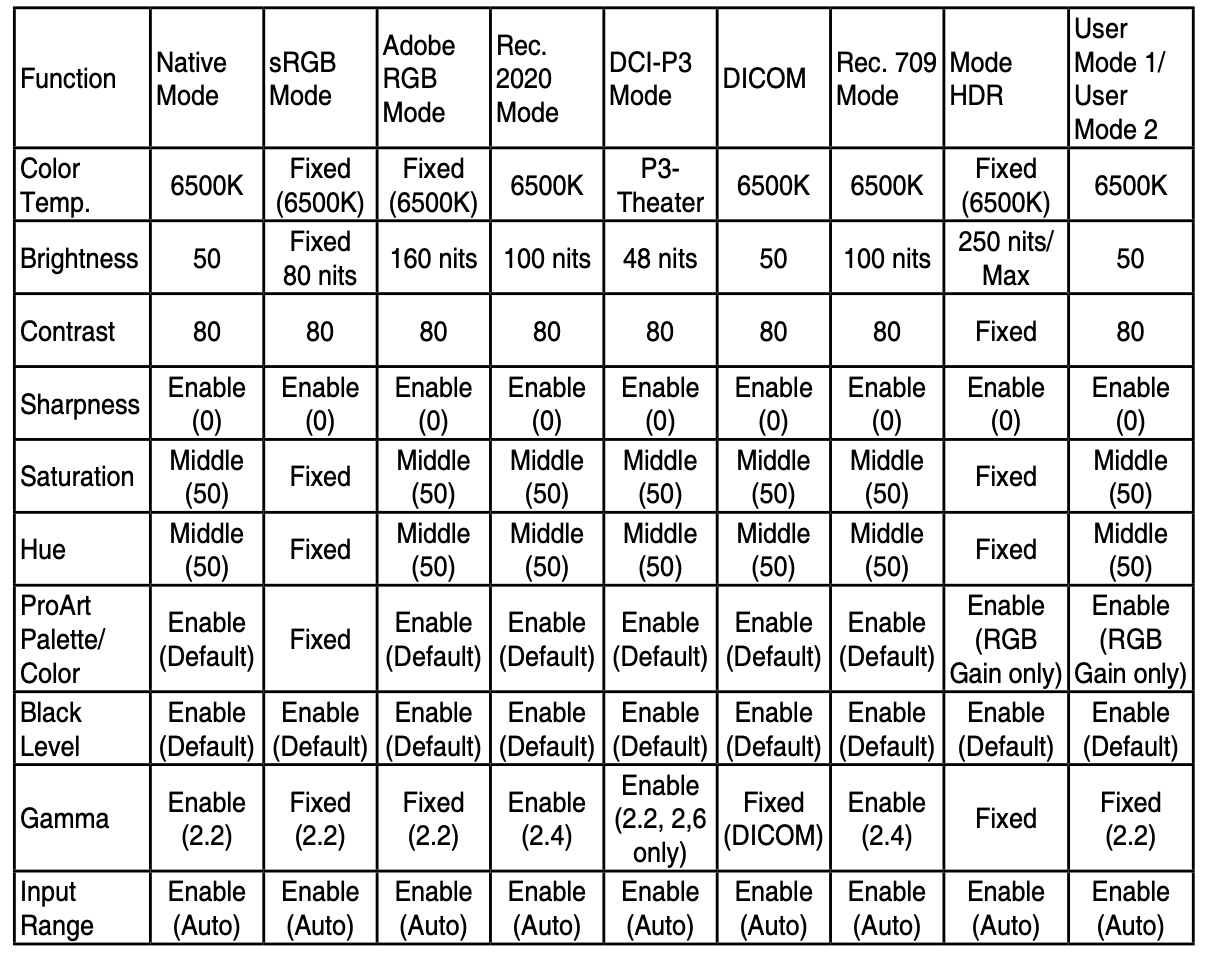
Above is a screenshot from the PA27JCV manual which outlines the exact settings used for each of the colour space modes.
Palette
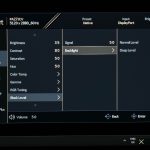
The next tab is called Palette, offering control over brightness and contrast, alongside gamma and RGB controls to manually adjust the colour balance.
Image
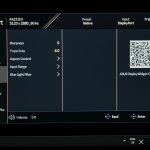
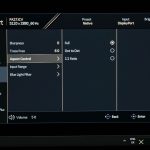
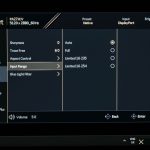
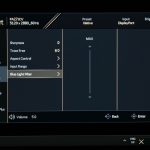
Then there are the Image settings, which includes sharpness, Trace Free (ASUS' term for overdrive), aspect ratio adjustment, input range control, alongside a blue light filter.
PIP/PBP
The next tab is quite self-explanatory, offering PIP/PBP settings if you have a second source connected to the monitor.
QuickFit Plus
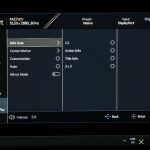
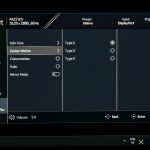
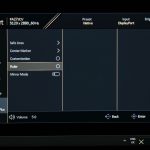
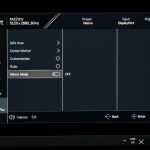
QuickFit Plus offers a range of settings that might help with certain design tasks. You can configure a centre marker to appear on screen, or have a ruler run alongside the edges of the monitor. It's even possible to mirror the entire contents of your screen if you wish.
Input
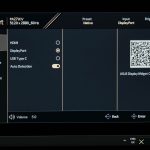
Input is also pretty self-explanatory, giving you the choice between the various video inputs, or an Auto Detection option.
Settings
Settings has the most, erm, settings to adjust and it's quite a varied spread. There are basic things like OSD timeout options, but also more advanced features including KVM setup, DisplayPort configuration and ASUS Light Sync, the latter being an interesting feature which leverages ambient light and backlight sensors to automatically fine-tune gamut and white balance (if you want that). You can also get an overview of the monitor's information and firmware version, or reset everything to factory defaults.
Shortcut
The final tab allows you to configure two shortcuts which can be accessed from the initial pop up menu (as shown as the top of this page).
ASUS DisplayWidget Center
For those interested, ASUS also provides support for its DisplayWidget Center software. This gives you control over the key monitor settings from your PC, so you don't have to fiddle with the OSD to quickly adjust brightness or choose a different colour mode. This is currently only available for Windows, and not macOS.
 KitGuru KitGuru.net – Tech News | Hardware News | Hardware Reviews | IOS | Mobile | Gaming | Graphics Cards


