One of the key features of the U32U3CV is the fact it is Calman Ready, meaning it can tap into Calman's AutoCal functionality and use 3D LUT hardware calibration, rather than relying on simpler ICC profiles.
To benefit from this you will need a Calman license, but we run through the entire AutoCal process below, so you can see every step along the way, before showing the results at the bottom.
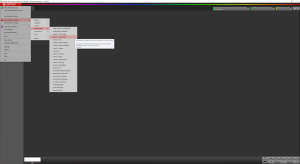
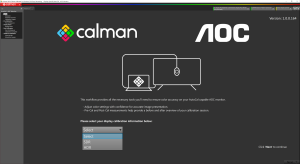
The first stage is to navigate to a display-specific workflow – calibrating an AOC monitor. You can then choose either SDR or HDR calibration.
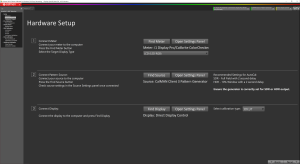
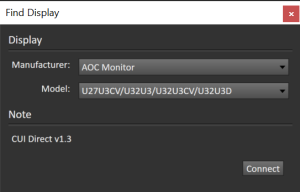
The hardware setup page ensures you have your meter and pattern generator connected – we're using the X-rite i1 Display Pro Plus and Calman Client 3, respectively. Then you have to connect to the monitor, ensuring a USB cable is hooked up from one of the U32U3CV's USB-C ports, before finding the relevant AOC models from the drop down menu.
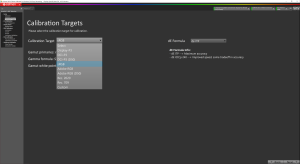
After that, you'll want to choose the calibration target. We're using sRGB for the purposes of this review.
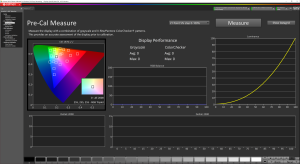
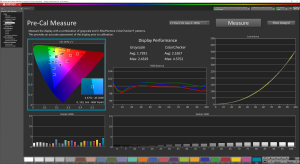
A pre-calibration measurement window will appear, and hitting the ‘measure' button gives you a look at current performance before any tweaks are made.
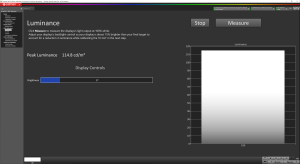
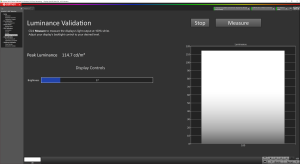
After that, the process will reset any previously saved profiles, before taking you onto the luminance verification check. Calman recommends aiming for a brightness level that's 15% above your actual target, as some brightness is lost during the calibration process.
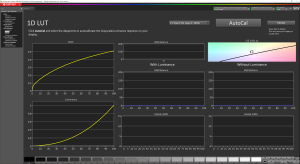
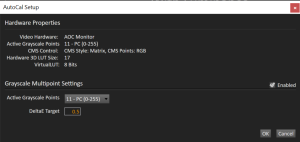
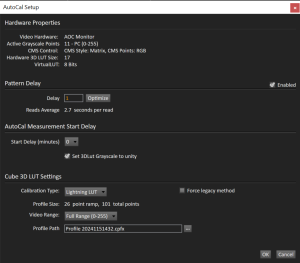
The next window brings us to the 1D LUT calibration process. Hitting the ‘AutoCal' button brings up a pop-ip window where you can choose the desired number of active greyscale points, which we left at 11, with a deltaE target of 0.5.
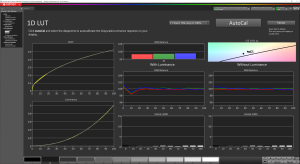
Here we can see the same 1D LUT window, but with all the results now showing on-screen.
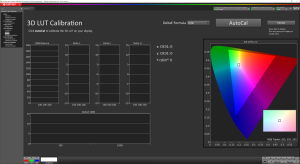
Then we move onto the 3D LUT calibration stage. Hitting ‘AutoCal' once again brings up more options to choose from in regards to the calibration type. We stuck with ‘Lightning LUT' which is fast but potentially not as accurate as the Hybrid and Fixed Grid options, but those are significantly slower.
Once the calibration process is complete, it's vital to hit the ‘Persist' button, otherwise the calibration is not saved to the display. I learned this the hard way and had to repeat the process!
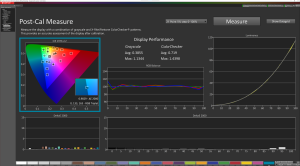
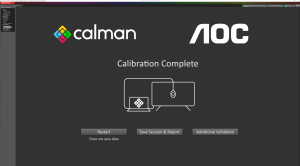
Once the calibration is saved, you can verify luminance once again, and then do a post-calibration measurement which already shows a big improvement compared to the pre-calibration measurement shown above.
And that's it! You can now save the calibration workflow and generate a report if you wish, or Calman includes some addition verification functionality built in.
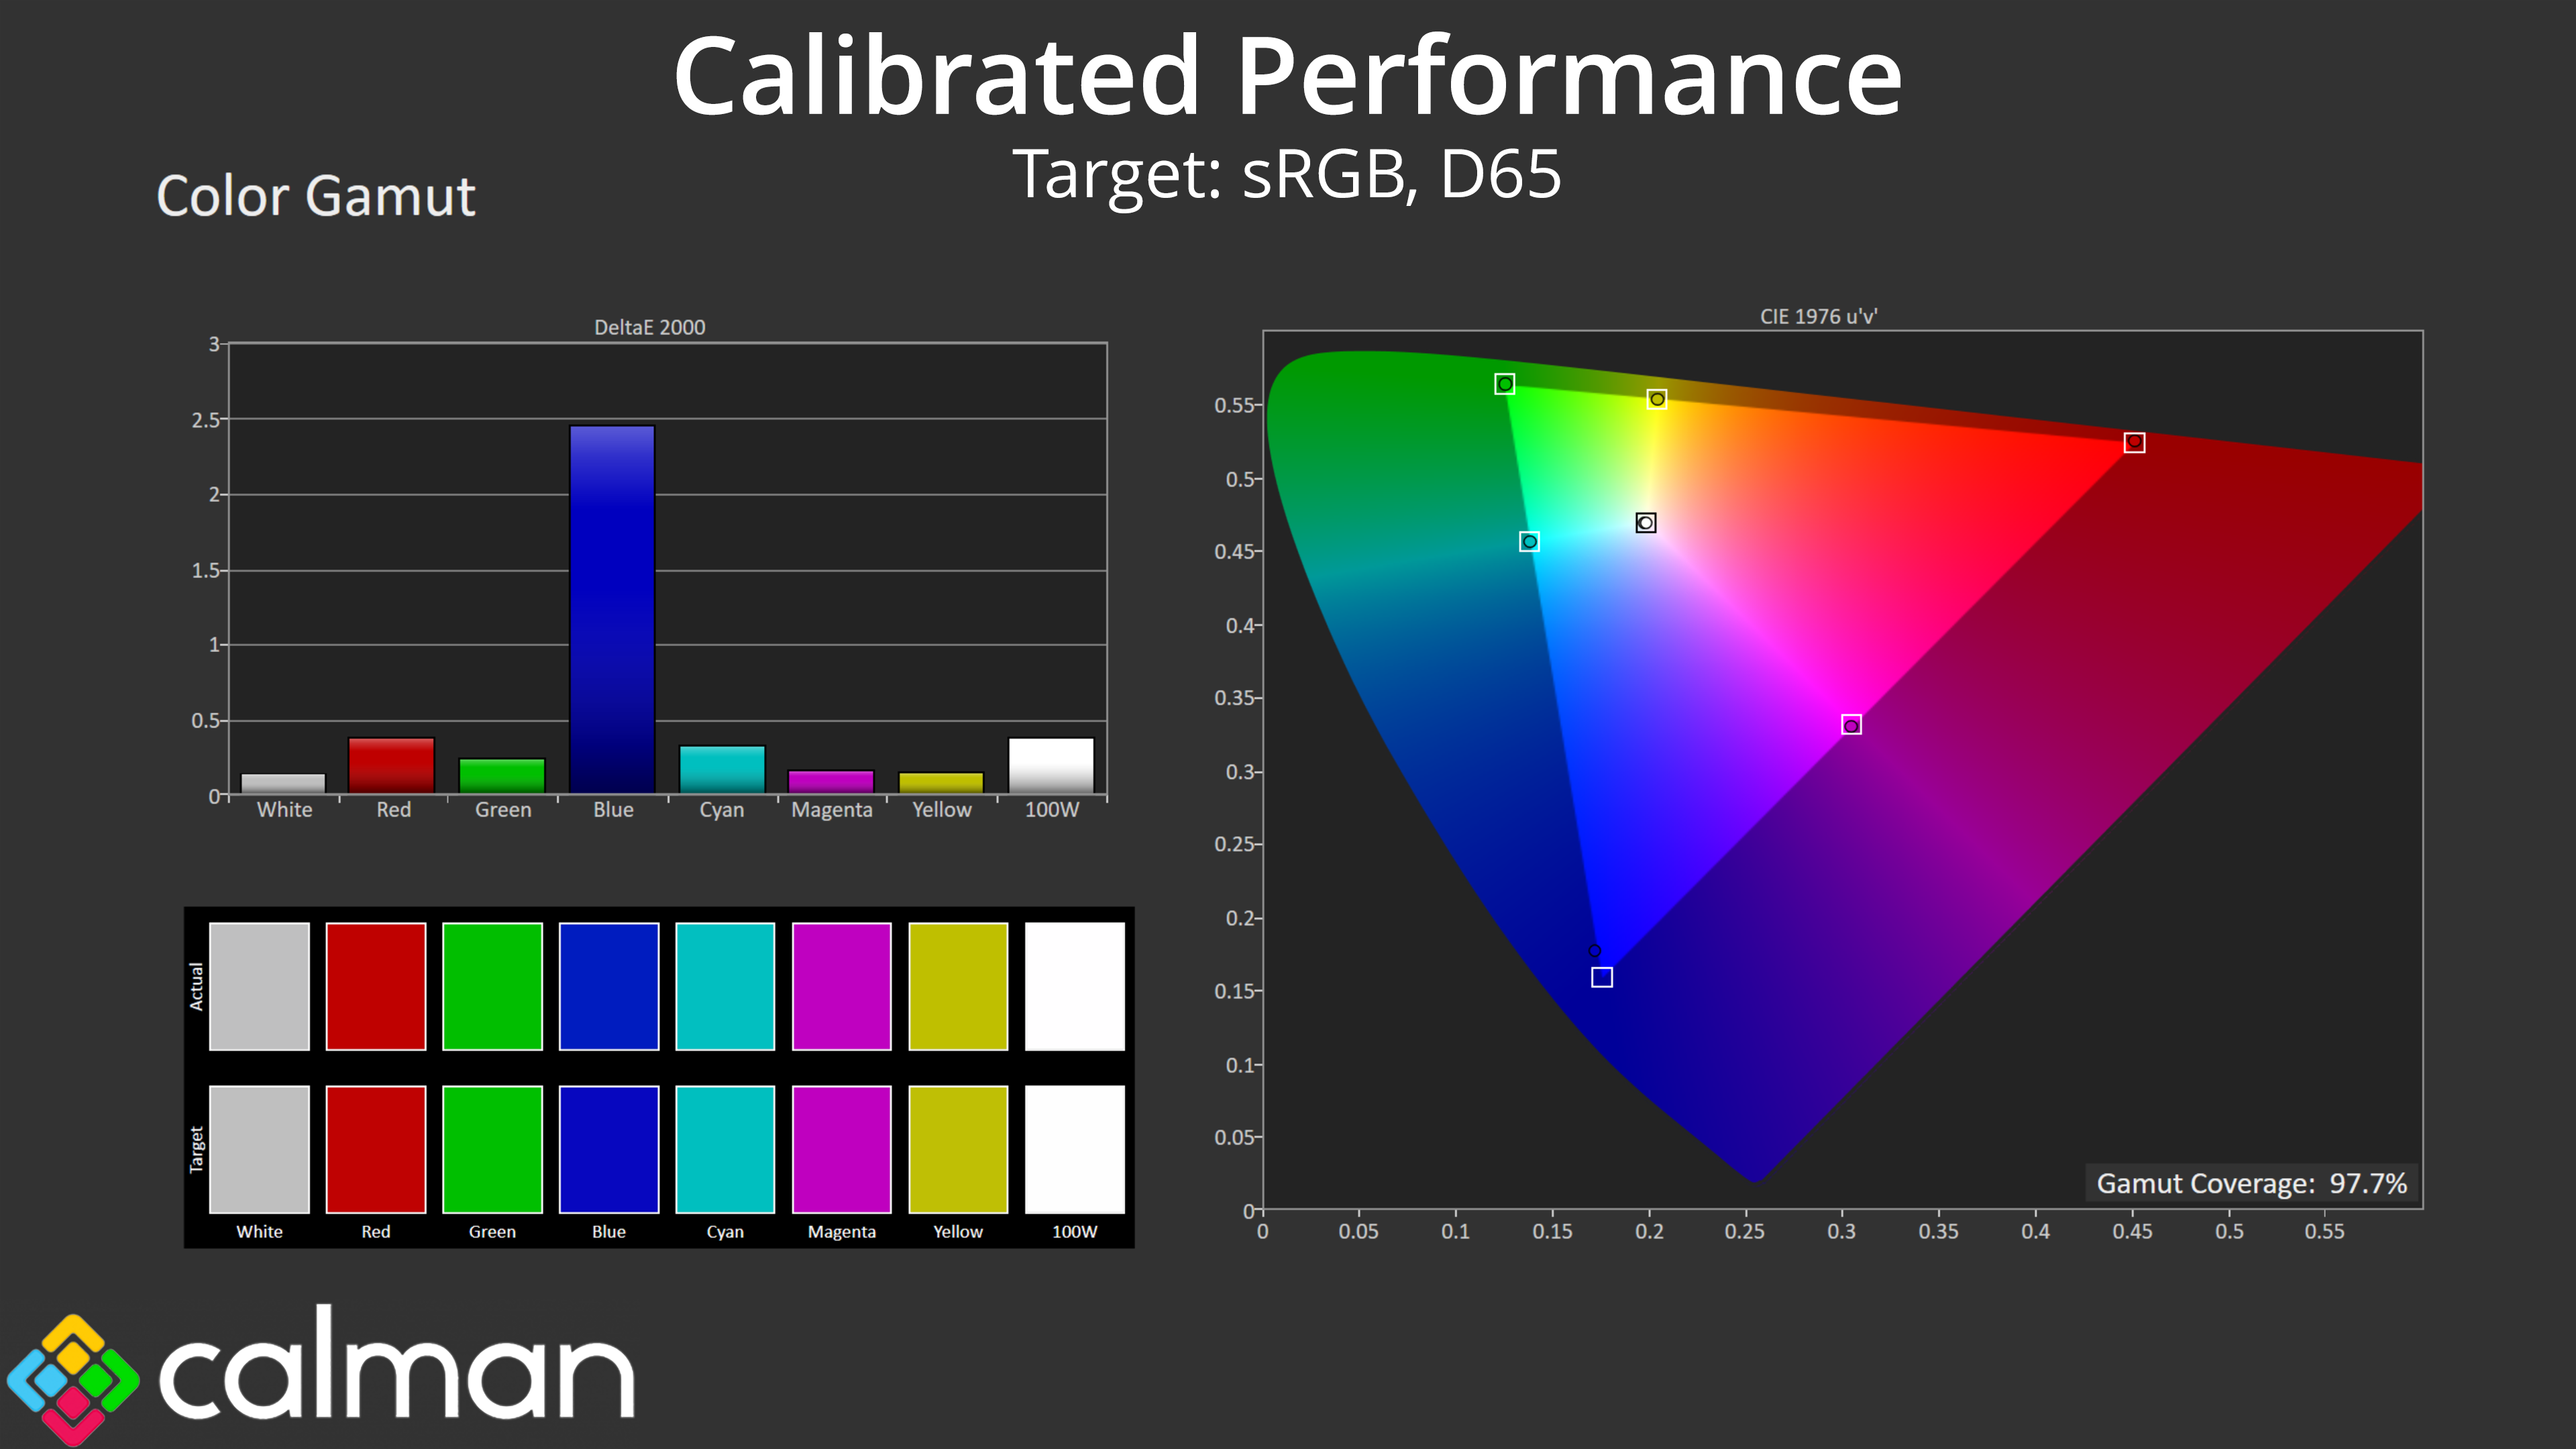
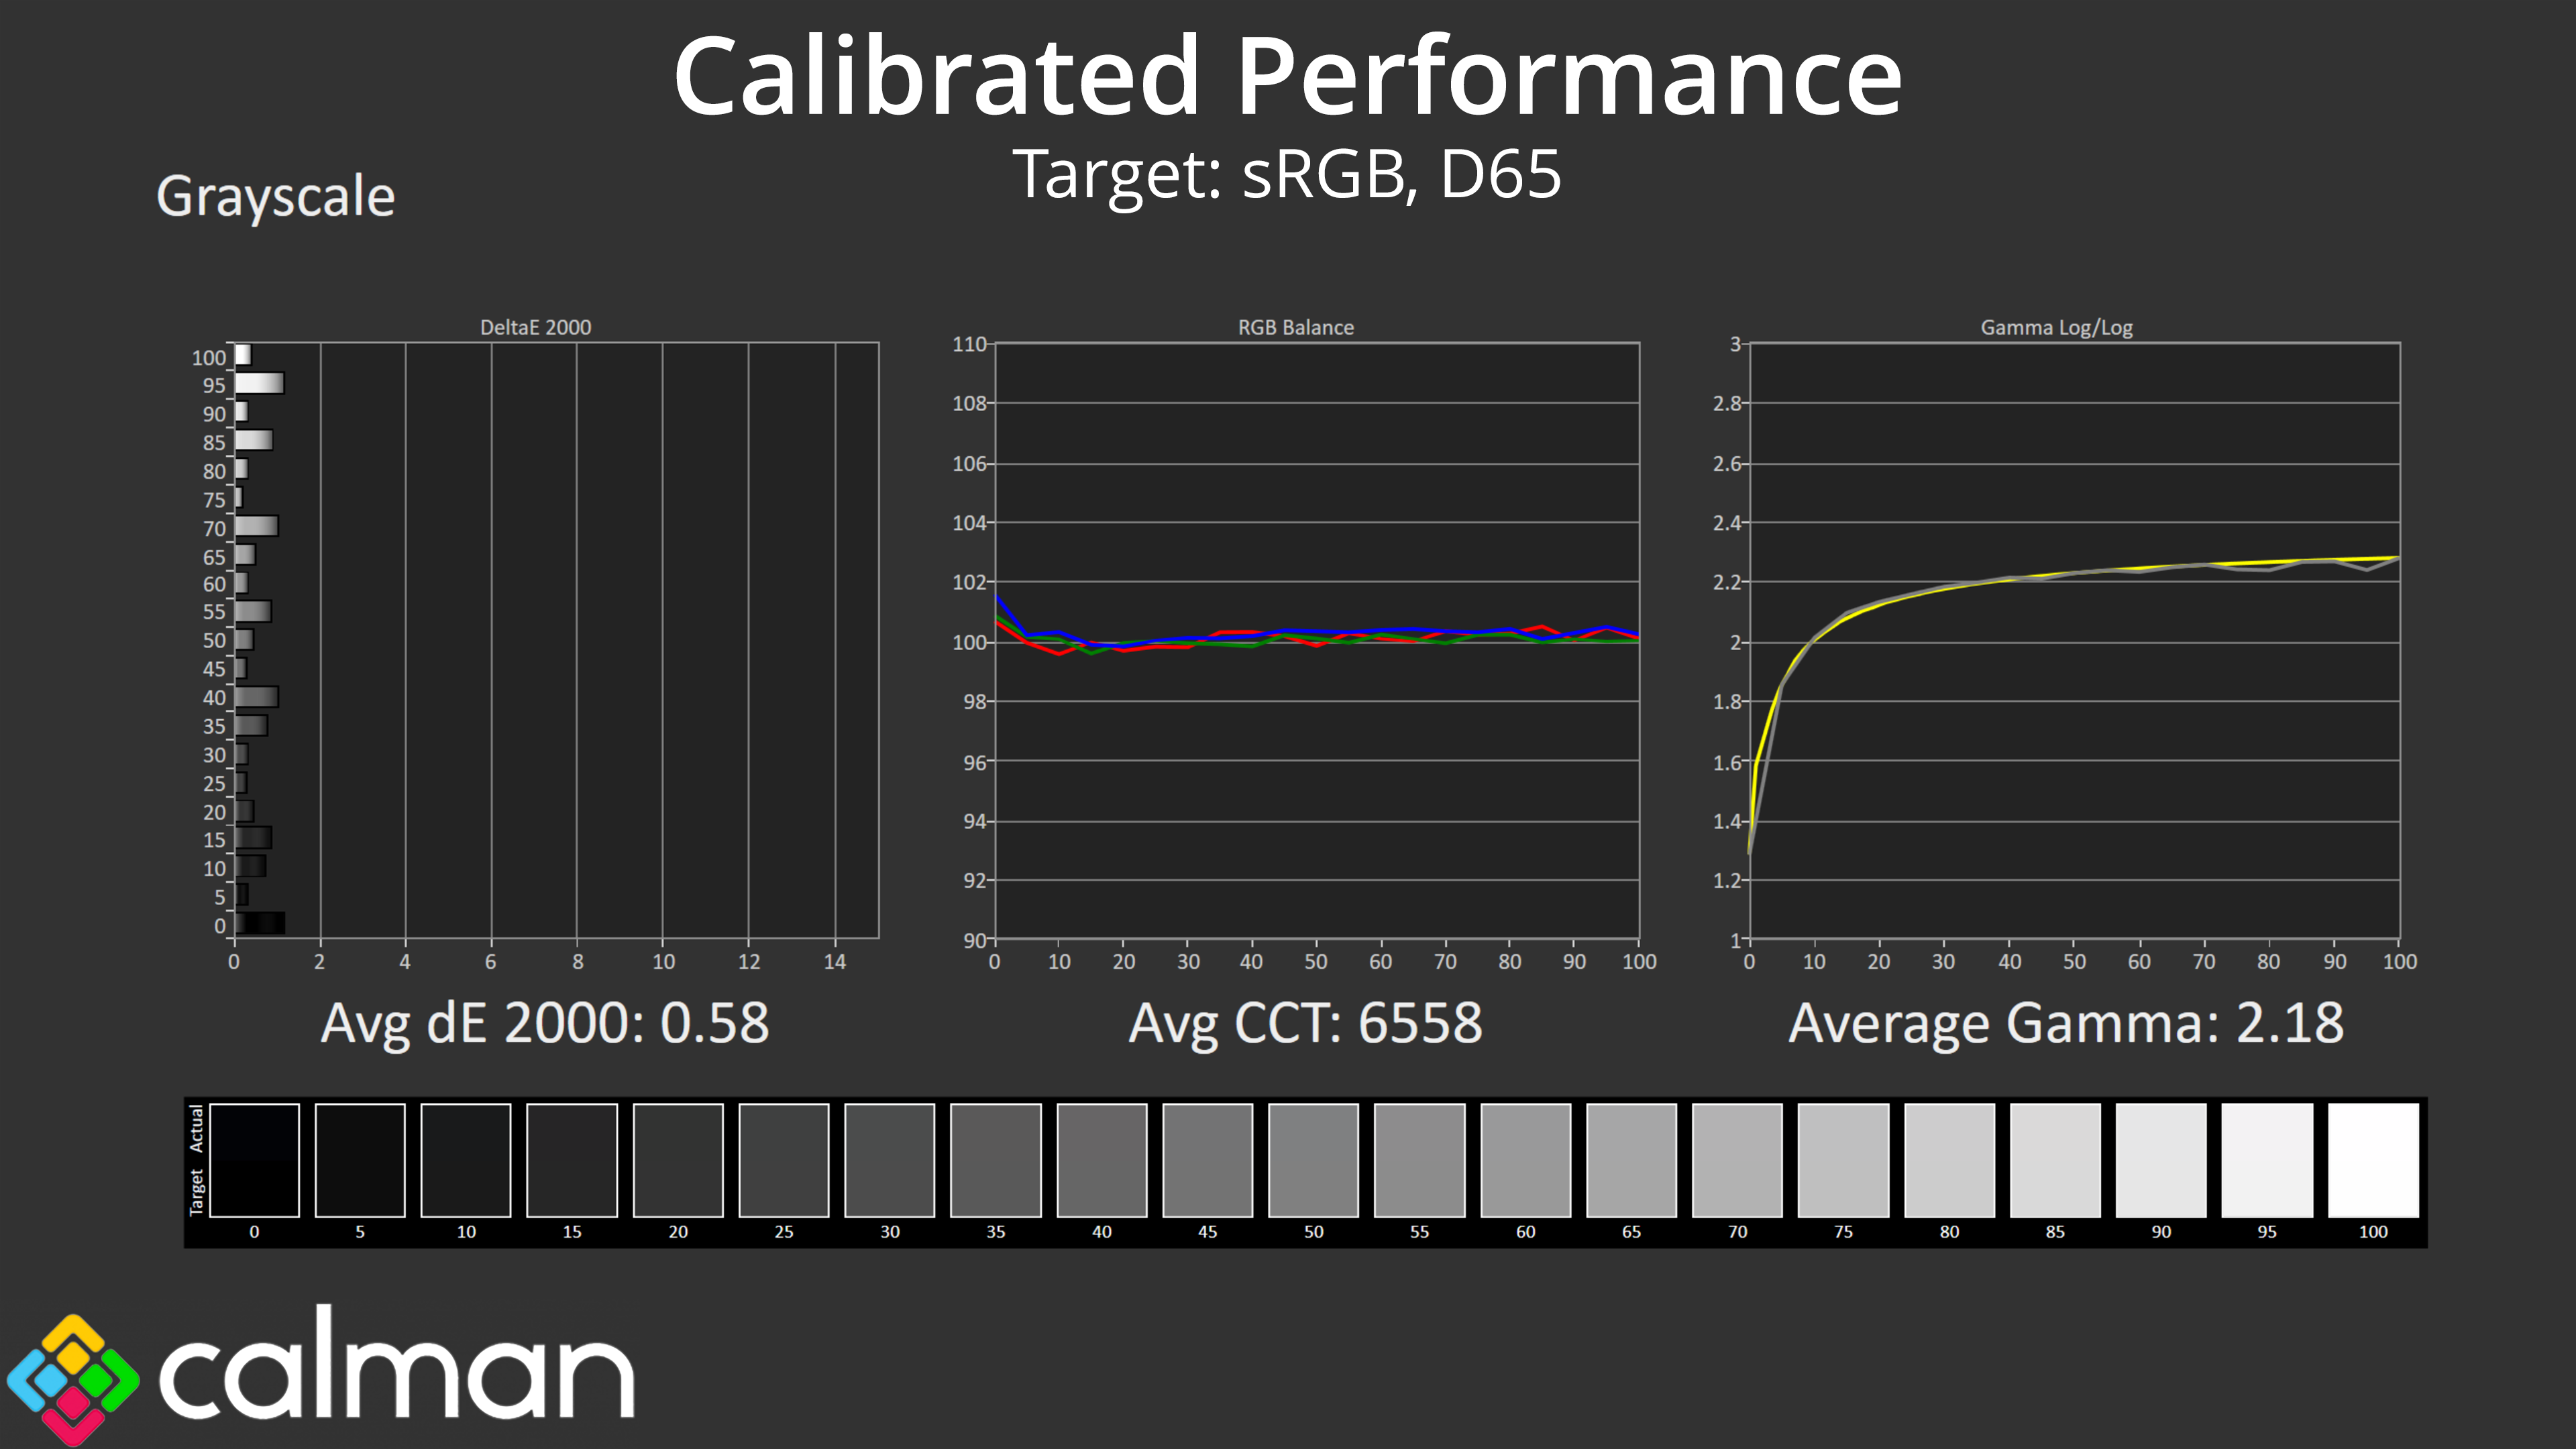
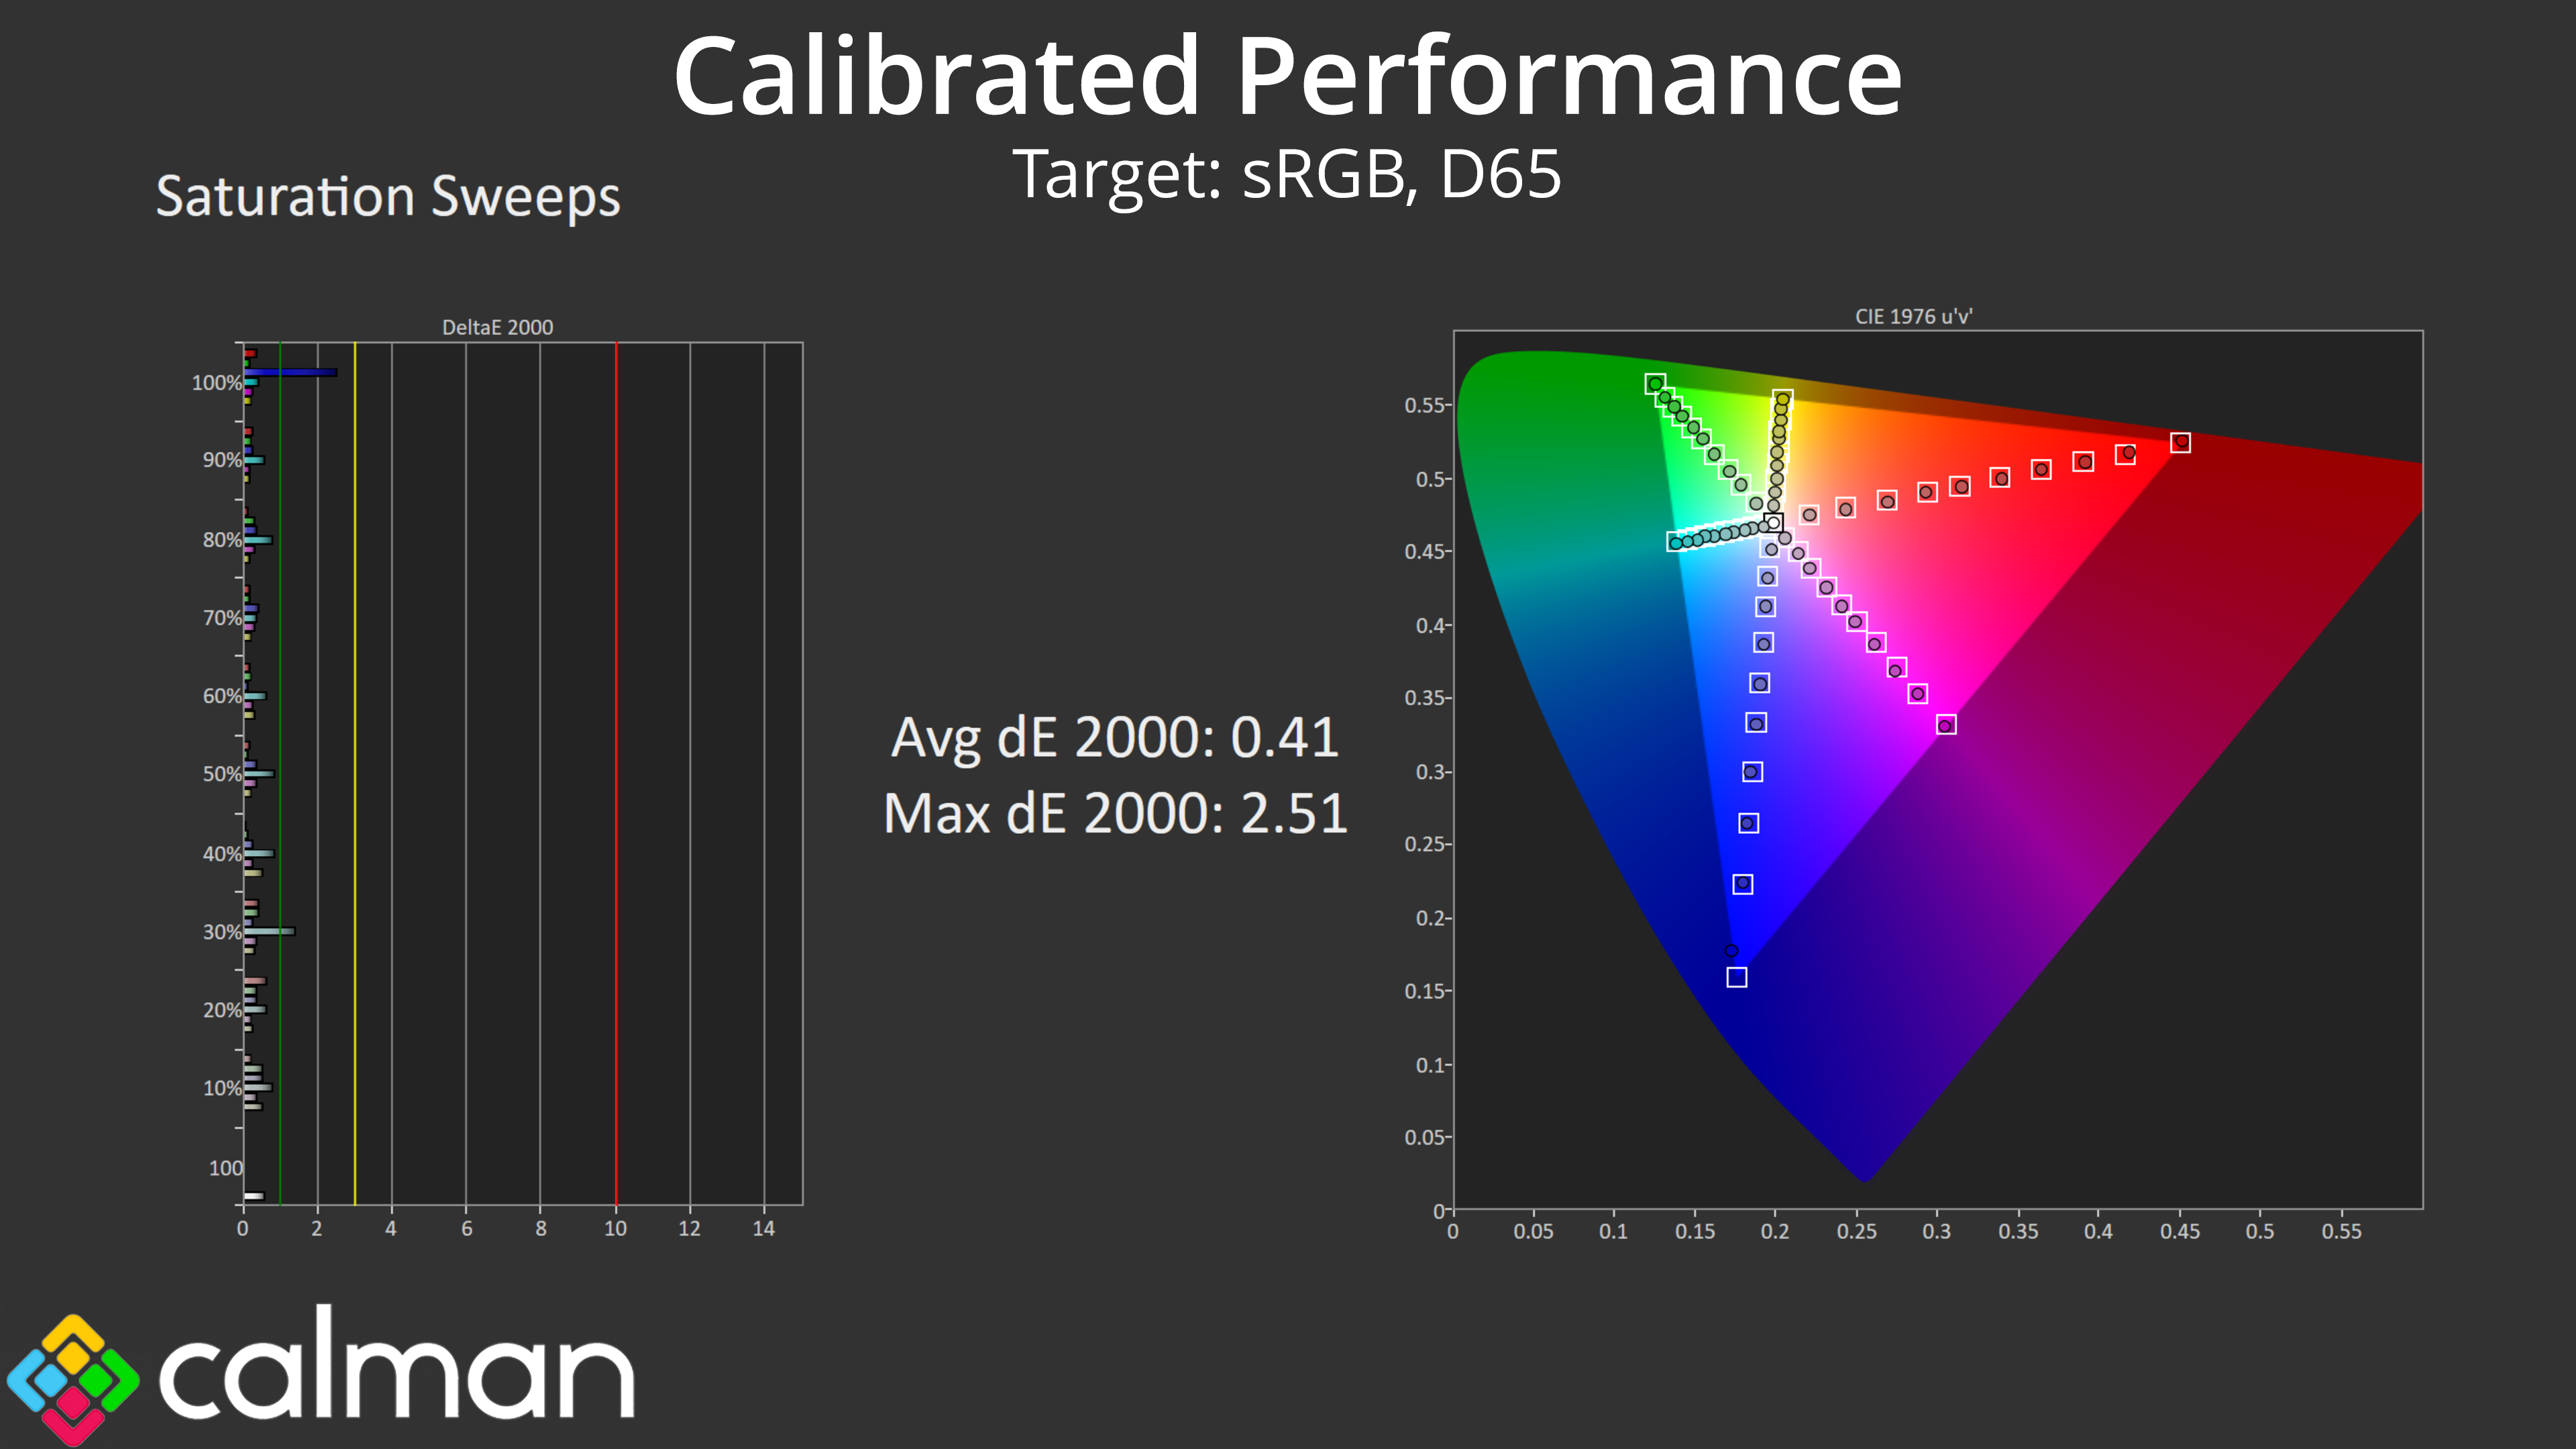
Instead, I'm going to run over my four main tests below – gamut, greyscale, saturation sweeps and colour accuracy.
Calibrated Results
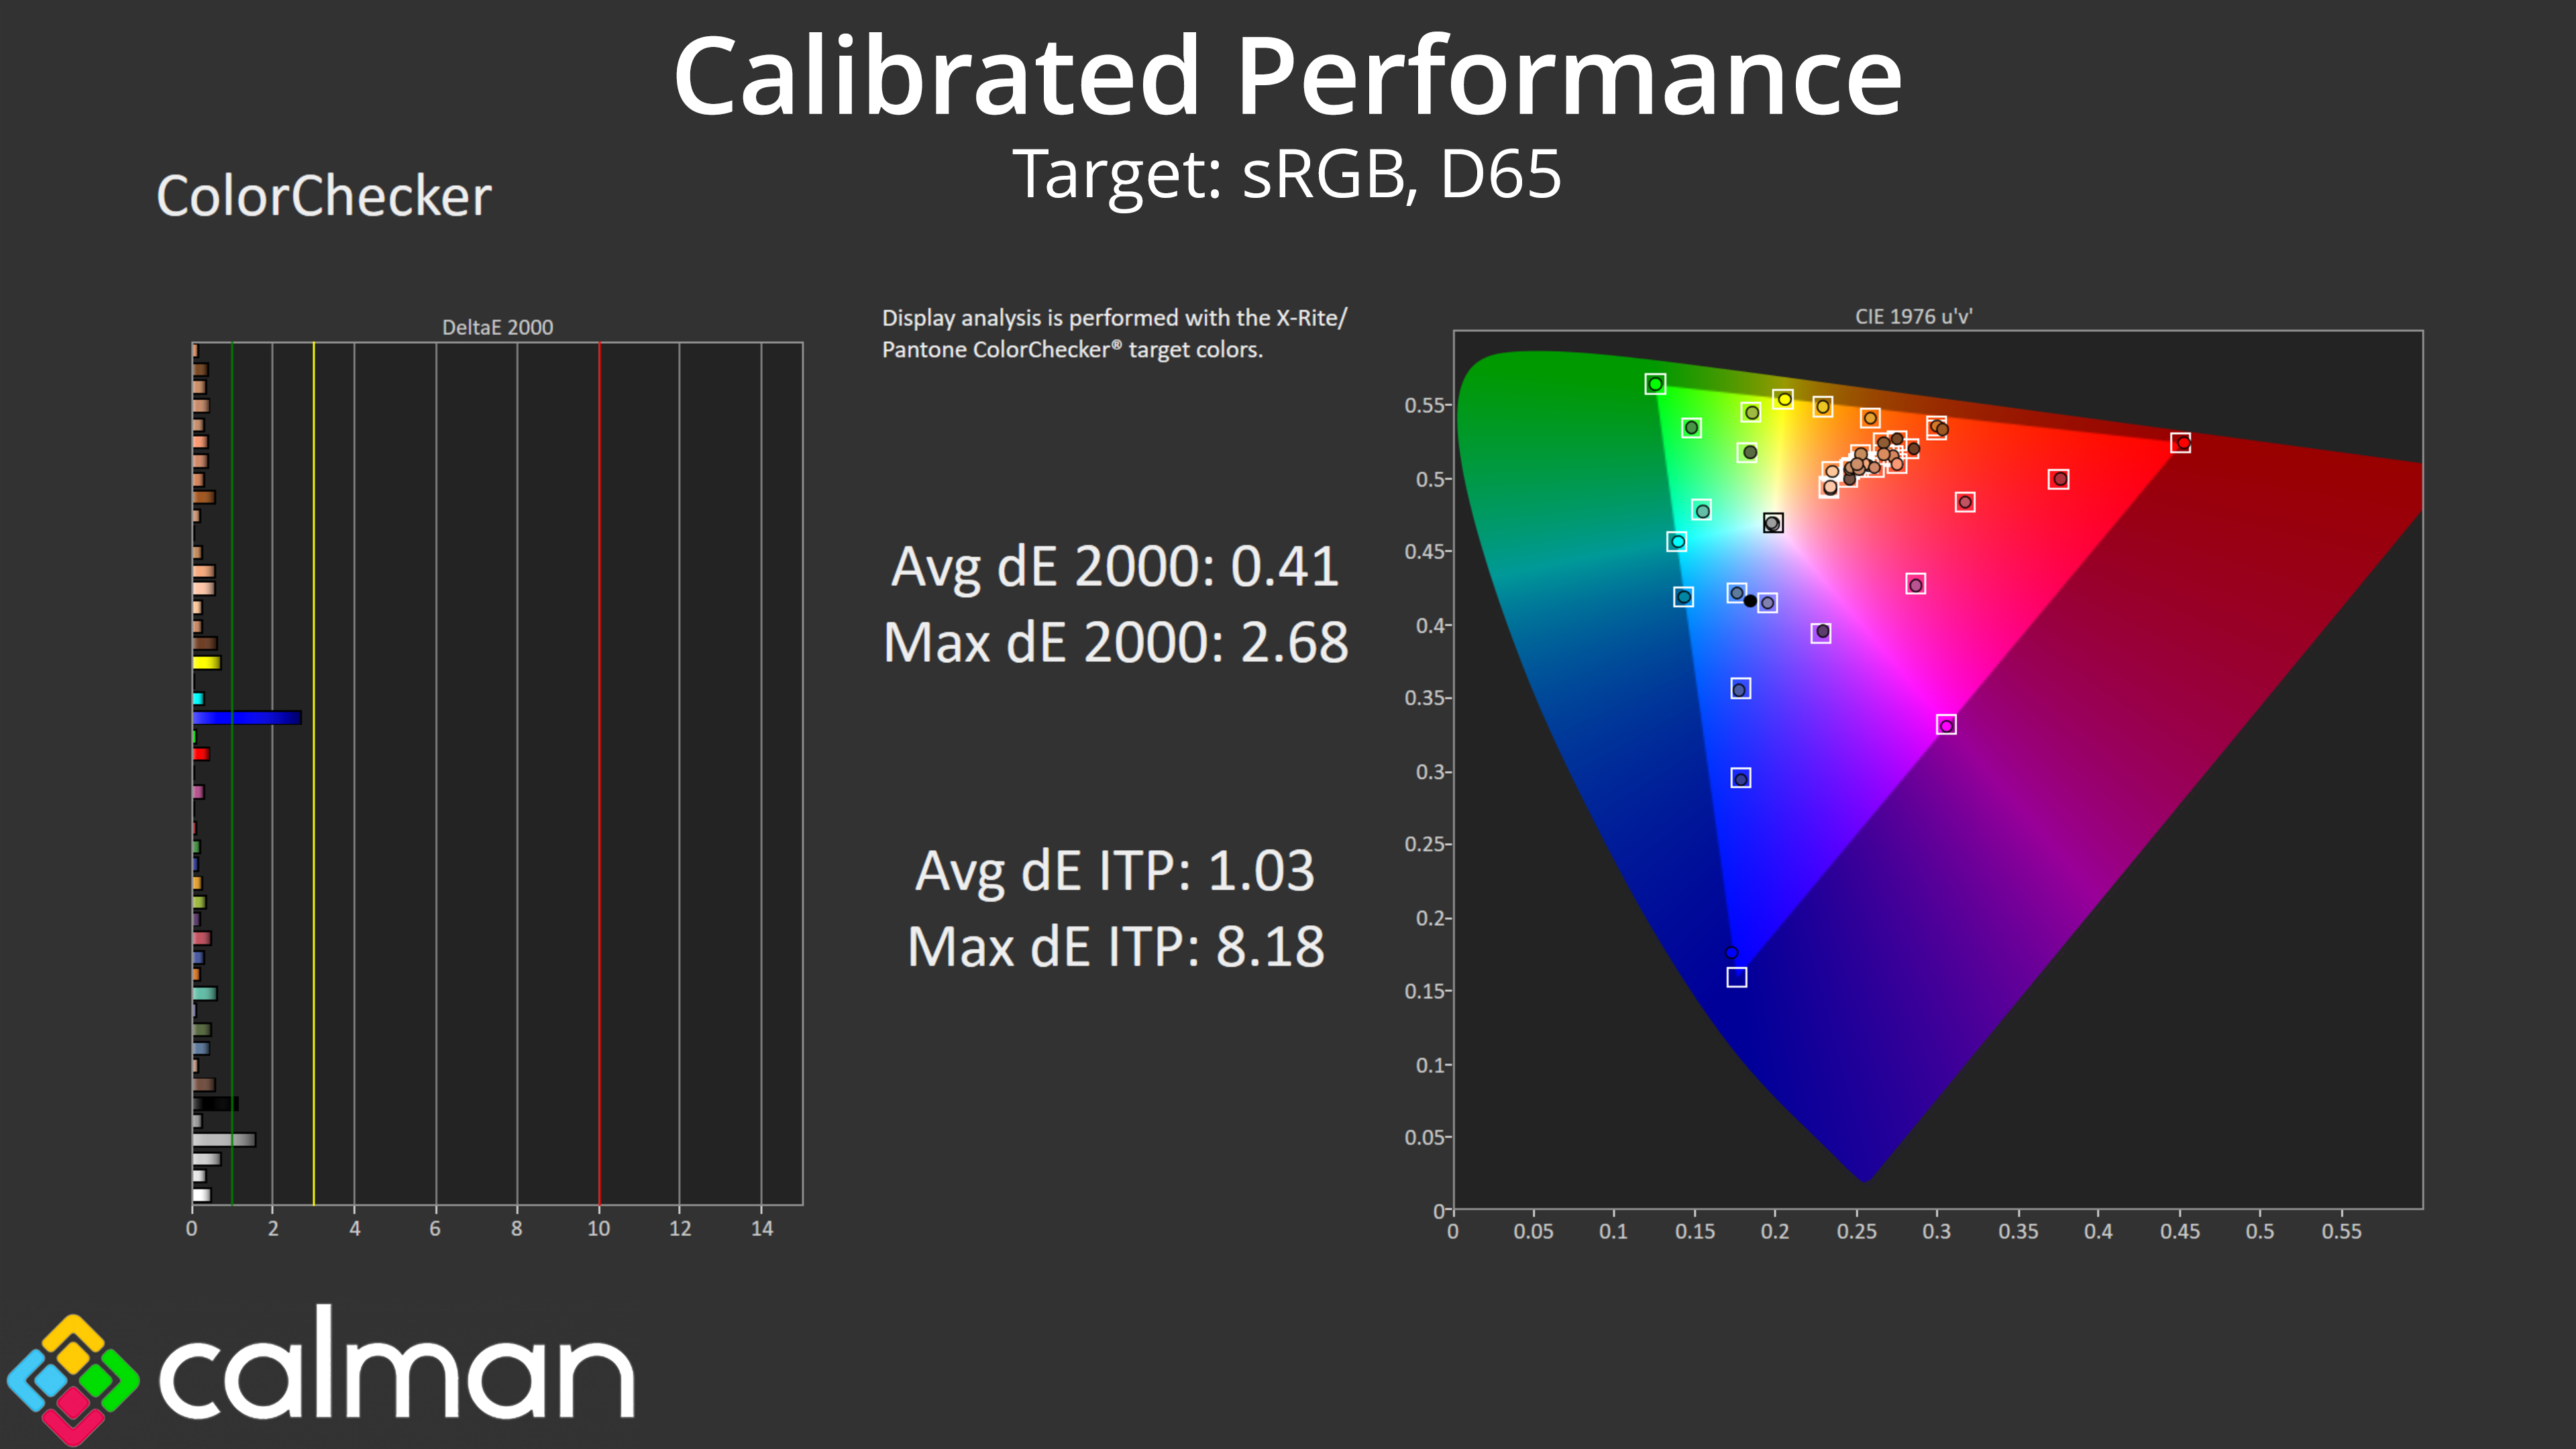
As you can see, the calibration results are generally stellar. The 100% blue channel didn't lock in quite as well as the rest, but an average deltaE 2000 of just 0.41 is still astonishing for the colour accuracy test. Greyscale performance is also about as close to perfect as you can get, so we're very happy with these results.
 KitGuru KitGuru.net – Tech News | Hardware News | Hardware Reviews | IOS | Mobile | Gaming | Graphics Cards


