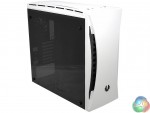
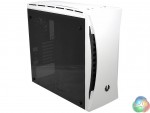
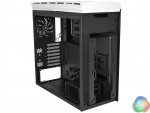
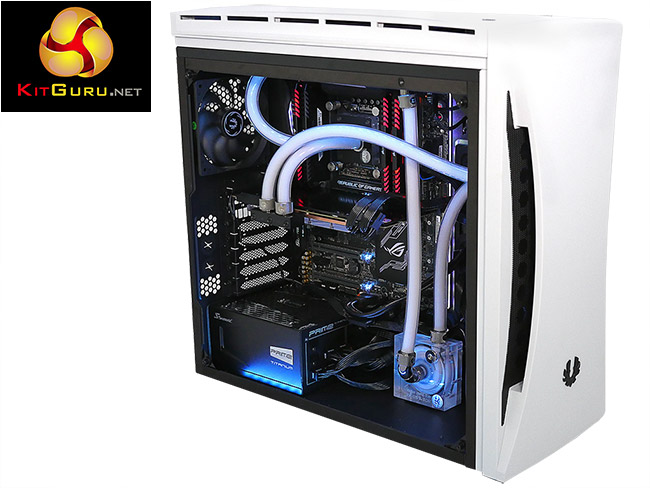
BitFenix Aurora is a mid-tower case that aims at the enthusiast market with support for custom loop watercooling and a number of options for lighting, including connection to the Asus Aura system. Both side panels are tempered glass, with the main panel being tinted and the rear being opaque in order to hide cables.
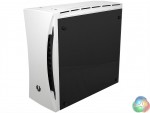
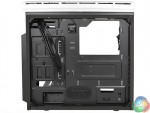
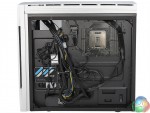
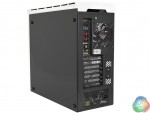
The photos and text in the BitFenix press information pack promise clear glass, however we have now learned that the panels will indeed be tinted, just like the panel in our video and photos. The back panel is opaque black and completely hides any cabling mess that you choose to tuck behind the motherboard tray. That’s a neat touch and effectively turns the back panel into a black mirror.
Specifications:
- Colour: Arctic White
- Motherboard: E-ATX/ ATX/ Micro-ATX/ Mini-ITX
- Graphics Card Length: Up to 400mm
- Power Supply Length: Up to 220mm
- Storage Capacity: 5.25-inch – None, 3.5-inch – 4, 2.5-inch – 3
- Cooling Capacity: Front 2x 120mm/140mm, Rear 1x 120mm (Included), Top 2x 120mm/140mm
- Radiator Capacity: Front 120mm/240mm/280mm, Rear 120mm x 1, Top 120mm/240mm/280mm
- Front I/O: USB 3.0 x2, USB 2.0 x2, RGB 7 Colour Cycle button, HD Audio MIC & Headphone
- Dimensions: 215mm (W) x 490mm (H) x 520mm (D)
- RGB Functions: BitFenix Chroma Controller & BitFenix SSD Chroma – Aura Certified, 7 Colour Mode + Pulse function
- Cable Management: 20-25mm Cable Management Space
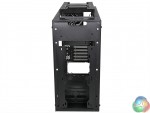
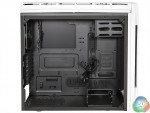
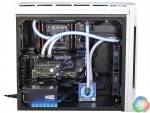
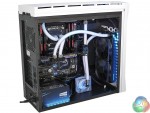
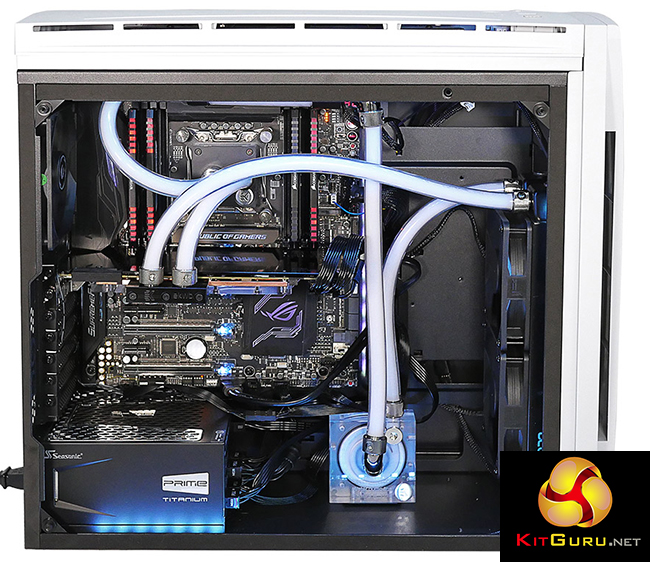
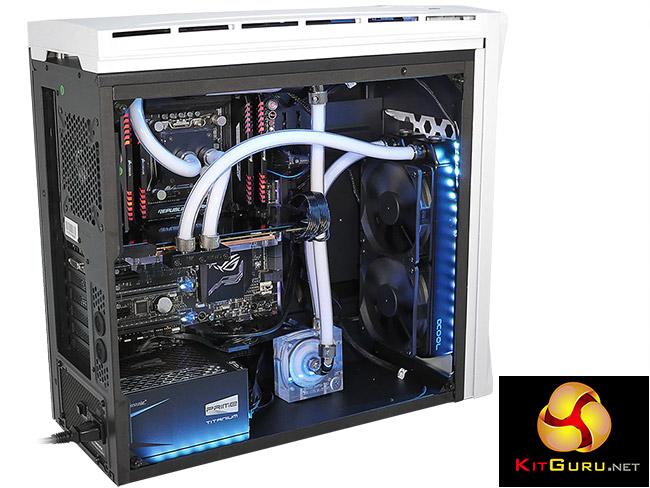
You get a good deal of space inside the Aurora. Despite its relatively modest dimensions, we had no problem installing an E-ATX Asus Rampage V Edition 10 motherboard. The next step was to decide on a cooling system, and while we seemed to have many options, this wasn’t entirely the case.
It would have been easy to install an air cooler on the CPU or an All In One in either the front or the roof of the case, but that would be missing a trick. BitFenix supplies a reservoir mounting bracket that can go in either the front or top, so it made sense to go with a custom loop that would show off the Aurora to its full extent.
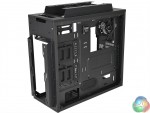
The problem, as we explain in our video, is that there isn’t space above the motherboard to mount a reasonably thick radiator so it had to go in the front of the case. This meant the reservoir went in the roof, and as we were unhappy using a combined pump/reservoir at the top of the case, we went for a separate D5 pump in the floor.
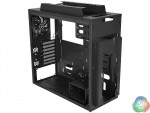
The result looks good to our eyes and works well but meant we removed two drive cages. One cage sits on the floor of the case and the other goes where you usually find an optical drive, although the Aurora doesn’t have an opening for an optical drive in the front panel and instead accommodates two 3.5-inch drives in that space.
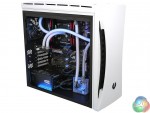
It would have been a nice touch to have rounded off the build with an integrated lighting system, however we weren’t using an Asus Aura motherboard and neither did we have any BitFenix Alchemy 2.0 Magnetic RGB LED strips that are compatible with the Aurora. Instead we went with a Phobya FlexLight controller and LED strips that show how the case looks when it is illuminated.
We might have used the BitFenix SSD Chroma to light our OCZ Vector 180 SSD however it was mounted on the rear of the motherboard, rather than in the main compartment, so that wasn’t an option.
Testing
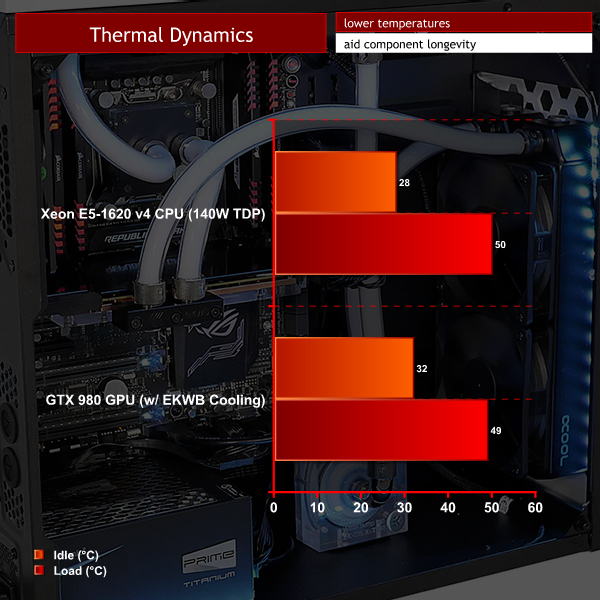
To put this case through its cooling paces we will be using a test system consisting of an Intel Xeon E5-1620 v4 processor (140W TDP), EVGA GTX 980 4GB graphics card and an SSD. This system allows us to produce a substantial amount of heat and effectively test the BitFenix Aurora‘s cooling capabilities.
For stress testing we use AIDA64 and FurMark to create the maximum heat output to stress our CPU and GPU.
Test System:
- Processor: Intel Xeon E5-1620 v4 3.5GHz/3.8GHz
- Motherboard: Asus Rampage V Edition 10
- CPU cooler: Alphacool and EKWB custom loop
- Memory: 32GB Corsair DDR4-3200MHz LED
- Graphics card: EVGA GTX 980 4GB (watercooled)
- Power supply: Seasonic Titanium Prime 750W
- Storage drives: 240GB Toshiba OCZ Vector 180
- OS: Windows 10
Cooling Performance
With the hardware we chose the Aurora did a fine job of cooling our quad core Broadwell-EP Xeon and GTX 980. This chassis comes with a single 120mm fan at the rear of the case and we added two 120mm Alphacool fans on the Alphacool radiator. So while there was clearly sufficient airflow, we didn’t have howling gales of air moving through the case.
On the other hand, it is worth pointing out we had pretty much gutted the case of drive bays and had devoted most of the available space to accommodating our custom loop hardware.
Acoustics performance
With the D5 Vario pump turned down low, the hardware inside the BitFenix Aurora was essentially silent. During our video the PC was running, albeit idling on the Windows desktop, and made the bare minimum of noise.
Closing Thoughts
On the face of it, BitFenix Aurora has a great deal to offer. Two tempered glass panels, lighting control, a light system for your SSD and a connection to Asus Aura all sound impressive. Added to that, you get a mount for a coolant reservoir that can go either in the front or top of the case, which is a handy bonus.
The problem with installing a custom loop is that you will likely have to remove most of the drive bays, just as we found in our video. If you want to get the most from the lighting you need to buy an expensive Asus motherboard along with some BitFenix LED strips.
We would have much preferred to have a main glass panel that was crystal clear and not tinted, but this is indeed a personal preference.
While we were happy with the end result, we found it took a fair amount of effort to build a custom loop in the Aurora. The quality of the chassis was generally good although one of the threads for an SSD mount was very tight.
The biggest issue we found, apart from the tinted glass panel, was that we needed to buy extra components to get the most from Aurora. If it came with some LED lighting which could be extended, that would be fine. But instead you need to start from scratch.
Overall, BitFenix Aurora is a success however it ends up costing a fair amount and could be improved if it came with some LED lighting. There look to be better options from the likes of Phanteks at this price point.
The BitFenix Aurora is available for £86.99 inc. VAT at Overclockers UK.
Discuss on our Facebook page, over HERE.
Pros:
- Tempered glass panels on both sides.
- Reservoir mount goes either in the roof or front.
- Black glass panel hides cabling.
- Support for E-ATX motherboard.
- Two drive mounts each support two 3.5-inch drives.
- Three 2.5-inch drive mounts.
Cons:
- There isn’t enough space in the roof for a chunky radiator.
- You get a reservoir mount but no pump mount.
- No LED lighting is included, not even on the fan.
- Price is fairly high.
KitGuru says: BitFenix Aurora comes close but ends up missing the mark.
 KitGuru KitGuru.net – Tech News | Hardware News | Hardware Reviews | IOS | Mobile | Gaming | Graphics Cards


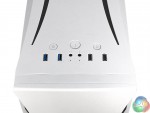


USB 2.0 slots in the front, in 2016? Really?
It’s mentioned that a reasonably thick radiator wouldn’t fit above the motherboard, but how thick is “reasonably thick”? 30mm seems pretty standard for an AIO – would that fit?