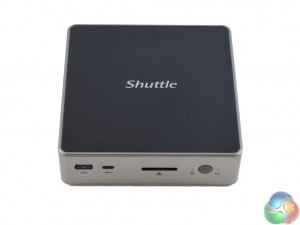
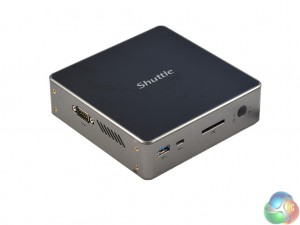
Here we get our first look at the Shuttle NC02U5 barebones itself.
While the product photos from Shuttle depict an all-black device, my sample has a glossy black top panel – but the side panels are what I would call ‘anthracite grey.'
While I think it is a clean and good-looking barebones PC, when handling the device it does become clear that the build quality is not great. The plastic shell feels fairly cheap, and I would not want to drop it as I would imagine the panels would break fairly easily. Compared to the Gigabyte BRIX i7A-7500, with its brushed aluminium panels, this is definitely a cut below in terms of build quality.
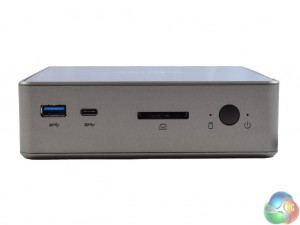
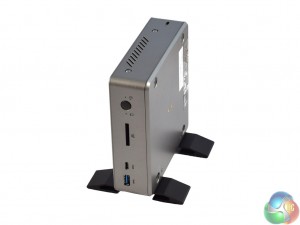
Taking a look at the I/O, then, we start with the front of the device. Here are 2x USB 3.0 connectors – one Type-A, another Type-C – along with an SD-card reader and the power button.
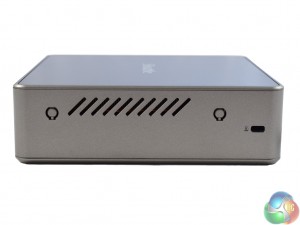
The right side of the device features some ventilation as well as a Kensington lock.
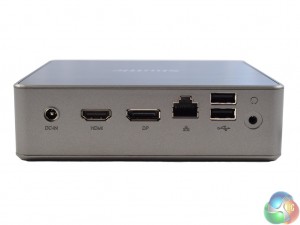
At the back of the device, there is the DC input connector, as well as both HDMI and DisplayPort connectors – allowing for a dual-display setup. Alongside these connectors we find a Gigabit Ethernet port, 2x USB 2.0 ports and a combo audio jack.
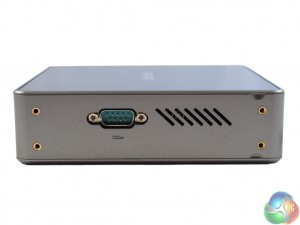
Lastly, the left side of the NC02U5 features more ventilation and a VGA output.
Before taking a look inside the NC02U5, I attached the pair of feet to demonstrate what it looks like. The four screws required are included in the box.
Personally, I would rather lay the device flat although it is good to have the option. It is worth noting that the VGA connection becomes inaccessible if you do attach the two feet, but I cannot see this being an issue for many people – VGA connectors are very dated now, and the vast majority of modern displays will support HDMI or DisplayPort inputs.
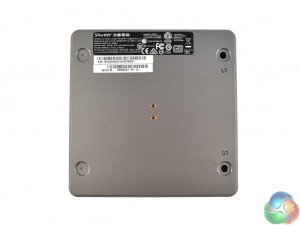
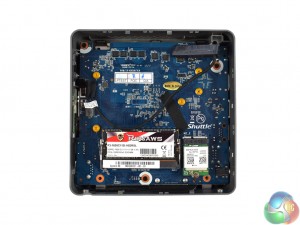
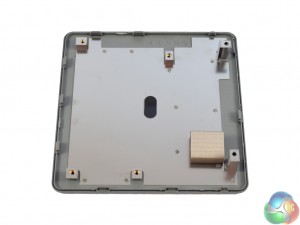
The image on the left shows the underside panel of the device. To gain access to the mainboard, only two screws need to be removed. Conveniently, they are a labelled with a small ‘s' – although it would be hard to miss them anyway.
Once you have popped off the panel, the underside of the mainboard is accessible. On this side, there is a single SODIMM slot and a small M.2 port which is occupied by the WiFi card. Also visible is a short SATA connector – this is for a 2.5in drive if you choose to install one.
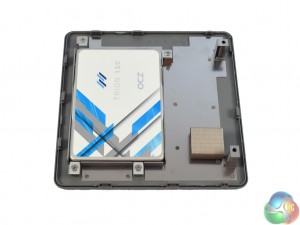
Before coming to the top-side of the mainboard, it is worth looking at how to mount a 2.5in drive to the NC02U5.
The underside panel has four screw holes which align with the included 2.5in caddy. First, secure your drive to the caddy using the four supplied screws. Next, the caddy itself can be mounted to the underside panel – from there, just connect the SATA cable.
This is a simple and convenient way of allowing more storage – 2.5in drives are typically cheaper and come in larger capacities than M.2 SSDs, so this could appeal if you want a large HDD but in a tiny form-factor.
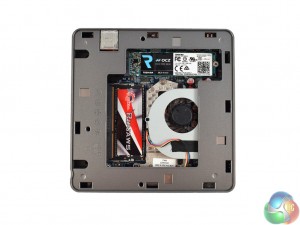
Lastly, the top panel can be removed (but only after the bottom panel has been unscrewed.) On top, there is the dedicated M.2 drive for storage, as well as the last SODIMM slot.
As this is a barebones kit, memory and storage is not included – the images above were taken after I populated the memory and M.2 slots. For the memory, I used a 16GB G.Skill Ripjaws kit, 1600MHz DDR3L. For my SSD, I installed a Toshiba OCZ RD400 drive – the review of which you can read over HERE.
It is also worth noting Shuttle do not provide any extra cooling for the M.2 slot. Gigabyte's BRIX i7A-7500, for example, includes a meaty thermal pad positioned just above the M.2 connector to avoid any thermal throttling. Later in this review we see if this exclusion of extra M.2 cooling results in any thermal throttling from our SSD.
 KitGuru KitGuru.net – Tech News | Hardware News | Hardware Reviews | IOS | Mobile | Gaming | Graphics Cards


