The UEFI with the MSI Z270 Gaming M7 is well refined and overall Click BIOS 5 is still a solid UEFI implementation that has no significant flaws.
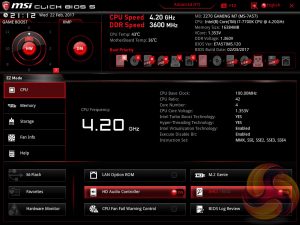
MSI's UEFI launches into EZ Mode by default, but can launch into Advanced mode instead by pressing F7. The EZ Mode splash page holds the key settings like automated overclocking, boot order, fan profiles, M-Flash and XMP.
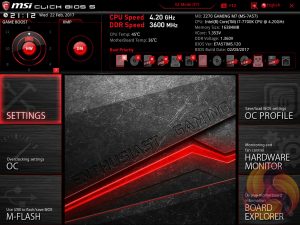
The advanced mode is the more typical UEFI implementation and it contains all the key options within one of the six tiles. The design feels constricted on space since the overly large top-bar persists throughout all sections, except hardware monitor and board explorer, and the left navigation bar also persists.
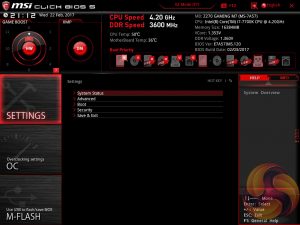
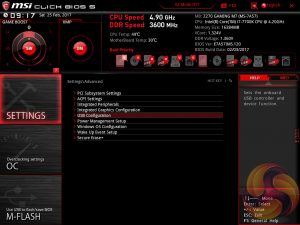
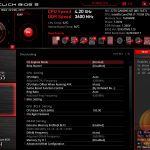
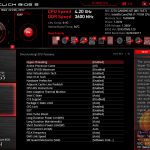
The first of the six tiles is Settings which has a number of useful settings for booting and integrated peripherals. The Advanced entry has the most sub menus and options to play with including the ability to toggle various different compatibility modes for storage and USB devices.
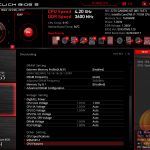
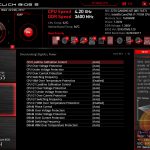
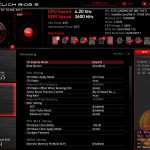
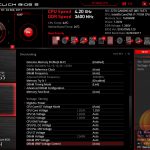
The OC tab is where the important options reside including all frequency and voltage options for the CPU and DRAM. It is recommended to toggle the “OC Explore Mode” into Expert straight away if you're confident in your own ability since the Normal mode does limit some important options.
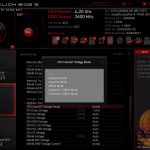
The most important of those is the ability to pick how voltage is applied and by default the CPU voltage mode is Auto. We are not sure which mode auto selects once you key in a voltage but by enabling Expert mode you can pick from Adaptive, Override, Offset, Adaptive + Offset or Override + Offset.
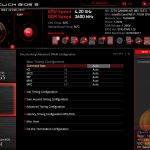
In addition to paying close attention to the voltage mode it is important to consider the Load Line Calibration as well. It seems that MSI's Mode 1, 2 and 3 all increase the set voltage under load by varying amounts and so Mode 4 is the best for ensuring overshoot does not occur. Leaving LLC to the Auto parameters does seem to increase voltage slightly over what is manually set in the UEFI, worth keeping in mind.
As mentioned the Game Boost settings can be toggled from within the UEFI environment too. The user simply has to change the Game Boost Function Control to By BIOS Options and the options can be edited in the top left section of the UEFI. In effect this makes the physical Game Boost dial somewhat redundant so consumers considering MSI motherboards without Game Boost dials shouldn't feel disheartened in any way.
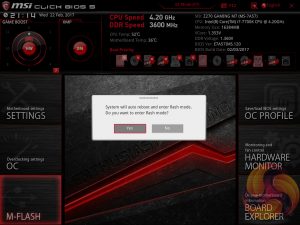
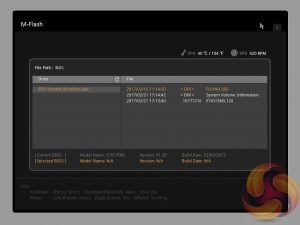
M-Flash forces you to reboot to enter the flashing process which feels a little disruptive though in practice all motherboard vendors will eventually reboot at some stage during the flashing process. However, you can't view any of the M-Flash options or interface without conducting a reboot, whereas most vendors will allow you to poodle around in the interface, see what options are available to you and even start the flash, before a reboot is eventually required.
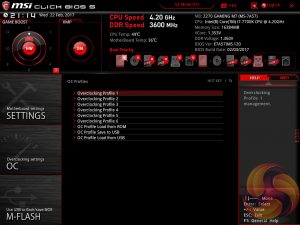
The OC Profile section hasn't changed much in successive generations, it still allows you to save OC profiles to blank slots, load in OC profiles from a USB stick or export them to a USB stick. It's a handy little feature that should facilitate sharing of decent OC profiles on forums and across the internet more generally.
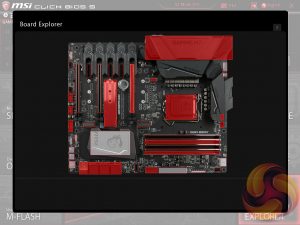
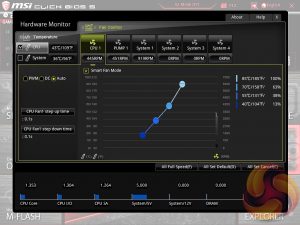
The last two tiles of the MSI UEFI refer to tools. Board Explorer is a visual interface for seeing what is connected to the various sections of the motherboard and some information about those connected entities. Hardware Monitor has more practical use in that it's the primary method of changing fan profiles within the UEFI environment for each of the six fan headers.
The step up time option presented is the hysteresis between a change in temperature and a subsequent change in fan speed. A user would want to manipulate this when the fans are constantly ramping up and down too regularly because the input temperature is varying in an out of two threshold ranges. For example using the screenshot above, the CPU temperature is jumping between 69 and 71 degrees Celsius, and 71 is the temperature at which the fans increase in speed to 63% but at 69 they drop back down to 38%.
 KitGuru KitGuru.net – Tech News | Hardware News | Hardware Reviews | IOS | Mobile | Gaming | Graphics Cards


The first motherboard to have two audio codecs? We take a look at MSI’s intriguing Z270 Gaming M7
Bah you got me, that was verging on clickbait ; ) I was expecting a separate page filled with amazing audio info but I had to hunt through for titbits and I’m still non the wiser.
My theory is all of the single codec Z170 motherboards are only Amplified to one of the channels, in my case with the Maximus Gene to the front panel, this motherboard appears to be amplified to the front and rear channels, maybe for speakers/headphones or headphones/headphones i’m thinking VR without having to reach around and swap headsets all the time. Just a thought.
I have this motherboard and it is absolutely awesome. The double audio codecs is great, but I use a soundblaster card anyway which is still better. I am just very much impressed overall with this board, its looks, and it features. It feels like a solid high quality product. Sure the M.2 Thermal Shield is a gimmick, but shouldn’t really be considered a negative. I just took it off and used that slot for a Samsung 950 Pro. With good case air flow you won’t have any throttling issues anyway. I never have.
Apologies, not my intention! Yes the only amplified channel is usually the headphone out port (green when colour codec) since only headsets usually need the amplification (or significantly benefit from it). This is indeed amplified for the front and back headset ports since the ALC1220 codec has built in amplifiers meaning there are two on this, one per codec.
No apologies needed I was just joking. Yeah that was my theory, maybe they are crazy enough to think people want two sets of headphones at once. Like the person playing VR and the person watching on a monitor or maybe for the gamer with a short headphone cable and VR who doesn’t want to swap his headset back to front all the time. I’m really clutching at straws here.