MSI's Click BIOS 5 UEFI environment is consistent across its latest generation of X99 motherboards which ensures all MSI customers get a familiar and usable experience. Only subtle variations exist between models such as the styling and skin of the UEFI, to reflect the different themes of MSI's various models, and to account for some different hardware controllers and variations.
Readers will struggle to spot many functional differences between the UEFI for the X99A XPower Gaming Titanium and the previously reviewed X99A Tomahawk and X99A Godlike Gaming Carbon. That's not a bad thing, mind, since MSI's Click BIOS 5 has stood up well over time and is simple to use.
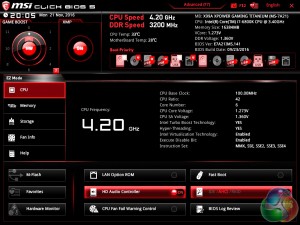
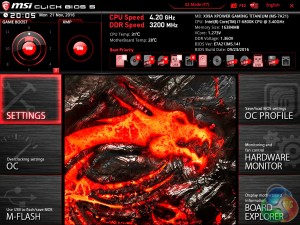
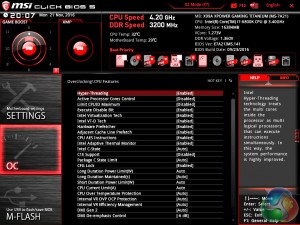
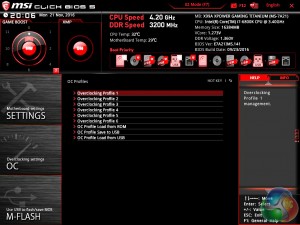
Click Bios 5 is presented in either the “EZ mode” or an advanced mode. The EZ mode is a single splash page which offers common functions like boot priority, XMP, OC Profiles (OC Genie 4) and numerous other things. The “advanced” mode is the complete UEFI environment that most of our readers will be accustomed to.
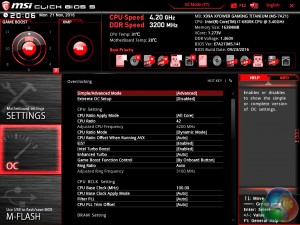
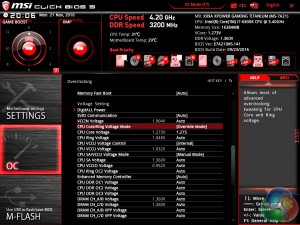
MSI attempts to offer a more intuitive advanced mode with further “difficulty” filtering in the OC tab. You can choose between a simple layout or an advanced one, the main difference being the simple layout hides the more obscure functions. Within the simple mode you can still overclock through the multiplier, increase the voltages, enable XMP, and so on.
Advanced mode will bring in to play one of the key features of Broadwell-E – the per-core overclocking. Older platforms have and do support different CPU core frequencies per core, though with Broadwell-E you get an indication of which core is the most capable and Intel's Turbo Boost driver actively supports Turboing this core within Windows.
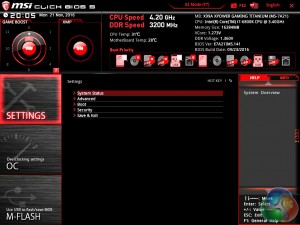
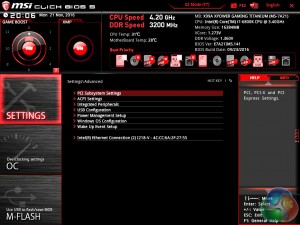
While the OC tab is definitely the most glamorous area of the UEFI, the settings tab is still useful. It's the “everything else” tab with USB, ACPI, peripheral and other hardware configuration options. Chances are if you're having compatibility issues or a storage device isn't working, the setting to fix these problems will be found here.
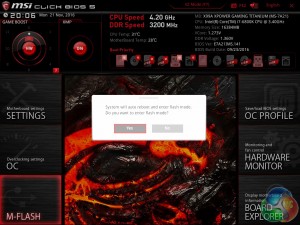
The MSI M-Flash tab and utility allows you to update the UEFI to the latest version by having a USB stick, formatted in FAT or NTFS, with a UEFI file in the root directory. It’s not as advanced as other BIOS update tools, including ASRock’s which updates straight from the internet, as you can only update from USB and the file has to be in the root directory. Nonetheless, it’s quick and it still does the job required.
The BIOS Flashback port on the rear I/O exists as another update option for users who can't even make it into the UEFI, e.g. lack a compatible CPU or memory.
The OC Profile tab, quite predictably, allows you to save all your UEFI settings to be reloaded at a later date or shared with another user. The file that is outputted is basically just a text file of name:value pairs which the UEFI environment reads-in sequentially to set each setting to the desired value. It can be prudent to back up any UEFI settings you wish to keep, to USB storage, before updating the UEFI to ensure these settings can be restored if the update process clears these from storage.
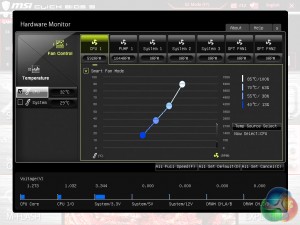
Hardware monitor offers fan tuning and controls within the UEFI environment through a graphical interface. All five fan headers can be changed using a pre-defined curve or by manually adjusting using the mouse, plus the source temperature for the fan can be switched between a number of different sensor inputs. Despite the “pump” terminology for the second fan header it should be noted you can use standard fans with this header.
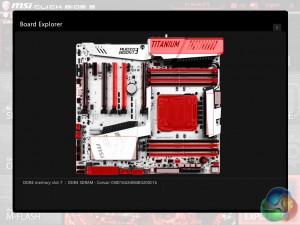
Board explorer is the second of the graphical interfaces that presents to you a labelled and interactive diagram of the motherboard and the associated attribute information for each feature. It’s a little bit gimmicky but for users unfamiliar with their motherboard it can be enlightening.
 KitGuru KitGuru.net – Tech News | Hardware News | Hardware Reviews | IOS | Mobile | Gaming | Graphics Cards


Why that 6800K stuck at 4.2 ???
Using MSI’s command center and turning off hyperthreading, I’m able to hit a stable & usable 4.6ghz on the X99A Titanium with a 5930k & 32Gb of Corsair RAM @ 2400Mhz. Extended gaming or video encoding with a Corsair H110i GT, the cpu never gets warmer than 58C. This is some very nice gear. I’m quite satisfied with how it all works together, and it looks stunning inside the Enthoo Luxe chassis.
My X99A gaming pro carbon was able to clock the 6800k to 4.2 GHz at 1.251 volts, and 4.1 GHz at 1.194 volts, but 4.3 GHz at 1.3 volts, Windows would crash after booting up. I haven’t tried 1.315 or 1.32 volts yet.
What voltage are you using for the CPU @4.6ghz?