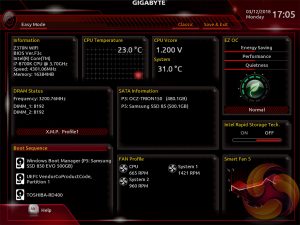
Gigabyte’s UEFI with the Z370 series matches the same style used on its Z270 and X299 products. It represented quite a significant change over previous generations of Gigabyte motherboards (Z170, X99) when it was introduced but has now settled to become the new norm for the company.
There is a typical Easy Mode page to start which gives frequently accessed options like XMP, Boot Order and various monitoring statistics. Entering into the classic mode (F2) changes the layout to give a wider array of options arranged via a horizontal tabbed structure with nested tabs within each section.
A design quirk with Gigabyte’s UEFI is the fact many BIOS screens have significant amounts of blank space and the user has to point the mouse to the right or bottom of the screen to reveal additional information in the blank space. Convention is that this kind of information is usually permanently displayed, and for good reason – because it’s not that intuitive to manually retrieve it via a mouse click.
If pictures on this page fail to display then disable your ad blocker as it can interfere with our gallery code.
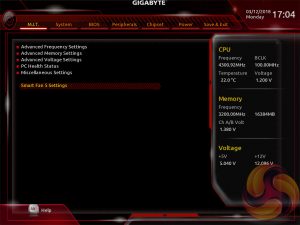
M.I.T, Motherboard Intelligent Tweaker, is the section of the Gigabyte UEFI where the performance tuning parameters are found. In here you will find power, voltage, turbo and frequency settings for the CPU, DRAM and chipset.
The setup is functionally fine but the fact the user has to keep tabbing back and forth between the various menus of the M.I.T makes the tweaking process a little tiresome. Gigabyte could still consider a more user-friendly layout that involves less menu management by simply presenting more options on each page with less nested sub-menus.
The fact you have to select the extra window at the bottom, that explains the context and parameters for each UEFI setting, takes some getting used to because it is convention that this permanently displays in all UEFI environments from other major vendors.
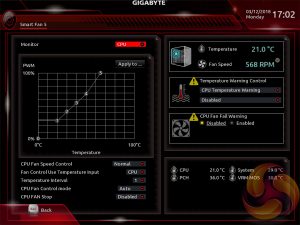
Gigabyte’s Smart Fan 5 utility is a visual GUI that can be brought up through the M.I.T tab. From within here you can set predefined fan speed profiles or create your own, set the temperature hysteresis between fan speed changes and pick a temperature input for the fan curve to follow.
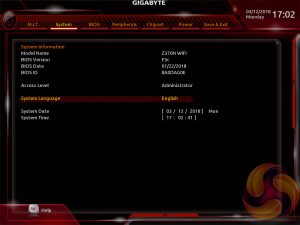
System tab contains only BIOS version information, language, time and date settings.
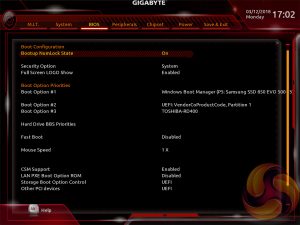
The BIOS tab delivers the main boot options and should probably be renamed to Boot, or something similar.
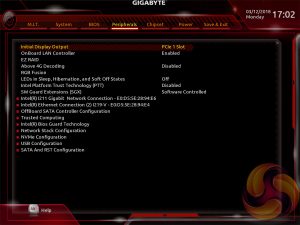
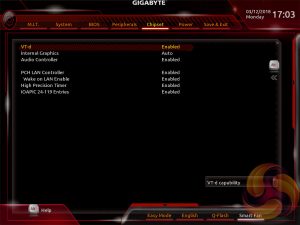
Peripherals and Chipset tabs contain all options pertaining to other hardware on the motherboard that isn’t the CPU or DRAM. USB, NVMe, LAN, Audio, SATA and a number of miscellaneous troubleshooting and compatibility settings are found in these two tabs.
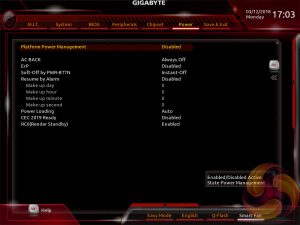
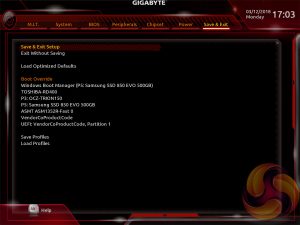
The Power tab has some obscure power settings that might be better integrated into one of the other sections. Save and Exit contains boot override settings, which should probably be integrated into the BIOS tab, and the load and save function for BIOS settings. We also noticed there seemed to be no summary of changes made in the session upon exit, which can make it confusing to remember exactly what has been changed and whether those changes require saving or discarding.
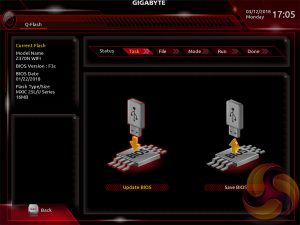
The Gigabyte Q-Flash BIOS update utility sits in its own UEFI environment, separate from the main UEFI, and is a rather tidy implementation. One of the novel aspects of it is an ability to choose between two different UEFI flash modes – one which updates the Intel ME and one which doesn’t (Intact and Fast, respectively).
 KitGuru KitGuru.net – Tech News | Hardware News | Hardware Reviews | IOS | Mobile | Gaming | Graphics Cards


