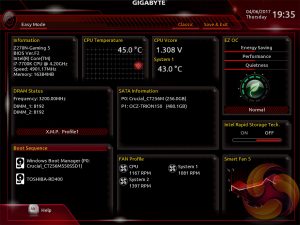
Gigabyte has altered the look and feel of its UEFI environment with the Z270 chipset. Take a look at how the UEFI was on the Gigabyte Z170 Gaming K3 for comparison. The tabbed structure follows the same left to right order but the arrangement of parameters and nested sub-menus has changed a fair bit.
A design quirk, an irritation of sorts, is the fact most BIOS screens have significant amounts of blank space and the user has to point the mouse to the right or bottom of the screen to reveal additional information in the blank space. As soon as the cursor is moved away this information disappears meaning the screen is almost always blank.
Convention is that this kind of information is usually permanently displayed, and for good reason – because it's not intuitive to have to retrieve it via a mouse hover-over. We're not sure what Gigabyte is intending to achieve with this new design.
M.I.T, Motherboard Intelligent Tweaker, is the section of the Gigabyte UEFI where the performance tuning parameters are found. In here you will find power, voltage, turbo and frequency settings for the CPU, DRAM and chipset.
The setup is functionally fine but the fact the user has to keep tabbing back and forth between the various menus of the M.I.T makes the tweaking process a little tiresome, though KitGuru's Luke Hill prefers this segmented and focused design so clearly there is an element of personal preference at play.
Gigabyte should still consider a more user-friendly layout that involves less menu management. This could be done by simply presenting more options on each main tab with less nested sub-menus.
The fact you have to manually expand the help window on the right, that explains the user options for each parameter, takes some getting used to because it is convention that this permanently displays in all UEFI environments from major vendors.
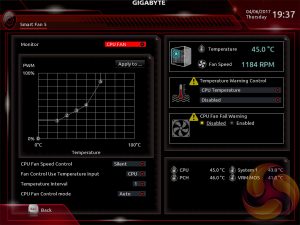
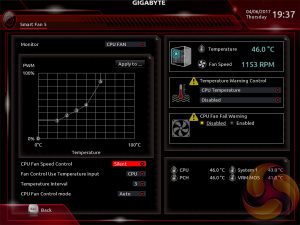
Gigabyte’s Smart Fan 5 utility is a visual GUI that can be brought up through the M.I.T tab. From within here you can set predefined fan speed profiles or create your own, set the temperature hysteresis between fan speed changes and pick a temperature input for the fan curve to follow.
We found all the pre-defined fan profiles were too noisy, the silent one included, since the maximum fan speed starts kicking in at 65 degrees Celsius and fans spin up and down too quickly – the default hysteresis is not long enough.
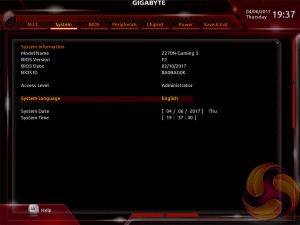
System tab contains only BIOS version information, language, time and date settings.
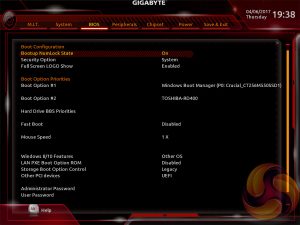
The BIOS tab delivers the main boot options and should probably be renamed to Boot, or something similar.
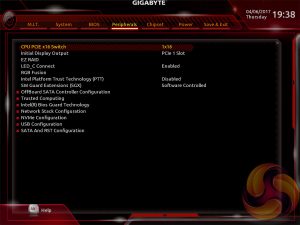
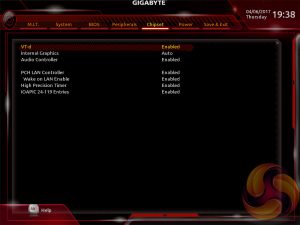
Peripherals and Chipset tabs contain all options pertaining to other hardware on the motherboard that isn’t the CPU or DRAM. USB, NVMe, LAN, Audio, LED, PCIe bandwidth sharing, SATA and a number of miscellaneous troubleshooting and compatibility settings are found in these two tabs.
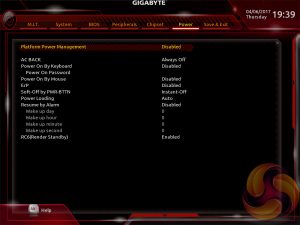
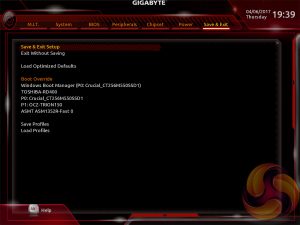
The Power tab has some obscure power settings that might be better integrated into one of the other sections. Save and Exit contains boot override settings, which should probably be integrated into the BIOS tab, and the load and save function for BIOS settings. We also noticed there seemed to be no summary of changes on exit, which isn't particularly user-friendly.
 KitGuru KitGuru.net – Tech News | Hardware News | Hardware Reviews | IOS | Mobile | Gaming | Graphics Cards






Just bought this board (2017-07) and without issuing a notice or a revision number change, it appears they have fixed the m.2 issue. I installed a Samsung EVO m.2 drive, and a Corsair H60 backplate, and there was plenty of room between the two. Matched the placement I’ve seen in pictures from other boards like the z270 WiFi from gigabyte. Cheers