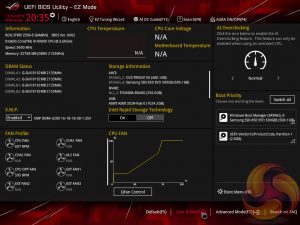
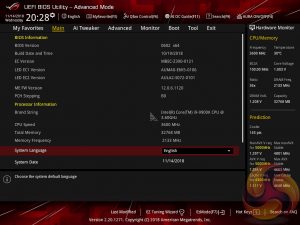
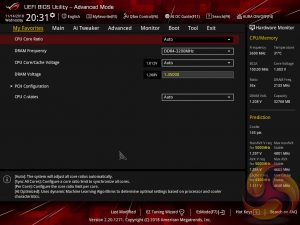
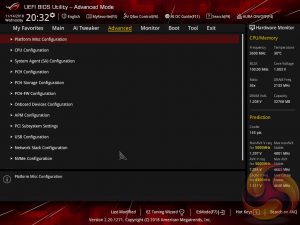
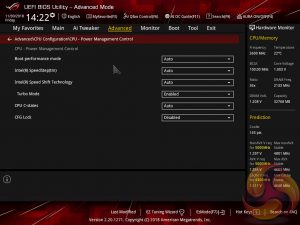
The ASUS UEFI enters straight into the EZ Mode splash screen which has a selection of frequently used settings including XMP profiles, boot device order and fan speeds. Pressing F7 takes the user into the advanced section of the UEFI but there are some additional tools that can be accessed from the splash screen such as Q-Fan Control, EZ System Tuning and AI Overclocking.
The first tab is MyFavorites which stores the most frequently accessed UEFI settings. The next tab, Main, contains detailed processor and BIOS version information.
AI Tweaker is the UEFI tab which contains the vast majority of performance tuning settings pertaining to the CPU and DRAM. From here you can set XMP profiles, overclock the CPU, set all the various voltages and voltage operation modes, change the Load Line Calibration (LLC) and considerably more.
LLC has 8 levels, using a 0-based index, with 0 being the least aggressive and 7 the most. The voltage modes include manual, adaptive and offset. Unlike MSI, ASUS does not offer combined voltage modes such as override + offset.
ASUS has implemented a new “AI” overclocking feature which can be enabled through the “AI OC Guide” window (F11). This has an “optimism scale” associated with it which will determine how adventurous the target overclock will be, there's also a cooler calibration test which effectively tests “how good” your CPU cooler is before attempting higher voltages. The scale ranges from 50, least optimistic, to 150, most optimistic, with 100 being the default.
There's also a feature called “SVID behaviour” which affects the level of input voltage the CPU will use at a given voltage. There's an option to run this as “best-case”, “typical”, “worst case” or “Intel's Fail Safe” scenarios but effectively what it means is that, in that order, power consumption goes from lowest to highest. A best-case scenario assumes a high-quality chip that requires less power to operate, and Intel's fail safe is the opposite.
In practice, manually setting the CPU VCore overrides the SVID behaviour but anyone who just dials in a 50x multiplier for 5GHz and leaves the voltage to auto, would be affected by the SVID behaviour. This is also relevant when using Adaptive and Offset VCore modes since those modes will add or subtract voltage from the VCore based on the SVID set voltage, so a higher or lower the baseline level set by the SVID behaviour will affect the final VCore under load.
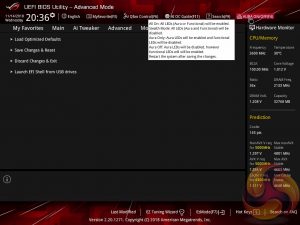
The UEFI provides a clear warning that when enabling XMP there is a choice to opt out of enhanced Turbo functionality and stick to Intel’s default CPU specification, particularly pertinent for Intel's new i9 9900K which can consume large amounts of power. The same also applies for the memory specification which ASUS claim can be enhanced (XMP I) instead of sticking to the complete XMP profile (XMP II).
There is a significant selection of performance and compatibility parameters to be found under the Advanced section should the need arise. As well as a number of other peculiar settings related to the functions of onboard devices, LEDs, USB and storage controllers and more.
The Monitor tab will allow you to instruct the UEFI how to handle temperature data from the various sensors as well as what to do with fan speed profiles. For example where a fan speed profile is temperature dependent you can choose which temperature sensor to use. If you purchase the optional ASUS Fan Extension card that can also be configured from within this section.
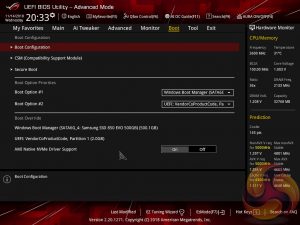
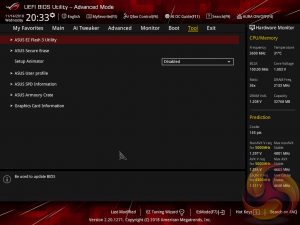
The Boot tab is as expected in delivering the key boot options such as secure boot, boot priority and boot compatibility options. Users needing to update the UEFI (via the EZ Flash Utility), save, import or export BIOS settings, or secure erase a storage drive should refer to the Tool tab.
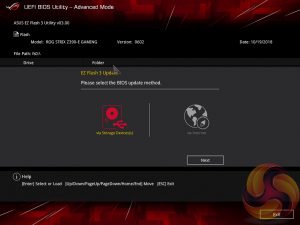
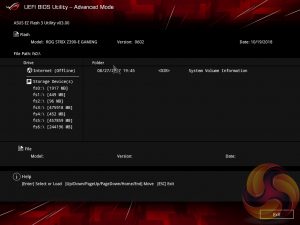
The EZ Flash utility is very simple to use and allows the UEFI to be updated from either a local disk or the internet over the Intel I219V Gigabit Ethernet adapter.
The ASUS AI Overclocking replaces the previous EZ Tuning Wizard for automated overclocking, and also takes its F11 hotkey in the UEFI environment. This is an improved version of EZ Tuning Wizard that takes into account thermal data, i.e. the effectiveness of the CPU cooler, when overclocking.
ASUS claims they have developed a “proprietary algorithm” which tests the quality of the CPU and mixes that with the capability of the CPU cooler to give a better result. When we enabled this using “100” optimism after calibrating our CPU cooler we got a 166 points score for the CPU cooler, with a “4.8GHz” turbo mode for non-AVX workloads and 4.6GHz with AVX and 4.65GHz cache. The light load result was 5GHz while the heavy load result was 4.8GHz, all using 1.204~1.257v (non-AVX/AVX) for the CPU and 1.1v for the Cache.
Changing optimism to the max, 150, scored us a result of 5.5GHz non-AVX, 5.4GHz AVX, 5.4GHz cache and 5.5/5.5 GHz light/heavy with 1.436~1.438v (non-AVX/AVX) and 1.041v (cache). (un)surprisingly enough, this didn't boot!
In most cases the result will be “improved” over the peculiar results EZ Tuning Wizard used to deliver – with painfully high voltages for relatively low clocks – but taking the time to tune the overclock yourself based on some research for your circumstances would still be the better way.
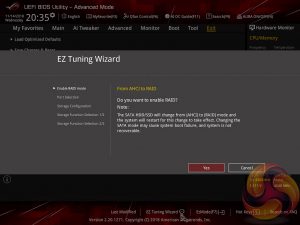
The EZ Tuning Wizard has been relegated to just being for RAID setup and configuration, like on the H370 platform where overclocking isn't supported. This used to be the “automated overclocking” utility until ASUS replaced it with the “AI Overclocking” guide.
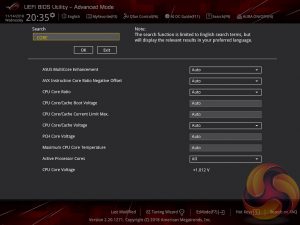
The search function allows a text string to be searched against all the UEFI parameters. It isn’t a smart search so doesn’t have an auto-fill function and will not find similar items to your search string i.e. M.2 when M2 is searched.
ASUS has some basic AURA RGB controls from within the BIOS that are variations of “on” and “off”. There is companion AURA RGB software to go with the motherboard that is used for the colour and lighting customisations.
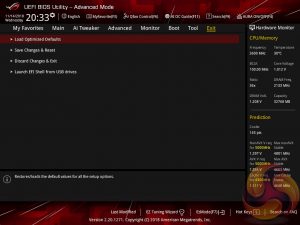
The Exit tab is fairly self-explanatory and helpfully provides a summary of changes upon exit.
 KitGuru KitGuru.net – Tech News | Hardware News | Hardware Reviews | IOS | Mobile | Gaming | Graphics Cards


