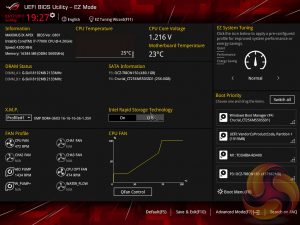
The ASUS UEFI enters straight into the EZ Mode splashscreen which has a selection of frequently used settings including XMP profiles, boot device order and fan speeds. Pressing F7 takes the user into the advanced section of the UEFI but there are some additional tools that can be accessed from the splash screen.
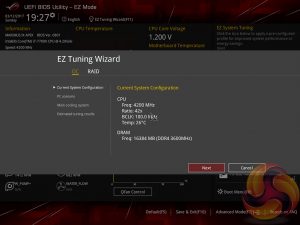
The EZ Tuning Wizard is the ASUS automated overclocking utility which will tune both the CPU and DRAM. Like most automated utilities a user of modest overclocking prowess can manage better but it's handy for getting setup with an overclock in a hurry.
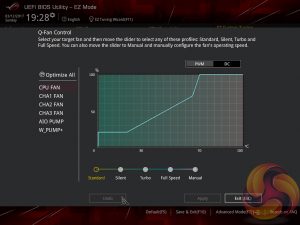
Q-Fan Control is a must-use utility since it will calculate the fan speed ranges of all PWM or DC fans on the 7 controllable fan headers (CPU, CPU_OPT, CHA1, CHA2, CHA3, AIO_PUMP, W_PUMP+). Once the voltage to fan speed values have been calculated the user can then assign a preferred profile to each fan from the four presets (standard, silent, turbo, full speed) or simply set your own using manual mode.
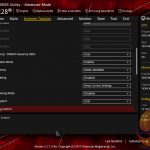
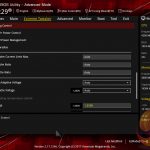
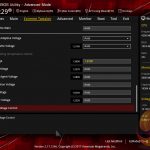
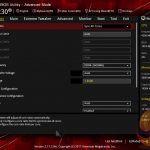
Extreme Tweaker is the UEFI tab which contains the vast majority of performance tuning settings pertaining to the CPU and DRAM. From here you can set XMP profiles, overclock the CPU, set all the various voltages and voltage operation modes, change the Load Line Calibration and considerably more.
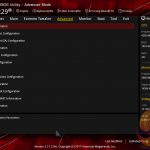
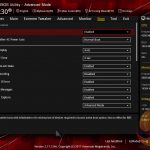
There is a significant selection of performance and compatibility parameters to be found under the Advanced section should the need arise. As well as a number of other peculiar settings related to the functions of onboard devices, LEDs, USB and storage controllers and much more.
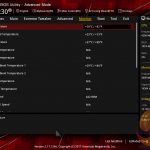
The Monitor tab will allow the user to instruct the UEFI how to handle temperature data from the various sensors as well as what to do with fan speed profiles. For example where a fan speed profile is temperature dependant you can choose which temperature sensor to use. You'll also be able to check up on all the settings associated with the water cooling specific sensors like water flow rate and water temperature.
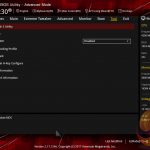
Users needing to update the UEFI, save, import or export BIOS settings, or secure erase a storage drive should refer to the Tool tab.
On the whole we find the ASUS UEFI environment to be intuitive and endowed with all the options users may need to achieve the vast majority, if not all, of performance- and compatibility-related issues. It also helps that ASUS hasn’t significantly overhauled the design of its UEFI in a long-while, some of its rivals have done this and it can be confusing for end-users. The ASUS UEFI is one of the strongest UEFI implementations on the market.
 KitGuru KitGuru.net – Tech News | Hardware News | Hardware Reviews | IOS | Mobile | Gaming | Graphics Cards




They really should keep the LN2 features away from consumer boards, because consumers are never, ever going to use LN2 on them at all. It’s just a ploy to crank the price up with an unnecessary feature most will never use.
Same goes for the automatic overclocking stuff. No-one who spends £300 on a motherboard will be using that. At all. If a total newbie is going to get into PC stuff and has stupid money to burn, they’ll pay for OCUK or Scan to do it out of the box with warranty.
The most striking feature of this board is the M.2 DIMM socket and weird shape (which puts me off slightly as it will reduce the stability of the board in terms of bending).
And, as with all motherboards, there’s barely a difference worth bothering with in terms of performance. When I choose a board I choose one with enough sockets to do what I want and has the most appropriate features such as VRM cooling, USB sockets and fan headers.