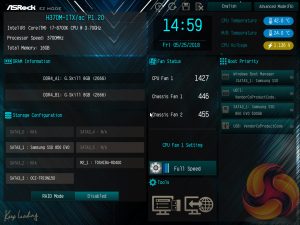
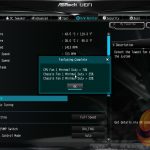
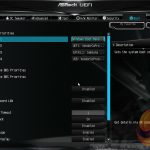
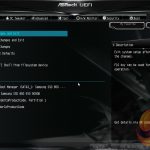
Like all motherboard vendors, the ASRock UEFI offers an “EZ MODE” option (read: easy mode) intended to provide a quick summary of commonly accessed UEFI options like boot order and fan speeds.
Pressing F6 takes you into the Advanced mode which starts with the Main page that provides an overview of the UEFI version, installed processor and DRAM information.
If you are unable to display some of the images on these pages, disable your ad blocker as it interferes with our gallery code.
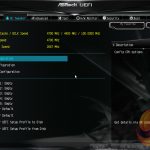
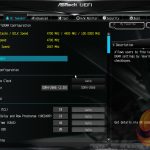
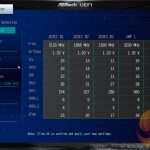
OC Tweaker is the section of the UEFI environment allotted for performance tuning parameters, though since the H370 chipset doesn't support CPU or memory overclocking the name OC Tweaker is somewhat confusing. Like many other motherboard vendors, a reuse of Z370 assets for H370/B360 motherboards has meant many references to overclocking still remain.
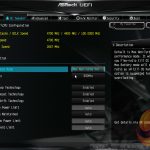
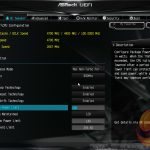
The three main sections within OC Tweaker are CPU Configuration, DRAM Configuration and Voltage Configuration. CPU Configuration controls various Intel technologies (Turbo Boost, Speed Step, etc.) and CPU power limits, DRAM Configuration sets memory frequencies and timings and Voltage Configuration allows DRAM, PCH and VCCST voltages to be set.
Some interesting caveats for H370 include the fact that the i7-8700K CPU KitGuru tests with has an all-core Turbo frequency of 3.9GHz rather than the 4.3GHz we've seen on other H370 and B360 motherboards. As we'll see later this does affect system performance. ASRock were notified of this in advance of publication and explained to us that this is a deliberate decision as the H370M-ITX/ac is an “entry level” motherboard which is not designed to run a Core i7-8700K at a 4.3GHz turbo frequency for an extended period of time.
It is possible to force the i7-8700K to run at a 4.3GHz Turbo speed by altering the UEFI settings that control the power limit (Long Duration Power Limit, Long Duration Maintained, Short Duration Power Limit, CPU Core Current Limit) but ASRock advised us that this is not recommended because of thermal reasons. ASRock sees this motherboard as a more fitting pair for something like an i5-8600.
It is also worth pointing out that XMP profiles cannot be loaded at all, whereas some other vendors will let you load them but cap them at 2,666MHz. Additionally, there are no options to tweak the CPU Voltage or Load Line Calibration so there the system will always use automatic settings.
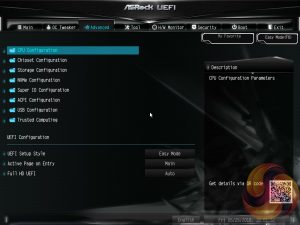
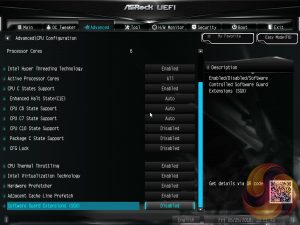
In the Advanced section we find more CPU configuration option. The remit of this section is to give users the “everything else” of compatibility and functional UEFI options for onboard hardware that aren’t found in OC Tweaker. An inclusion at the bottom of the Advanced section is the ability to toggle the UEFI into a full HD mode which is disabled by default, at least it was on our test system monitor.
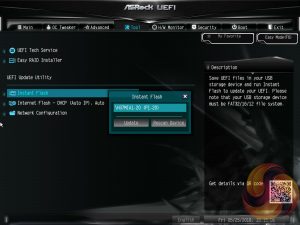
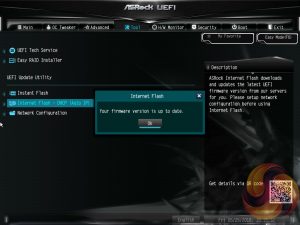
The Tool tab holds the Instant Flash utility which is beautifully simple. Attach a USB device, pick the update file and update, or update automatically from the internet. It seemed on this motherboard only one of the Ethernet ports was configured to work with Internet flash, the Intel I211AT port, once it connected up to the internet it worked a treat to run the update.
The Monitor section includes a number of voltage, temperature and fan speed read-outs as well as all the CPU and System fan controls. Further fan tuning can be done by first running the “Fan Tuning” wizard to calculate the full fan speed range of each attached fan (minimum and maximum speeds in RPM). Then from within the FAN-Tastic tuning window, customised profiles can be set using the fan speed graph and the mouse to drag-and-drop the curve/line.
Security, Boot and Exit tabs round off the rest of the ASRock UEFI environment. Note that no summary of changes is presented to the user upon exiting the UEFI environment.
 KitGuru KitGuru.net – Tech News | Hardware News | Hardware Reviews | IOS | Mobile | Gaming | Graphics Cards


