Firstly, we are pleased to report that our NZXT Avatar S mouse worked to its usual standard in the MSI X99 UEFI.
MSI equips its X99 motherboards with a UEFI implementation that is, as far as I can tell, identical to its Z97 variant. Evidently some of the platform-specific settings differ between the two interfaces, but the general layout is identical. As such, our analysis is very similar to that provided for MSI's Z97 boards featuring Click BIOS 4.
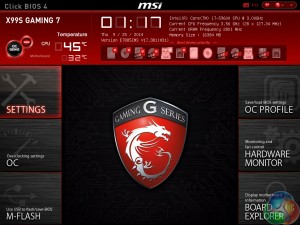
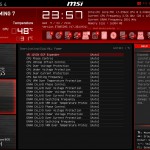
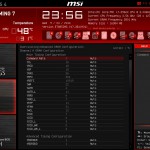
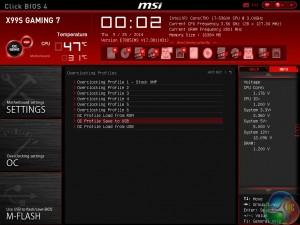
MSI’s UEFI is formed of six key sections, all of which are listed on the frame’s left and right sides. Basic system information is constantly displayed at the top of the screen.
Boot device priority can be quickly adjusted by dragging the relevant drive into its start-up position. The same easy application is true for OC Genie and XMP modes – simply click the relevant buttons in the frame’s top-left corner.
It's quickly noticeable that MSI's interface is heavily reliant upon the function of a mouse, even more so than the systems used by competing vendors. As such, mouse compatibility becomes particularly important. We've found our NZXT Avatar S to be the most troubling mouse with UEFI support, so when it functions correctly in the interface, that is usually a good sign for overall mouse support.
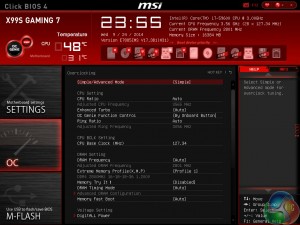
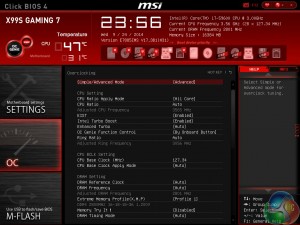
In the Advanced mode, MSI provides plenty of adjustable voltage, frequency, and power settings which give users a good degree of control over their system. The Simple mode features fewer adjustable parameters and is better suited to practising overclockers.
As the X99 implementation of MSI's Click BIOS 4 is largely identical to the version used for Z97, our same feedback still applies – the layout could benefit from a clean-up. A number of readouts are still mixed together with input parameters which makes the interface seem more disordered than it actually is.
Particularly relevant for the overclocking-geared HEDT platform are the UEFI's power and voltage options. We are happy with the voltage adjustment options that MSI provides – they are going to be sufficient for pushing a chip when using ‘normal' 24/7 cooling.
The same can be said for the board's power options. The only thing we miss is a clear load-line calibration parameter.
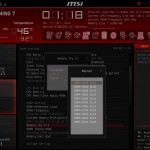
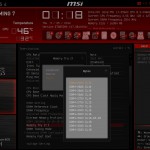
In addition to adjustable system voltage and power parameters are dedicated memory sections. Memory Try It! allows users to apply tweaked overclocking settings to their Hynix- or Micron-based memory kits. Timings can be manually tweaked to a user's preference and the memory kit's XMP support can be displayed.
The XMP information is particularly useful because many modern kits are shipping with multiple profiles. For example, our Corsair Vengeance LPX 2800MHz memory kit features a 2800MHz XMP as well as a barely-documented 3000MHz profile.
Up to six OC profiles can be saved and named. This is a good number to provide as it gives users flexibility when testing out different overclocking configurations. Profiles can also be imported and exported through a USB drive for backup and sharing purposes.
One of the actions that MSI has taken to tidy its UEFI is adding an Info section on the right side. The section is used to display basic information relating to voltages, irrelevant of the parameters that are being tweaked.
Had MSI used this ‘add-on’ section approach throughout its BIOS, displaying information relevant to the parameter that is currently being tweaked, the interface would have a much tidier feel to it. Some frequency readings would be welcomed too.
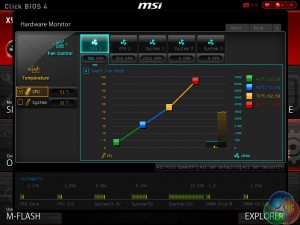
MSI employs a graphical interface that permits for tweaking of fan speeds inside the X99 UEFI.
Four points on a speed against temperature curve can be adjusted to change the fan’s operation. For CPU fans, the minimum point can be set as low as 12.5% speed with a 40°C lower threshold. The same flexibility is provided to system fans, although the minimum speed level is increased to 50%.
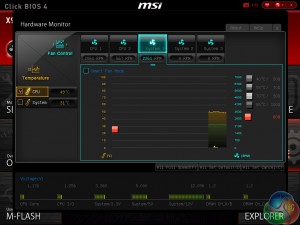
For users who prefer a static fan speed level, un-checking the Smart Fan Mode box allows a continuous fan speed percentage to be set.
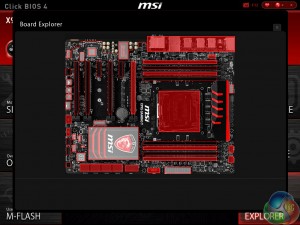
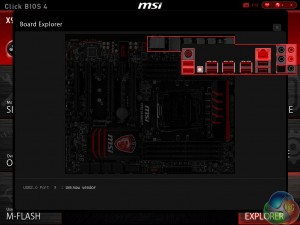
One of the most useful features in MSI’s UEFI is Board Explorer. The tool displays an image of the board which highlights the components that are installed. Hovering over the certain sections displays information regarding the connected components or devices.
The tool has great potential as a troubleshooting measure. For example, a faulty memory stick can be easily identified if its function isn’t highlighted in the board explorer tool.
The PCI Subsystem Settings section is going to be particularly useful to users who install multiple graphics cards alongside an M.2 SSD.
MSI’s M-Flash BIOS updating tool continues to refuse to enter folders in a USB flash drive. This is a negative point because users are forced to mess up their flash drive’s organisation by putting the BIOS file in the root folder. Competing motherboard vendors have tools that are able to navigate storage drives and USB memory sticks with ease. MSI is lagging behind in this respect.
Users are free to add some of their commonly accessed parameters to the Favourites profile. The default home page can also be changed.
UEFI Summary:
MSI’s Click BIOS 4 interface has a strong underlying ease-of-use aspect. Novice overclockers are given additional information and assistance as they learn about specific settings, and they can even apply a constricted ‘simple’ mode if they are worried about configuring damaging settings.
The Board Explorer tool and comprehensive, user-friendly fan control system are particular highlights of the interface.
The UEFI still has its issues though, and further updates are required if MSI is to compete more closely with the excellent implementation used by Asus. Some of the layout options still result in a messy appearance. While many of the issues are small, arguably negligible points, they can add up quickly and have the potential to dampen the experience of using MSI’s Click BIOS 4 interface.
As is commonly the case with early BIOSes, MSI still has some work to do in maintaining stability for its implementation. We experienced a number of random system lock-ups when taking screenshots in the UEFI. We are, however, confident that these bugs will be ironed out with future BIOS updates.
 KitGuru KitGuru.net – Tech News | Hardware News | Hardware Reviews | IOS | Mobile | Gaming | Graphics Cards



I think the best combination to satisfy all my needs specially getting out the juices of M.2 there is two option.
Option 1 (40 lanes) with Intel Core i7-5930K or Intel Core i7-5960X Extreme Edition:
2 way SLI (E1_3.0x16+E3_3.0x16) + 1 M.2 (3.0×4) and 1 SSD on SATA Express (2.0×2)
or
Option 2 (28 Lanes) with Intel Core i7-5820K:
3 way SLI (E1_3.0x8+E3_3.0x8+E5_3.0x8) + 1 M.2 (3.0×4) and 1 SSD on SATA Express (2.0×2)
^_^ Great review Luke.
Hi there. I saw you review to late.
I have the same issue, can’t make the RAM to run on 3000MHZ with a 5820k.
Have you found any solution? Already contacted manufacturers(Kingston/MSI/Intel)…still no luck, so maybe you can help.
Thanks, and nice review btw.