MSI B350 UEFI
The UEFI used by MSI is almost identical across its current product range. As such, we have re-used the bulk of our analysis from previous MSI reviews and updated the text where there are subtle differences.
Firstly, we are pleased to report that our generic wireless mouse worked correctly in the UEFI. Some mice can be troubling with UEFI support, so when a generic wireless unit functions correctly in the interface, that is usually a good sign for overall mouse support.
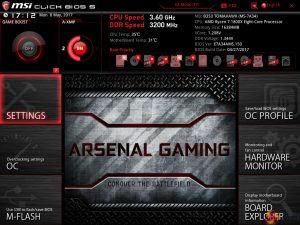
Entry into MSI’s Click BIOS 5 UEFI is started on the EZ Mode page.
MSI’s version of EZ Mode is the best of all motherboard vendors as it features the most options but does not overcrowd the screen and remove the ease-of-use aspect. Buttons for simple A-XMP and Game Boost overclocking activation are smart moves.
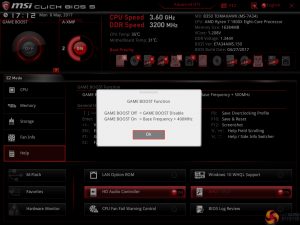
Game Boost is MSI’s pre-determined overclocking mode which offers frequency adjustments for Ryzen CPUs. These are far less fine-tuned than manual overclocking, though, as they are designed to work with a variety of chips rather than your own specific silicon.
Hitting F7 takes a user into the Advanced section. The general layout is well-described and easy to follow. Six tabs house all of the adjustable settings, with information and boot device adjustment being held at the top of the page.
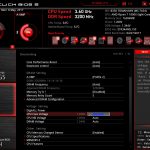
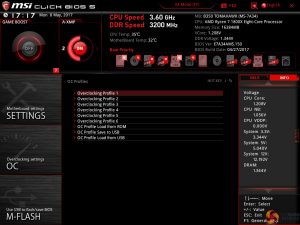
The OC section is, as expected full of settings relating to overclocking. MSI smartly includes a Normal or Expert selection mode that is useful for those trying to learn about overclocking who do not want to risk adjusting irrelevant settings.
There is an adequate number of options relating to voltage, frequency, and settings adjustments and all are generally easy to find. However, if you want great flexibility for granular settings control, an X370 motherboard is the better option as the B350 models are more limited in this department. Being critical, the layout could be a little more segregated to reduce the amount of information on the single primary page.
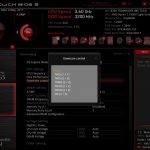
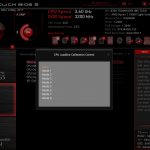
Unlike the X370 alternatives, MSI’s load-line calibration (LLC) settings for B350 are unclear. Nine different options can be selected but MSI chooses not to deploy its simple graph to show how the voltage changes based on load. The graph would have aided the simplicity of our overclocking attempts but instead we had to resort to a trial and error approach.
Options are also allocated for memory. Dividers up to 32x for 3200MHz can be selected, which is ideal for aiding flexibility to overclockers who are pushing their system with high-speed RAM. A-XMP is basically MSI’s way of loading up an XMP configuration on its AMD motherboards. This was a hassle-free, stable process using our 3200MHz G.SKILL Flare X memory modules.
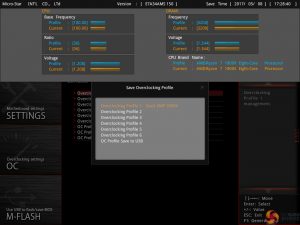
Up to six individual settings profiles can be saved to the board and more can be transferred using storage mediums. Pressing F8 and F9 on a main page of the UEFI draws down an overclocking profile tool which allows for saving and loading.
This tool is a superb graphical method of displaying how the system will change compared to its current state. It would be great to see MSI also roll this out to the more mundane OC Profile section. Either way, the graphical display is certainly a positive for MSI’s UEFI over its competitors’.
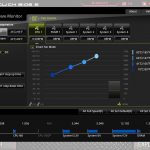
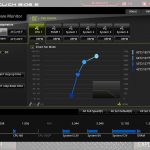
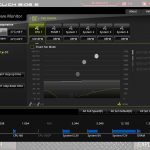
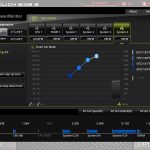
Hardware Monitor is where the primary fan control actions take place. PWM and DC control modes are selectable. MSI keeps in-built fan speed presets to a bare minimum and instead relies on its good graphical control method.
A 4-point curve can be used to adjust the fan speed profile based on temperature readings from the CPU or system. Fan speed adjustments take place in real time which is ideal for tuning the system noise output more efficiently.
The ability to run fans at 0% up to a user-defined temperature level is a strength for MSI and speed hysteresis control is good to have. However, the fact that only CPU and System temperature sensor data can be read is slightly disappointing albeit understandable in this price range. Higher-end offerings from competing vendors provide the ability to drive a fan curve based on data from multiple temperature sensors, not just the CPU or System.
I like the written information that MSI displays alongside the graph, such as exact fan speed percentages and temperatures for each marker.
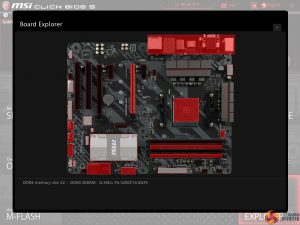
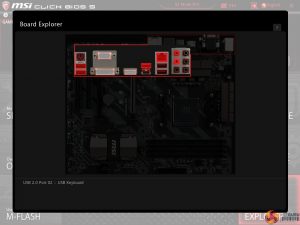
Board Explorer is a visual interpretation of the motherboard and its connected devices. This is a valuable tool to use for troubleshooting or ensuring that components are connected to the correct port at the correct speed. This is like ASRock’s System Browser tool.
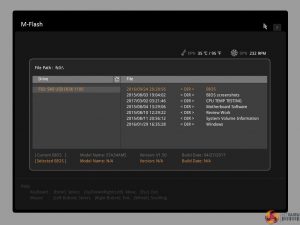
M-Flash has an ability to select BIOS profiles in USB drive folders, which is good. The tool works without hassle.
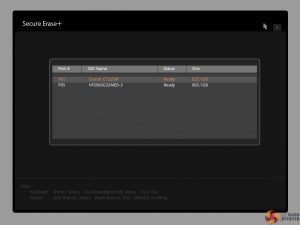
Secure Erase is a relatively new addition to MSI’s UEFI. The tool can be used to securely wipe (not just format) an SSD with great ease which can be good if selling it on or aiming to restore performance from a ‘dirty’ drive. I used this tool successfully with a SanDisk SSD on one of MSI’s Z270 motherboards.
UEFI Summary:
MSI’s Click BIOS 5 UEFI is a great offering without any glaring weaknesses. The EZ Mode page is market-leading, ease of navigation is high despite the crowded OC page, and tools such as Secure Erase and Board Explorer sweeten the deal. I found mouse support to be strong but the visual interpretation of the LLC settings found on MSI's higher-end SKUs is missed.
Manual fan control is good but the lack of preset profiles and fewer temperature sensors prevents MSI from being a clear winner against its competitors in this department. Save slots for six system profiles is sufficient and the alternative mode by which these profiles can be selected is extremely intuitive.
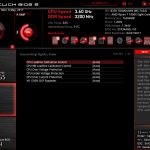
The lack of RGB LED control options through the UEFI is disappointing. UEFI settings for LEDs can be retained in the event of an OS crash or reinstall. Despite this, MSI’s UEFI is a strong offering that should serve the clear majority of users well.
 KitGuru KitGuru.net – Tech News | Hardware News | Hardware Reviews | IOS | Mobile | Gaming | Graphics Cards






Thanks!
Hey Kitguru did you run into any issues with main board thermal sensor during your testing or rather do you know what the main board thermal sensor is actually measuring because I’m running the main board with a r5 1600 at 4ghz 1.4v and Main board sensor is reporting 98°C after 15min of prime95. Which seems stupidly hot given that I’ve got 4Nidec Servo GentleTyphoon 120 mm 2150 RPM fan’s in the case. I kinda just wanna know first of all if that thing is the VRM sensor or “chipset” because which ever one it is guess I’ll add to the custom loop. Because 98°C during stress test just doesn’t sit well with me.
“MSI’s RGB lighting control tool is sub-par on the Tomahawk SKU as MSI is clearly trying to push RGB aficionados towards ‘Gaming’ branded models.”
What kills me about this is that you can only “push me” into a higher priced model IF YOU TELL ME about the shortcomings of the cheaper model! Granted, this many fan headers and an LED header on a $90 board were all a major win but come on. If MSI made it clear I’d only have 7 colors I would have happily sprung the extra $25 for a better featured board. Instead, they called it “RBG” and make mentions of Mystic Light and its16.8 million colors on the product page. Not only misleading, but they fouled up the whole strategy of driving me to a more expensive board.
I know they fixed a few of the Tomahawk’s issues with the PLUS model, which has no legacy PCI slots and more colors than just red for the on-board LEDs. I wonder if they made the LED header full RGB, too. Hard to find an answer on this.