Gigabyte 990FX-Gaming UEFI
Firstly, we are pleased to report that our generic wireless mouse worked correctly in the Gigabyte 990FX-Gaming UEFI. We’ve found the mouse to be challenging with UEFI support, so when it functions correctly in the interface, that is usually a good sign for overall mouse support.
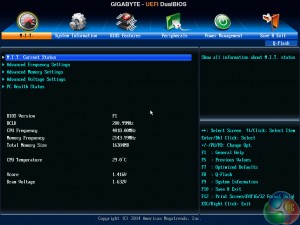
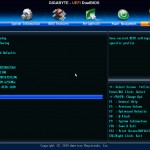
Upon entering Gigabyte's UEFI DualBIOS, the navigation section of the M.I.T page is opened. This page displays the primary system information, such as CPU and memory speeds, as well as voltages.
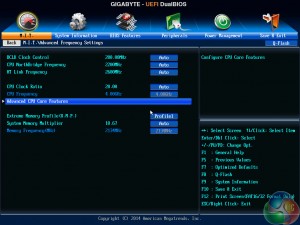
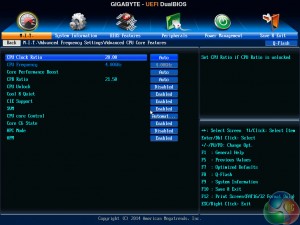
The Advanced Frequency Settings page provides access to system operations relating to the CPU and linked frequencies. Numbers for parameters such as the CPU clock ratio can be manually input using a keyboard.
Despite the Core Performance Boost (CPB) setting applying a ratio of 21.5x in the UEFI, the chip usually sat at 20.5x in the OS.
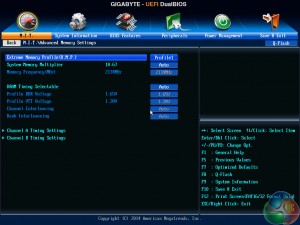
Memory settings can be tweaked in the dedicated page. XMP is supported, but the motherboard only features a maximum memory multiplier of 10.67x, which translates into 2133MHz using the default 200MHz Bus Speed.
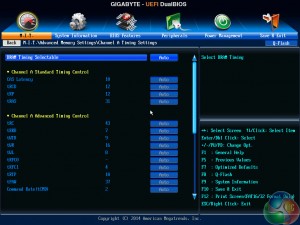
A separate sub-section allows users to adjust memory timings.
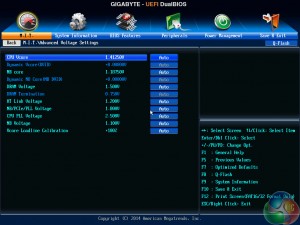
The Advanced Voltage Settings section is where all of the primary voltages can be adjusted. Voltages should be manually entered using the keyboard. There is also opportunity to use dynamic voltages and multiple loadline calibration (LLC) settings.
I would have liked to see Gigabyte include some form of colour warning system that shows whether the selected voltages are low, moderate, or high.
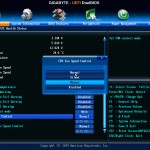
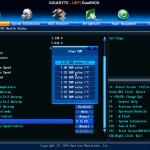
PC Health Status displays information relating to voltages, temperatures, and fan speeds. Three control methods can be applied to the single 4-pin header. There is also the option to control the speed of the CPU fan and (only) one of the three system fans, however the options are poor and the unit of speed change is very unclear.
A graphical solution in the UEFI would be preferable.
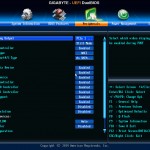
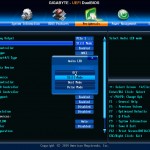
There is plenty of control for motherboard peripherals, as well as device pass-through using IOMMU. The red LED running through the audio trace can be set to operate with different modes or disabled completely.
Boot Override is found in the Save & Exit section of Gigabyte's UEFI. BIOS configuration profiles are also saved and loaded in the same section (despite its positioning making little sense). Up to 8 UEFI profiles can be saved and loaded, and users are free to transfer additional profiles via USB stick.
While Gigabyte's UEFI DualBIOS implementation is perfectly functional, its appearance is lacklustre and old, while the fan control options leave a lot to be desired.
With that said, I do like the way that Gigabyte segregates parameters relating to the CPU, memory, and voltages. This helps to keep overclocking straightforward without flooding a user with information and available parameters on a never-ending page.
Software
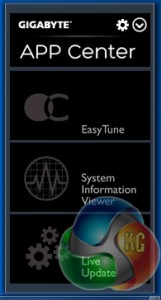
Gigabyte's OS-based software can be launched through the APP Center tool that sits in the system tray.
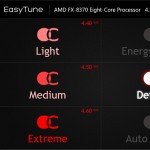
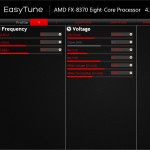
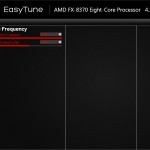
EasyTune can be used to manage system parameters, such as voltage and clock speed adjustments, as well as application of overclocking presets.
Unfortunately, we didn't have any luck with the overclocking presets – they didn't seem to work properly for our test system and the lucrative Auto Tuning option was unavailable.
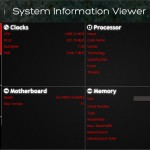
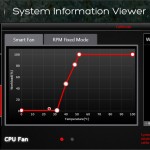
System Information Viewer (SIV) displays information relating to the system, such as voltages and temperatures. The fan control options built into SIV are good, especially when the user-definable fan speed curve page is explored. There are also options for recording system operating statistics.
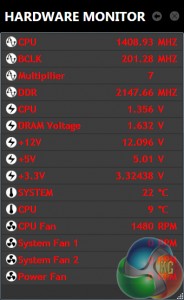
Hardware Monitor is a break-out section of SIV that displays information relating to the key system parameters in a convenient form factor.
Gigabyte's supplied software is OK, but it's nothing out of the ordinary. The standard affair of monitoring is found alongside some overclocking presets and fan control methods. Gigabyte also has the Cloud Station tool which aids multi-device accessibility.
However, software tools offered by competing vendors, such as a RAMDisk creation method and Go2BIOS button, are missing.
 KitGuru KitGuru.net – Tech News | Hardware News | Hardware Reviews | IOS | Mobile | Gaming | Graphics Cards


Considering you used the new Wraith cooler from AMD, I’m surprised you didn’t include temps on your overclocking page. Maybe AMD told you not to? Kudos for including minimum fps though.
❝my .friend’s mate Is getting 98$. HOURLY. on the internet.❞….two days ago new McLaren. F1 bought after earning 18,512$,,,this was my previous month’s paycheck ,and-a little over, 17k$ Last month ..3-5 h/r of work a day ..with extra open doors & weekly. paychecks.. it’s realy the easiest work I have ever Do.. I Joined This 7 months ago and now making over 87$, p/h.Learn. More right Here;;/305➤➤➤➤➤ http://GlobalSuperEmploymentVacanciesReportsJobs/GetPaid/98$hourly…. .❦2:❦2:❦2:❦2:❦2:❦2:❦2:❦2:❦2:❦2:❦2:❦2:❦2:❦2:❦2:❦2:❦2:❦2:❦2:❦2:❦2:❦2:❦2:❦2:❦2:❦2:❦2:❦2::::;;/305……..
❝my .friend’s mate Is getting 98$. HOURLY. on the internet.❞….two days ago new McLaren. F1 bought after earning 18,512$,,,this was my previous month’s paycheck ,and-a little over, 17k$ Last month .,3-5 h/r of work a day ..with extra open doors & weekly. paychecks.. it’s realy the easiest work I have ever Do.. I Joined This 7 months ago and now making over 87$, p/h.Learn. More right Here;;/322➤➤➤➤➤ http://GlobalSuperEmploymentVacanciesReportsJobs/GetPaid/98$hourly…. .❦2:❦2:❦2:❦2:❦2:❦2:❦2:❦2:❦2:❦2:❦2:❦2:❦2:❦2:❦2:❦2:❦2:❦2:❦2:❦2:❦2:❦2:❦2:❦2:❦2:❦2:❦2:❦2::::;;/322………
You can see temps over here: http://www.kitguru.net/components/cpu/luke-hill/150-gaming-cpu-amd-fx-8370-w-wraith-vs-intel-core-i5-6400/9/
The FX 8370 hit around 53C under OC load, but was loud in doing so.
It’s okay, Luke. There’s a reason he’s accusing – oops, I mean suggesting – that you’re shilling for AMD.
Notice he didn’t have a problem when you didn’t include temps on the reviews of the Asus Maximus VIII Impact ( http://www.kitguru.net/components/motherboard/luke-hill/asus-maximus-viii-impact-z170-motherboard-review/10/ )
Or the MSI X99A SLI Plus ( http://www.kitguru.net/components/motherboard/luke-hill/msi-x99a-sli-plus-motherboard-review/10/ )
Or the ASRock Z170 Extreme4 (http://www.kitguru.net/components/motherboard/luke-hill/asrock-z170-extreme4-motherboard-review/9/ )
Or the MSI Z170A Gaming M7 ( http://www.kitguru.net/components/motherboard/luke-hill/msi-z170a-gaming-m7-motherboard-review/10/ )
But hey, at least you included them on the Asus Sabertooth Z170 Mark 1, right? Oh, no, wait, that was just motherboard temps. ( http://www.kitguru.net/components/motherboard/luke-hill/asus-sabertooth-z170-mark-1-motherboard-review/12/ )
But no. Clearly AMD told you not to include temps on this review.
Gigabyte did a great job with the motherboard but how many PCB layers does it come with. In the audio picture there seems to be 2 squares where I normally see the PCB layer count. The USB performance is partly hampered by the OS used in the review. I believe the results would have been very different with windows 8.1 due to native uasp. Good motherboard for all of those looking to upgrade existing AM3+ builds.
I own a MSI 970A SLI KRAIT EDITION, is working well, but i don`t think that is a good idea build AM3+ Motherboard this days, we will have Zen before 2017, i will update
I have this MB and AMD FX-9590 and I have no complain about cpu-related stability: at stock speed and all power features like C6, c&c, ecc it is really stable: Prime95 stress tests were really good and temperature never went in overheated zone, while other MBs did.
The really bad, bad, bad issues are BIOS related: system is unable to use some manual settings. The same problem related to multiplier explained in this review occurred in DRAM settings: XMP profile work perhaps, but manual settings are as goods as comments: system doesn’t use manual DRAM voltage settings, I’m not even sure manual timigs are taken into consideration.
Actually I’m using failsafe ram configuration because of that.
Any other experience related?
Haha!
Yeah I have been having difficulty trying to overclock RAM. I can run at 1866 but trying for 2133 like in review. Going to try adjusting voltages and try 2 dimms instead of 4. I am using the same CPU as you. My Asus CHVF-Z was much better for RAM oc, but couldn’t fit 2 triple slot cards without blocking the motherboardcase connectors. It was also missing the nice reinforced Pcie slots and the M2 slot that comes with the G1. I’m very happy with it overall. Handles the 220W beast no problem.
Gigabyte sent me a beta firmware to help ram issues.
Fact is, it works, BUT…
Yeah, to run at 2133 you need to use 2 banks only. This is bad.
And… I am able to run at 1600 x 4 banks, it is good, but when I set bios at 1866 it still runs at 1600.
N.B.: related to temperatures, I put a 140 fan running at minimum, perpendicular to VRM heatsink, having air flowing thru heatsink: result is 10°C less in gaming.
Is was worth the try.
I changed the voltage and took out 2 sticks. Running stable at 2133. I ran 4 sticks with 2 different brands at 1866 no problem, on original bios. Don’t use the xmp profile. Make a custom one.
just picked this MB up for $120 from Newegg +$10 rebate so $113 after rebate and shipping. I hope it gives my comp life until Zen comes out and is settled in..
How did you get the fx 9590 to run on it; my system is a new build and says the cpu is incompatible with the mb?
It worked from beginning.
Or BIOS has to be re-flashed, or CPU is not well mounted.
Thanks Graziano, i’ll give them a try.
I’m looking at doing a water cool loop with this mother board and would love to include the vrm and nb as they get ridiculously hot I find. Is it hard to remove the heatsinks covering those and would you know of any water blocks that would fit? having a near impossible time locating any. Spectacular review as usual!