Automatic CPU Overclocking – Ratio First:
Opting for the ‘Ratio First' automatic overclocking mode allows the motherboard to adjust CPU ratio settings while keeping the BCLK frequency locked. With our system, this resulted in a dynamic overclock for our 4770K with a slight boost in voltage.
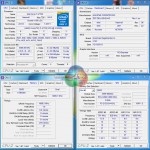
The base multiplier was set at 41x but, dependent upon the number of cores being utilised, a CPU ratio of up to 43x was available. A slight increase in VCore, boosting it up to the 1.22V-mark, was applied to increase stability. Memory parameters remained unchanged with our sticks operating at their standard XMP settings.
The ratio first automatic overclock validation can be viewed here.
Automatic CPU Overclocking – BCLK First:
As the name would suggest, the ‘BCLK First' overclocking profile adjusts the BCLK frequency to increase the CPU speed. Our system utilised the 1.25x CPU BCLK strap to provide a 125MHz base frequency.
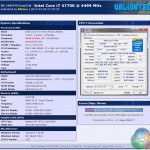
Using a static CPU multiplier of 34, our 4770K processor was operating at 4.25GHz. Memory frequency was dropped to 2000MHz to retain stability as Z87 motherboards cannot set a 2133MHz DRAM frequency when using the 125MHz BCLK setting. Impressively, CPU VCore was kept at the multi-core turbo level of 1.2V, despite the 350MHz frequency boost.
The BCLK first automatic overclock validation can be viewed here.
Manual CPU Overclocking:
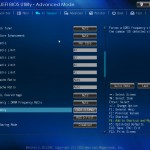
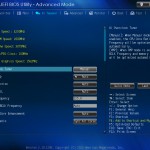
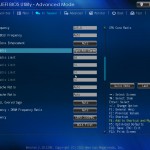
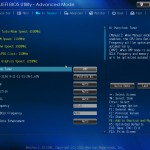
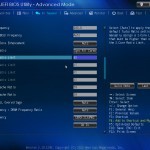
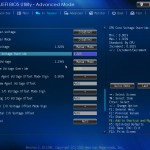
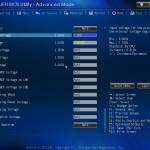
To test the Asus Z87-Deluxe/Quad motherboard’s CPU overclocking potential, we first increased the CPU VCore to 1.325V, Cache voltage to 1.275V, and CPU Input Voltage to 1.900V.
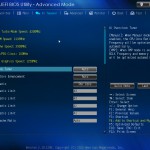
Thanks to Asus's excellent and easy to use UEFI interface, applying a manual overclock was as simple as changing the CPU ratio and adjusting the relevant voltages.
For an all-core overclock, the ‘Sync all cores' option should be selected. The ‘Per core' option can be used to adjust the frequency that each core will boost to when a different workload is applied.
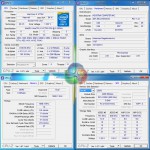
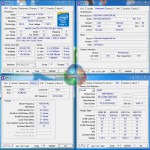
Voltage accuracy provided by the Asus Z87-Deluxe/Quad motherboard was excellent. A static voltage of 1.325V was applied via the UEFI BIOS and 1.324V was confirmed as being provided by CPU-Z.
We pushed for stability at 4.6GHz, but as has been the case for every other Z87 motherboard that we have tested with our 4770K, a BSOD would quickly ruin our attempts.
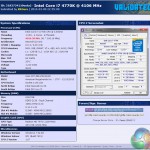
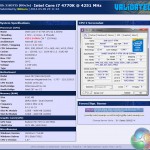
Our 4.5GHz validation can be viewed here.
 KitGuru KitGuru.net – Tech News | Hardware News | Hardware Reviews | IOS | Mobile | Gaming | Graphics Cards
They make great motherboards, but I never liked this gold colour scheme, its difficult to match up with other components in a windowed case. I prefer their traditional red ROG schemes.
I was going to buy this board as I have a few lightning drives which I also use on my macbook pro. its not a bad price considering the feature set.
how much is that delux motherboard asus z87 review
Please send me a me a quotation for an Asus Z87 -Deluxe/quad Mother board ,processor and other components for itas stated on page 8,also the cost of shipping.
Andy Hawkins
In your Excellent review, you typed, “…A pair of Gigabit Ethernet ports is provided by a combination of Intel’s I217V chipset, as well as the RTL8111G from Realtek. Asus should make it easier for users to understand which Ethernet connection is fed by each controller..” I found a Great answer!
I just received my ASUS Z87-Deluxe/Quad motherboard, and it has an “Intel” sticker that covers the top of the ethernet output port (the one closest to the BIOS feedback button), that states in three lines ” Intel Ethernet, Great Capability, GBit LAN”. Then by default, the Ethernet port next to the Analog port is the Realtek port !