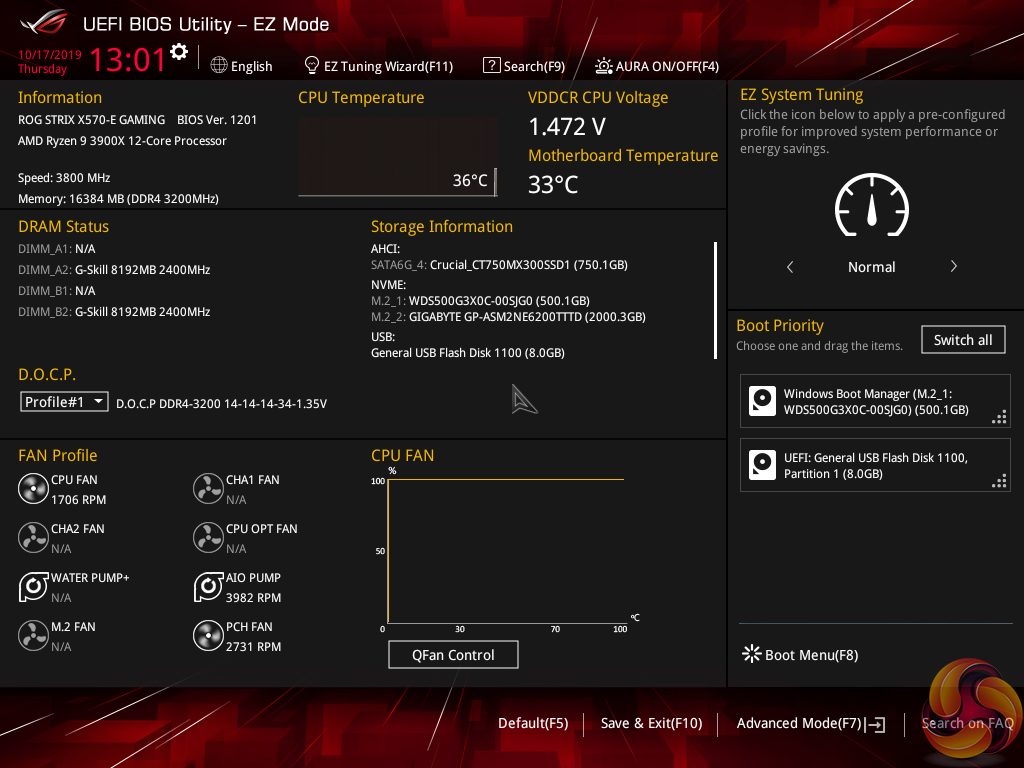
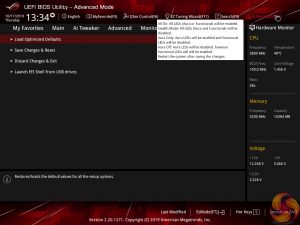
The default entry page for ASUS’ UEFI is EZ Mode. On this page, basic settings relating to fan speeds and boot devices can be adjusted and other important information can be viewed. EZ Mode is simple enough for novice users to not be dissuaded from entering the UEFI.
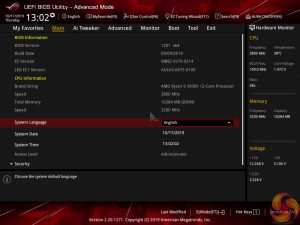
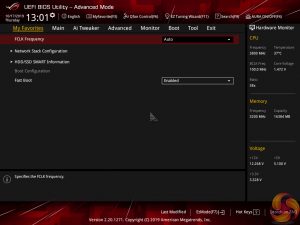
Hitting F7 allows the Advanced mode to be accessed. The Main page outlines information relating to the system and motherboard. The My Favorites tab can be convenient if you are frequently searching for a setting buried deep within the UEFI.
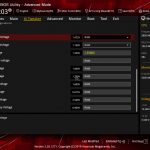
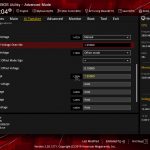
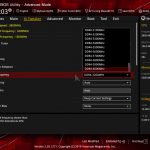
AI Tweaker follows the standard layout that we have come to expect from recent ASUS motherboards, and that’s a good thing. Easy access is provided to ratio, frequency, and voltage settings, allowing users to adjust their system parameters with minimal effort.
Different voltage operating modes are available for the CPU, allowing the user to adjust an overclock to their own preference. The modes of interest are: Offset, Manual, and Auto.
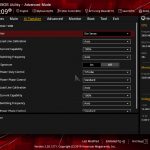
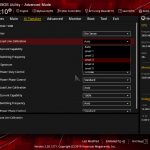
Load-line calibration (LLC) settings can be accessed through the Digi+ VRM page. ASUS provides options from level 1 to level 5 but gives no explanation of how the LLC levels work. This is frustrating as we had to resort to trial and error in order to find the desirable LLC level, which was a waste of time compared to competing vendors’ solutions of including a clear graph.
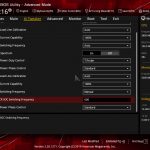
There is an option to control CPU VRM switching frequency, which is interesting for overclockers. 300-500kHz settings can be applied in increments of 50kHz. Interestingly, the SoC VRM switching frequency actually increases the upper range to 600kHz.
The Advanced tab is where options relating to storage and onboard devices can be adjusted.
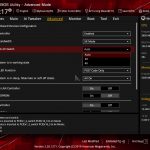
Under the Onboard Devices page, operation mode of the chipset fed PCIe 4.0 full-length slot can be adjusted in order to get full PCIe 3.0 x4 bandwidth or a lower x2 link. This subsection also provides an option for the onboard RGB lighting to be enabled or disabled during sleep and power-off modes.
The ability to set the Q-Code LED to show POST information then CPU temperature is a really useful feature. I do not know why ASUS does not apply this mode by default as it’s something that many enthusiasts will be interested in.
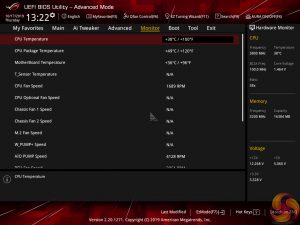
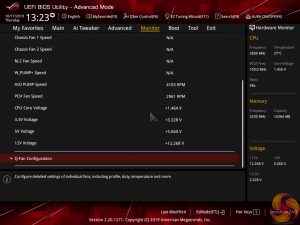
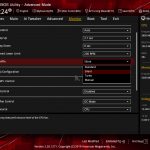
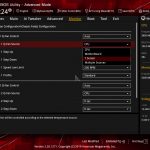
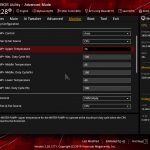
ASUS gives a wealth of information relating to voltages, temperatures, and fan speeds, as displayed in the Monitor UEFI page. Warnings relating to low fan speed can also be set to warn a user of a failed fan, for example.
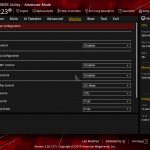
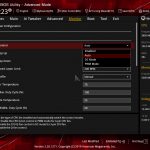
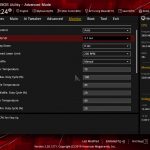
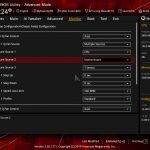
Fan speed control in ASUS’ UEFI is very good. There are multiple methods of controlling the fan speed curve and several pre-determined modes are also available. Fans can also take temperature readings from different sources in order to better tune their operation to a user’s cooling preference.
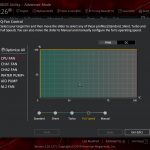
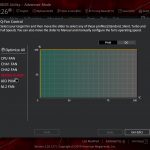
Hitting F6 loads up ASUS’ Q-Fan Control GUI which is a graphical method of adjusting the fan speed curve. All fan headers are given control in Q-Fan by using a 3-point curve. The CPU fan header is given the greatest flexibility as the minimum fan speed it supports is 20%. The non-CPU headers can only go to 60% as their minimum fan speed setting in PWM control mode.
There is, however, a Fan Off setting for the non-CPU fans that allows them to power down when the relevant temperature conditions are met. While this is a useful feature in theory, I have previously seen fans succumbing to motor twitch in this mode, and the jump from 0% speed to 60% is generally audible.
The non-chassis and non-CPU fan headers do not feature control abilities in this Q-Fan Control section. You can, however, control those headers via the written interface.
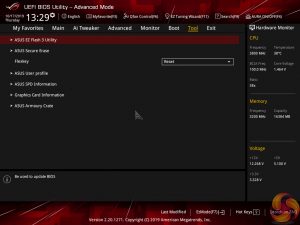
The Tool section is home to ASUS’ useful features, such as Secure Erase and EZ Flash 3 Utility.
EZ Flash 3 has the ability to update the BIOS using a storage device or over the web. Up to eight settings profiles can be saved and named in the UEFI. Further profiles can be transferred through storage mediums such as a USB flash drive.
SSD Secure Erase is a useful tool for securely wiping the contents of an SSD if you are selling it on, for example. There is also the possibility that wiping the data will restore performance, though this was more prevalent with older SandForce drives.
GPU Post and ASUS SPD Information can be useful in troubleshooting scenarios such as identifying dead or disconnected hardware without tearing one’s system apart.
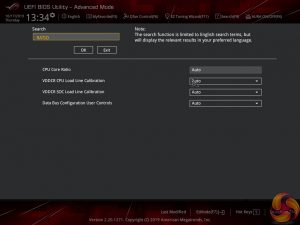
The search function is useful for quickly jumping to specific sections. ASUS gives quick access to a toggle that allows the Aura LED mode to be adjusted.
 KitGuru KitGuru.net – Tech News | Hardware News | Hardware Reviews | IOS | Mobile | Gaming | Graphics Cards


