Manual CPU Overclocking:
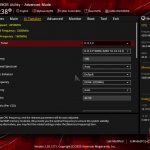
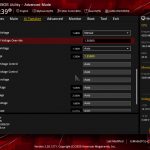
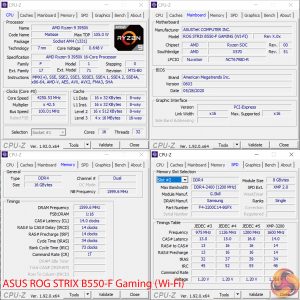
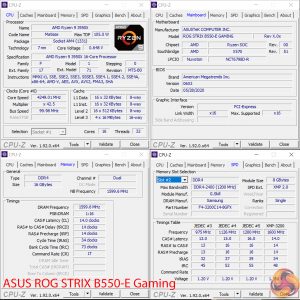
To test the ASUS ROG STRIX B550 motherboard’s CPU overclocking potential, we set the CPU Core Voltage to 1.30V and applied the relevant LLC setting.
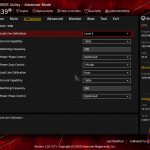
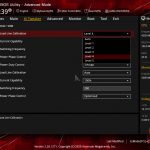
Overclocking through the ASUS UEFI is more difficult than it needs to be as the loadline calibration settings are unclear and feature no explanation or visualisation whatsoever.
The only way of discovering which LLC setting you require is via a lengthy and wasteful trial and error process. ASUS really needs to see what competing vendors are doing by highlighting, even in a simplistic form, what their LLC settings will do.
We managed to hit our CPU’s 4.25GHz manual overclock level using 1.3V. The B550-F Gaming (WiFi) commanded Level 4 LLC whereas the B550-E Gaming took Level 3 LLC.
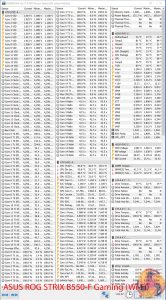
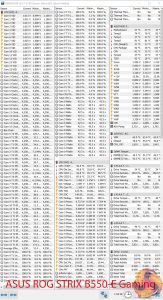
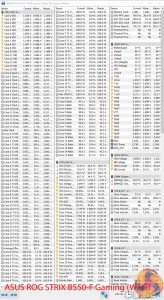
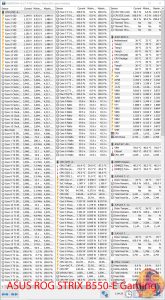
ASUS opts to differentiate the way in which its CPU voltage sensor reading is measured. As such, the voltage levels displayed in CPU-Z are highly inaccurate. Instead, we had to trust HWiNFO64 for our voltage readings as there are no onboard monitoring points.
According to HWiNFO64, the B550-F Gaming (WiFi) delivered 1.27V under load and the B550-E Gaming delivered 1.26V. This is an accuracy level that we were happy with, especially given the trial and error LLC approach.
Motherboard Sensors
Only the B550-E Gaming features a temperature sensor reading for the VRM.
We have seen in the past that ASUS has a reluctance to display VRM temperature readings on some of its motherboards. We think this is a bad decision for the B550-F Gaming (WiFi) as the board is high-end enough that many of its buyers will want to know that their VRM is being adequately cooled.
Overclocked Performance
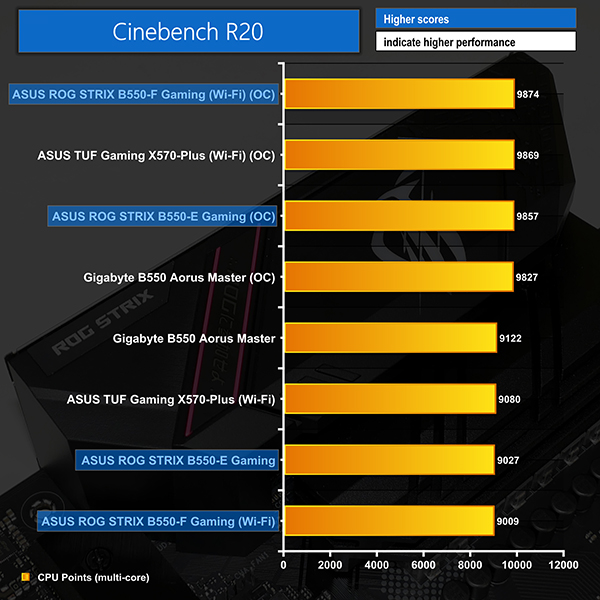
Both motherboards showed a good uptick in multi-threaded performance from our manual CPU overclock.
Of course, Precision Boost Overdrive is still a superior option for a better balance between single-threaded and multi-threaded clock speeds.
System Power Consumption
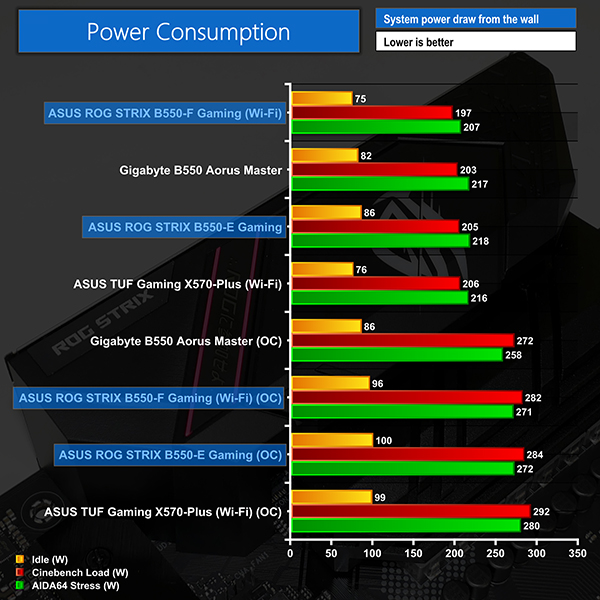
We leave the system to idle on the Windows 10 desktop for 10 minutes before taking a reading. For CPU load results we run AIDA64 CPU, FPU, and Cache stress tests and take a reading. The power consumption of our entire test system (at the wall) is shown in the chart.
ASUS’ stock voltage levels are clearly well optimised and efficient. We saw no signs of the CPU being misled into feeding more power than it should, which is a good thing.
Overclocked power draw numbers are also fine and highlight solid VRM performance. However, the clearer influence of Gigabyte’s loadline calibration settings, coupled with its better power delivery solution, helped our configuration to run at slightly lower power on the competing B550 Aorus Master.
Either way, both of ASUS’ board have a power delivery solution that is more than capable of handling even sensibly overclocked 16-core Ryzen chips.
System Temperatures
We run the AIDA64 CPU stress test for 1 hour while recording the system data using HWInfo. This data is then analysed to show the CPU temperatures and also the VRM temperatures.
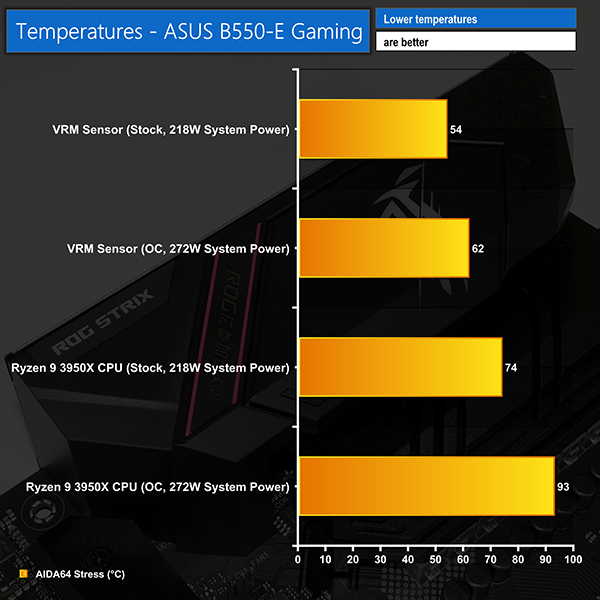
Sensible voltages helped the B550-E Gaming run at reasonable temperatures for the CPU and VRM.
Even with our 16-core chip pushed to 4.25GHz, the VRM showed no signs of struggling with the heat load. Our manual readings for the PCB temperature near the VRM components showed numbers around 3C lower than the sensor data, so that is the comparison you should use against the B550-F Gaming (WiFi).
The CPU did, however, creep a little closer to 95C than we would have liked. This is influenced by ASUS’ voltage delivery behaviour from its power delivery solution and loadline calibration settings.
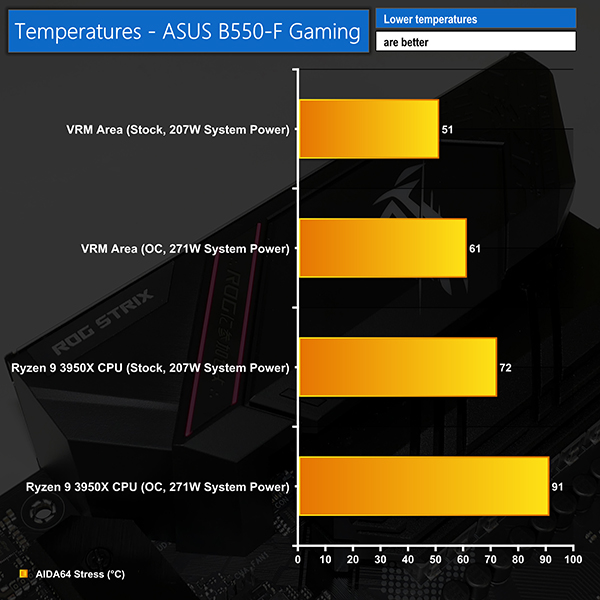
We took manual readings for the VRM temperature on the B550-F Gaming (WiFi) as it – annoyingly – does not feature a temperature sensor reading through HWiNFO64.
The VRM temperatures were excellent both at stock and overclocked levels. It is incredibly frustrating that ASUS does not display the VRM temperatures in software as there is clearly nothing negative to hide and only superb performance to display.
CPU temperatures were fine at stock and spiked a little over 90C when overclocked with the applied loadline calibration setting.
 KitGuru KitGuru.net – Tech News | Hardware News | Hardware Reviews | IOS | Mobile | Gaming | Graphics Cards
