Automatic CPU Overclocking:
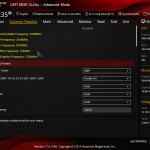
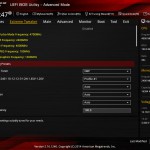
The simplicity of Asus' Easy Tuning wizard is very good. Pressing F11 and waiting a few moments is as much effort as it takes to register a 190MHz CPU frequency boost, as well as an increase in memory speed (this is particularly positive).
All voltage settings were left at ‘auto', allowing the motherboard to apply the levels it deemed fit.
Simplicity was great, but functionality was not completely positive. While the settings delivered by the M7I were perfectly stable with our test system, the core voltage was higher than I like to recommend for long-term usage, at around 1.35V.
This level may not damage a CPU over a reasonable lifetime, but it does force the use of a high-end CPU cooler with the hot-running Haswell Core i7.
Manual CPU Overclocking:
For the initial manual overclocking tests, we applied our typical range of CPU, cache, and input voltage levels. The Maximus VII Impact responded very badly to our settings, refusing to boot at more than 100MHz past the 4790K's 4.4GHz MCT frequency.
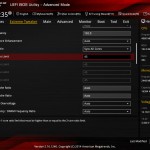
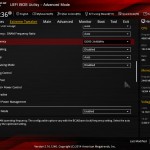
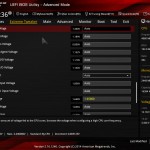
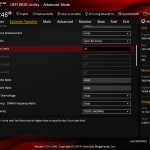
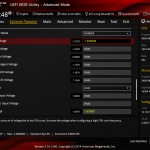
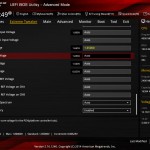
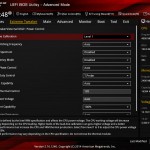
The solution was simple – let the motherboard be in control. We manually adjusted only the CPU VCore to a level of 1.30V and set the load-line calibration (LLC) to level 1. All other voltages were controlled by the motherboard (and monitored by us to ensure that reasonable levels were delivered).
A static multiplier of 47x was set to enable an all-core frequency of 4.7GHz.
The motherboard-set voltages for common overclocking parameters, such as cache and input, were a little lower than our usual manual settings. While this has its benefits in regards to heat output, we were careful to keep an eye out for any voltage-induced instability.
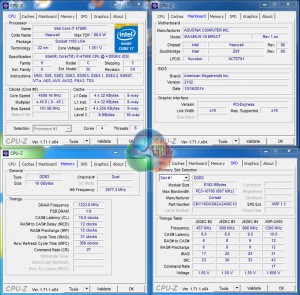
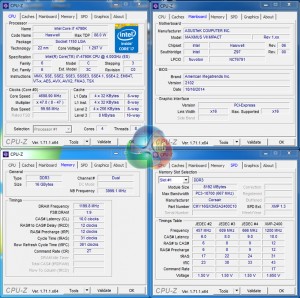
Our best overclocking result was our chip's frequency limit of 4.7GHz at 1.3V. The simplicity of Asus' UEFI, and its well-tuned automated voltage levels, make manual overclocking with the Maximus VII Impact a simple task.
The validation can be viewed here.
 KitGuru KitGuru.net – Tech News | Hardware News | Hardware Reviews | IOS | Mobile | Gaming | Graphics Cards


