ASRock maintains the same UEFI design that we have seen from its motherboards dating back to X370 and older. This is not a bad thing as ASRock's implementation is clear, well laid out, and has enough features for most users.
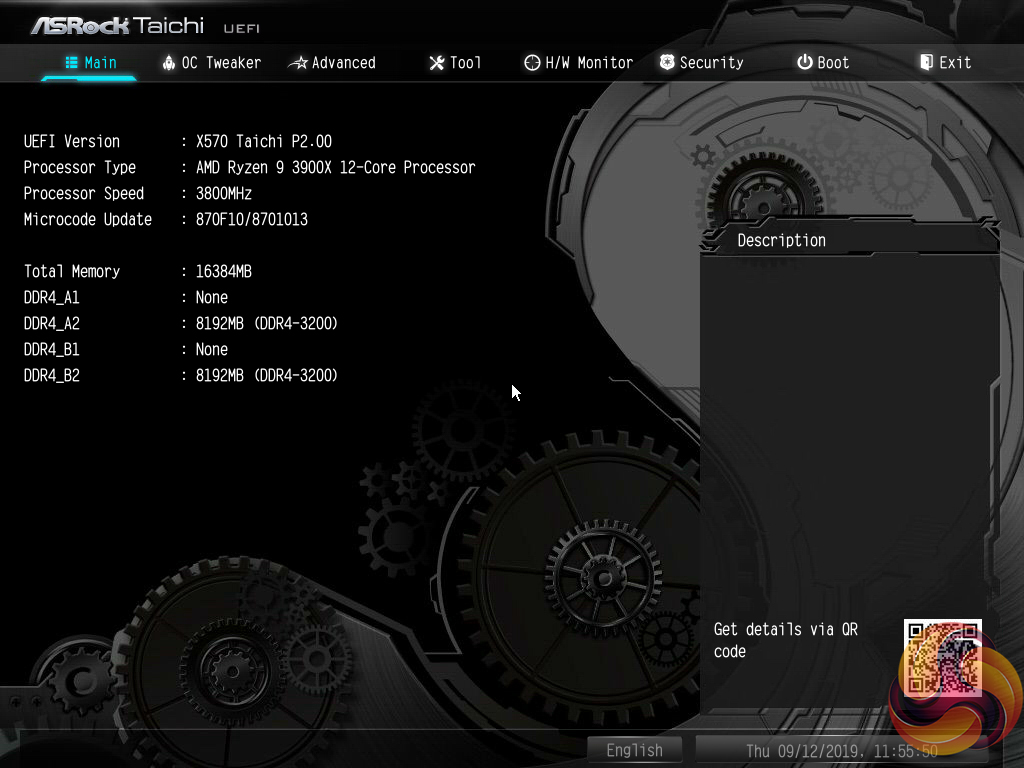
The Main page for ASRock’s UEFI outlines primary information relating to the system and motherboard. We noticed that ASRock does not include an Easy Mode section on the BIOS version that we tested with. This is disappointing given the separate section’s ability to present less-experienced BIOS-dwellers with simple options that are unlikely to cause instability.
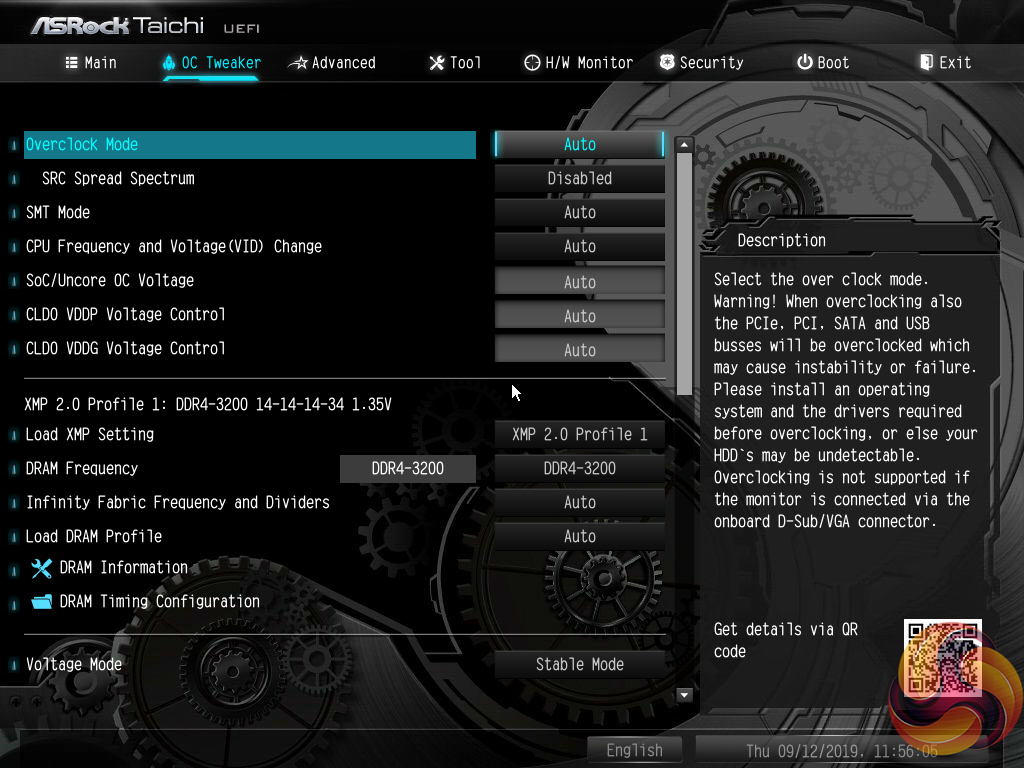
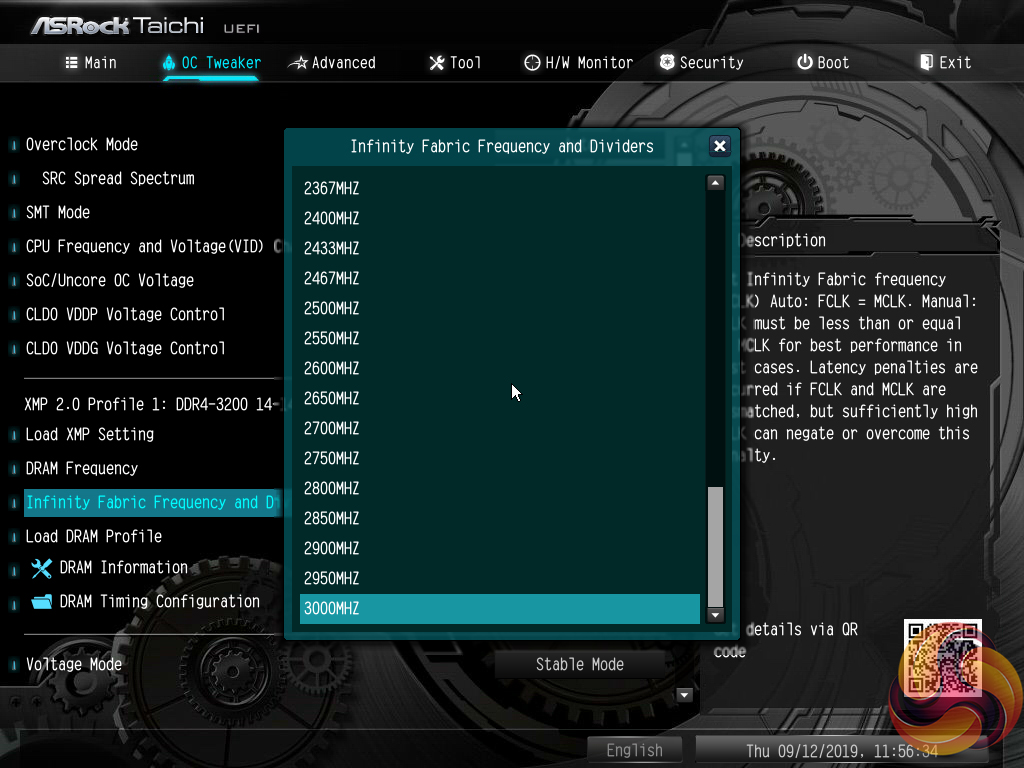
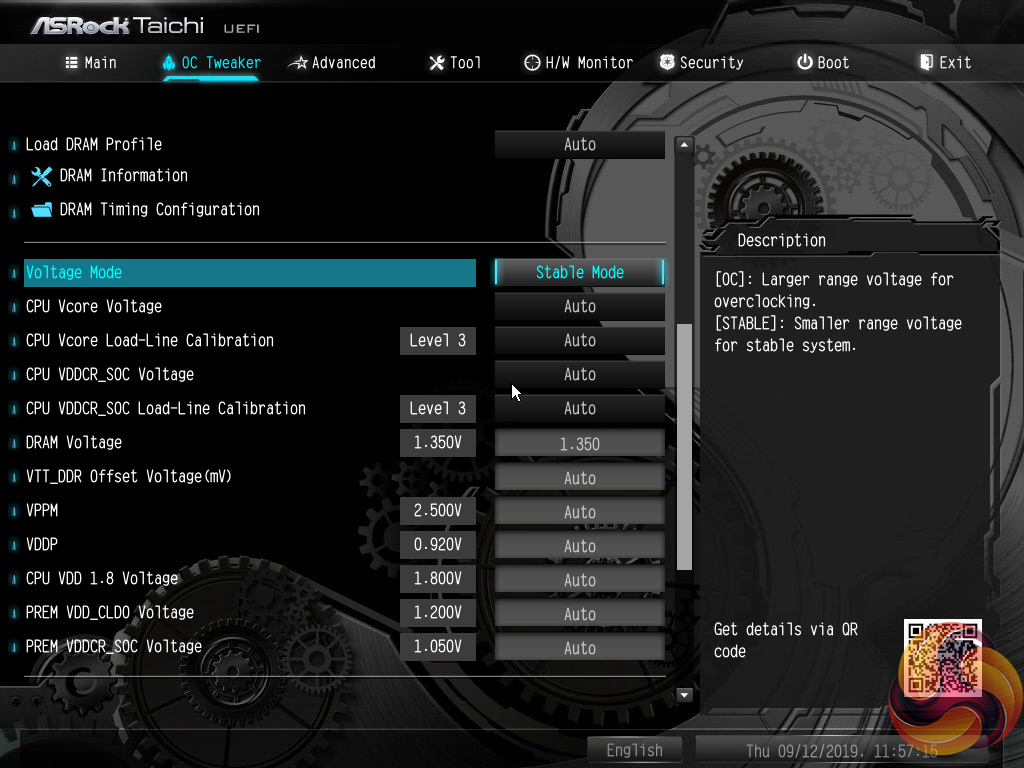
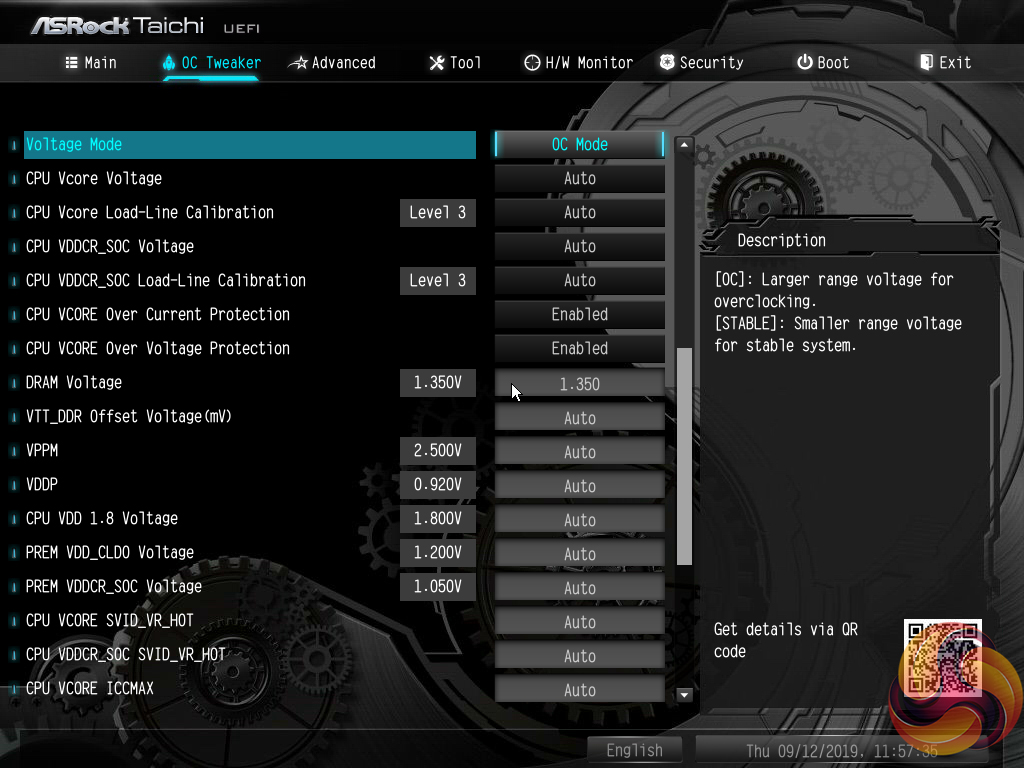

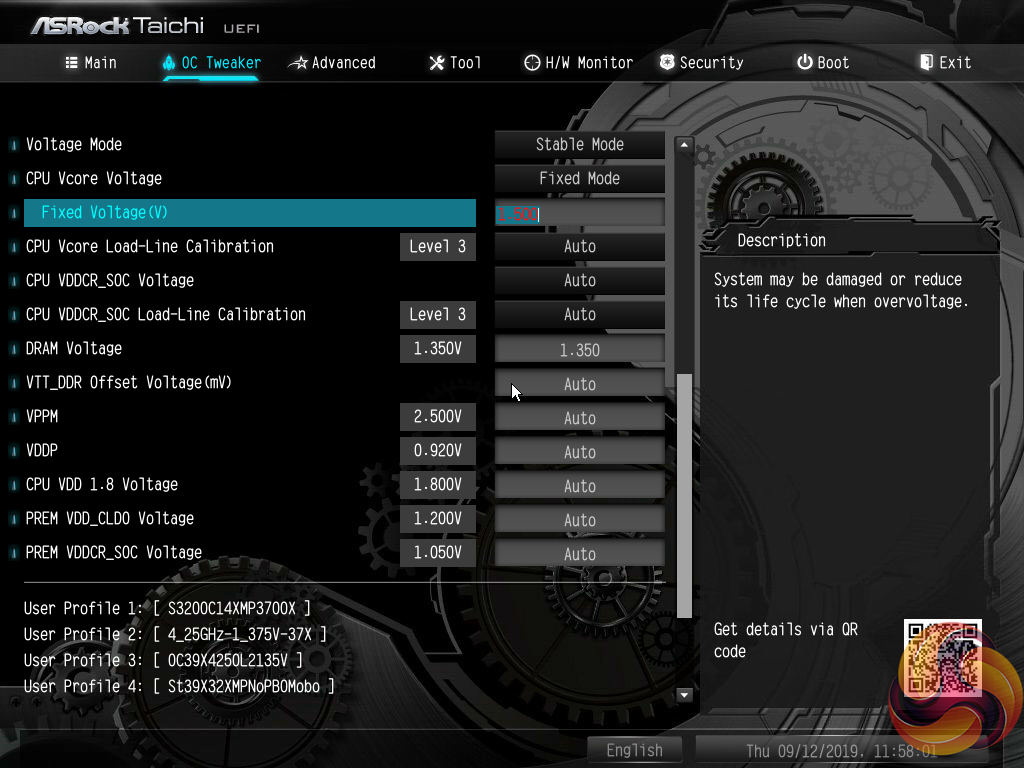
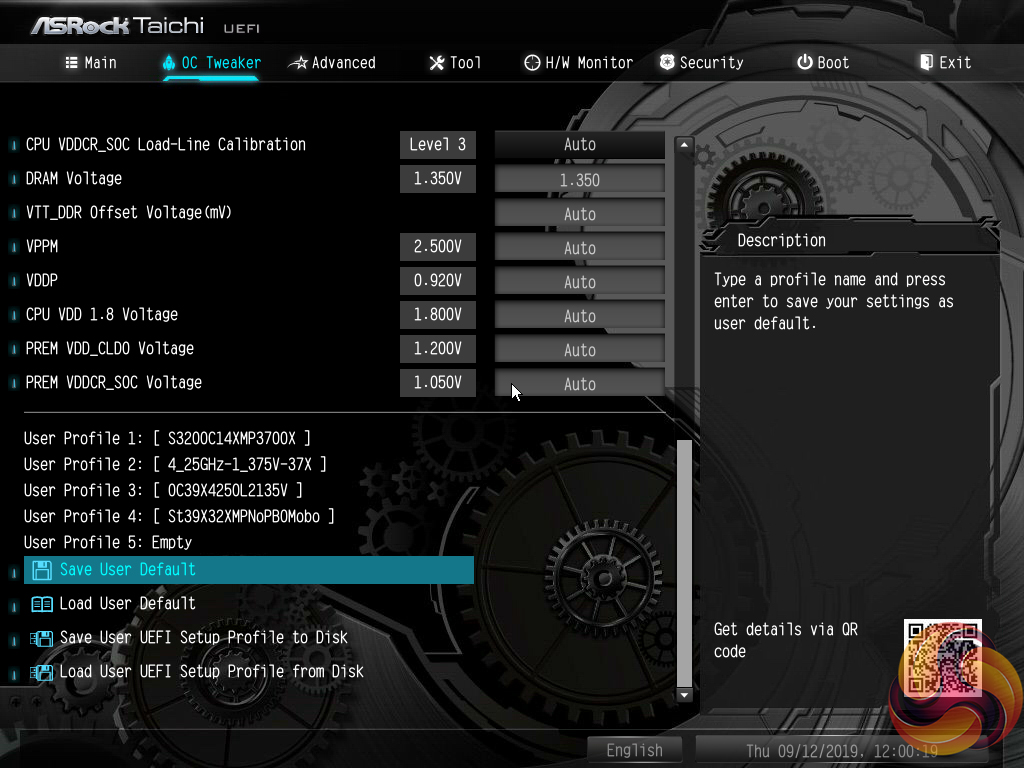
The heart of the performance tuning is the OC Tweaker section within which ASRock splits off the adjustment options into CPU, DRAM, and Voltage to aid ease of navigation.
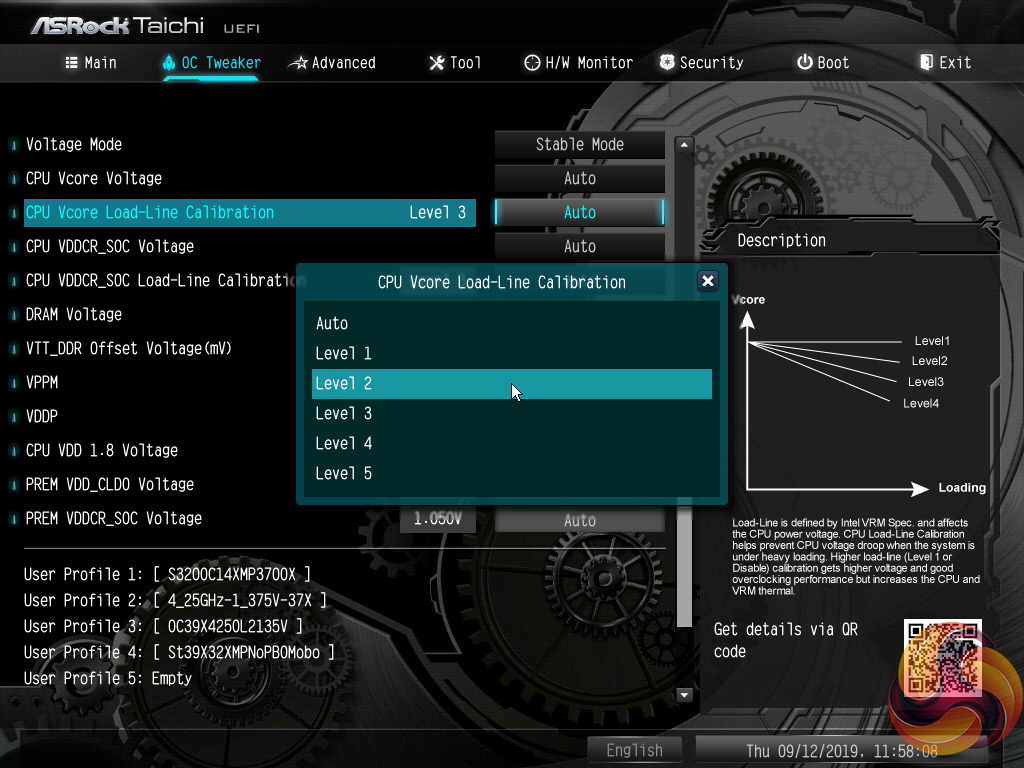
The OC Tweaker section is good in terms of the options and granularity the user has to tune their hardware. The voltage number input seems to be uses a switch to red text when voltage levels that are high and risky have been entered. ASRock’s system for allowing a user to manage loadline calibration is very good as the options are clearly displayed using a graph.
Five save profiles is perhaps cutting it a little fine for enthusiasts. However, there is the ability to transfer the profiles via USB. We also noticed that the saved settings stayed in place following a BIOS update, which is handy.
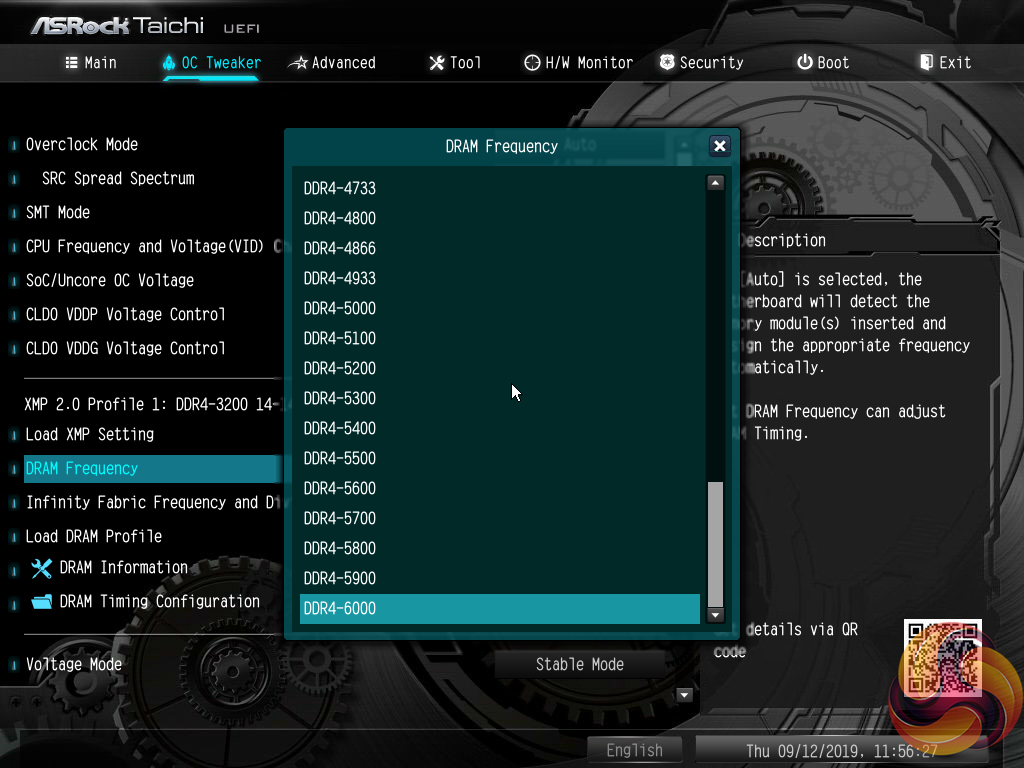
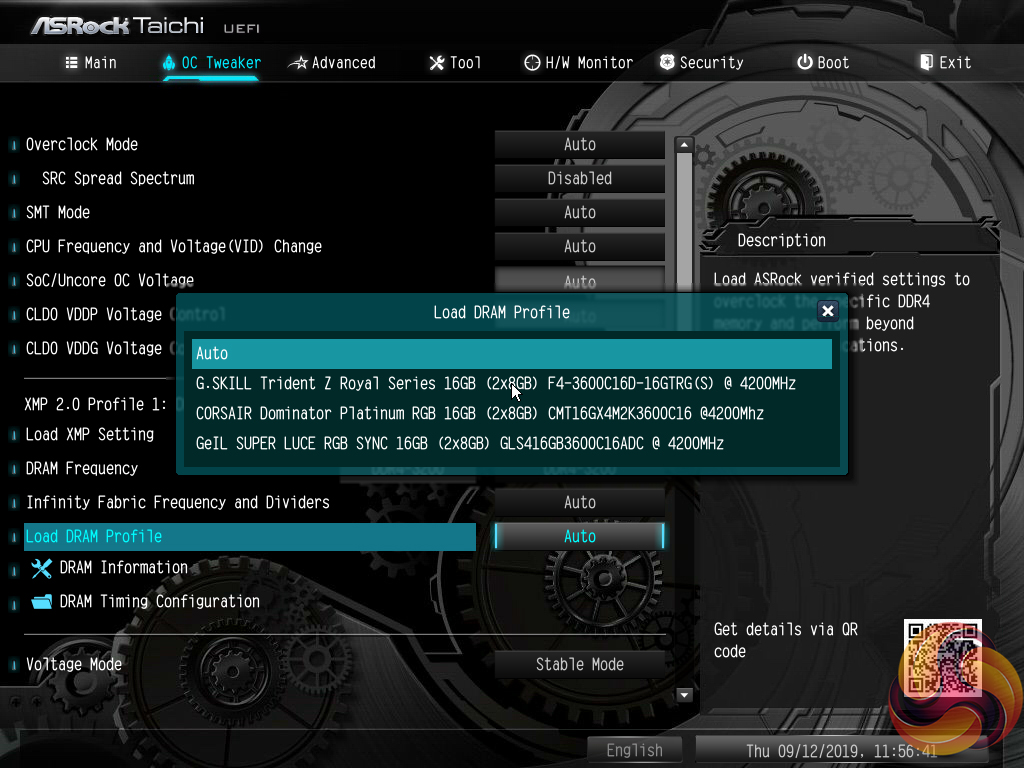
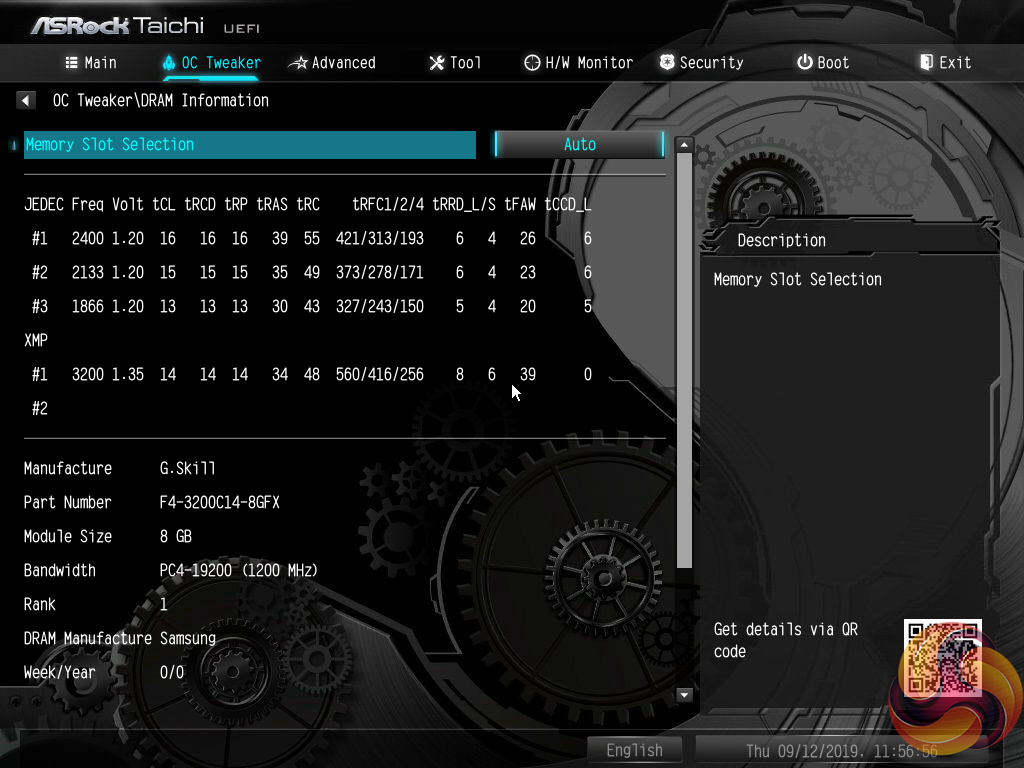
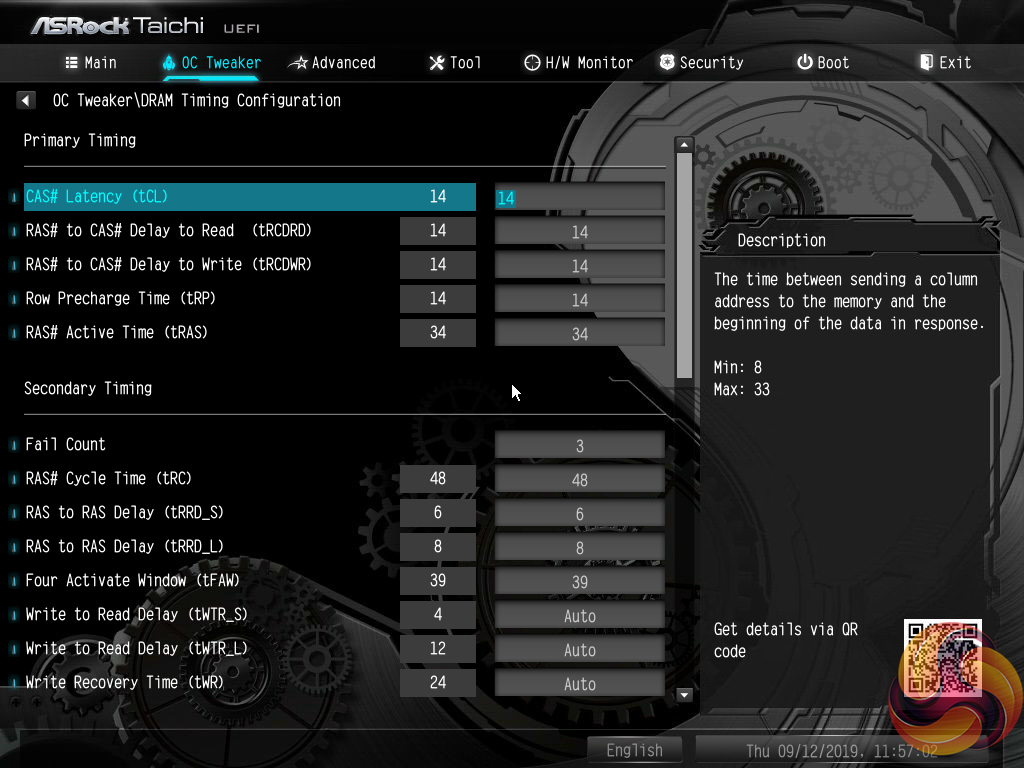
Plenty of memory-related settings are available, including dividers for extremely high frequencies and overclocked presets for specific kits.
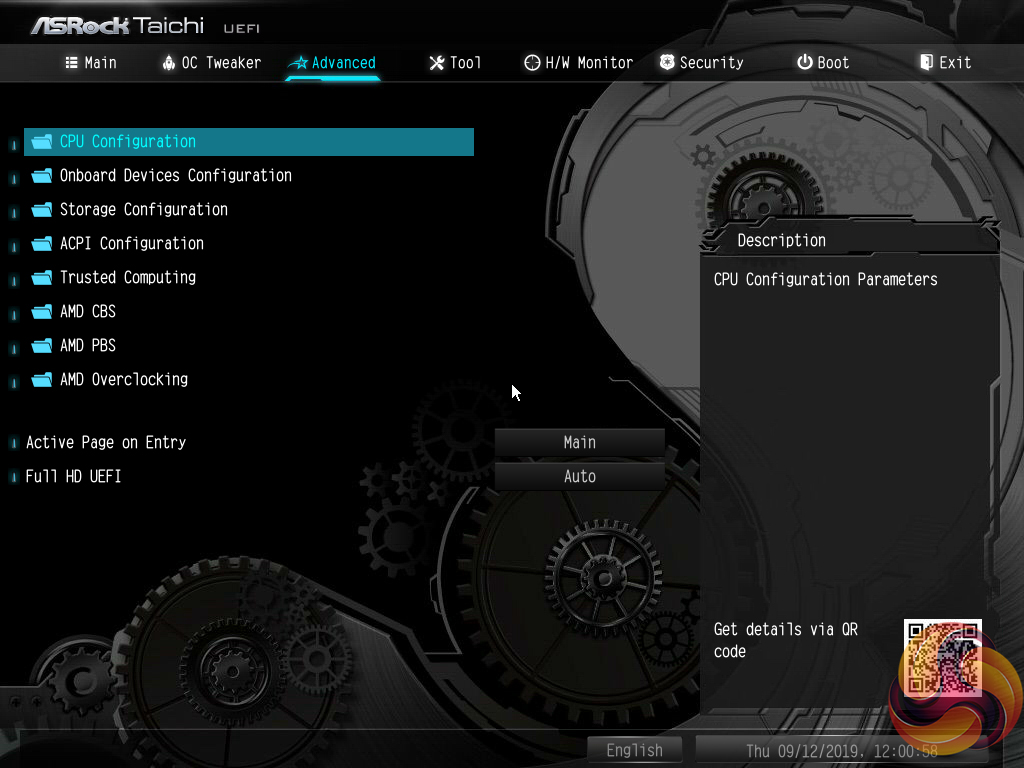
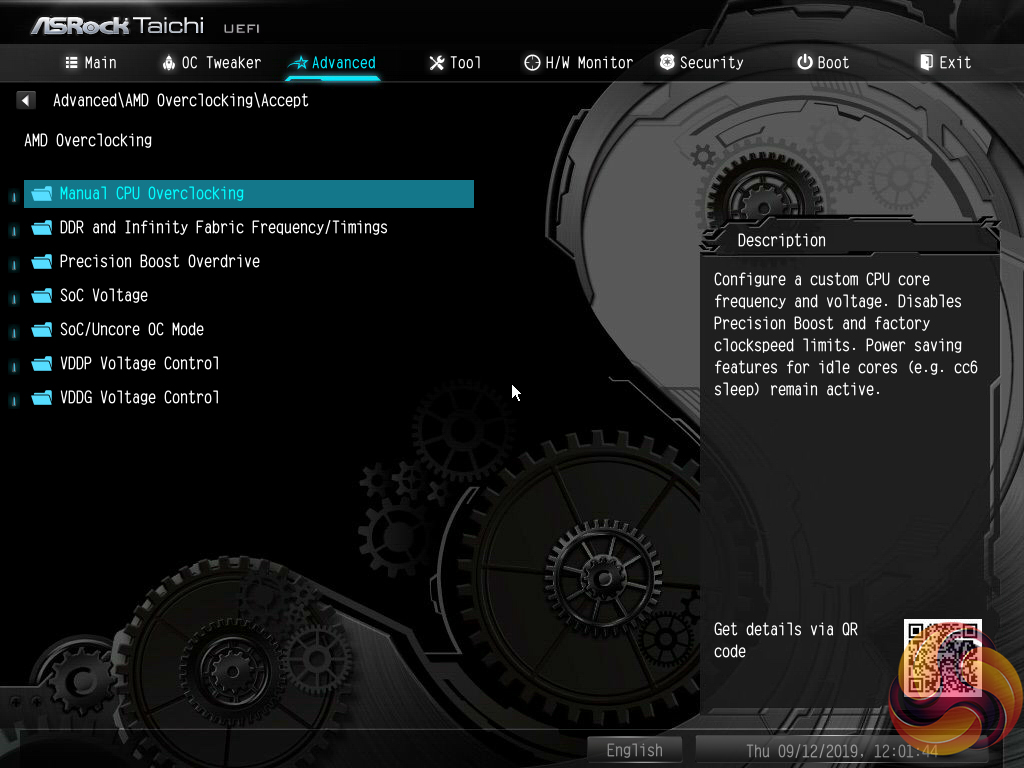

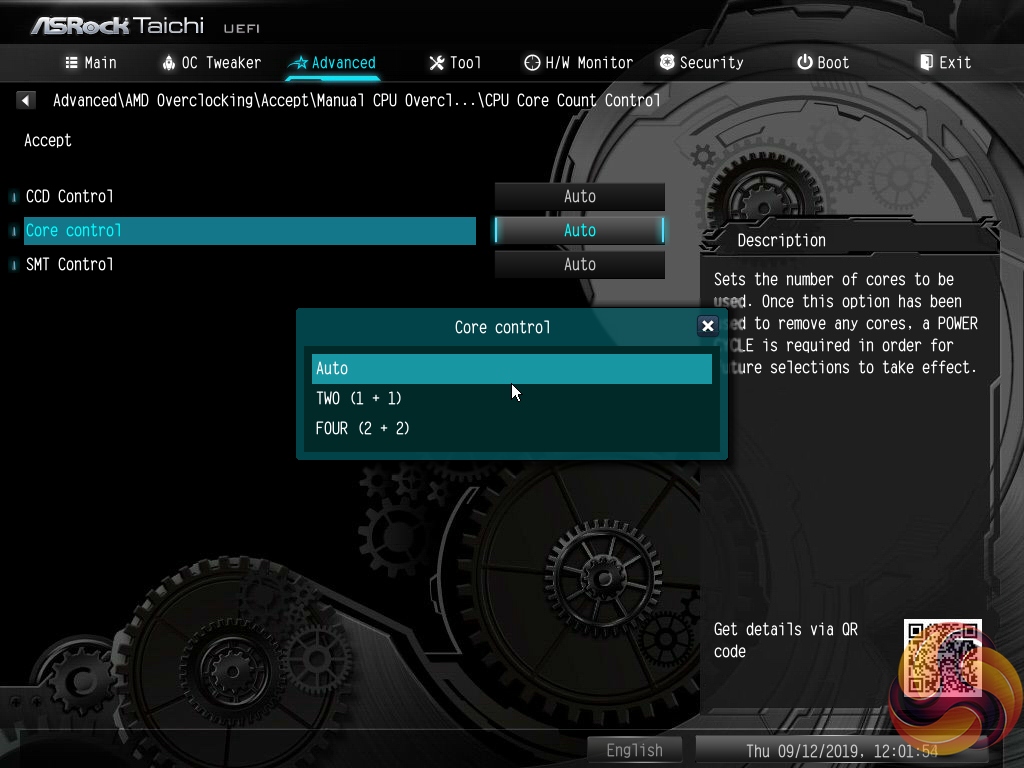
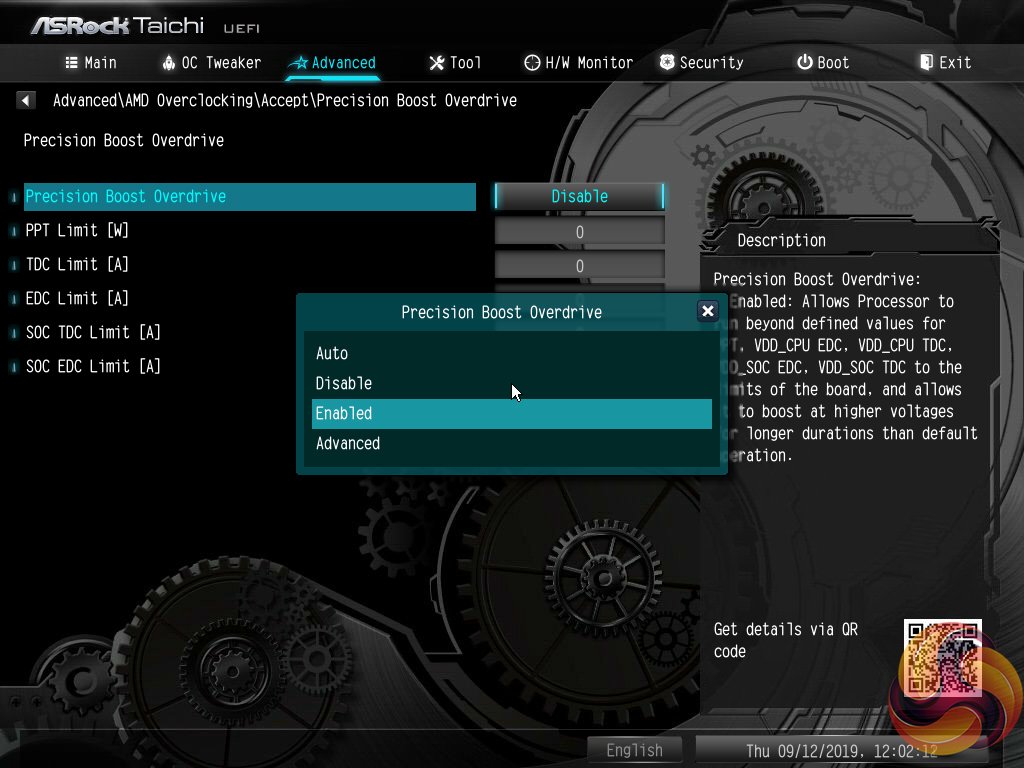

Settings more closely tied to the AMD CPU operation are found within the Advanced section. Settings such as CCD and core operations can be adjusted. There is also access to the Precision Boost Overdrive settings.
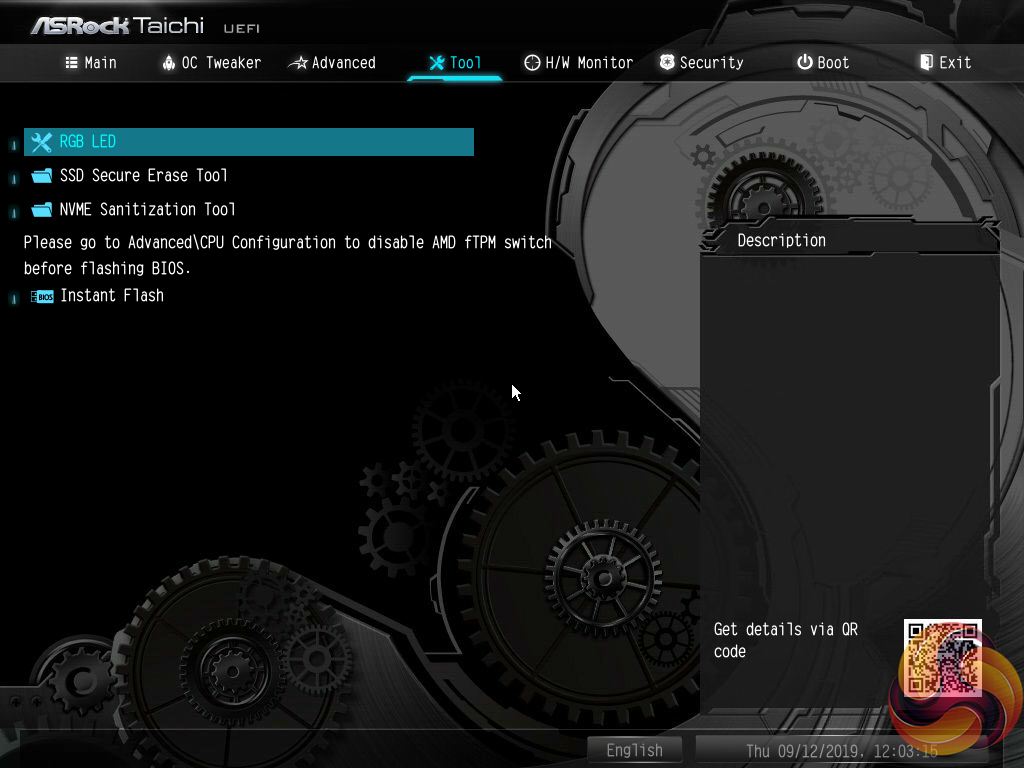
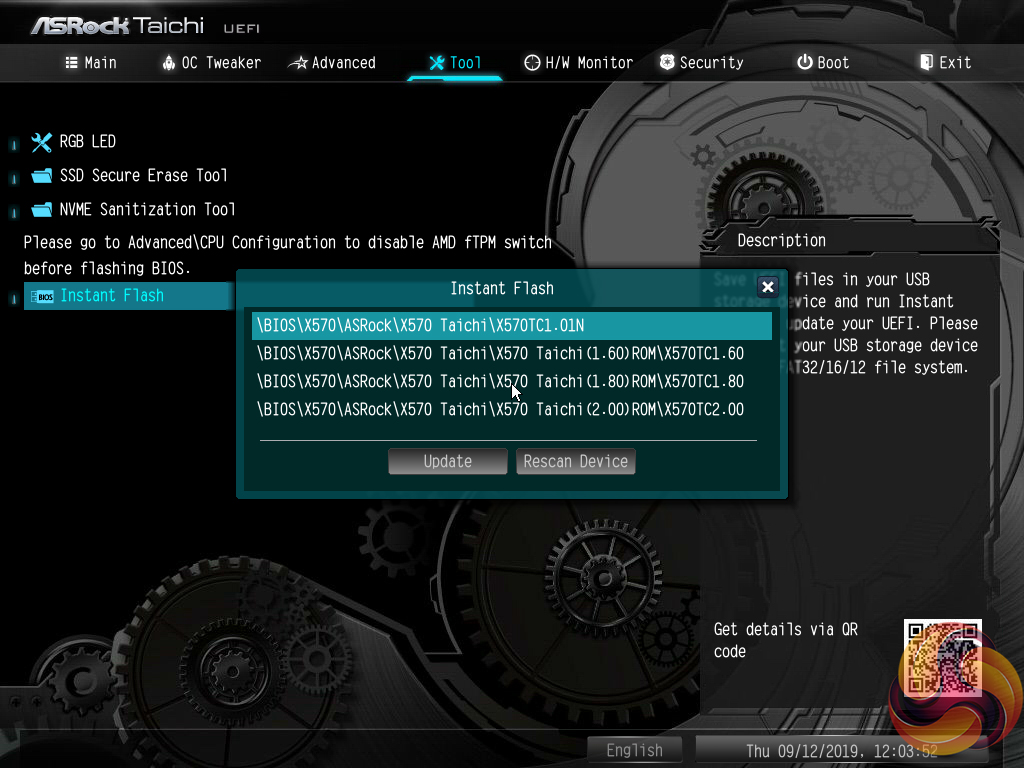
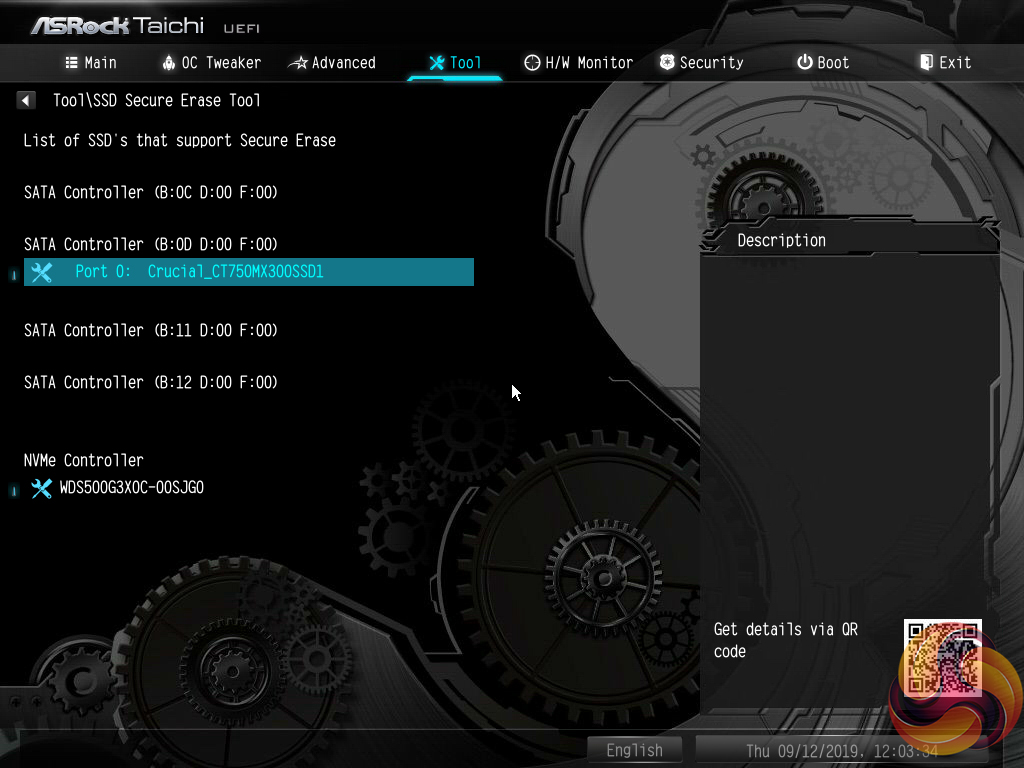
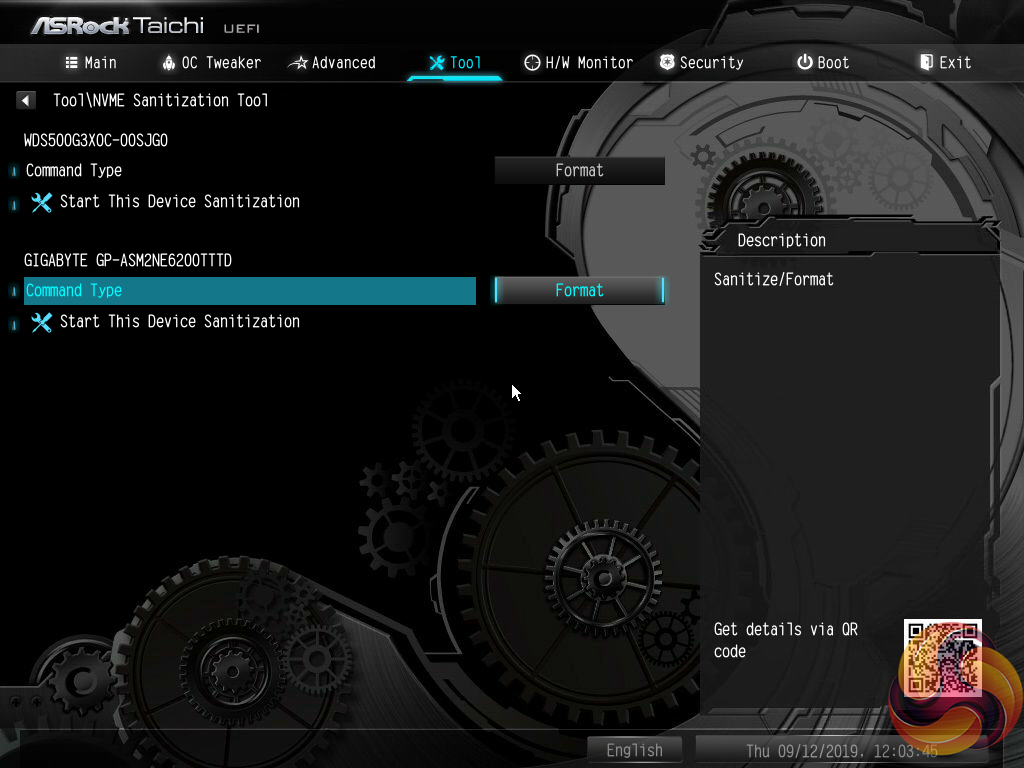
The Tools section holds a number of handy utilities such as Instant Flash for updating the UEFI (including via the internet), a driver installer, and an option for managing the RGB LEDs.
Instant Flash automatically scans a connected USB flash drive, rather than prompting a user to navigate through the folders to a BIOS file. There’s nothing wrong with this approach as the motherboard is able to find the BIOS update file itself. However, if your USB drive contains a large amount of data, the time taken to find the relevant BIOS file will be long.
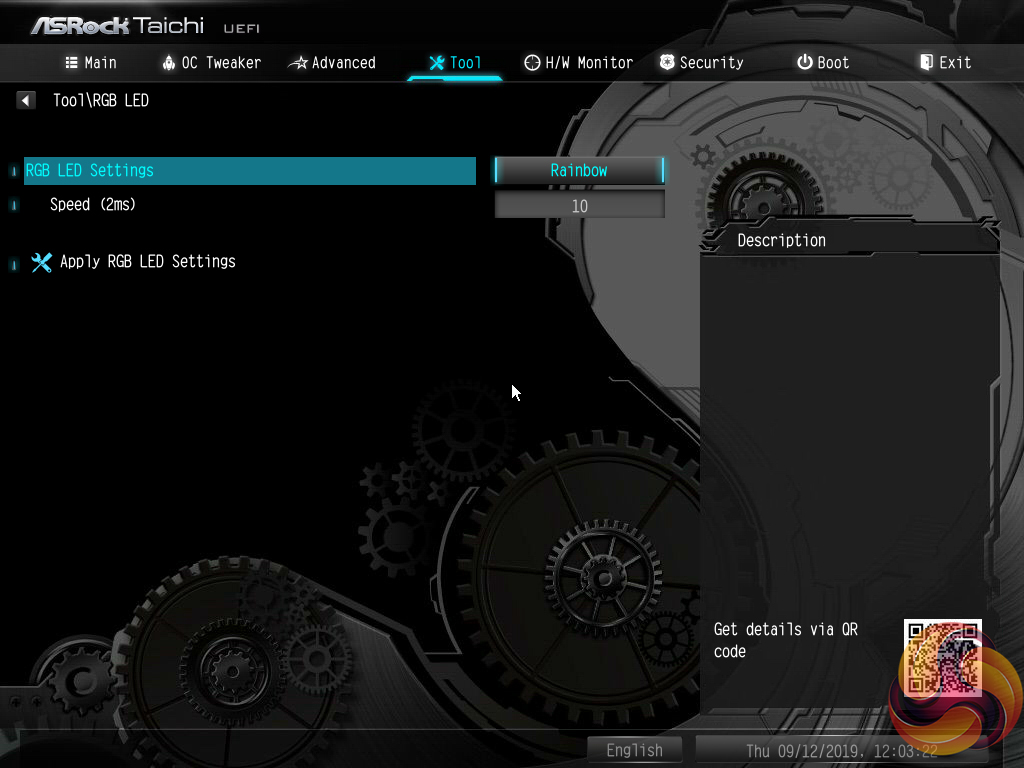
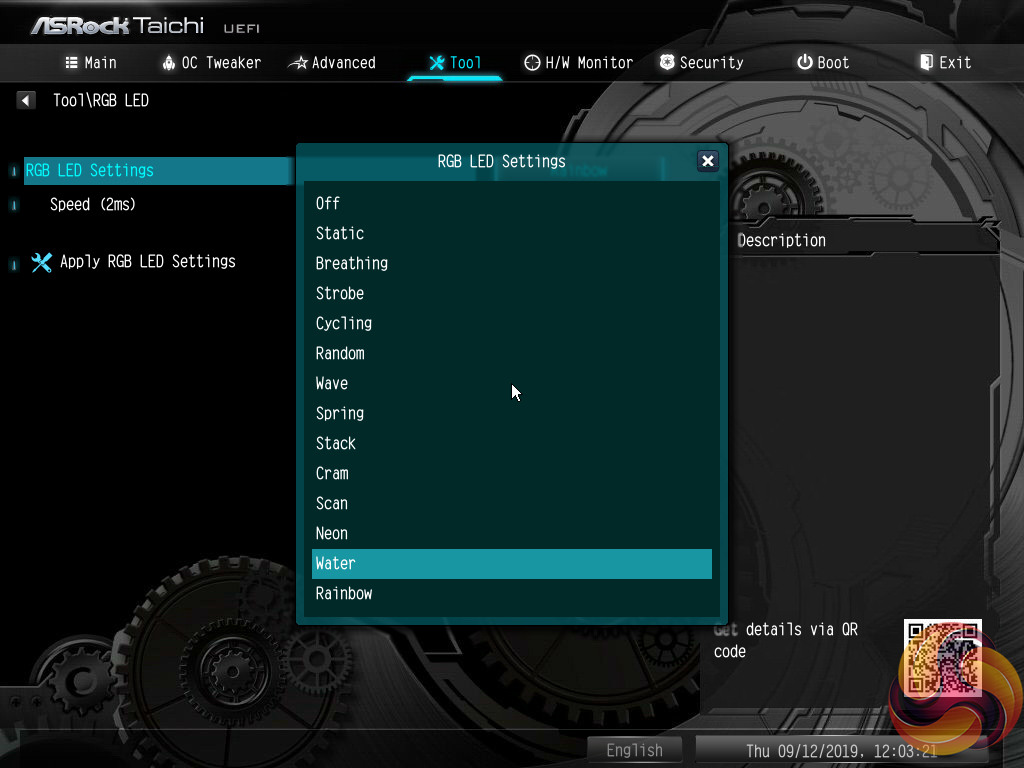
I particularly like ASRock's inclusion of a UEFI-based RGB LED control tool, especially when competing vendors do not provide such an offering. The ability to control one's LEDs within the UEFI is useful as it removes the necessity to install OS-based software that can sometime be badly optimised and hog system resources. Additionally, the UEFI-based control protects settings against Windows crashes or fresh OS installs.
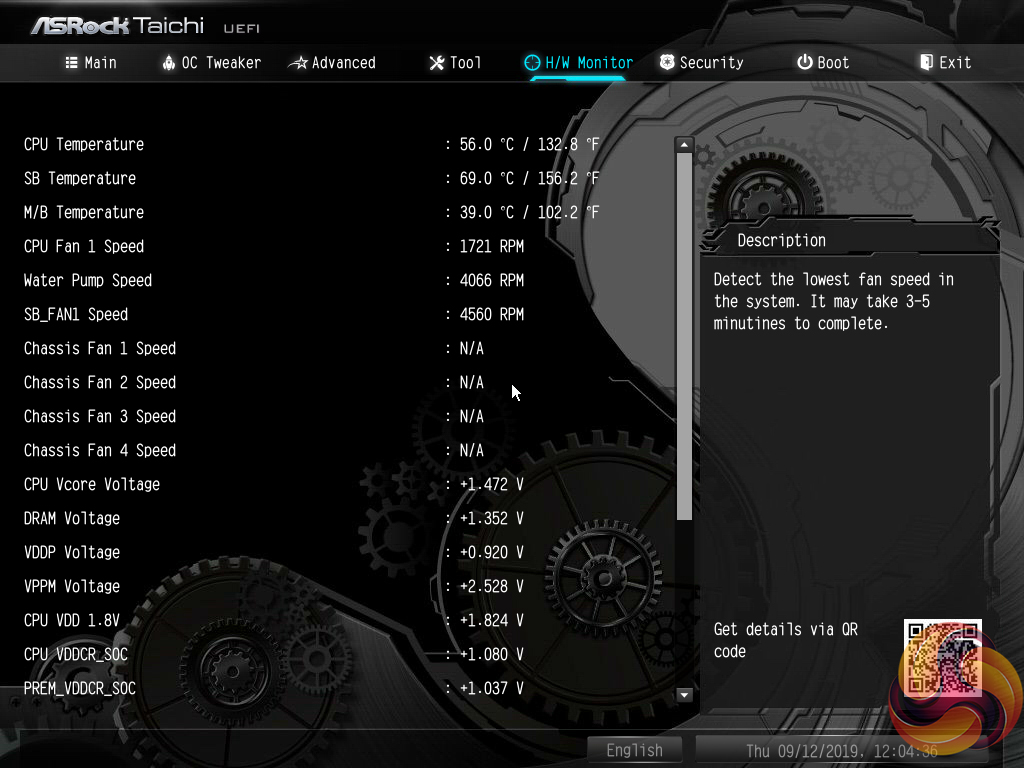


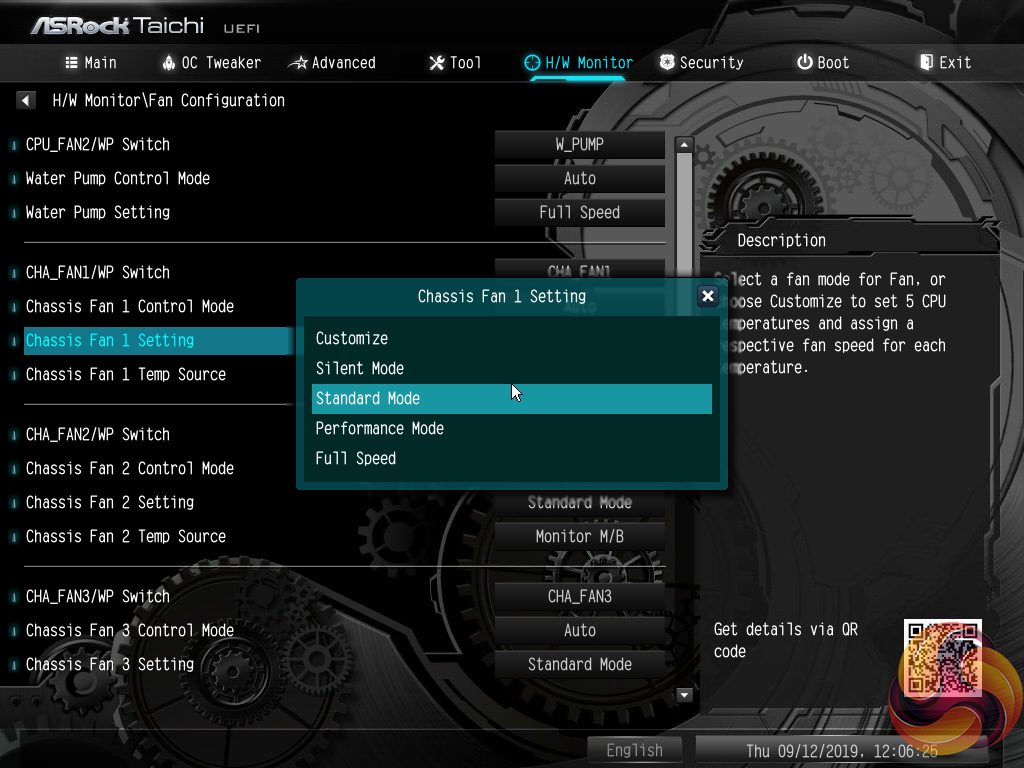
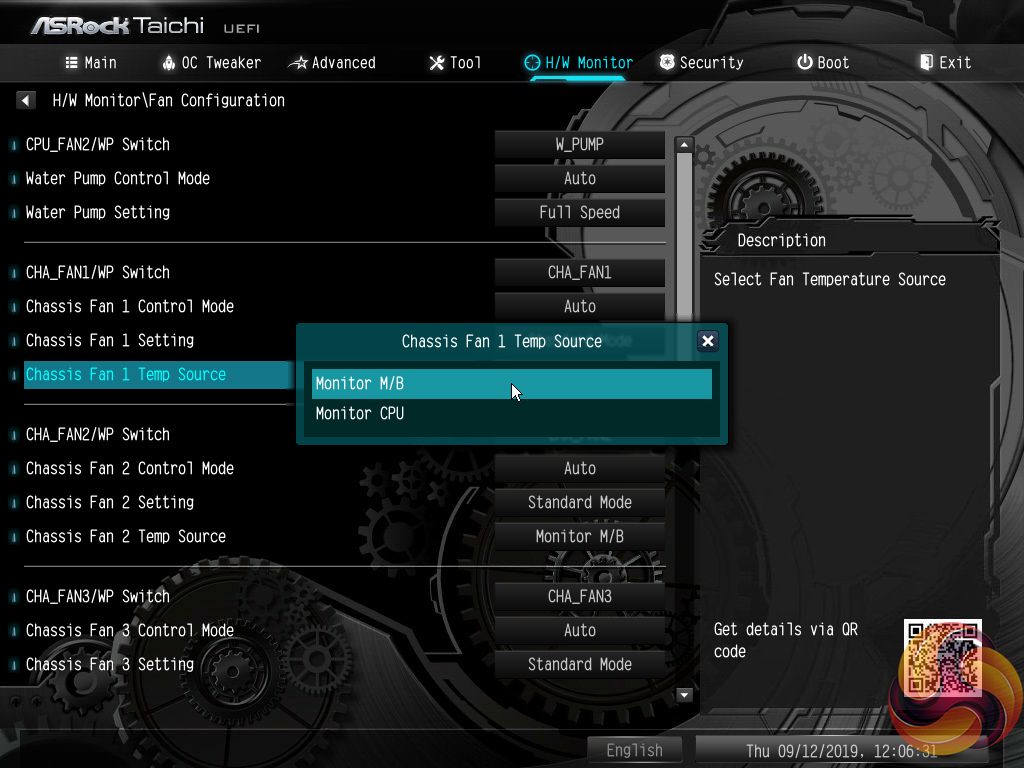
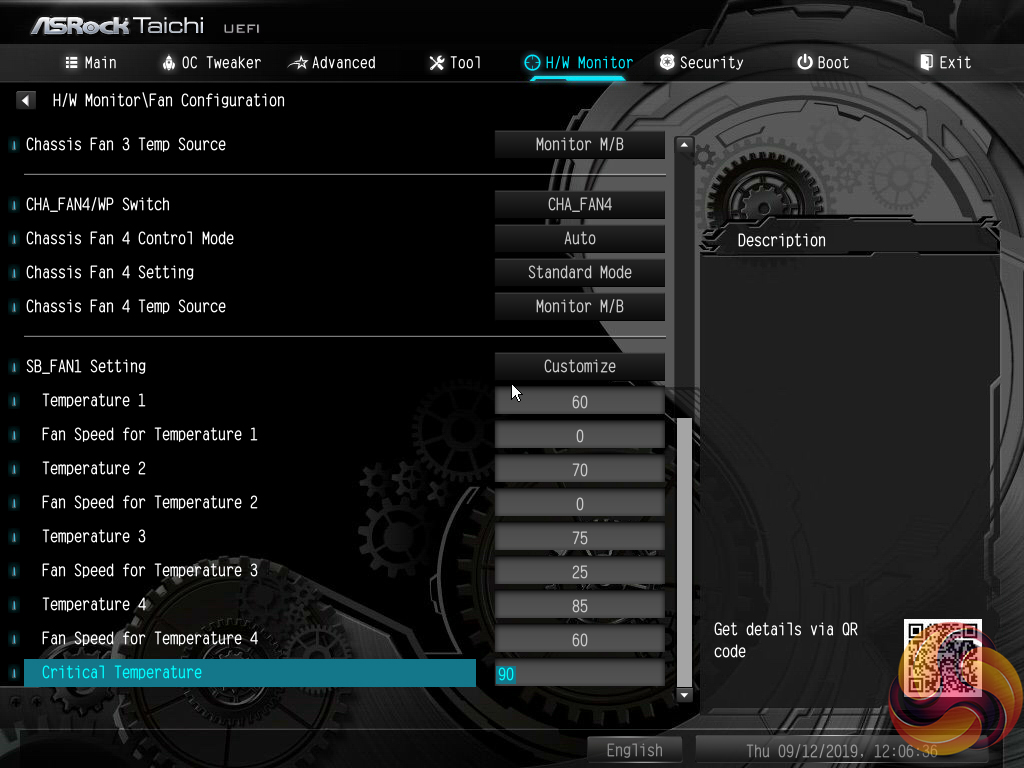
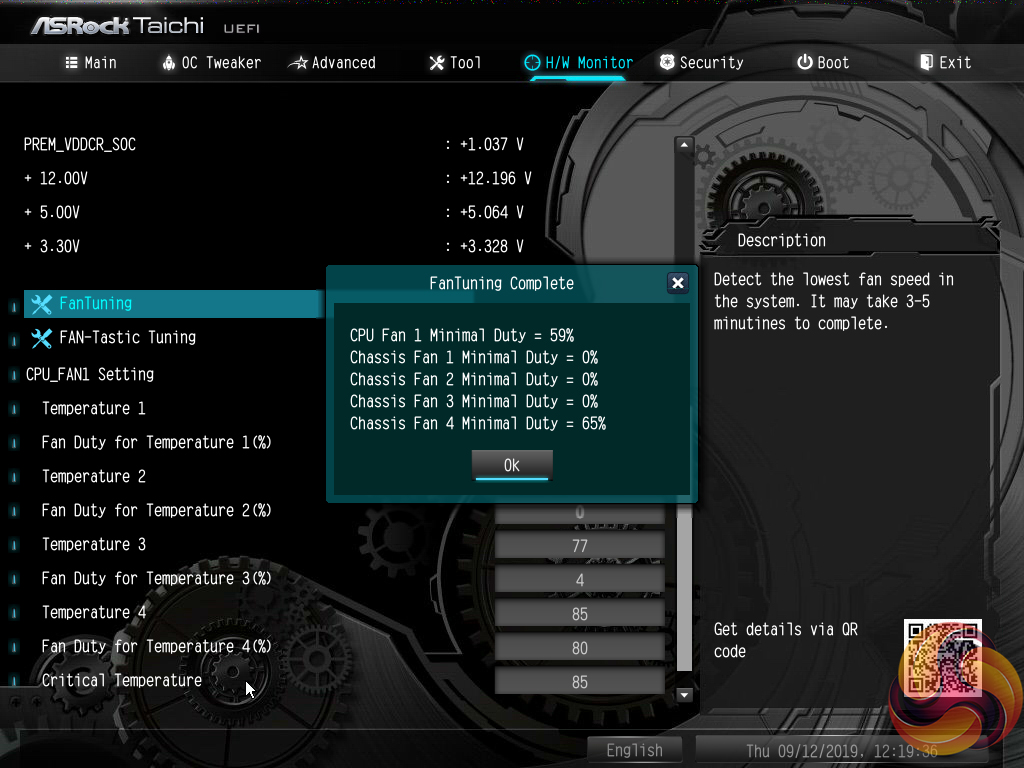
H/W Monitor contains fan controls and a number of temperature and voltage readouts for monitoring. The fan options are plentiful with a variety of fan speed profiles but only CPU and motherboard temperature reading options. A user can set a well-tuned fan speed curve simply by opting for numerical inputs.
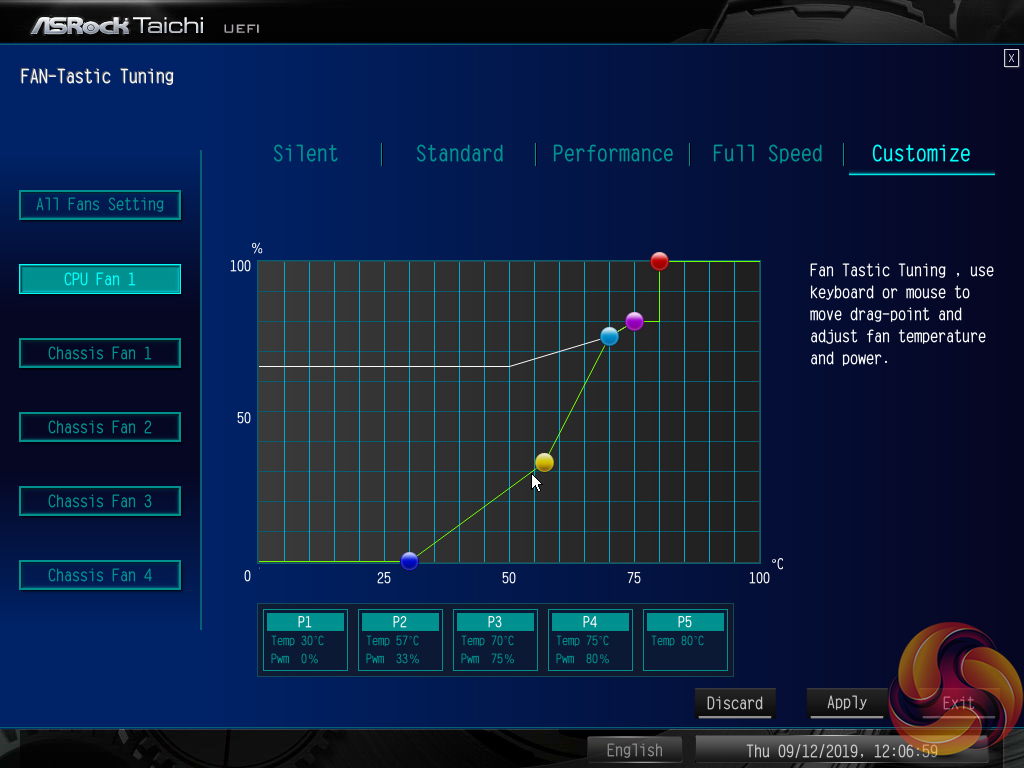
ASRock’s FanTuning utility automatically detects a number of minimum fan speed levels for the connected units. This can be useful when optimising fan speed curves to output as little noise as possible, while ensuring that the fans still rotate. The FAN-Tastic Tuning utility provides a graphical approach for managing fan speeds that is well built. The 5-point curve can be set to run fan speed levels as low as 0% at 30°C and the adjusted parameters update on connected fans in real time, which is ideal for tuning the system to one’s own preference.
There are no hysteresis options (time delays between fan speed changes) that are available on some competing motherboards, which is disappointing.
It is good to see included presets for the chipset fan and the same granular level of controllability. However, the presets did not force the fan speed below 3000 RPM in our testing. Setting a manual curve showed that the chipset fan likes to spin at around 1000 RPM at the minimum range. Temperatures at a rotational speed this low, however, are sub-par.