The UEFI BIOS had no problems working with either of the generic USB mice or keyboards we used.
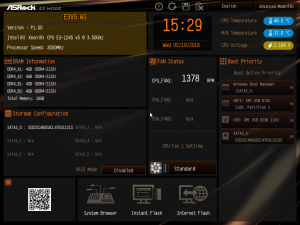
There are two modes, EZ and Advanced, with the EZ Mode giving you a single-page readout of all the most important settings, plus a few options you can change, such as dragging and dropping the drive boot order or setting the CPU fan speed.
Scanning the QR code takes you straight to the full manual online, which has much more information than the one included in the box.
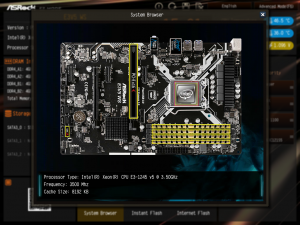
A really nice feature is the System Browser, where you can see which components are installed pictorially on an interactive photo of the motherboard itself, which could be handy if you need to work out which stick of RAM isn't being detected properly.
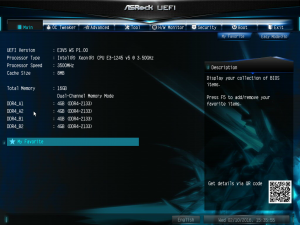
The main Advanced screen just gives you a readout of the processor and memory you have installed.
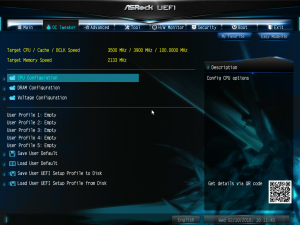
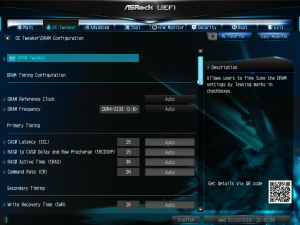
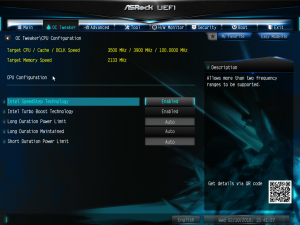
The OC Tweaker page provides overclocking options, although this will depend on the hardware you have installed. You can configure the CPU, DRAM and voltages here.
There are loads of DRAM options, but the CPU options were limited to turning processor features off and on with the Xeon we were using. From experience with ASRock's UEFI OC Tweaker in the past, there should be plenty of CPU features to play with here if you have, for example, an Intel Core i7-6700K installed.
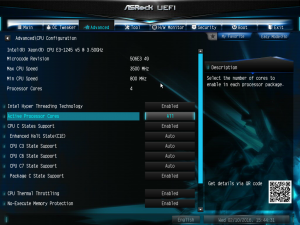
The Advanced screen is where you find the majority of everyday settings, including for the CPU, chipset, storage, Super IO, ACPI and USB.
The extra CPU settings in the Advanced section include turning Hyper-Threading off or on, selecting the number of cores to enable, and a variety of other processor-related options.
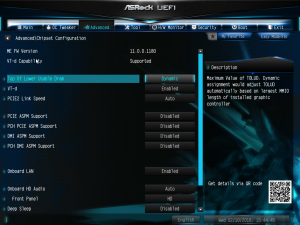
The chipset configuration provides PCI Express configuration options, and the ability to enable the LAN connections as well as the audio chipset. You can also choose whether the front panel audio behaves as HD or AC97.
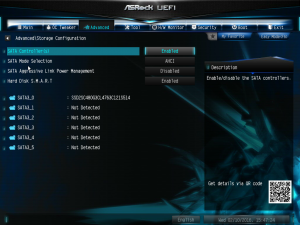
The Storage section lets you configure the Intel SATA chipset, and also which mode each detected storage device will operate in.
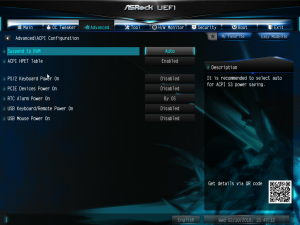
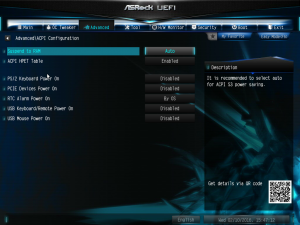
The ACPI section controls how the system responds to sleep modes, USB lets you switch between various USB modes. If you have a TPM chip installed, there will be an entry here for this as well. We didn't, so there wasn't.
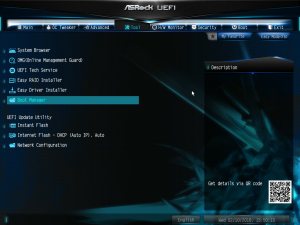
There are lots of sundry extras to be found in the Tools section, including the aforementioned System Browser, and facilities to flash the BIOS, including over the Internet.
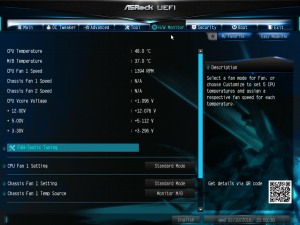
The usual array of hardware health readings can be found in the H/W Monitor section.
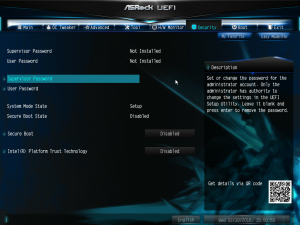
Configure passwords and secure boot options under Security.
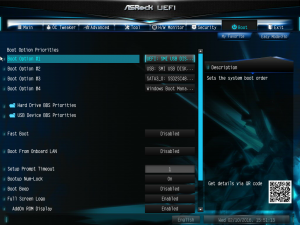
Lots of startup options can be found under Boot, including the extremely handy booting from USB, which can make OS installation exceedingly rapid.
 KitGuru KitGuru.net – Tech News | Hardware News | Hardware Reviews | IOS | Mobile | Gaming | Graphics Cards


