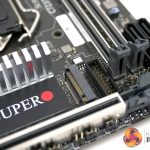
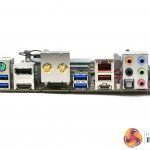
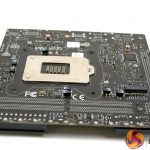
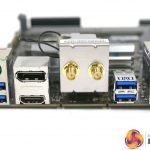
With the SuperO C7Z370-CG-IW sat on the table there is no evidence we are looking at a gaming motherboard. The I/O panel has HDMI 2.0 and DisplayPort 1.2 ports and the arrangement of the Wi-Fi antennae suggests the board should be placed horizontally, which looks rather like an HTPC set-up.
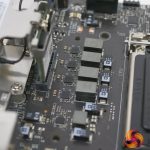
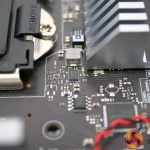
On the other hand if you look at the hardware you can feel the influence of the workstation DNA. The board uses 4+2 power phases with an aluminium heat sink on the Vcore VRMs while the two VRMs for the chipset and iGPU are bare. Those VRMs are made by Monolithic Power Systems with an MPS MP2955V digital controller and six MP86908 50A power stages. The aluminium heat sinks on the VRMs and the chipset look attractive, have a decent amount of surface area and are screwed in place.
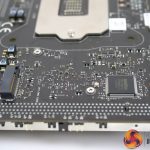
The PCI Express 3.0 graphics slot and two DDR4 slots are reinforced with metal and appear to be solid. If you were looking to pick fault you might note that the two M.2 slots (one on either side of the board) are uncovered and make no attempt to cool your SSDs.
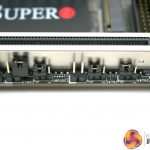
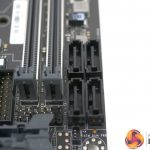
Installing the SuperO C7Z370-CG-IW is easy enough until you reach the point where you connect the front panel headers as Supermicro has used its own novel configuration and has not marked the pins. Once you figure out which header is which the next stage is simple enough. Below the PCIe slot there is a row of headers that you can leave untouched but if you feel the need to dabble with the more esoteric features of the motherboard you will:
a) Want to have the user manual in one hand.
b) Be well advised to make changes before you install the graphics card as you cannot even see the jumpers and headers once the GPU is in place.
Set-up and configuration
When you start up the PC you will finally behold the only sign that this is a gaming motherboard as there are 12 Customisable RGB LEDs on the back of the board in a 3×4 configuration. Once you have Windows running and have installed the SuperO Booster Utility you will be able to control those LEDs along with the 12V RGB header. As we show in our video the SuperO Booster Utility effectively mimics the BIOS and offers a good degree of control of your settings from within Windows, as well as allowing you to play with the RGB lighting.
The BIOS set-up works perfectly well although we came across a couple of snags as well as a point that might either be a problem or a feature, depending on your point of view.
Let’s take the snags first. Initially the XMP setting did not work correctly with our G.Skill SniperX 16GB DDR4-3600MHz and set the memory at 3333MHz. After we had finished our video SuperO sent through a revised BIOS (still numbered v1.2) that fixed XMP so as we said in the video it was an issue but not a problem. Then we have the modest overclocking where our Core i7-8700K was happy using the 4.8GHz preset but not 5.0GHz. The BIOS offers a range from 4.0GHz to 5.5GHz in 100MHz steps, which seems rather ambitious. Our CPU is certainly capable of 5.0GHz however the CPU was running at 90 degrees C under load at 4.8GHz so once again we have to point the finger at the BIOS settings.
The other issue was the power limit that is set by default in the BIOS at 95W. This is the official TDP rating for the Core i7-8700K however TDP relates to base clock speed, rather than maximum Turbo speed so it is a safe assumption that a Core i7-8700K requires more than 90W to perform to full effect, even at stock clock speeds. With the 95W default setting the CPU initially Turbos to 4.3GHz on all cores but drops to 4.1GHz or 4.0GHz when running Blender. HWMonitor reports the CPU power draw is exactly 95W for the CPU package.
We changed the setting in the BIOS from 90W to 135W and found the CPU actually draws 115W, at which point it was happy to run at 4.3GHz on all cores.
Initially we found this artificial power limit frustrating as the Turbo speed of the CPU was restricted. SuperO’s view is that anyone with a K series CPU will surely be overclocking manually so it follows they will adjust this setting as they see fit. A handful of KitGuru readers also responded favourably in their comments on YouTube, which has given us pause for thought. In an ideal world Intel (and AMD) would designate the TDP of their CPUs accurately but in the meantime you need to be aware this might be a problem.
 KitGuru KitGuru.net – Tech News | Hardware News | Hardware Reviews | IOS | Mobile | Gaming | Graphics Cards

