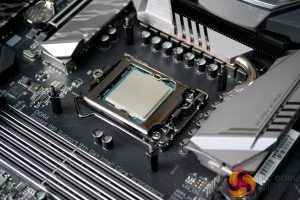
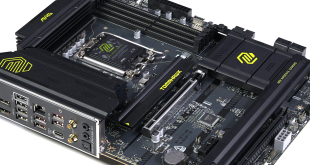
Our CPU cooler test system is Intel Z390 based, therefore, we will be following the relevant Intel 115X socket installation procedure.
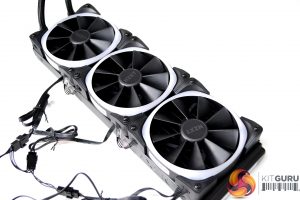
We begin the process by using the long black screws and washers and installing the fans to the radiator in a push airflow configuration, you may want to delay this step until later when you decide on the position and orientation of the radiator inside your case.
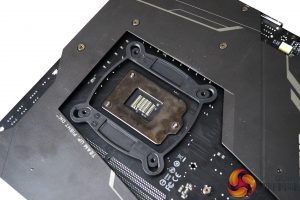
Next, align the universal backplate with the mounting holes on the motherboard, flip the motherboard back over and using the standoff specific to your system, fasten the backplate in position.
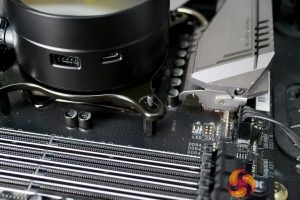
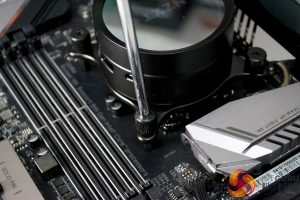
The CPU block cold plate comes with thermal compound pre-applied. With the corresponding upper mounting bracket fitted to the CPU block, lower the block down over the CPU and tighten the thumbscrews evenly and progressively in an X pattern to ensure mounting pressure is evenly spread across the CPU heat spreader.
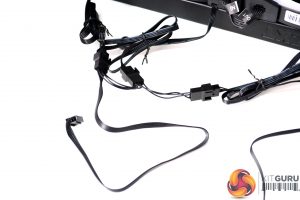
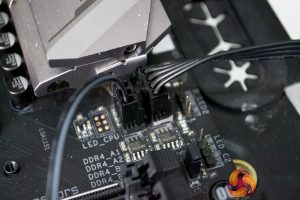
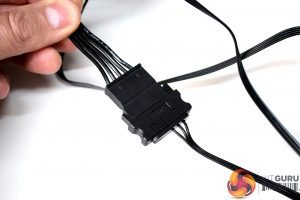
Connect the thee 4-pin PWM fan cables to the included 3-way splitter cable and connect the other end of the splitter cable to the CPU fan header, labelled as CPU_FAN on the Z390 Aorus Xtreme.
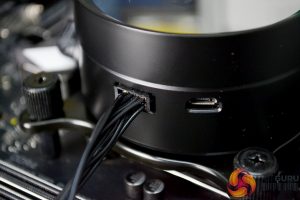
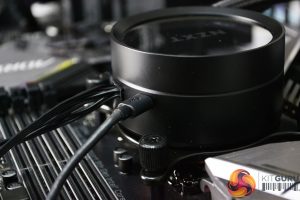
There are two wiring connections on the CPU block, a multi-pin cable connects to the block that provides SATA power, pump speed output and RGB lighting, connect this cable to the pump now.
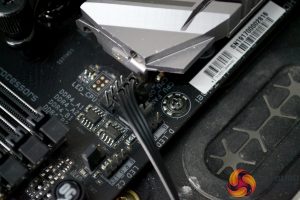
Now, connect the 3-pin fan header cable coming from the pump to a motherboard header, we used the CPU_OPT header on our Z390 Aorus Xtreme motherboard, and connect the SATA power cable from the CPU block to a spare SATA power connecter from the system power supply.
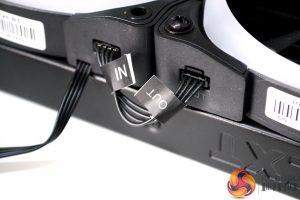
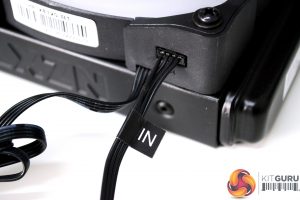
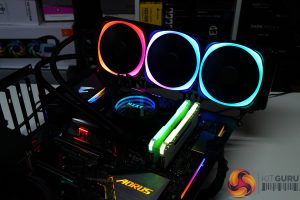
Using the RGB link cables, daisy chain the fans together as shown. Connect the end of the main RGB cable to the remaining IN port on the last fan in the chain and connect the opposite end of the RGB cable to the RGB connection coming from the CPU block housing.
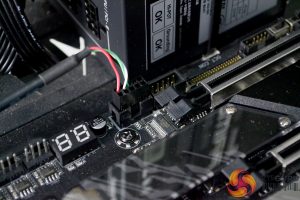
To complete the installation, connect the micro-USB cable to the port on the CPU block and connect the USB 2.0 header connection to a spare USB header on your motherboard for RGB and pump speed control via the NZXT CAM software.
The installation process is virtually identical to the regular Kraken X73 but takes a couple of minutes longer due to the additional RGB fan connections required. Overall the installation is straightforward, it takes approximately 15-20 minutes and even a complete PC building novice shouldn't find the process too difficult.
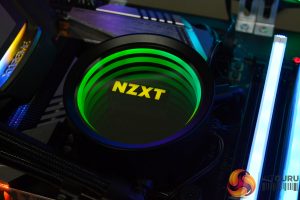
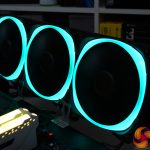
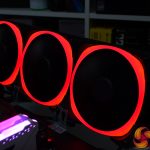
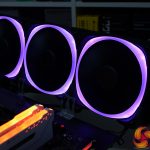
RGB Gallery:
 KitGuru KitGuru.net – Tech News | Hardware News | Hardware Reviews | IOS | Mobile | Gaming | Graphics Cards


