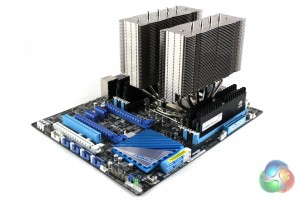
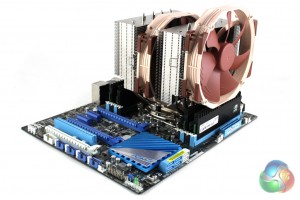
Noctua thoughtfully supplies different installation guides for AMD and Intel installation to prevent confusion. These are located in the boxes dedicated to each mounting kit. We will be documenting the installation procedure on an Intel Socket 2011 motherboard.
First of all, we have to attach the retention screws into the CPU cooler bracket built into the motherboard.
Then, the retention bars can be secured down using the thumb-nuts provided.
Next, the heatsink can be secured down onto the motherboard using the spring screws on either side of the heatsink. We found this a little tricky with the provided screwdriver due to its awkward L-shape. It proved much easier to use a regular screwdriver for this step.
The fans simply clips into place using wire clips on either side, although we had to mount the outside fan a little higher up that we would prefer due to the memory installed in our system.
 KitGuru KitGuru.net – Tech News | Hardware News | Hardware Reviews | IOS | Mobile | Gaming | Graphics Cards


I’ve never liked Noctua heatsinks because they’re way too bulky. It’s a nice product don’t get me wrong.
Why is it being compared against the U14 which only has a single tower? Why isn’t it compared to the D14? I’m curious as to improvements in regards to cooling, not just form factor.