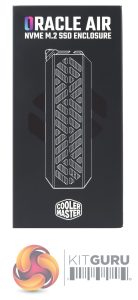
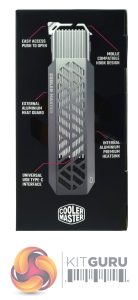
The Cooler Master Oracle Air comes in a compact good quality box with an illustration of the drive on the front and back. The image on the back has the enclosure's main features labelled.

The top flap of the box has an exploded view of the enclosure with all the main features clearly labelled, together with a box contents list. Above this are two QR codes, one that links to the product page and manual, the other to the registration page for the Oracle Air.
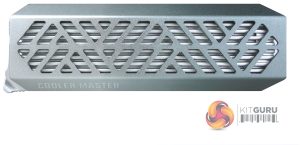
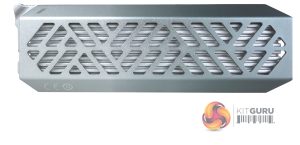
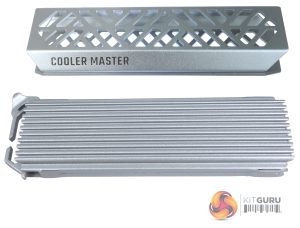
The Oracle Air uses a dual-layer aluminium design.
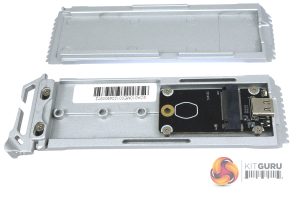
The inner core is a two-piece shell which holds the drive while the outer shell is perforated to release as much heat as possible. The inner core has a hook lock to hold it in place and this lock also acts as a support for MOLLE systems.
Cooler Master has made installing a drive into the Oracle Air a tool-free experience. Pressing down on the hook lock releases the inner core from the outer shell. The inner core is a two-piece shell, once opened it's very easy to install a drive. The first job is to slot the drive into the rubberised pin that Cooler Master supplies, this pin takes the place of the standard M.2 fixing screw.
The drive is then slotted into the M.2 slot and then the bottom of the pin is pushed into its housing (the Oracle Air supports 2230, 2242, 2260, and 2280 M.2 formats). This last part can be a bit fiddly, especially the first time around. The last part of the installation is to fix the thermal pad into the other part of the shell and close everything up.
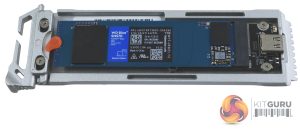
To connect the drive to the USB port, CoolerMaster has used a JMircon JMS583 bridge chip (USB 3.1 Gen 2 to PCIe NVMe Gen3 x2).
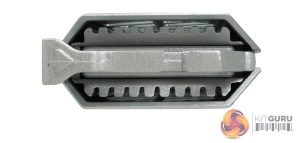
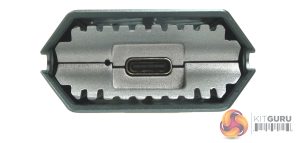
Cooler Master's Oracle Air uses a USB 3.2 Gen2 Type-C interface.
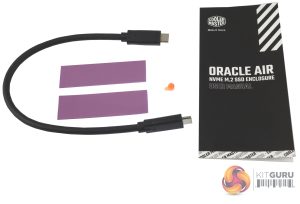
Bundled with the drive is a USB Type-C cable (which could do with being a bit longer), a pair of thermal pads and a spare drive pin. Also included is a very good user manual which uses clear illustrations to guide you through the drive installation process.
 KitGuru KitGuru.net – Tech News | Hardware News | Hardware Reviews | IOS | Mobile | Gaming | Graphics Cards


